

Think nicking a wire is no big deal? Think again.
A tiny cut in the conductor can turn a solid connection into a hidden failure that shows up months later.
This short, hands-on guide walks you through using a wire stripper in five simple steps.
You’ll learn how to pick the right notch, measure the strip length, score without cutting the metal, and check the conductor so the connection lasts.
No jargon, just practical moves that save time and prevent rework.
Essential Steps for Stripping Wire Correctly

Stripping wire correctly protects the conductor and prevents weak connections that can fail later. You need to match your tool’s notch to the wire gauge, position the stripper about 10 to 15 mm from the end, and use controlled pressure to score the insulation without biting into the metal core. Nicking even one strand in a multi-strand cable reduces its effective diameter and creates a weak point where the wire may break during installation or vibration.
The key to a clean strip is visual inspection. After you pull the insulation free, look closely at the exposed conductor. You should see smooth, shiny metal with no gouges, flattened spots, or missing strands. If you spot any damage, cut off the nicked section and start again. Don’t risk a connection that might fail in the wall or behind a panel six months from now.
Follow these eight steps to strip wire safely and cleanly every time:
- Identify the wire gauge by reading the jacket print or measuring the conductor diameter, then select the matching notch on your stripper.
- Measure and mark the strip length you need. Typically 6 to 12 mm or about 1/4″ to 1/2″ depending on the terminal type.
- Insert the wire into the correct notch so the jaws sit exactly at your mark, with the insulation facing the cutting edges.
- Close the handles with firm but controlled pressure. Just enough to bite through the insulation, not crush the conductor beneath.
- Rotate the stripper slightly, a quarter turn, to score the insulation evenly all the way around.
- Pull the stripper smoothly toward the end of the wire to slide the insulation off. It should come free in one clean piece.
- Inspect the conductor for nicks, gouges, or missing strands. Gently twist stranded wire to tighten any loose strands back into place.
- Re-measure the stripped length and test-fit it in your terminal or connector before making the final connection.
When stranded wire is nicked, each cut strand becomes a stress point. Under vibration or thermal cycling, those damaged strands break one by one until the remaining metal can’t carry the load and the connection fails. Solid-core wire is even more vulnerable. A single nick weakens the entire cross-section, and the wire can snap cleanly when bent during installation.
Choosing the Right Wire Stripper Tool for Your Project
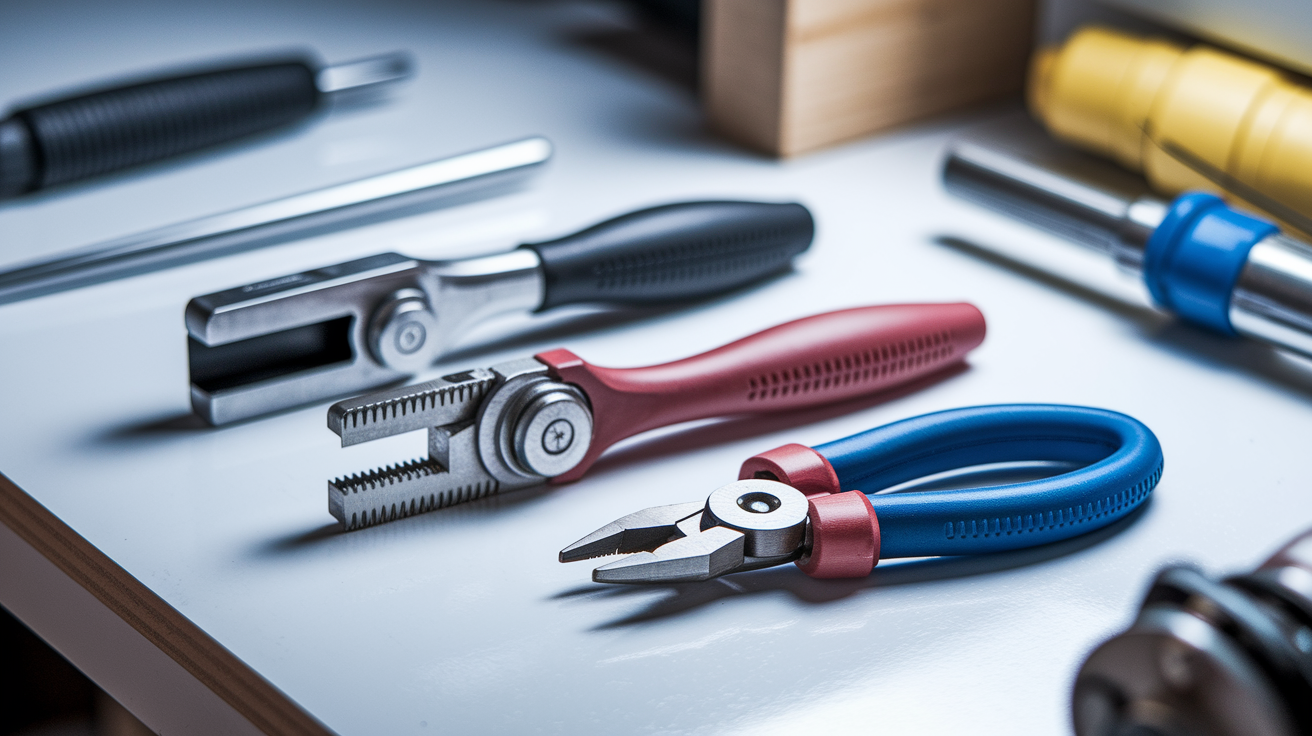
Not all wire strippers are built the same. Picking the wrong type can turn a two-minute job into a frustrating cycle of damaged wire and wasted material. Manual notched strippers are the most common and affordable option. They rely on you selecting the correct hole for each gauge and applying the right pressure. Automatic or self-adjusting strippers use spring-loaded jaws that grip the insulation and release the conductor without you needing to choose a notch, making them faster and more forgiving for beginners. Multi-tool pliers combine cutting, stripping, and sometimes crimping into one compact package, which is handy if you don’t want to carry separate tools.
If you’re stripping a handful of wires for a light fixture or outlet, a basic manual stripper will do the job for under £10. If you’re running cable through a room and stripping dozens of ends, an automatic model saves time and reduces hand fatigue. Self-adjusting strippers also handle in-between sizes that don’t line up perfectly with notched holes, so you’re less likely to nick a 20.5 AWG wire because you had to guess between the 20 and 22 slots.
Here are the key features to look for when choosing a wire stripper:
- Multiple notches or automatic jaws to ensure compatibility with a range of wire sizes from 10 AWG down to 22 AWG or smaller.
- Tension adjustment knob on self-adjusting models lets you fine-tune grip pressure for different insulation types and cable jackets.
- Ergonomic, cushioned handles reduce hand strain during repeated stripping tasks and improve control.
- Integrated wire cutter allows you to trim the wire to length and strip it with one tool instead of switching between pliers and stripper.
- Optional crimping slots for insulated and non-insulated terminals add versatility for automotive and low-voltage electronics work.
Manual notched strippers typically cost £5 to £20, while automatic models run £15 to £60 depending on build quality and extra features. If you’re just starting out, a mid-range automatic stripper around £25 will handle most household and hobby projects without forcing you to memorize notch sizes.
Understanding Wire Gauges and Matching the Correct Notch
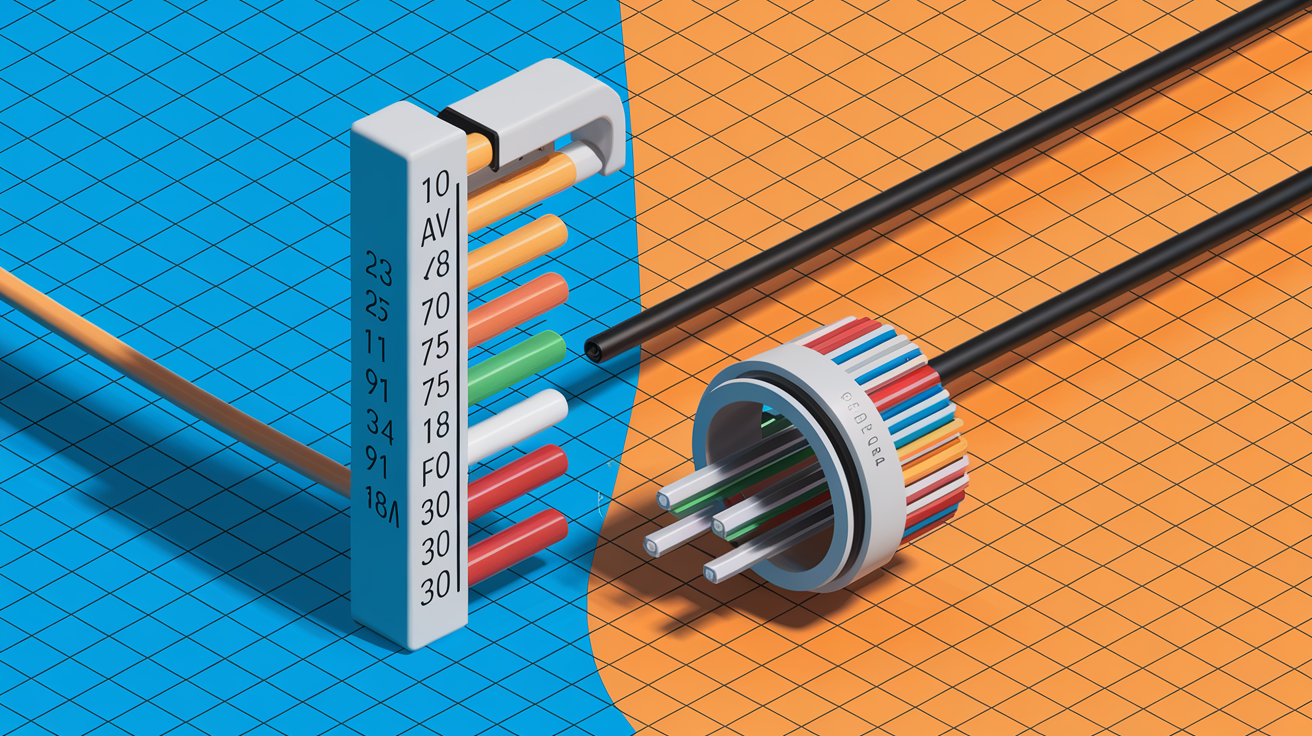
Wire gauge tells you the diameter of the conductor, and getting it right is the difference between a clean strip and a nicked, weakened wire. In the U.S. and many other regions, wire size is given in AWG, which stands for American Wire Gauge. The smaller the number, the thicker the wire. In Europe and parts of Asia, you’ll see metric cross-sectional area in mm². Most wire jackets print the gauge directly on the insulation, but if yours is unmarked or faded, you can measure the bare conductor with calipers or use a wire gauge card.
Matching the notch to the gauge is critical. If you choose a notch that’s too small, the blades will cut into the conductor and nick strands or score solid wire. If the notch is too large, the jaws won’t bite the insulation cleanly and you’ll end up tearing it partway off or having to make multiple passes. When you’re between sizes or working with an oddball gauge, use the next larger notch and apply slightly more closing pressure, or switch to an automatic stripper that adjusts on the fly.
| Gauge (AWG) | Metric (mm²) | Typical Uses |
|---|---|---|
| 10 | 6.0 | Electric dryer, water heater circuits |
| 12 | 4.0 | Kitchen outlets, air conditioner circuits |
| 14 | 2.5 | Lighting circuits, standard outlets |
| 16 | 1.5 | Lamp cords, extension cables |
| 18 | 1.0 | Low-voltage electronics, thermostats |
| 20–22 | 0.5–0.75 | Speaker wire, automotive wiring, breadboard jumpers |
Most household electrical work falls between 10 AWG and 14 AWG, so if you buy a stripper rated for that range you’ll cover outlets, switches, and lighting. For automotive and electronics hobbyists, make sure your tool goes down to at least 22 AWG and ideally 26 AWG or smaller. Some precision automatic strippers handle wire as fine as 30 AWG, which is common in wire-wrap and delicate sensor cables.
Advanced Manual Wire Stripping Techniques for Precision and Tough Materials
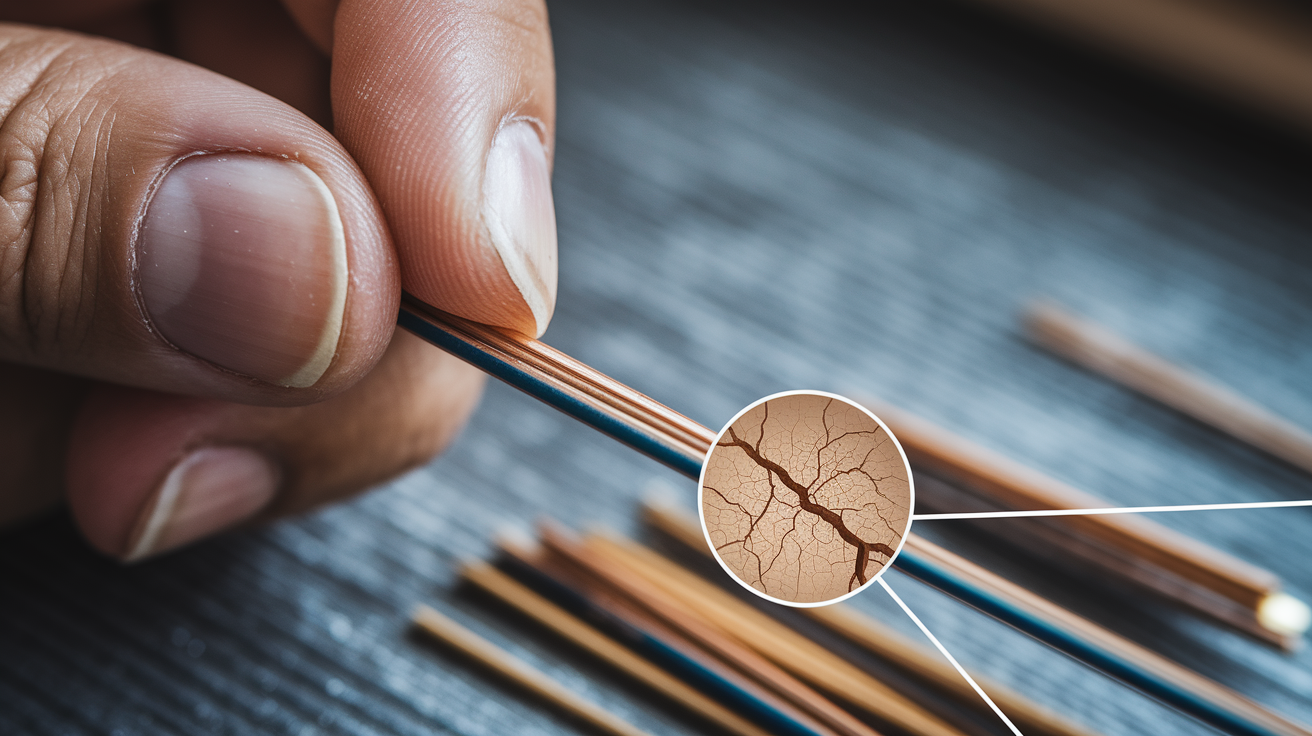
Once you’ve mastered the basic eight-step process, you can refine your technique to handle stubborn or delicate insulation without damaging the conductor. Brittle insulation is common on older wiring or heat-aged cables and tends to crack or shatter instead of sliding off cleanly. For these wires, score the insulation with light pressure, rotate a full 360 degrees to ensure an even cut, then pull the stripper slowly to coax the jacket free without tearing chunks of conductor coating. If the insulation still won’t release, make a second shallow score pass rather than forcing it.
Tough, flexible jackets like silicone or thick PVC may require a two-stage strip. First use a larger notch or cable-jacket cutter to remove the outer sheath, then switch to a precision notch for the inner insulation on individual conductors. This staged approach prevents you from crushing fine strands while trying to cut through a thick outer layer. For repeated tasks, like prepping a hundred feet of speaker wire, set up a simple jig or ruler guide so you mark the same strip length every time without measuring.
Ergonomic hand positioning matters more than you’d think when you’re stripping dozens of wires in one session. Hold the stripper with your thumb on one handle and three fingers on the other, letting your palm absorb the closing force instead of relying on finger strength alone. Keep your wrist straight and align the tool’s jaws perpendicular to the wire. Angling the stripper can cause uneven scoring and partial nicks. Take a break every fifteen minutes to shake out your hands and reset your grip.
Here are six advanced tips for precision manual stripping:
- Pre-twist stranded conductors gently before inserting them into the notch to compress the bundle and reduce the chance of stray strands catching on the blades.
- Use a light scoring pass first on very fine wire, 24 to 26 AWG, then increase pressure slightly on the second rotation if insulation hasn’t fully parted.
- Support long wire runs by clamping or taping the cable 15 to 20 cm behind the stripping point so the wire doesn’t flex and shift while you pull the insulation.
- Keep blades sharp by wiping them clean after each work session and replacing notched inserts or the entire tool if edges become dull or chipped.
- Mark your most-used notch with a dot of paint or tape so you can find it instantly without squinting at the embossed numbers.
- Test strip a sacrificial piece of the same wire type before committing to your final run, especially with unfamiliar insulation or mixed-gauge cable.
Precision Handling for Stranded vs Solid Conductors
Stranded wire and solid-core wire behave completely differently under the stripper’s jaws, and treating them the same way guarantees nicked strands or scored solid cores. Stranded conductors are made of multiple thin wires twisted together, so they compress slightly when you close the jaws. Use the lightest pressure that will cut the insulation and stop as soon as you feel the jacket give. Over-squeezing flattens the bundle and can sever outer strands. After stripping, gently twist the exposed strands clockwise to tighten them back into a neat bundle before inserting into a terminal.
Solid wire has no give, so you can apply slightly firmer pressure to score the insulation without worrying about crushing the core. The trade-off is that a single deep nick in solid wire creates a stress concentration that will break cleanly under bending or vibration. Rotate the stripper a full turn to ensure the score is even all around, then pull straight back. Don’t twist or wiggle, which can deepen surface scratches into actual nicks. Inspect the stripped section under good light and run your thumbnail lightly over the surface. If you feel a groove or see a shiny line where the copper is scored, cut that section off and re-strip.
How to Use Automatic and Self‑Adjusting Wire Strippers
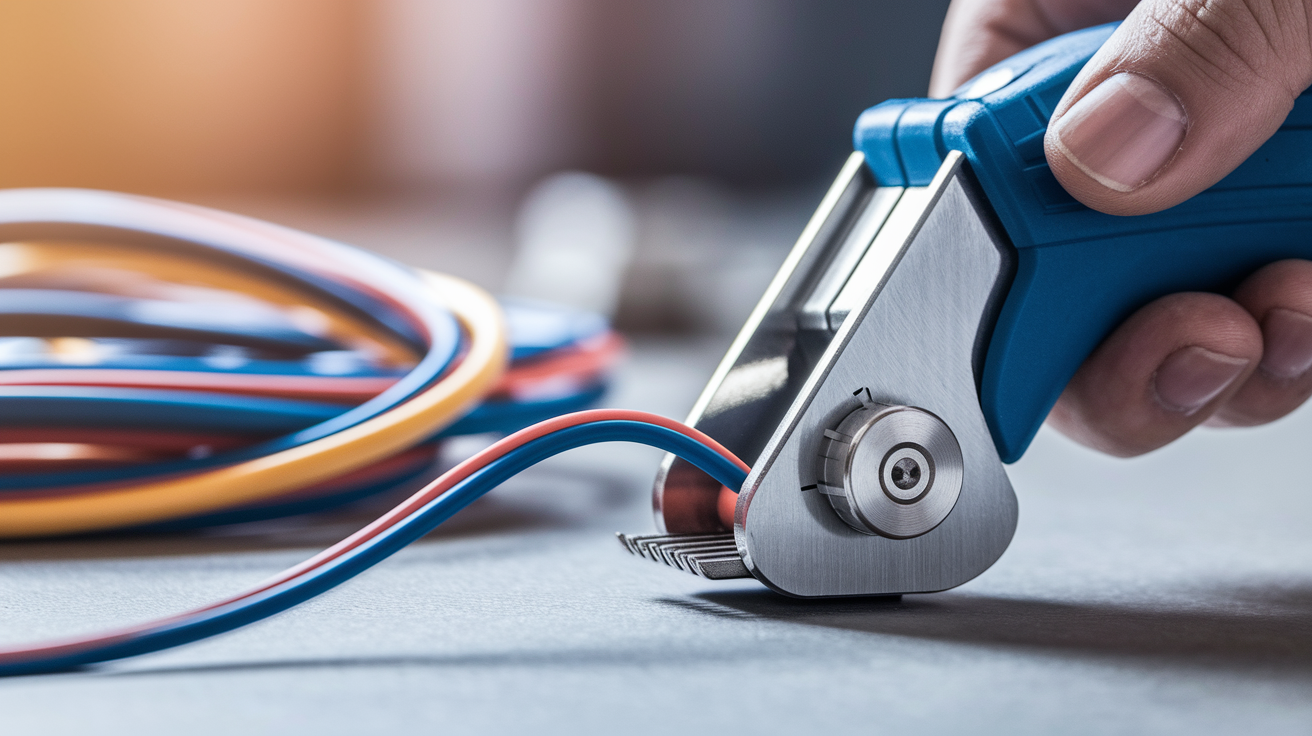
Automatic wire strippers eliminate the guesswork of notch selection by using spring-loaded jaws that automatically grip the insulation and release the conductor. Insert the wire end between the jaws, squeeze the handles, and the tool cuts through the jacket and clamps it while leaving the metal core untouched. When you release the handles and pull the stripper away, the insulation slides off cleanly. This grab-and-pull action is faster than manual stripping and much more forgiving for in-between sizes that don’t match standard notches.
Most self-adjusting models include a tension knob or adjustment screw that lets you fine-tune the clamping force for different insulation types. Thick, rubbery jackets need more tension. Thin Teflon or enamel coatings require lighter grip. Start with the factory setting, test-strip a piece of scrap, and dial the knob a quarter turn at a time until the insulation parts cleanly without the jaws biting into the conductor. Once you’ve dialed in the right tension for your cable type, the tool will strip that gauge consistently without further adjustment.
Self-adjusting strippers excel at removing outer cable sheaths and prepping multi-core cables where you need to strip several insulated conductors in quick succession. Many models include a built-in cable cutter, so you can square off the cable end, strip the outer jacket, fan out the internal wires, and strip each one without switching tools. For jobs like wiring a breaker panel or running low-voltage data cables, that workflow saves minutes per connection and reduces hand fatigue.
Follow these five steps to use an automatic wire stripper:
- Insert the wire end into the jaws so it passes through the gripping teeth and sits at your desired strip length, usually marked by a depth guide or ruler on the tool body.
- Squeeze the handles firmly until you feel the jaws close and the insulation is cut. Don’t over-squeeze or you’ll compress the conductor.
- Release the handles slightly so the jaws open just enough to grip the cut insulation without pinching the conductor.
- Pull the stripper straight back toward the end of the wire. The insulation should slide off cleanly in one piece.
- Inspect the stripped conductor for nicks or compression marks. If the core looks flattened, reduce tension and re-strip a fresh section.
Adjusting Tension for Different Cable Types
Cable insulation varies widely in thickness and hardness, so one tension setting won’t work for every project. Thin PVC on 22 AWG hookup wire strips easily with low clamping force, while thick silicone jackets on 12 AWG outdoor cable need enough grip to bite through the rubber without slipping. Most automatic strippers have a numbered dial or visible adjustment screw. Turn clockwise to increase tension for harder grip, counterclockwise to decrease for lighter grip.
Start at the middle setting and test-strip a 5 cm piece of scrap. If the insulation tears but doesn’t come off, increase tension by one click. If you see shiny marks or flattened strands on the conductor, decrease tension and try again. Once the tool strips cleanly, lock the adjustment if your model has a set screw so it doesn’t drift during use. For mixed-gauge bundles, like Romex with 14 AWG and 12 AWG together, set tension for the thicker wire and apply slightly lighter squeeze pressure when stripping the smaller conductors.
Preparing Wire Ends for Connectors, Terminals, and Crimping
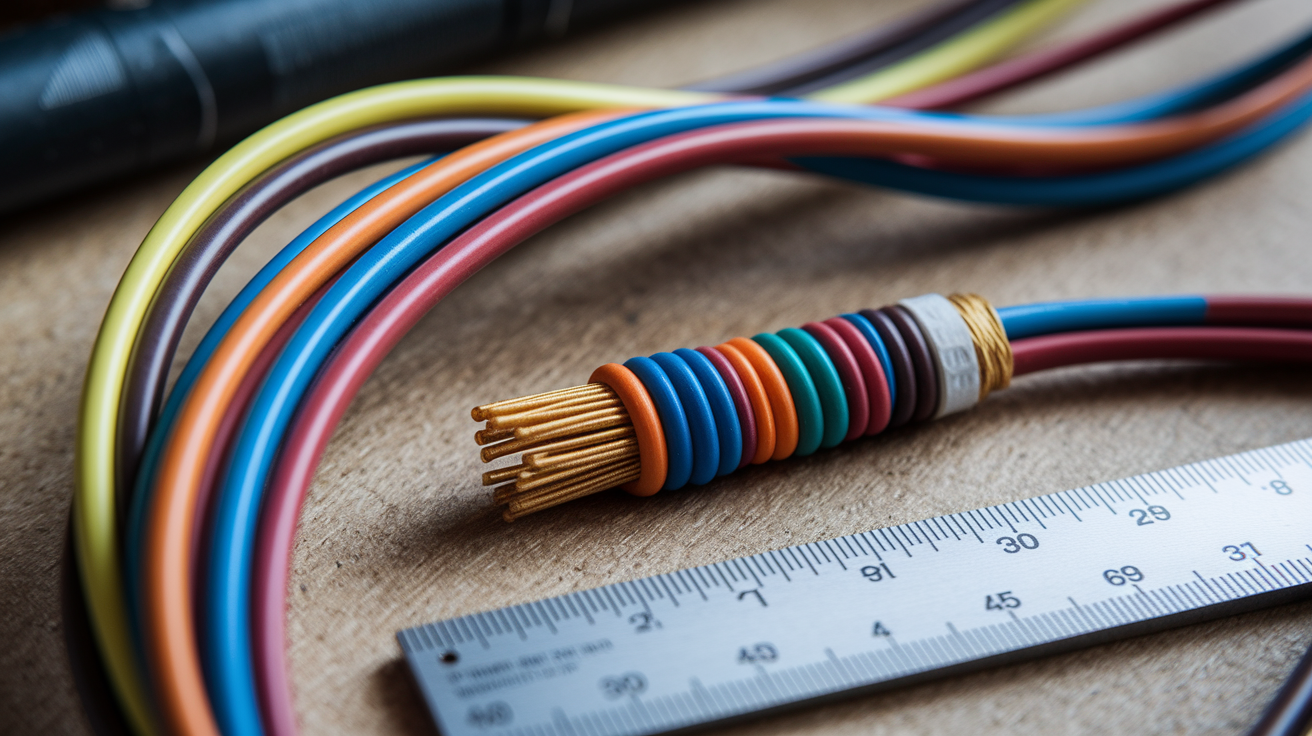
After stripping, the conductor needs to fit cleanly into the terminal or connector barrel with no exposed metal outside the crimp zone and no insulation creeping into the contact area. Typical screw terminals require about 6 mm or 1/4″ of exposed wire so you can wrap it clockwise around the screw without bare conductor sticking out past the clamp. Crimp terminals and ferrules usually specify strip length on the package. Common ranges are 6 to 8 mm for insulated terminals and 10 to 12 mm for non-insulated or battery lugs.
For stranded wire, gently twist the exposed strands clockwise to compress them into a tight bundle before inserting into the terminal. This keeps stray strands from splaying out and touching adjacent terminals or metal enclosures. If you’re applying heat shrink, slide the tubing onto the wire before you crimp, then position it so it covers the crimp barrel and about 3 to 5 mm of insulation on either side. That overlap keeps moisture out and strain off the crimp joint.
Here are five quick tips for prepping wire ends after stripping:
- Re-measure strip length with a ruler or against the terminal itself to confirm you didn’t strip too much or too little.
- Tin stranded wire with solder if you’re inserting into spring-clamp or push-in connectors. Tinning prevents strand fray and makes insertion easier.
- Trim any damaged strands flush with wire cutters so frayed ends don’t create shorts or weak points inside the crimp.
- Align insulation flush with the crimp-barrel entry mark so the crimp grips insulation and conductor in the correct zones.
- Check terminal polarity and size before crimping. Using an oversized terminal on fine wire results in a loose, unreliable connection.
Stripping Special Wire Types: Coax, Ethernet (RJ45), Speaker Wire, and Fine-Gauge Cable
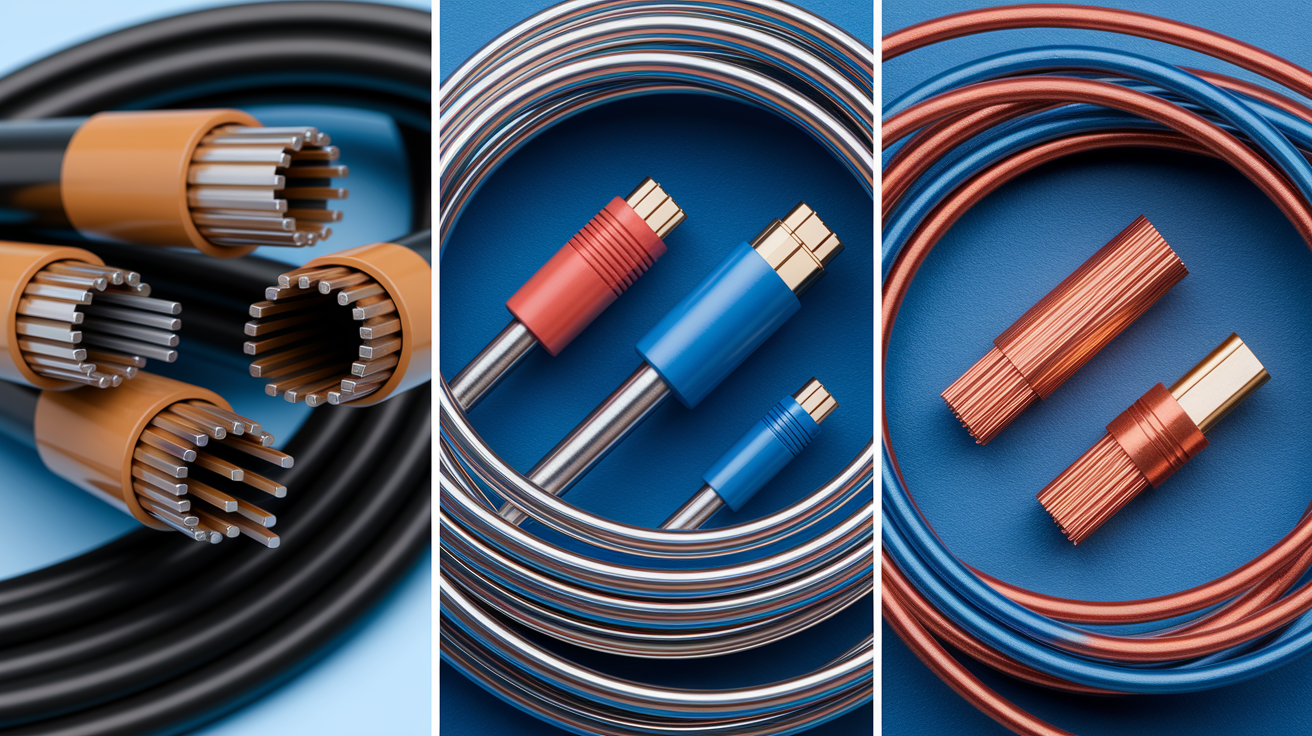
Specialty cables require staged stripping or modified techniques because they have multiple layers or delicate cores that standard wire strippers can damage. Coaxial cable has an outer jacket, braided shield, foil layer, and center dielectric insulator around a single conductor. Strip it in stages by scoring the outer jacket, peeling it back, folding the braid away from the center, then carefully stripping the dielectric to expose the core wire. Use a rotary coax stripper or a sharp utility blade held at a shallow angle to avoid nicking the center conductor.
Ethernet cables like Cat5e, Cat6, Cat6a require you to strip about 20 to 25 mm of the outer jacket to expose the four twisted pairs, then untwist and arrange the individual wires in the correct pinout order before inserting into an RJ45 plug. Use a dedicated Ethernet cable stripper or a shallow cut with a manual stripper’s largest notch, rotating the cable as you pull to avoid cutting into the inner pairs. The key is removing just the jacket without damaging the twisted-pair insulation underneath.
Speaker wire and lamp cord usually have two conductors joined by a thin web of insulation. Gently pull the conductors apart to separate them, then strip each one individually using the appropriate notch for the gauge. If you try to strip both at once, the joined insulation can tear unevenly and leave jagged edges. For magnet wire, which is enameled wire with no insulation jacket, you’ll need to scrape or burn off the enamel coating. Wire strippers won’t bite through enamel, so use fine sandpaper, a knife edge held perpendicular, or a flame followed by a wipe with a cloth.
Here are six tips for handling specialty and fine-gauge cables:
- Use a rotary coax stripper for clean, repeatable cuts on coax. Manual blade methods risk nicking the center conductor or cutting the braid unevenly.
- Strip Ethernet jacket with a rocking motion to avoid slicing into twisted pairs. Stop as soon as you see color-coded insulation.
- Separate bonded pairs gently by pulling conductors apart rather than cutting the web. Keeps insulation intact and reduces waste.
- Scrape magnet wire enamel in one direction with light, even strokes. Test with a multimeter to confirm bare copper contact.
- Support fine wire, 26 to 30 AWG, by holding it against a flat surface or inside a helping-hands clamp to prevent flexing and breakage during stripping.
- Use precision automatic strippers for 24 AWG and smaller to avoid crushing delicate conductors that manual notches can damage.
Precision Techniques for Small and Delicate Wires
Wire smaller than 22 AWG is fragile and easy to break if you apply too much pressure or use a notch designed for thicker cable. Automatic strippers with adjustable tension are your best option here. Set the tension low and test on scrap until the jaws release the insulation without compressing the conductor. If you must use a manual stripper, choose the smallest notch that fits and close the handles only until you feel the slightest resistance, then rotate and pull immediately.
For breadboard jumper wire and electronics hookup wire, typically 22 to 26 AWG, strip only 5 to 8 mm to minimize the risk of shorts in dense circuit layouts. Hold the wire close to the stripping point with your non-dominant hand to keep it from flexing, and pull the stripper in one smooth motion without wiggling. Inspect under magnification if possible. Nicked fine wire looks intact to the naked eye but will break as soon as you bend it into a tight curve or solder it under heat.
Common Wire Stripping Mistakes and How to Fix Them

The most frequent mistake is using the wrong notch size, which either nicks the conductor or fails to cut the insulation. If you see shiny grooves or flattened spots on stranded wire, you’ve crushed it. Cut back 1 to 2 mm past the damage and re-strip with the next larger notch. If the insulation won’t come off or tears in chunks, the notch is too big or your jaws aren’t closing fully. Move to a smaller notch or increase squeeze pressure slightly.
Applying too much force is the second-biggest error, especially with stranded wire. New users often squeeze the handles as hard as they can, which flattens the conductor bundle and severs outer strands. The correct pressure feels firm but controlled. Just enough to cut the jacket, not enough to compress the metal underneath. If you’re leaving tooth marks in the conductor, ease up. If insulation is sliding around without cutting, increase pressure in small increments.
Stripping too much insulation creates exposed conductor that can short against enclosures or adjacent terminals, while stripping too little leaves insulation inside the terminal barrel and results in a weak connection. Measure your strip length before you start and mark the wire with a pen or your thumbnail. After stripping, hold the wire next to the terminal or connector to confirm fit before crimping or screwing it down.
Here are six mistakes that cause rework and how to prevent them:
- Using a knife instead of a stripper brings high risk of deep nicks and personal cuts. Always use the correct tool.
- Pulling insulation lengthwise without scoring tears strands and leaves jagged edges. Rotate the stripper to score evenly before pulling.
- Stripping live or energized wire is dangerous and unnecessary. Always turn off power and verify 0 V with a multimeter.
- Choosing the wrong notch and forcing it damages conductor and dulls blades. Test on scrap and switch notches if it doesn’t feel right.
- Skipping visual inspection means nicked wire looks fine until it breaks under load. Always check the stripped section under good light.
- Re-using damaged wire when cutting off 1 to 2 mm of nicked conductor takes two seconds and prevents future failures.
Safety Essentials for Stripping Wire Without Risk
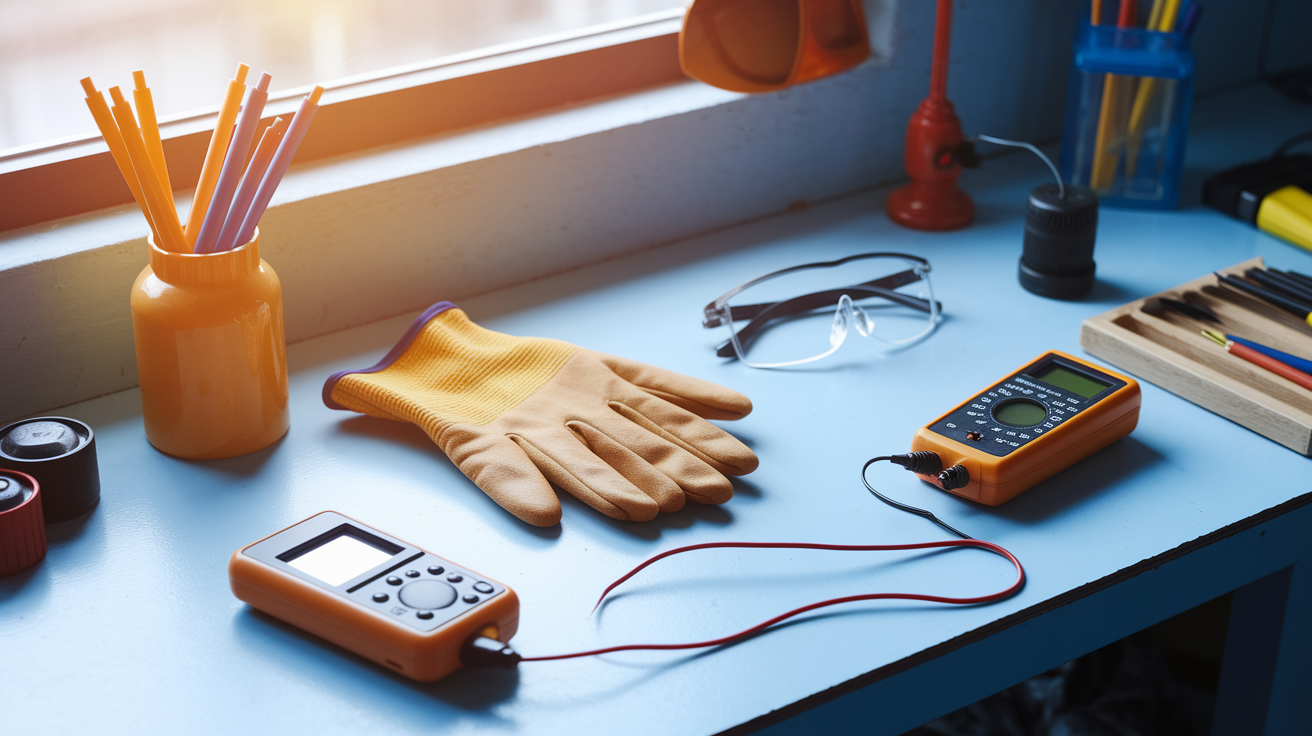
Always turn off power at the breaker or fuse before stripping any wire in an electrical system. Use a non-contact voltage tester or multimeter set to AC voltage and confirm the readout is 0 V on all conductors before you touch them. Even low-voltage circuits, 12 V DC or 24 V AC, should be de-energized to prevent accidental shorts that can damage sensitive electronics or start small fires in confined spaces.
Wear safety glasses to protect your eyes from wire ends that can spring back when you cut or strip them, and consider light work gloves if you’re handling stiff cable or working in tight spaces where sharp edges are present. Never use a utility knife or razor blade as a makeshift wire stripper. Blades slip easily and will cut your hand or gouge deep into the conductor. If you’re using thermal stripping methods, rare in DIY work but common in some industrial settings, work in a well-ventilated area or wear a respirator rated for plastic fumes.
Follow these four safety rules every time you strip wire:
- Verify power is off with a multimeter or voltage tester, not just by flipping a switch.
- Wear eye protection to guard against wire fragments and spring-back from cut ends.
- Use the correct tool for the wire size and type. Never substitute pliers, knives, or scissors.
- Work in good light so you can see the conductor clearly and catch nicks or damage before making connections.
Maintaining Your Wire Stripper for Long-Term Performance
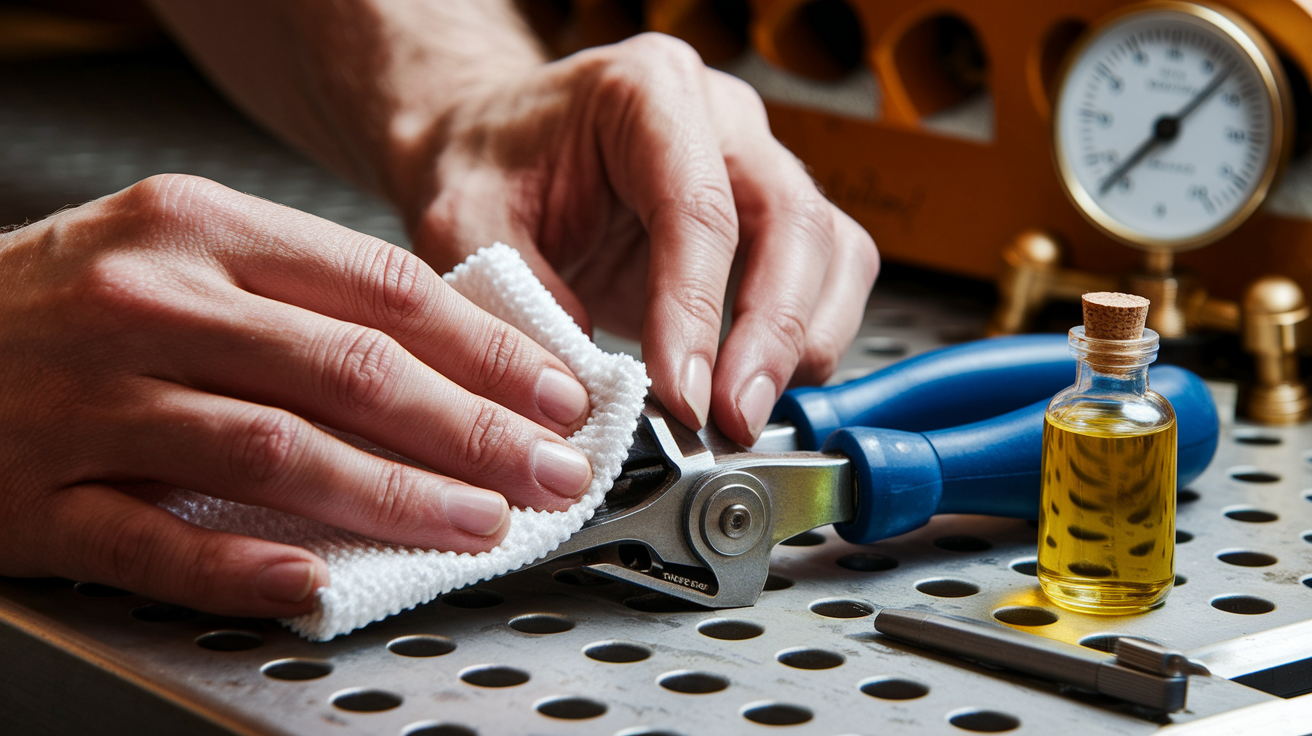
Wire strippers last for years if you keep them clean, dry, and properly adjusted. After each use, wipe the jaws and handles with a dry cloth to remove insulation debris, metal filings, and any oil or grease from cable jackets. If you’ve been stripping dirty or outdoor cable, rinse the tool under running water, dry it thoroughly, and apply a drop of light machine oil to the pivot pin and any moving parts. Store your strippers in a toolbox or on a pegboard hook. Never leave them on the floor or in damp areas where rust can form on the blades.
Manual strippers with replaceable blade inserts can be refreshed by swapping out worn notches rather than buying a new tool. Check your manufacturer’s website or hardware store for replacement parts. Automatic and self-adjusting models may need periodic tension-spring replacement or calibration if the jaws start slipping or gripping inconsistently. Consult the user manual for maintenance schedules and part numbers.
Keep your wire strippers in top shape with these four maintenance steps:
- Clean jaws after every work session to prevent insulation buildup that can interfere with cutting precision.
- Lubricate pivot points twice a year with light machine oil or dry PTFE spray to keep handles smooth and reduce wear.
- Inspect blades for chips or dull edges before starting a big project. Replace or sharpen notched inserts as needed.
- Store in a dry location with handles closed or locked to protect cutting edges and prevent accidental pinching during transport.
Final Words
You matched the correct notch to the wire gauge, set strip length to 6–12 mm (1/4″–1/2″), held the wire about 10–15 mm behind the stripping point, and used the pull-and-inspect routine so strands aren’t nicked.
You also picked the right tool (manual, self-adjusting, or automatic), learned prep for connectors and special cables, and reviewed common mistakes plus safety and maintenance to keep results reliable.
Keep those checks in place and you’ll know how to use a wire stripper safely and get clean, consistent terminations. You’ve got this.
FAQ
Q: What is the easiest way to strip electrical wire?
A: The easiest way to strip electrical wire is to use a manual notched wire stripper: match the notch to the AWG, set 6–12 mm strip length, close lightly, rotate to score, then pull insulation.
Q: What are some common mistakes to avoid when stripping wires and can I damage wires while stripping?
A: Common mistakes are using the wrong notch, too much force, or a knife; yes, you can damage wires—nicked strands weaken joints, so cut back 1–2 mm and re-strip if you nick the conductor.
Q: How to use vise grip wire stripping tool?
A: To use a vise grip wire stripping tool, clamp the insulated wire about 10–15 mm behind the strip point, squeeze lightly, rotate to score the jacket, then pull the insulation and inspect for nicks.