

Is your house quietly leaking money out the cracks?
Most people blame the thermostat, but tiny drafts at window sills, outlets, and attic hatches let heat escape and raise your bills.
You don’t need expensive gear to find them.
A hand, a smoke stick, and a flashlight will show most leaks fast.
In under an hour, room by room, you can spot the big offenders, seal them, and feel the difference.
Read on for simple tests, common trouble spots, and quick fixes that cut drafts and lower your energy bills.
Quick DIY Ways to Detect Drafts Immediately

You don’t need expensive equipment to start finding drafts. Most leaks show up fast using your hand, a simple smoke source, or a flashlight. You can cover your entire home in under an hour if you move room by room.
Here are the three fastest tests that work right now:
- Hand test – Slowly run your hand along window frames, door edges, outlet covers, and baseboards to feel cold air or temperature shifts.
- Smoke test – Light an incense stick or candle and hold it near suspected gaps. If the smoke drifts sideways or gets pulled toward a crack, you’ve found a leak.
- Flashlight technique – At night, shine a bright flashlight along door and window seams from inside while a helper watches from outside. Light shining through means air can move through.
Common Areas in Your Home Where Drafts Typically Form
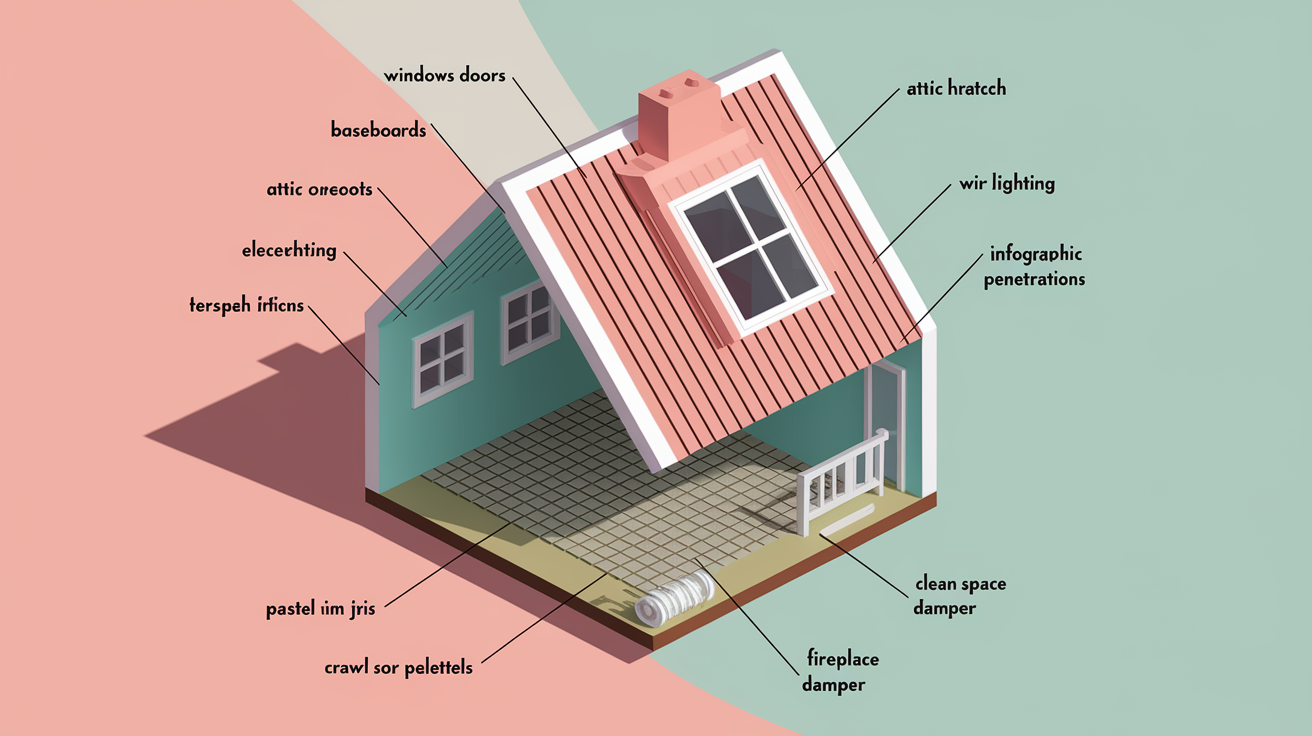
Drafts cluster in predictable spots where materials meet or where holes were cut during construction. Windows, doors, and places where pipes or wires enter the building are the usual suspects. But so are areas you don’t see every day like attic hatches and basement rim joists.
Knowing the common leak zones saves time because you can check them systematically instead of wandering around hoping to stumble on cold air. Most homes leak at the same handful of places, so start with this list and you’ll catch the big offenders fast.
- Window frames and sills – Look for gaps where the frame meets the wall, cracked caulk, or worn weatherstripping along the sash.
- Door thresholds and frames – Check the bottom sweep, the sides where weatherstripping touches the frame, and the top edge.
- Baseboards – Air sneaks in where the baseboard meets the floor or where two baseboard sections join at a corner.
- Attic hatches – Loose fitting hatches let warm air escape straight into the attic. Check the perimeter gasket and insulation above it.
- Electrical outlets and switch plates on exterior walls – Cold air flows through wall cavities and out through the outlet box openings.
- Recessed lighting fixtures – Non airtight housings create direct paths from living space into the attic.
- Plumbing and wiring penetrations – Holes drilled for pipes, cables, and vents often get oversized and never sealed properly.
- Basement rim joists – The wood band where the foundation meets the first floor framing is notorious for air leaks and missing insulation.
- Crawl space vents and foundation cracks – Uncontrolled outdoor air enters through foundation openings and spreads upward into the house.
- Fireplace dampers and chimney flues – Open or warped dampers let conditioned air escape even when the fireplace isn’t in use.
Tools and Materials for Draft Detection and Confirmation

Most draft detection happens with items you already own or can pick up for a few dollars at any hardware store. A flashlight, an incense stick, and a dollar bill cover 90 percent of leak hunting situations. A couple of specialty tools help when you want to measure temperature differences or confirm airflow direction, but save the expensive gear for later.
Start simple and add tools only if the basics don’t answer your questions or if you want numeric proof before making repairs.
| Tool | Purpose |
|---|---|
| Incense stick or smoke pencil | Creates visible smoke that drifts toward leaks and shows airflow direction |
| Flashlight (bright LED) | Reveals cracks and gaps when shined along seams at night |
| Dollar bill | Tests door seal tightness by closing the door over the bill and trying to pull it out |
| Infrared thermometer | Measures surface temperature to spot cold zones where insulation is missing or air is leaking |
| Thermal camera (or rental) | Shows temperature patterns across entire walls and reveals hidden drafts behind finished surfaces |
| Draft detector (fan + smoke source) | Amplifies airflow to make small leaks easier to see with smoke |
Step-by-Step Guide to Finding Drafts in Your Home

Work through your home methodically instead of jumping from room to room. Close up the house so leaks stand out, then check each high risk zone using a mix of visual inspection and hands on tests.
Run these checks on a windy day or when the outdoor temperature is at least 20 degrees different from inside. The bigger the temperature gap, the easier it is to feel and see drafts.
Step-by-Step Draft Detection Process
-
Close all windows and exterior doors – This isolates leaks by eliminating intentional openings and creates stronger airflow through any remaining gaps.
-
Walk through each room and visually inspect frames, sills, baseboards, and ceiling edges – Look for cracked caulk, separation between materials, visible daylight, or dust streaks that show where air has been moving through small cracks.
-
Use a smoke source or incense stick around windows, doors, outlets, and light fixtures – Move the smoke slowly along suspected seams and watch for it to drift sideways, flutter, or get sucked toward a gap.
-
Run your hand along edges of windows, doors, outlet covers, and recessed fixtures – Stop and hold your hand in place for a few seconds when you feel a temperature shift or slight air movement. Cold spots confirm leaks.
-
Check attic hatches, basement rim joists, and utility penetrations – These areas often get skipped during construction sealing and are responsible for major energy losses. Look for gaps around pipes, wires, vents, and where the foundation meets the wood framing.
-
Write down each leak location and rate it as small, medium, or large – Prioritize the worst offenders first so your sealing effort delivers the biggest comfort and energy improvements right away.
Using Advanced Tools Like Thermal Imaging to Find Hidden Drafts

Hand tests and smoke sticks find obvious leaks, but thermal cameras reveal the drafts you can’t see or feel because they’re hidden behind walls, under insulation, or spread across a large surface. A thermal camera shows temperature as color, so cold spots jump out as blue or purple patches against warmer orange and red backgrounds. If you see a cold stripe along a wall or around a window frame, you’re looking at air infiltration or missing insulation.
Infrared thermometers work similarly but measure one spot at a time instead of scanning an entire surface. Point the laser at a window frame, record the temperature, then move six inches and take another reading. Temperature drops of more than a few degrees between two nearby points usually mean air is leaking through or insulation is missing. This method is slower than thermal imaging but costs less and still pinpoints problem zones you’d otherwise miss.
Blower door tests go a step further by depressurizing your whole house with a large fan mounted in an exterior door frame. The fan pulls air out of the house, which forces outdoor air to rush in through every crack and gap. Pair a blower door setup with a thermal camera or smoke pencil and leaks become obvious even in places you’d never think to check. Professionals use blower door results to calculate your home’s airtightness and estimate how much energy you’re losing, but you can rent the equipment and run your own test if you want hard numbers before making repairs.
How to Seal Drafts After You Find Them
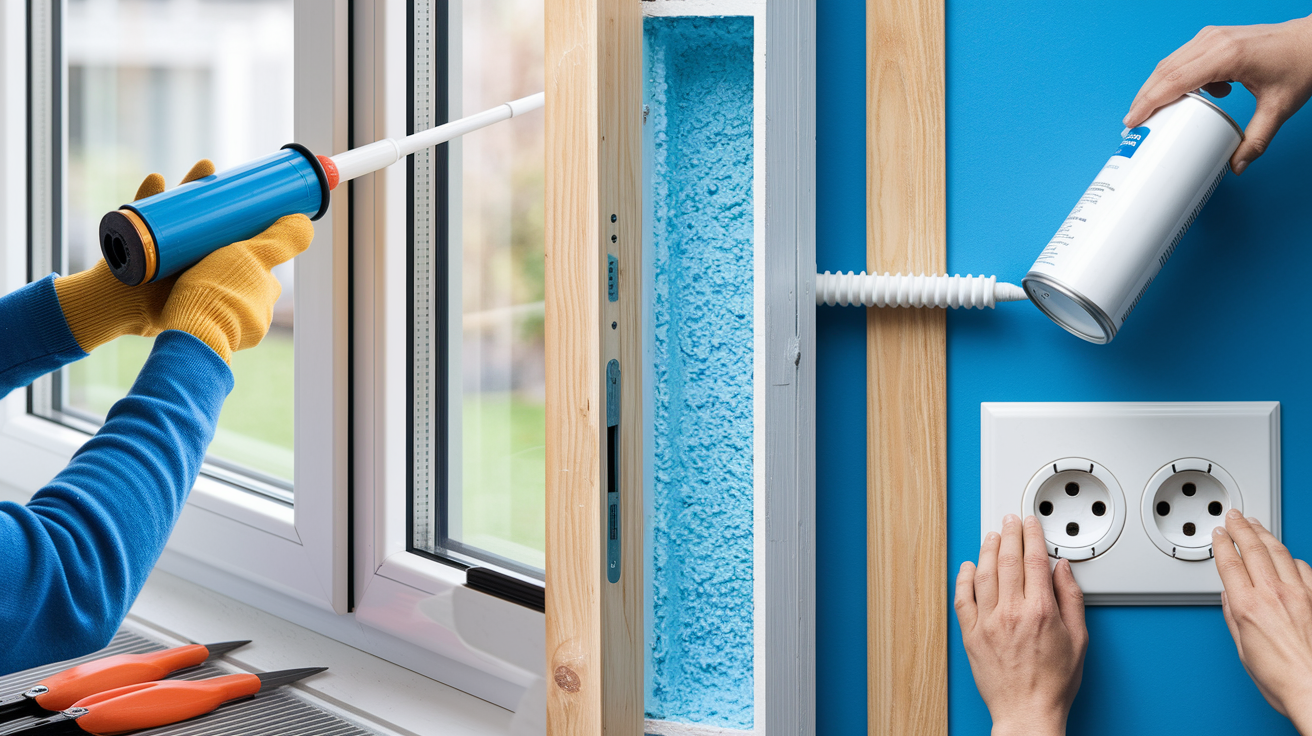
Once you know where the leaks are, match the sealing method to the size and type of gap. Small cracks get caulk, moving parts get weatherstripping, and large voids need expanding foam or insulation upgrades.
Don’t skip surface prep. Wipe down dirty or dusty areas with a damp cloth and let them dry before applying any sealant, because caulk and weatherstripping adhesive won’t stick to grime or loose paint.
- Caulk small gaps and cracks – Use a caulking gun to fill stationary seams around window frames, door frames, baseboards, and anywhere two different materials meet. Smooth the bead with a wet finger so it looks like one clean line.
- Install weatherstripping on doors and operable windows – Choose foam tape or adhesive backed strips for the sides and top of doors, and add a door sweep at the bottom threshold to block the gap between the door and the floor.
- Fill large openings with expanding foam – Spray foam into holes around pipes, wires, and vents, but don’t overfill because the foam expands as it cures. Trim excess foam flush with the surface once it hardens.
- Add foam gaskets behind outlet and switch plates on exterior walls – Pull off the cover plate, press a pre cut foam gasket over the outlet box, and reinstall the plate to block air from moving through the wall cavity.
- Upgrade attic insulation and seal bypass leaks – Add fiberglass batts, blown in cellulose, or spray foam to reach recommended R values, and use caulk or foam to seal gaps around attic hatches, plumbing stacks, and recessed light housings before adding insulation on top.
- Apply insulating window film to old single pane windows – Stretch the film tight across the interior frame, tape it down, and use a hair dryer to shrink it smooth. The film traps a thin layer of air that reduces heat transfer and cuts down on cold drafts.
- Replace worn door sweeps and thresholds – If the sweep is cracked or the rubber is flattened, unscrew the old one and install a new adjustable sweep that seals tight when the door closes.
- Seal ductwork runs in unconditioned spaces – Wrap joints with metal foil HVAC tape or brush on mastic sealant where ducts connect in attics, basements, or crawl spaces. Don’t use standard duct tape because it dries out and fails.
Seasonal Tips for Finding Drafts More Easily

Test for drafts at least twice a year, once in late fall before heating season and again in early spring before cooling season. Seasonal temperature swings make leaks easier to detect because the difference between indoor and outdoor air is at its peak, so cold drafts feel stronger and smoke tests show clearer movement.
Materials expand and contract with temperature changes, which means gaps that were sealed in summer can open up by winter. A fresh round of checks every six months catches new leaks before they cost you a full season of wasted energy. If you fixed drafts last year, don’t assume they’re still sealed. Walk through your checklist again and confirm that caulk hasn’t cracked and weatherstripping hasn’t compressed or pulled loose.
When DIY Isn’t Enough: Professional Draft Detection Options

If you’ve sealed the obvious leaks and your energy bills are still high or certain rooms stay cold, it’s time to call in a professional for a full home energy audit. Pros use diagnostic tools that measure airflow, locate hidden leaks behind walls, and quantify exactly how much energy your home is losing.
A complete energy audit usually includes duct testing to find leaks in your heating and cooling system, carbon monoxide testing for safety, and a blower door test to measure whole house air infiltration. The contractor will give you a prioritized list of repairs with estimated costs and energy savings, so you know which fixes deliver the best return. Many utility companies and local programs offer no cost or low cost initial assessments, so check with your energy provider before paying full price.
Professional services are worth it when:
- You’ve done basic sealing but comfort problems persist in specific rooms.
- Your home has complex ductwork, vaulted ceilings, or inaccessible attic or crawl space areas.
- You want hard data on air infiltration rates and potential savings before investing in major insulation or window upgrades.
- You suspect foundation cracks, structural gaps, or moisture problems that need expert diagnosis and repair planning.
Final Words
Start testing right away with the quick one-line checks: hand test, smoke/incense, and the flashlight trick. Then focus on high-risk spots, like windows, doors, outlets, and attic hatches, and use the simple tools we covered to confirm leaks.
Work through the 6-step process room by room, seal gaps with caulk, weatherstripping, or foam, and bring in thermal imaging or a pro for hidden problems.
You now know how to find drafts in your home and what to do about them, so tackle the easy fixes first and enjoy the warmer, quieter rooms.
FAQ
Q: How to find cold drafts in a house?
A: Finding cold drafts in a house involves simple tests—hand, smoke/incense, and flashlight checks—and tools like thermal cameras or anemometers (airflow meters). Yes, most homes have some drafts, usually at windows, doors, outlets, and attic seams.
Q: Where do I find my saved draft posts?
A: You find your saved draft posts in the app or site’s Drafts area—usually under Posts, Creator Studio, or your profile menu. On mobile, check the main menu or content manager; consult the platform help if unsure.