

Think that tiny drip is harmless?
A single faucet that drips once a second can waste over 3,000 gallons a year.
Good news: most drips are easy to fix yourself without calling a plumber.
In five simple steps I’ll show you how to shut the water off safely, find the leaky part, replace or tighten what needs fixing, and test the repair so it stays fixed.
You’ll save water, stop the noise, and feel confident doing the work.
Immediate Steps to Stop a Dripping Faucet Quickly
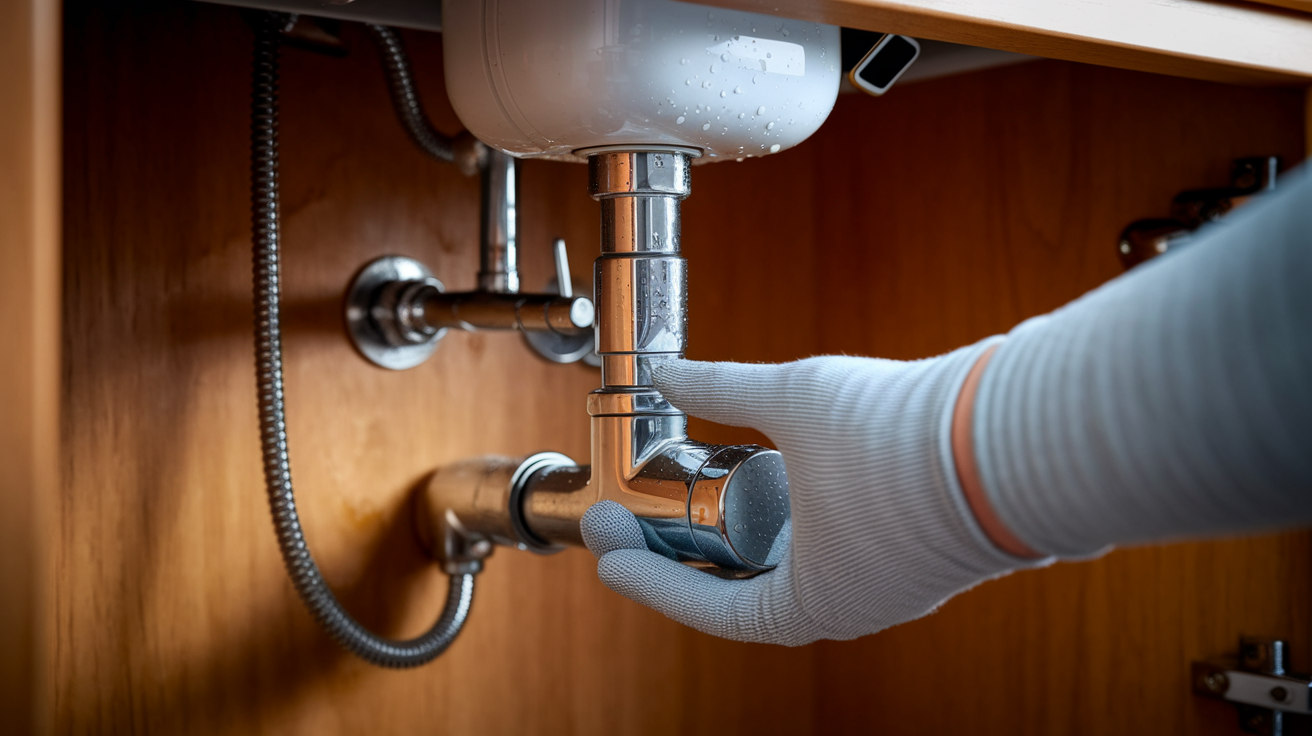
Turn off the water supply valve right under your sink. You’re looking for an oval or round knob that you’ll rotate clockwise until it won’t turn anymore. Most sinks have two of these, one for hot and one for cold, so close both. Can’t find a shutoff valve under there? Or maybe it’s stuck solid or broken completely. Head to your home’s main water shutoff and close that instead. Once the water’s off, open the faucet handle all the way. This drains whatever water’s still sitting in the pipes and keeps you from getting surprised by a mini flood when you start pulling parts.
Before you touch anything else, plug that sink drain. Use a rag or a rubber stopper. Small screws, washers, and O-rings love to drop straight down the drain, and trust me, fishing them out of a p-trap isn’t fun. Now take a quick look at where the water’s actually dripping from. Is it coming from the spout? Leaking around the handle? Pooling at the base where the faucet meets the sink? You don’t need to know the exact faucet type yet. Just note where the drip’s happening.
Snap a photo of the faucet before you take anything apart. That picture’s going to remind you how everything fits back together. And if the drip stops completely after you shut off the water, you’ve just confirmed the leak is inside the faucet assembly and not some issue with the supply lines or shutoff valves.
Check only the visible drip location. Spout, handle, or base. Shut off water immediately to stop waste and prevent floor damage. Confirm whether you’ve got a single-handle or two-handle faucet. If shutoff alone stops the drip temporarily, the faucet parts are your culprit.
Diagnosing Drips by Faucet Location and Type
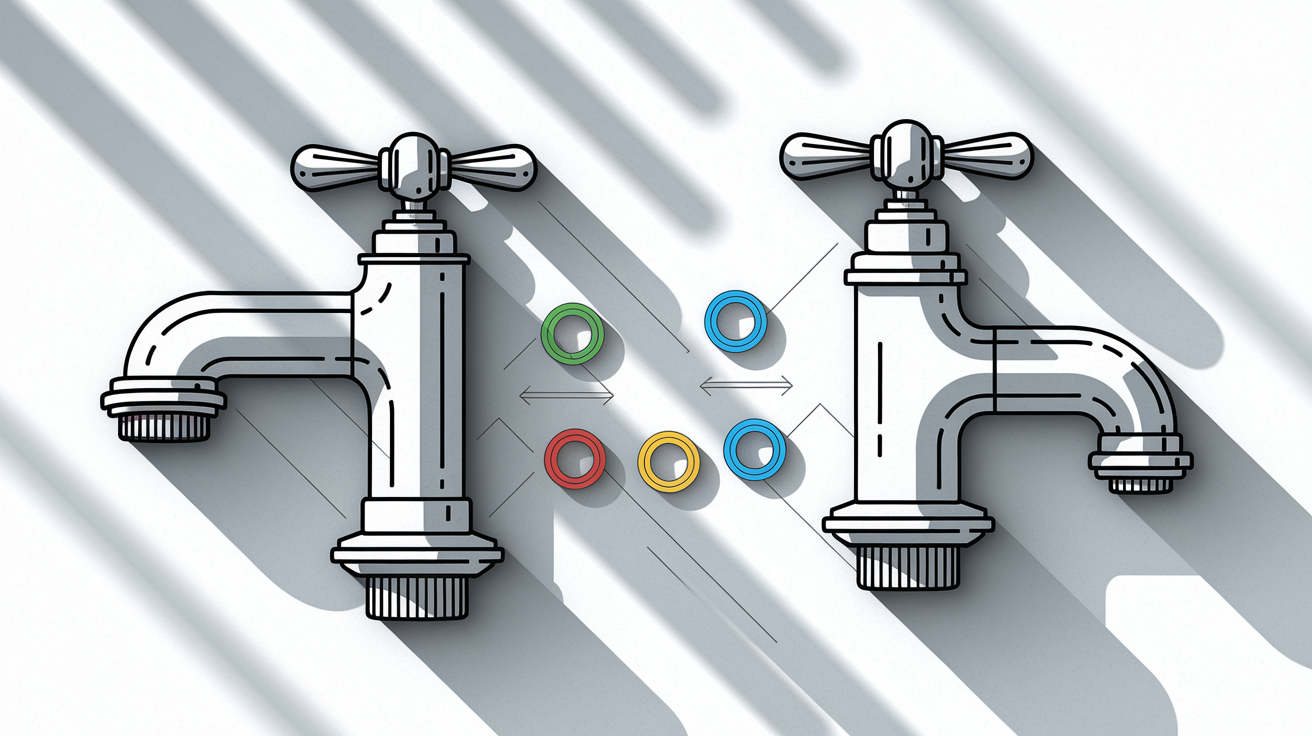
A drip from the spout when the faucet’s off? That almost always means a worn washer, cartridge, or ceramic disk inside the valve body. In compression faucets, the kind with separate hot and cold handles that you turn multiple times, a bad rubber washer or O-ring at the end of the valve stem is usually the problem. Single-handle faucets use a cartridge, ball, or ceramic disk valve. A drip from the spout tells you that the cartridge seals or the disk itself has worn out.
If water leaks around the base of the handle when you turn the faucet on, the problem’s higher up in the assembly. Look for a loose packing nut just under the handle or a dried out packing gasket that seals the valve stem. Sometimes you can tighten the packing nut with an adjustable wrench and stop the leak right there. But if water pools at the base of the faucet where it meets the sink, the O-rings that seal the faucet body are worn or the mounting nuts underneath have come loose. Base leaks often mean you’ll need to pull the entire faucet up to reach the O-rings or retighten the mounting hardware from below.
Write down or photograph which handle is leaking if you’ve got a two-handle faucet. You only need to disassemble the side that’s dripping. For single-handle models, note whether the drip happens with the handle in the off position, the hot position, or the cold position. That detail helps you pinpoint which internal seal or valve component has failed.
Spout drip when off means bad washer, cartridge, or ceramic disk. Handle base leak when running points to loose or worn packing nut or gasket. Pooling at faucet base suggests worn body O-rings or loose mounting nuts. Two-handle compression faucets? Only the dripping side needs repair.
Final Words
Shut the water, open the faucet to drain, and plug the sink — those first moves stop the mess fast. Take a quick photo and note whether the drop comes from the handle, spout, or base.
Use the drip location to guide the fix: simple parts swaps for a spout leak, packing or cartridge checks at the handle, or tighter connections at the base.
Follow these clear steps and you’ll know how to fix a dripping faucet or when it’s smarter to call a pro. You can do this.
FAQ
Q: How do you stop a faucet from dripping?
A: To stop a faucet from dripping, shut off the faucet’s water supply, open the tap to drain lines, plug the sink, then tighten loose parts or replace a worn washer or cartridge for a lasting fix.
Q: What is the most common cause of a dripping faucet?
A: The most common cause of a dripping faucet is a worn rubber washer or O-ring that no longer seals, with cartridge or valve-seat wear also common in modern faucets.
Q: Can I fix a leaky faucet without replacing it?
A: You can sometimes fix a leaky faucet without replacing it by tightening fittings, changing a washer or O-ring, or cleaning cartridge parts; replace the faucet if the valve or body is badly corroded.
Q: Why is my faucet leaking when turned off?
A: A faucet leaks when turned off because a worn washer, damaged cartridge, or debris prevents the valve from sealing; corrosion or a bad valve seat can also let water seep through.