

You don’t have to rip up your floor to stop that creak.
From the basement or crawl space you can usually silence a squeak with screws, construction adhesive, or shims, no finish-floor removal required.
In this guide we’ll show how to pinpoint the noisy spot, pick the right fix, and install screws or adhesive so the movement stops and the floor stays flat.
Most single-spot repairs take under an hour, cost under $60, and keep your finished floor intact.
If you see rot or big sagging, that’s the time to call a pro.
Immediate Methods to Fix Squeaky Floors From Below

Squeaky floors happen when the subfloor moves against the floor joists underneath. Every time you step on a loose spot, wood rubs against wood or metal fasteners shift. That familiar creak? It’s friction in action. Most squeaks come from loose nails, gaps between the subfloor and joists, or tongue and groove seams that have separated over time.
The fastest fixes from below use screws, construction adhesive, or shims to stop that movement. Screws pull the subfloor tight against the joists. Adhesive fills friction points. Shims close small gaps that let boards flex. These methods work in most basements or crawl spaces, and you don’t have to tear up the finished flooring above.
If you’ve got access from below, you can usually silence a squeak in under an hour per problem area. The key is identifying the exact spot where movement occurs and securing it properly.
Five step fix from below:
- Have a helper walk across the squeaky area while you listen from the basement or crawl space.
- Mark the location with tape or chalk on the subfloor above your head.
- Locate the nearest joist and drive 2½” to 3″ wood screws up through the joist into the subfloor, spacing them 6″ to 8″ apart.
- Apply a bead of construction adhesive along the joist if you see or feel a gap between the joist and subfloor.
- Insert thin plastic or wood shims into any voids, trimming the excess after they’re snug.
How to Identify Squeaky Floor Locations From Below
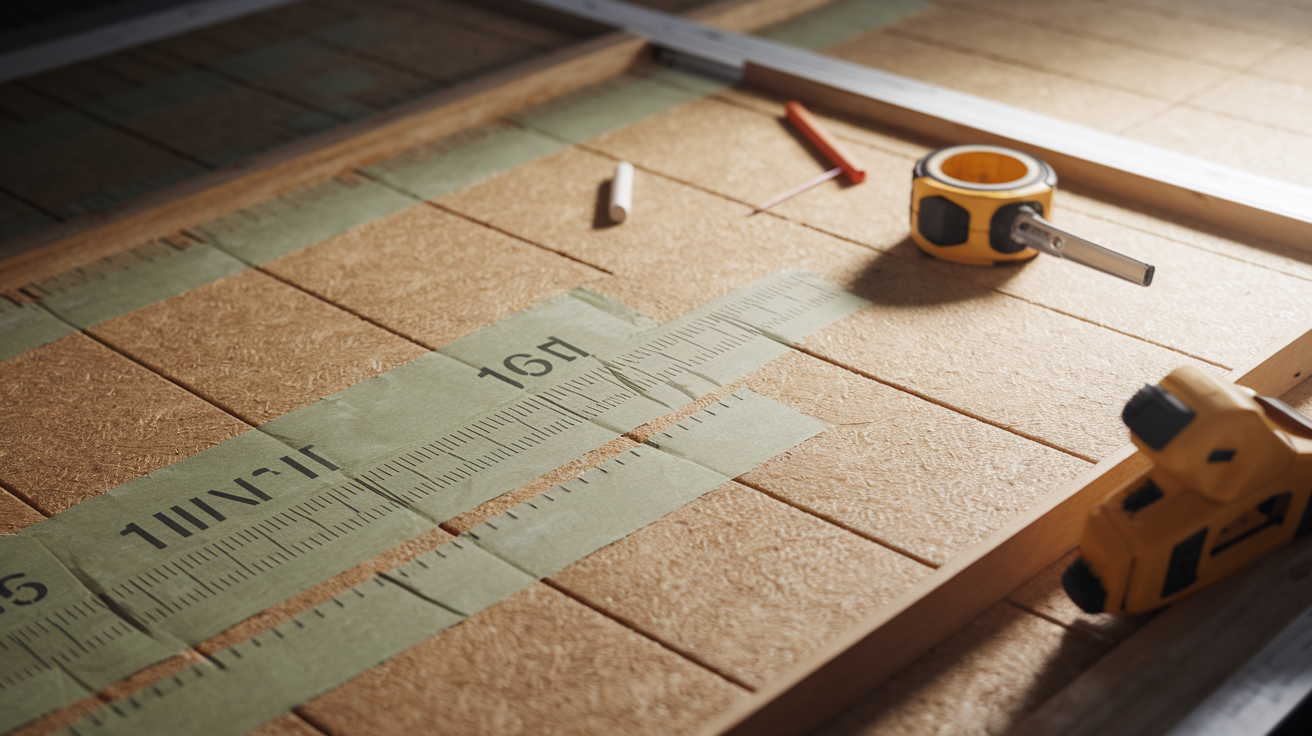
Finding the exact squeak location is the difference between a permanent fix and a missed repair. If you guess and fasten the wrong spot, the squeak keeps coming back. You need to know which joist the movement is happening on and where along that joist the problem sits.
Start with a walk test. Have someone move slowly across the floor above while you watch and listen from below. When you hear the squeak, look for movement in the subfloor. Sometimes you’ll actually see it flex. Mark the spot on the subfloor with masking tape or a chalk line. Then measure the distance from two walls so you can map the squeak to the joist layout, which is usually spaced 16 inches on center.
Four steps to pinpoint the squeak:
- Perform a walk test with a helper stepping on the floor above.
- Place masking tape on the floor above at each squeak, then transfer those marks to the subfloor below by measuring from walls.
- Measure from the nearest wall to find the joist center. Joists typically run perpendicular to the floor boards.
- Press upward on the subfloor with your hand or a screwdriver handle to check for movement or gaps.
Securing the Subfloor to Joists Using Screws From Below

Screws are the most reliable way to stop squeaks because they pull the subfloor down tight against the joist and hold it there permanently. Nails can back out over time, especially ring shank nails in older subfloors. Screws stay put. When you drive screws from below, you’re clamping the two layers together so they can’t rub or shift.
Use 2½” to 3″ wood screws, either #8 or #10 gauge. Drive them through the joist into the subfloor above, spacing them every 6″ to 8″ along the squeak area. If you’re working on a tongue and groove seam, place screws on both sides of the seam. For extra clamping power, angle two screws at opposing 45 degree angles. This pulls the joint tighter than straight vertical screws. Pilot holes help if you’re working near the edge of a joist, but modern screws with self tapping points usually don’t need pre drilling in softwood.
Stop turning when the screw head is flush with the bottom of the joist. Don’t over tighten or you’ll crush the subfloor fibers and weaken the hold. If the finished floor above is hardwood or engineered wood, measure the total thickness of subfloor plus finish before you choose screw length. Penetrating the surface above ruins the floor.
| Screw Length | Use Case |
|---|---|
| 2.5″ | Standard subfloor/joist combination |
| 3″ | Thicker subfloor or deeper bite needed |
| #8 | Common wood fastening |
| #10 | Heavier fastening with increased pull |
Fixing Squeaky Floors From Below With Construction Adhesive

Construction adhesive works when you have a gap between the joist and subfloor but the gap is too small or awkward to shim effectively. The adhesive fills the void and bonds the two surfaces, eliminating the friction that causes squeaks. It’s especially useful along long joist runs where screws alone might not reach every trouble spot.
Use a standard caulking gun and a tube of polyurethane or heavy duty construction adhesive. Apply a 1/4″ bead along the top edge of the joist where it meets the subfloor. One 10 to 11 oz tube covers about 15 to 20 linear feet. Press the subfloor up gently as you apply the adhesive if you can reach it safely. This ensures the adhesive fills the gap completely. Let it cure for 24 to 48 hours before putting heavy loads on the floor above.
When and how to use adhesive:
- Use adhesive alone for minor squeaks where screws might split thin joists or when you want a cleaner underside finish.
- Apply the bead in one continuous line. Don’t skip sections or the squeak may return.
- Wait the full cure time listed on the tube. Walking on it early breaks the bond.
- After curing, press up on the subfloor to check that it no longer moves. If it still flexes, add screws for mechanical clamping.
Shim Placement Techniques for Squeaky Floors From Below

Shims fill small voids between the joist and subfloor when the gap is visible but the surfaces aren’t touching. If you can slide a business card or a dime into the gap, a shim will often solve the squeak without screws or adhesive. Composite or plastic shims work better than wood in damp crawl spaces because they won’t rot or swell.
Insert the shim gradually. Start with a thin piece and tap it gently into the gap with your hand or a rubber mallet. Stop when it feels snug. If you force it, you’ll lift the floor above and create a hump or crack the subfloor. Trim any excess that sticks out past the joist using a utility knife. For larger gaps, stack two or three shims rather than jamming in one thick piece.
Coat each shim with a thin layer of construction adhesive before inserting it. This keeps the shim from slipping out and adds a friction reducing layer that helps silence the squeak. Let the adhesive cure before testing the floor.
Using Blocking, Bridging, or Support Blocks to Eliminate Movement

Blocking between joists stops them from twisting or rotating, which can cause subfloor movement even when fasteners are tight. If your joists flex side to side when you press on them from below, blocking will stiffen the entire floor assembly. This is especially common in older homes where blocking was skipped during original construction.
Cut blocks from 2x lumber to fit snugly between each pair of joists. Measure the space carefully. Blocks should be tight enough that you need to tap them into place, but not so tight that they bow the joists. Install blocks in a staggered pattern if you’re doing a full room, or place them directly under squeak locations for targeted repairs. Fasten each block with two or three screws on each end, driven at an angle through the block into the joist.
Four steps to install blocking:
- Measure the distance between joists at the squeak location, typically 14.5″ for joists on 16″ centers.
- Cut 2x blocks to length, allowing 1/8″ for a snug fit without forcing.
- Pre fit each block and adjust length if needed. Blocks that are too long will push joists out of alignment.
- Fasten blocks with 3″ screws driven at an angle, or use construction adhesive plus a single screw to hold the block while the adhesive cures.
When Squeaky Floors Indicate a Structural Problem

Most squeaks are cosmetic annoyances. But some signal real structural trouble. If you see a joist sagging more than 1/4″ over its span, or if the subfloor has delaminated, screws and shims won’t solve the underlying issue. Rot, insect damage, or foundation settling can all cause widespread floor movement that no amount of fastening will fix permanently.
Look for soft spots in the subfloor, dark staining on joists, or a musty smell in the crawl space. If you find any of these, stop the DIY repair and call a structural engineer or licensed contractor. Sistering joists, replacing sections of subfloor, or addressing foundation settlement typically costs $1,000 or more depending on the scope. Trying to patch over structural damage can lead to bigger failures down the line.
Three red flags that require a professional:
- Joist deflection greater than 1/4″ when you press up on the subfloor.
- Visible rot, mold, or powdery residue on joists or subfloor.
- Squeaks that return immediately after repair, or widespread squeaking across multiple rooms.
Tools and Materials Needed for Fixing Squeaky Floors From Below

You don’t need a full workshop to fix squeaks from below. An 18 to 20V cordless drill, a box of screws, and a good work light will handle most jobs. If you’re adding adhesive or shims, throw in a caulking gun and a utility knife.
Typical material cost for a single room runs $25 to $60. A 100 count box of 2½” to 3″ wood screws costs $8 to $20, a tube of construction adhesive is $6 to $15, and a pack of 25 to 50 shims runs $3 to $10. If you’re installing blocking, add the cost of a few 8 foot 2x boards. Don’t skip the PPE. Eye protection and a dust mask are non negotiable in a crawl space.
What to have on hand:
- Cordless drill with Phillips or square drive bits
- 2½” to 3″ wood screws, #8 or #10 gauge, box of 100
- 10 to 11 oz tube of polyurethane construction adhesive
- Caulking gun for adhesive application
- Composite or plastic shims, pack of 25 to 50
- Utility knife for trimming shims
- Work light or headlamp (crawl spaces are dark)
- Safety glasses and N95 dust mask
- Knee pads and gloves for comfort
Preventing Squeaky Floors After the Repair

Once you’ve silenced the squeaks, a few simple habits will keep them from coming back. Indoor humidity is the biggest factor. Wood expands when it’s humid and shrinks when it’s dry, and that seasonal movement loosens fasteners over time. Keep your home’s relative humidity between 30% and 50% year round using a dehumidifier in summer and a humidifier in winter if needed.
If you’re installing new subfloor or building an addition, use construction adhesive plus screws during the original installation. A bead of adhesive along each joist before laying the subfloor eliminates 90% of future squeaks. Space screws every 6″ along edges and 8″ in the field, and stagger subfloor seams so they don’t all land on the same joist. Install blocking between joists at mid span to prevent twisting.
Four prevention tips:
- Maintain indoor humidity at 30% to 50% to reduce wood movement.
- Use adhesive plus screws (not nails alone) when installing subfloor.
- Install mid span blocking during construction to stiffen joists.
- Inspect crawl spaces annually for moisture, gaps, or fastener withdrawal.
Final Words
Drive screws where the floor moves, add a bead of adhesive on the joist, and fit shims into small gaps. For bigger movement use blocking or more structural work.
Gather a drill, 2.5 to 3 inch screws, adhesive, shims, a work light and safety gear. Most fixes take a few hours to a day and usually cost under $60 per room. Watch for sagging, rot, or widespread noise. Those need a pro.
This plan shows how to fix squeaky floors from below step by step, so your floor ends up quiet and solid. You’ve got this.
FAQ
Q: Is there anything you can put down on your hardwood floor so it stops creaking like a rug or yoga mat?
A: Putting a rug or yoga mat on a hardwood floor can reduce creaks by muffling sound, but it only masks the problem; the underlying subfloor movement still needs repair to stop squeaks long term.
Q: Is it possible to fix a squeaky floor?
A: Fixing a squeaky floor is usually possible. Most squeaks come from subfloor-to-joist movement and can be stopped by driving screws from below, applying construction adhesive, or inserting shims in gaps.
Q: Why do my floors squeak when I walk on them?
A: Floors squeak when you walk because boards, the subfloor, or fasteners move and rub against joists, often from loose nails, gaps, or seasonal wood movement that creates friction and noise.
Q: When should I be worried about squeaky floors?
A: You should be worried about squeaky floors when you notice sagging more than a quarter inch, widespread or new squeaks, visible rot, or subfloor delamination—these signs often need a professional structural check.