

Think a faucet drip is no big deal?
That constant tick wastes water, raises your bill, and points to a small part that’s worn, usually a washer, O-ring, or cartridge.
You don’t need a plumber for most leaks; many people stop them in under an hour with simple tools and a replacement part.
This guide shows what to shut off first, how to ID your faucet, which parts to check, and the step by step fixes to stop the drip and save money fast.
Immediate Steps to Stop a Leak and Begin Your Bathroom Faucet Fix
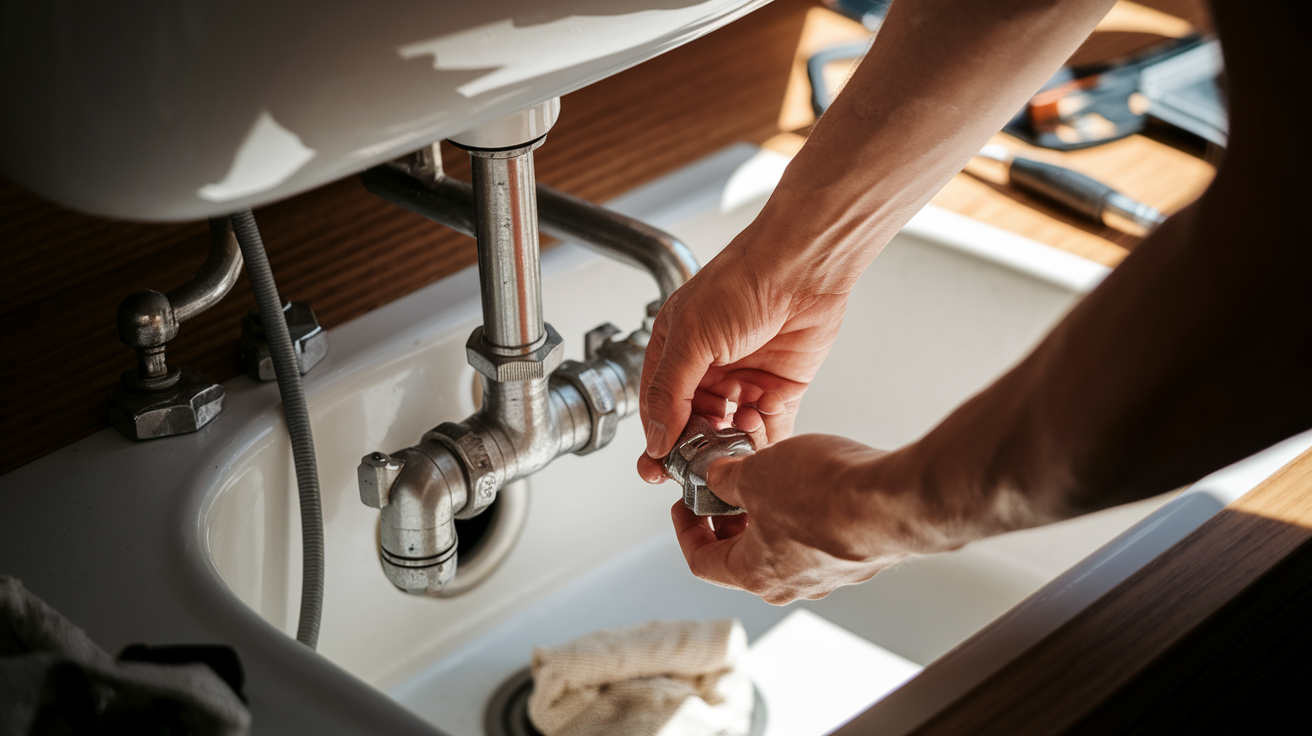
A faucet dripping every few seconds isn’t just annoying. It’s wasting water, pushing your bill up, and telling you something inside has worn out. Most leaks start with a failed rubber washer, a shot O-ring, or a cartridge that’s done. The good news? You can stop it yourself in under an hour if you know what to tackle first.
Your first job is shutting off the water so you can work without flooding anything. Find the two small valves under your sink (one hot, one cold) and turn both clockwise until they won’t go anymore. If they’re stuck or missing, head to your home’s main shutoff and close it there. Once water’s off, open the faucet to drain whatever’s left in the lines. Stuff a rag or sink plug into the drain so tiny screws, O-rings, and washers don’t vanish down the pipe.
Here’s your prep checklist before touching anything:
- Turn both under-sink supply valves clockwise until fully closed. Handles stuck? Spray them with penetrating oil (WD-40 works) and wait five minutes before trying again.
- Open the faucet fully to drain residual water. You’ll hear air hiss as pressure releases.
- Plug the drain with a rag or rubber stopper. Small parts drop fast and disappear faster.
- Grab your tools: adjustable wrench, Phillips and flathead screwdrivers, Allen keys, pliers, plumber’s grease, and replacement parts (washers, O-rings, or cartridge).
- Look at where the leak’s happening. Water dripping from the spout means worn internal parts. Water pooling around the handle or base means O-rings or packing nuts need attention.
- Turn off any under-sink lighting. If you’re working in tight quarters, you don’t want a surprise shock from a wet hand.
If tightening the shutoff valves doesn’t stop water from seeping through, the valve itself may have failed. You’ll need to replace the supply line or call a plumber to handle the valve.
How to Identify Your Bathroom Faucet Type Before Repair
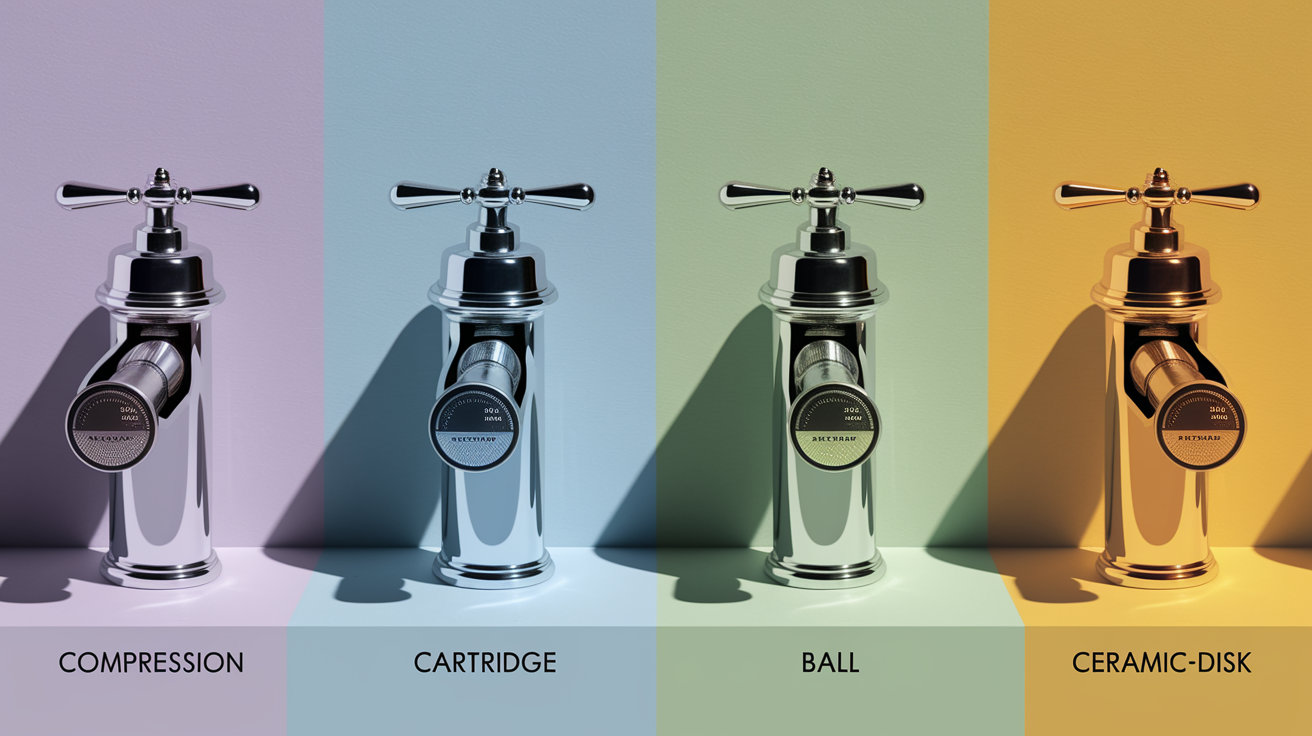
Not all faucets work the same way inside, so knowing your type before you start pulling things apart saves you from buying wrong parts or getting halfway through and realizing you’re missing a tool. There are four common bathroom faucet types, and each one has a different internal design that affects how you fix it.
Compression faucets are the oldest and simplest. If your sink has two separate handles (one hot, one cold) and you twist them several full turns to stop flow, you’ve got a compression faucet. Inside, a threaded stem moves up and down to press a rubber washer against a valve seat. These are easy to repair but wear out faster because the washer gets squeezed every time you turn the handle.
Here’s how to identify the other three at a glance:
Cartridge faucet: Single lever or two handles with smooth, short movement. Inside is a hollow cartridge that slides up and rotates to control temperature and flow. Common in mid-range and higher-end faucets.
Ball faucet: Single lever with a rounded dome or ball-shaped housing just below the handle. The ball has openings that align with inlet ports to mix hot and cold water. You’ll usually see these in Delta and Peerless faucets.
Ceramic-disk faucet: Single wide lever with very smooth, controlled movement. Inside are one or two ceramic cylinders that rotate against each other. These are the most durable but also the priciest to replace when they fail.
If you’re not sure, remove the handle (we’ll cover that next) and look at the part that lifts out. A threaded metal stem with a washer on the end means compression. A plastic or brass cylinder means cartridge. A ball with holes means ball-type. Two flat ceramic discs stacked together mean ceramic-disk.
Tools and Materials Needed to Fix a Leaky Bathroom Faucet
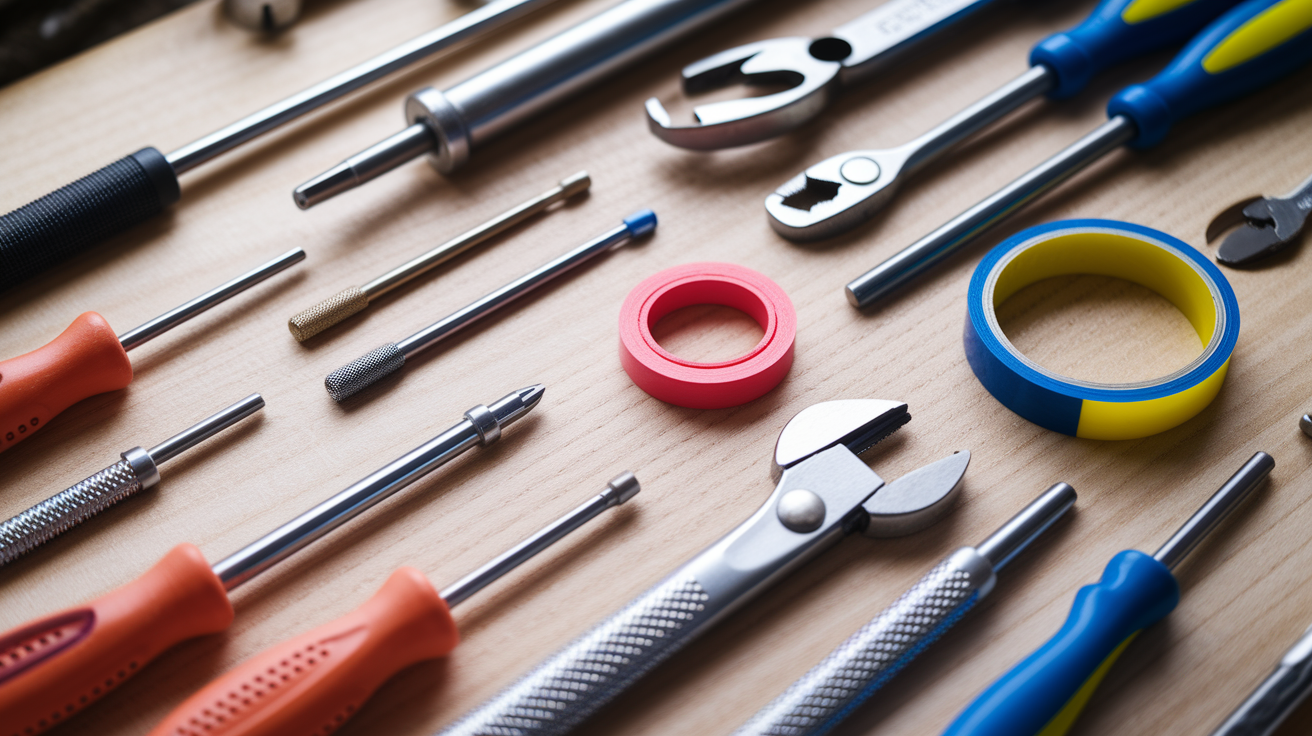
You don’t need a full plumber’s truck to stop a faucet leak, but you do need a few basic hand tools and the right replacement parts. Most repairs require items you already own or can pick up at any hardware store for under $40 total.
Here’s what to have ready before starting:
Adjustable wrench (8- or 10-inch) – for removing packing nuts and retaining nuts without rounding them off
Phillips and flathead screwdrivers – handle screws vary by brand
Allen key set (hex keys) – many modern faucet handles hide an Allen screw under the lever
Needle-nose pliers – for pulling retaining clips and lifting small O-rings
Basin wrench (optional but helpful) – makes reaching under-sink mounting nuts much easier
Plumber’s grease (silicone-based, $5–$10) – keeps O-rings sealed and prevents squeaking
Plumber’s tape (PTFE tape, $2–$5) – wraps threaded connections to prevent leaks
Penetrating oil (WD-40 or equivalent) – loosens stuck screws and corroded parts
Replacement washers ($2–$6 per pack) – buy an assortment pack or bring your old washer to match size and bevel
Replacement O-rings ($3–$10 per pack) – common sizes are included in universal faucet repair kits
Replacement cartridge, ball kit, or ceramic-disk assembly ($10–$80) – must match your faucet brand and model; bring your old part to the store or check the manufacturer’s website for the part number
If you’re not sure what’s causing the leak yet, grab a universal faucet repair kit ($8–$15) that includes washers, O-rings, screws, and a small tube of grease. It’s cheaper than buying parts separately and covers most compression and cartridge repairs.
Compression Faucet Leak Repair Guide (Washer and O‑Ring Fix)
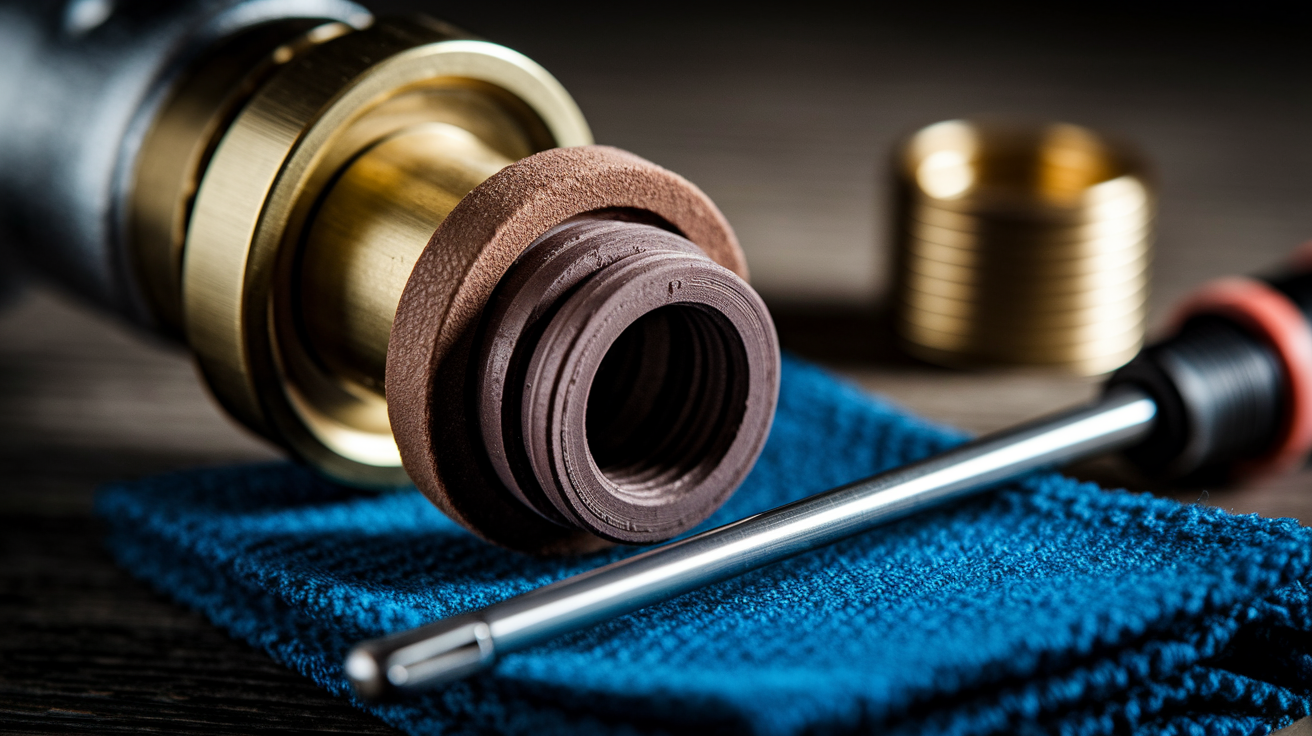
Compression faucets are the easiest to repair because they use simple parts. A threaded stem, a rubber washer, and an O-ring or two. When the washer wears out or the O-ring cracks, water leaks past the valve seat and drips from the spout. If you have two separate handles and they require several full turns to shut off, you’re working on a compression faucet.
Step-by-Step Compression Faucet Repair
- Remove the handle. Look for a small screw on top or at the back of the handle. Don’t see one? Pry off the decorative cap (marked H or C) with a flathead screwdriver. There’s usually a screw hiding underneath. Screw stuck? Spray it with penetrating oil and wait five minutes.
- Loosen and remove the packing nut. Use an adjustable wrench or slip-joint pliers to turn the large hexagonal nut counterclockwise. Wrap the nut with a rag first if you want to avoid scratching the chrome finish.
- Unscrew the stem. Turn it the same direction you’d turn the faucet on (counterclockwise for most models) and lift it straight out. Some stems are long. Keep turning until it’s free.
- Inspect the bottom of the stem. You’ll see a flat or beveled rubber washer held in place by a small brass screw. If the washer’s cracked, flattened, or has chunks missing, that’s your leak.
- Remove the screw and old washer. Use a flathead screwdriver. Won’t turn? Add a drop of penetrating oil and wait.
- Match the replacement washer exactly. Beveled washers and flat washers aren’t interchangeable. Some washers are cold-water only. If you install a cold-water washer on the hot side, it’ll swell and restrict flow. Check the package or ask at the hardware store.
- Fasten the new washer to the stem. Tighten the screw snugly but don’t overtighten. You’ll crack the washer.
- Check the O-ring on the stem body. If it’s cracked or flat, roll it off and slide a new one on. Coat it lightly with plumber’s grease so it seals smoothly.
- Reinstall the stem by turning it clockwise until it seats fully, then replace the packing nut and tighten it carefully with your wrench.
- Reattach the handle, turn the water back on slowly, and test. Let the faucet run for 30 seconds, then shut it off and watch the spout for drips.
| Part | When to Replace |
|---|---|
| Washer | Cracked, flattened, or visibly worn; drip from spout |
| O-ring | Cracked, dry, or leaking around handle base |
| Seat washer | Persistent drip after replacing main washer |
| Packing nut | Leak around handle; tightening doesn’t help |
If the drip continues after replacing the washer and O-ring, the valve seat inside the faucet body is likely corroded or pitted. You can resurface it with a valve-seat wrench or replace the entire seat, but at that point many people choose to replace the whole faucet.
Cartridge Faucet Leak Repair Guide (Cartridge Replacement Method)

Cartridge faucets are common in single-lever bathroom sinks and some two-handle designs. Inside the faucet body is a hollow cartridge (plastic or brass) that slides up to increase flow and rotates to adjust temperature. When the cartridge’s internal seals wear out, water drips from the spout even when the handle’s off. Replacing the cartridge stops the leak and restores smooth operation.
Cartridge Replacement Steps
- Remove the decorative cap or cover plate. Most cartridge faucets hide the mounting screw under a small cap on top of the handle. Pry it off gently with a flathead screwdriver or your fingernail.
- Loosen the handle screw. This is usually an Allen screw (hex) or a small Phillips screw. Turn counterclockwise and lift the handle straight off.
- Remove the retaining nut or clip. Some cartridges are held by a large threaded nut; others use a metal U-clip or retaining ring. Use pliers or an adjustable wrench to remove it.
- Pull the cartridge straight up. Grip it with pliers if needed. Don’t twist. Cartridges only come out one way. If it’s stuck, wiggle gently side to side as you pull.
- Note the cartridge orientation. Cartridges have a flat side, a notch, or a tab that aligns with the faucet body. Take a photo or mark the front before you remove it so you install the new one the same way.
- Inspect the O-rings at the base of the cartridge. If they’re cracked or worn, replace them even if you’re installing a new cartridge. Coat new O-rings with plumber’s grease.
- Insert the new cartridge. Line up the flat side or tab, press down firmly, and you should feel or hear a small click when it seats correctly. Doesn’t fit? Rotate it 180 degrees and try again.
- Reinstall the retaining nut or clip, handle, and cap. Turn the water back on slowly and test. Open and close the handle a few times to make sure temperature control works smoothly.
Cartridges are brand-specific. Delta cartridges don’t fit Moen faucets, and vice versa. Bring your old cartridge to the hardware store or look up your faucet model online to find the correct replacement part number. Generic cartridges exist but rarely fit correctly or last as long as OEM parts.
Ball Faucet Leak Repair Guide (Ball, Springs, and Seats)
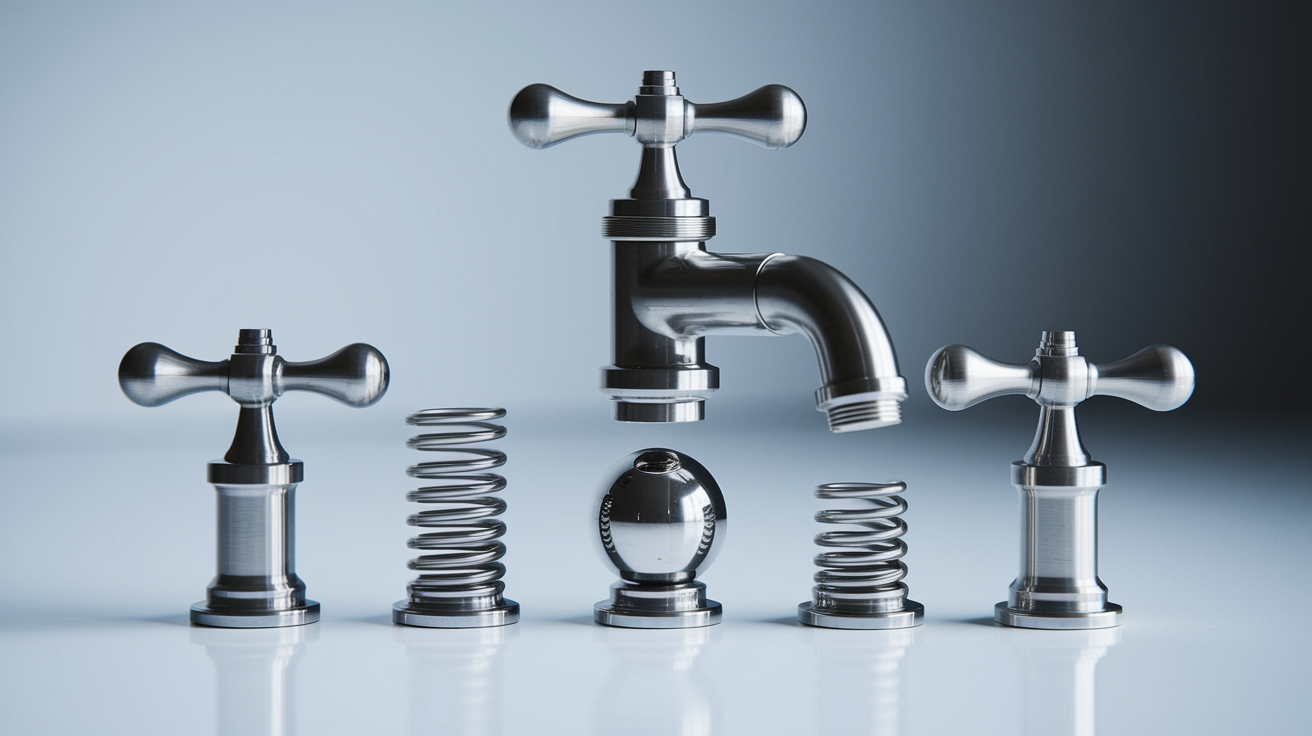
Ball faucets are single-lever designs that use a rotating ball with inlet holes to control water flow and temperature. They’re reliable, but they have more small parts than other faucet types. Springs, rubber seats, O-rings, a cam, and the ball itself. So repairs take a bit more patience. Most leaks come from worn springs or seats, but if the ball’s scratched or corroded, you’ll need to replace that too. Ball-style repair kits ($15–$40) include all the common wear parts and are much easier than hunting down individual pieces.
Before you start, know that ball faucets require careful reassembly. Parts must align correctly or the handle will bind and water will leak from multiple spots. If you’ve never done this repair before, take a photo at each step so you remember how things go back together.
- Loosen the set screw on the handle with an Allen key and lift the handle off.
- Unscrew the cap (the dome-shaped piece under the handle) by hand or with adjustable pliers. Wrap it with a rag to avoid scratches.
- Lift out the cam, cam washer, and rotating ball. The cam is a plastic disk with a tab; the ball sits below it. Note the position of the cam tab. It must align with a notch in the faucet body when you reassemble.
- Remove the rubber seats and springs from inside the faucet body. Use needle-nose pliers or a pencil tip to lift them out. There are two seats and two springs, one for hot and one for cold.
- Inspect the ball. Look for scratches, pitting, or rough spots. If the surface isn’t smooth, replace the ball (included in most kits).
- Install new seats and springs. Drop a spring into each inlet hole, then press a rubber seat on top. The narrow end of the spring goes in first.
- Check the O-rings on the faucet body. If they’re cracked or flattened, roll them off and replace. Coat new O-rings with plumber’s grease.
- Reassemble the ball, cam washer, and cam. The ball’s slot must align with a pin inside the faucet body. The cam tab must fit into the notch on the body. If they’re misaligned, the handle won’t move smoothly.
- Screw the cap back on by hand until snug, then tighten gently with pliers. Don’t crank it down. Over-tightening will crack the cam.
- Reinstall the handle, turn the water on, and test. Move the handle through its full range to check for smooth operation and leaks at the base.
Ball faucets can drip from the spout or leak around the base. If you still see water after replacing seats, springs, and O-rings, the ball itself is worn or the cap needs to be tightened slightly. If tightening the cap stops the leak but makes the handle stiff, back it off a quarter turn.
Ceramic‑Disk Faucet Leak Repair Guide (Disk Cylinder Replacement)
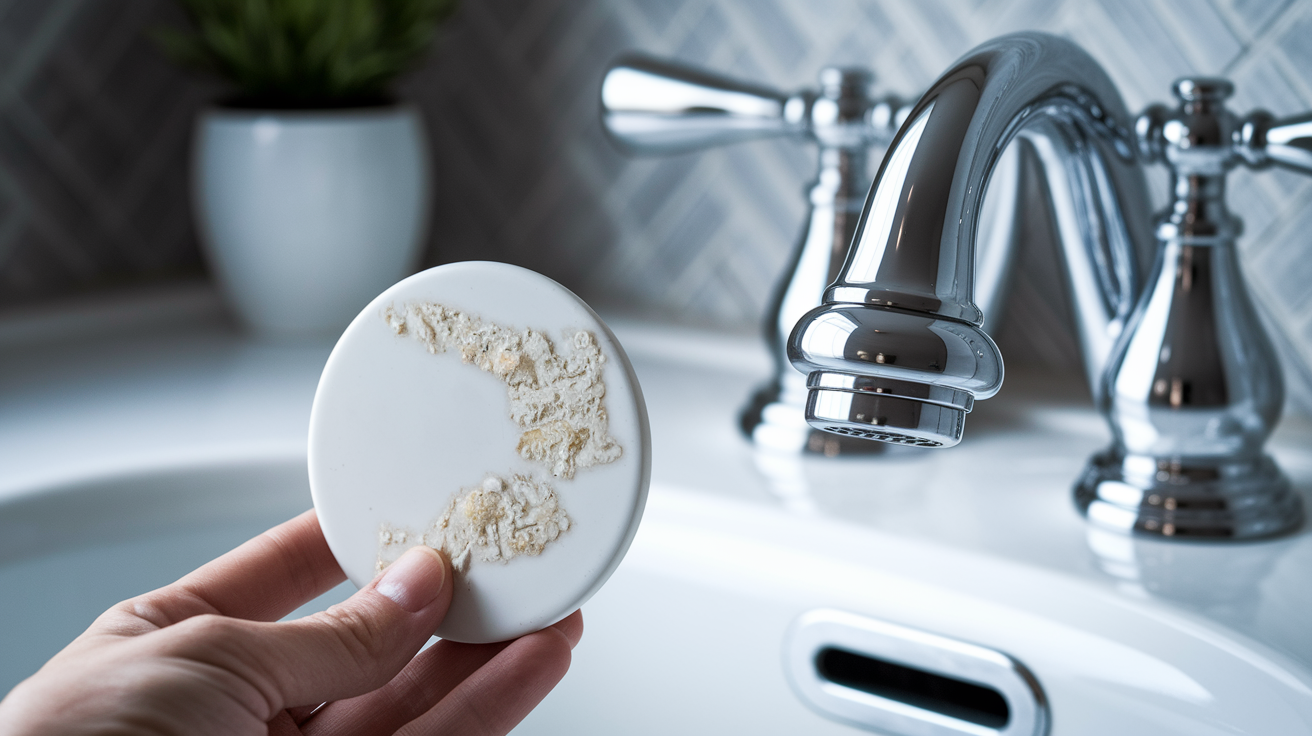
Ceramic-disk faucets are the most durable design. Two polished ceramic cylinders rotate against each other to control flow with almost no friction. They last for years, but when they do fail, you’ll see a steady drip that doesn’t respond to tighter handle closure. Ceramic disks rarely wear out on their own; most failures come from grit or mineral deposits scratching the polished surface or from a sudden pressure spike cracking the ceramic. Replacement disk assemblies cost $20–$80 depending on brand, but the repair itself is straightforward.
Ceramic Disk Replacement Steps
- Remove the handle. Look for a set screw on the underside or back of the lever. Loosen it with an Allen key and lift the handle off.
- Unscrew the cap or escutcheon (the decorative piece covering the disk assembly). Some twist off by hand; others require a wrench.
- Remove the disk cylinder mounting screws. There are usually two or three Phillips screws holding the cylinder in place. Keep them in a safe spot.
- Lift the disk cylinder straight up. If your faucet has two separate disks, note their order and orientation before removing them.
- Inspect the ceramic surfaces. Smooth, glossy surfaces are healthy. If you see scratches, chips, or white mineral buildup that won’t wipe off, replace the disk assembly.
- Clean the inlet ports and valve seat inside the faucet body with a damp cloth and a little white vinegar to dissolve mineral deposits. Rinse thoroughly.
- Install the new disk cylinder. Align the inlet holes with the ports in the faucet body and press down gently. The disk should sit flat. If it rocks, check for debris underneath.
- Reinstall the mounting screws, cap, and handle. Turn the water on slowly and test. Ceramic-disk faucets should move smoothly with no grinding or stiffness.
If the leak continues after replacing the disk assembly, check the rubber inlet seals on the underside of the cylinder. They can crack or flatten over time. Coat new seals with a thin layer of plumber’s grease before installing the disk.
Cleaning and Restoring Internal Faucet Parts Before Reassembly
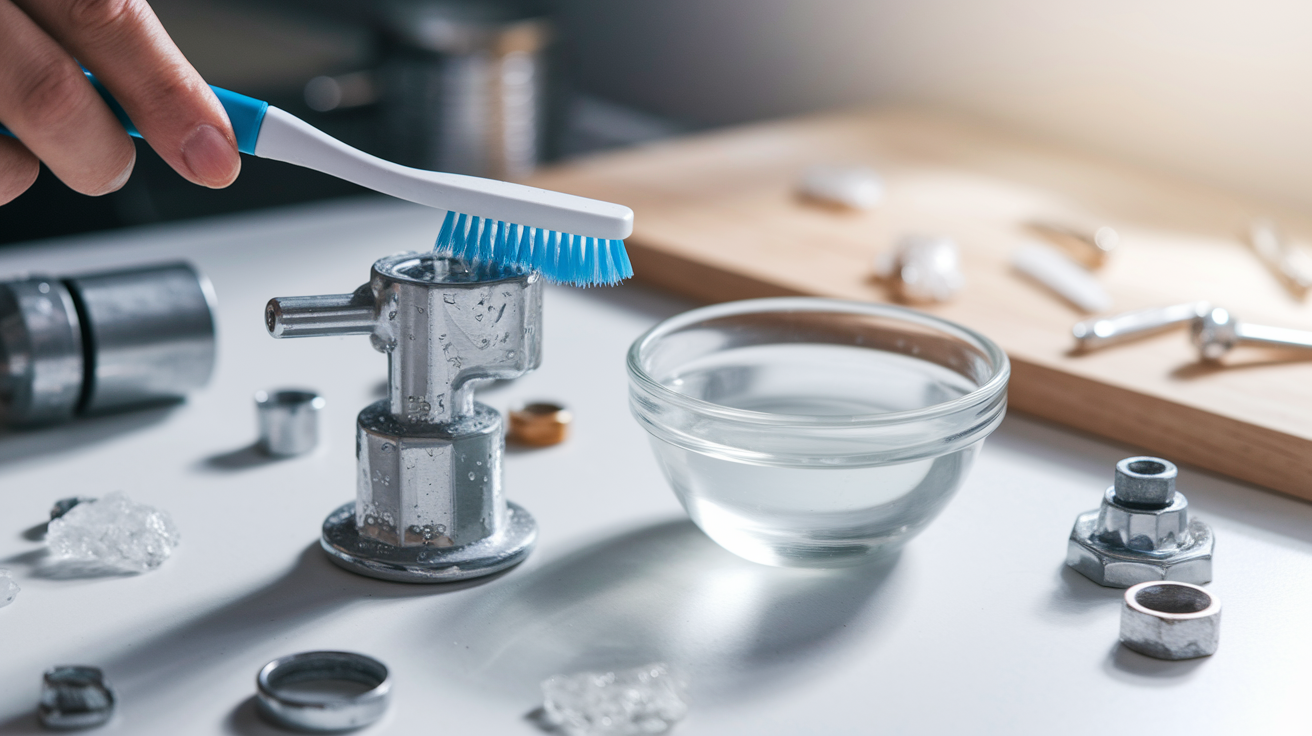
Even if your replacement parts are perfect, a faucet full of mineral buildup, old grease, and grit won’t seal correctly. Before you put everything back together, take five minutes to clean the valve seat, faucet body, and small parts. This simple step prevents leaks from reappearing in a few weeks and makes your new washers and O-rings last longer.
Mineral deposits from hard water are the most common problem. They look like white or orange crust inside the faucet body, on the valve seat, and around inlet ports. You can scrub light buildup with an old toothbrush and white vinegar, but if the deposits are thick, soak the parts in a bowl of vinegar for 20–30 minutes, then scrub and rinse. Don’t use steel wool or abrasive cleaners. They’ll scratch brass and chrome and make future buildup worse.
Here’s what to clean and check before reassembly:
Valve seat: Scrub with a small brush or wrap a rag around your finger and rotate it inside the seat. If the seat’s pitted or rough, replace it with a valve-seat wrench or call a plumber.
Aerator: Unscrew the tip of the spout, disassemble the aerator screen, rinse it under water, and soak in vinegar if clogged. A clean aerator takes 5 minutes and often fixes low pressure.
Cartridge or stem body: Wipe down the outside with a damp rag. If you’re reusing a cartridge (not recommended, but possible), rinse the inside ports with water.
O-rings and seals: Never reuse old O-rings. Always coat new ones with plumber’s grease. It prevents tearing during installation and keeps them sealed.
Threaded connections: Wrap fresh plumber’s tape (2–3 turns clockwise) around any threaded parts you disconnected, like supply-line connections or mounting nuts.
If your faucet parts were covered in black gunk or thick grease, clean them thoroughly but don’t remove factory lubricant from inside sealed cartridges. Only add new plumber’s grease to O-rings and moving metal parts.
Fixing Leaks at the Faucet Base or Under the Sink
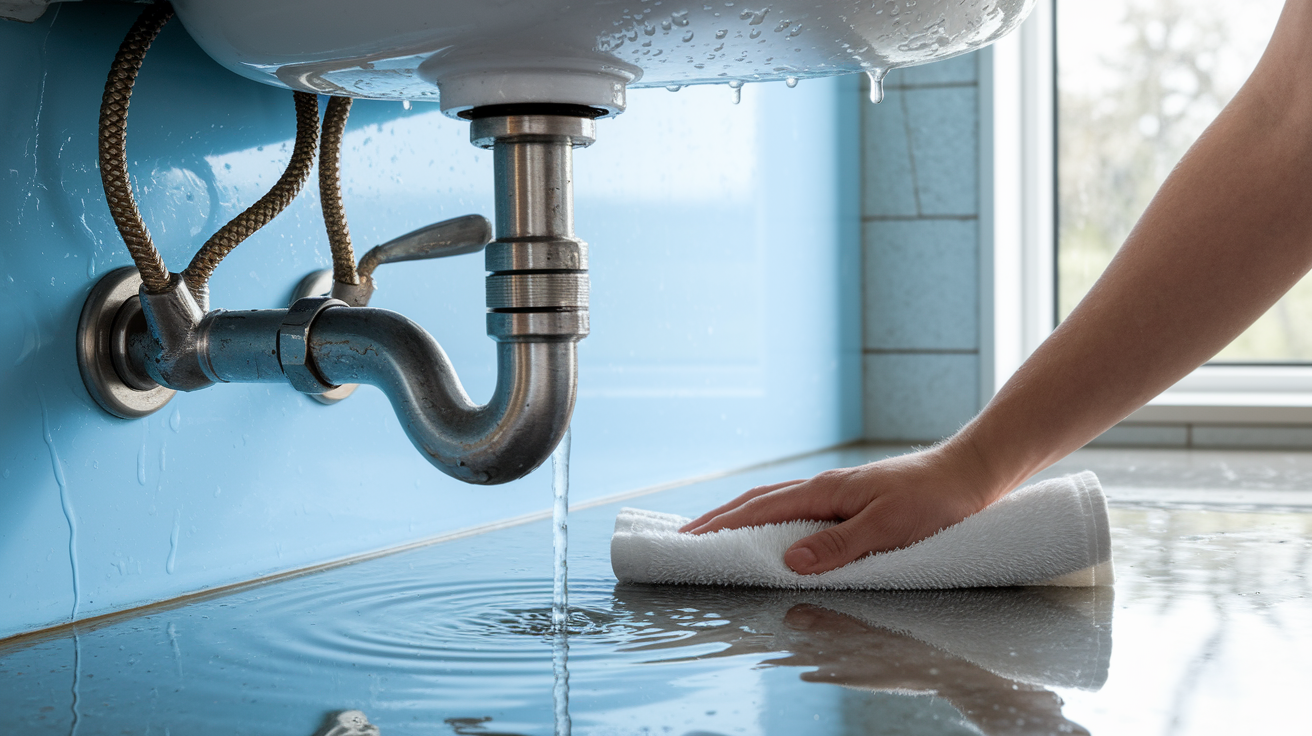
Not every leak drips from the spout. If you see water pooling around the base of the faucet or puddling inside the cabinet under the sink, the problem’s usually a worn O-ring on the faucet body or a loose connection on the supply lines. These leaks waste just as much water but are easier to miss because they don’t drip into the sink. You only notice them when you see water damage or smell mildew.
A leak at the faucet base (where the spout meets the sink deck) almost always means the O-rings on the faucet body have dried out or cracked. The fix is the same as any other O-ring replacement: shut off the water, remove the faucet spout or body, replace the O-rings, coat them with plumber’s grease, and reassemble. If your faucet has a pull-out spray head, check the hose connection under the sink. Those O-rings fail frequently.
Under-sink leaks are different. They usually come from loose compression nuts on the supply lines (the flexible hoses connecting the shutoff valves to the faucet) or from corroded braided hoses that have started to weep. Here’s how to fix them:
- Tighten the compression nuts at both ends of each supply line. Use an adjustable wrench and turn clockwise. Don’t overtighten. You’ll crack the ferrule.
- Check for wetness after tightening. If the leak stops, you’re done. If it continues, the supply line itself has failed.
- Shut off the water and disconnect the supply line. Unscrew the nut at the shutoff valve and the nut at the faucet shank.
- Inspect the old supply line. If the braided covering is swollen, the rubber hose inside has cracked. Replace both lines ($8–$30 each) even if only one’s leaking.
- Install new supply lines. Wrap the threads on the shutoff valve with plumber’s tape, connect the new line, and tighten by hand plus one turn with a wrench. Repeat at the faucet shank.
- Turn the water on slowly and check for drips. Watch both connections for 60 seconds. If you see water, tighten another quarter turn and recheck.
If you see water leaking from the shutoff valve handle or body (not the supply-line connection), the valve’s packing nut or stem seal has failed. You can try tightening the packing nut (the large nut just below the handle), but if that doesn’t work, you’ll need to replace the valve or call a plumber.
How to Reassemble, Turn Water Back On, and Test for Leaks
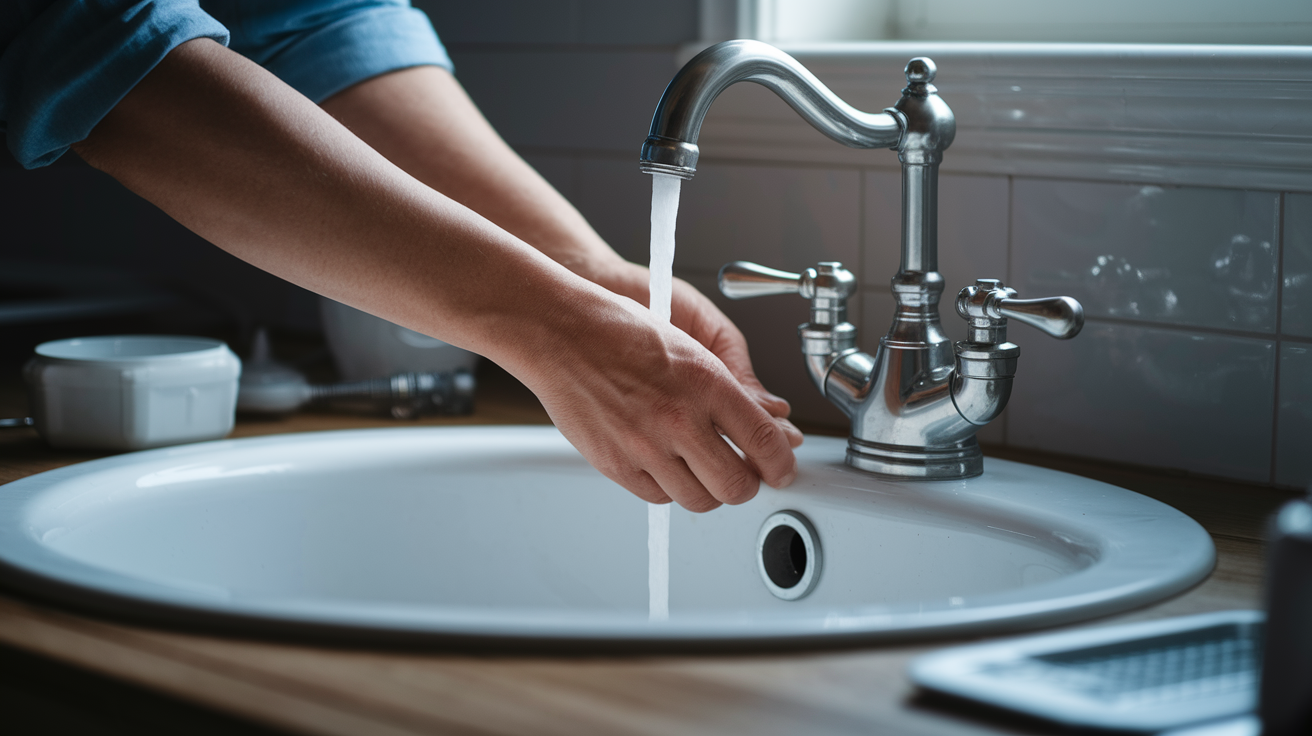
You’ve replaced the worn parts, cleaned everything, and put the faucet back together. Now it’s time to turn the water on and make sure the repair actually worked. Rushing this step is how you end up with water spraying across the bathroom or a drip that’s worse than before. Take it slow, check each connection, and give the system a few minutes to stabilize before you call the job done.
Start by double-checking that all screws, nuts, and clips are tight but not over-tightened. If you forced anything during reassembly, back it off slightly. Cracked cartridges and stripped threads are common mistakes when people crank down too hard. Make sure the handle moves smoothly before you turn the water on. If it binds or feels gritty, something’s misaligned.
- Turn on the under-sink supply valves slowly. Open each valve a quarter turn, wait five seconds, then open another quarter turn. Listen for hissing or spraying sounds.
- Check under the sink for leaks at the supply-line connections and shutoff valves. Run your hand along each connection. If it’s wet, tighten the nut another quarter turn.
- Open the faucet and let water run for 2–3 minutes. This flushes out any debris, air pockets, or loose particles left over from the repair. You may see sputtering or discolored water at first. That’s normal.
- Close the faucet completely and watch the spout for 60 seconds. No drips means success. If you see a slow drip starting, wait another minute. Some faucets take a moment to settle after the first use.
- Check the base of the faucet and under the sink one more time. Wipe everything dry, wait 10 minutes, then check again. A leak that starts slowly can become a steady drip once pressure builds.
If the faucet drips immediately after you close it, something isn’t seated correctly. Most likely the cartridge, ball, or seat washer. Shut the water off, disassemble, and check that all parts are aligned and that O-rings aren’t pinched or twisted.
Troubleshooting Persistent Faucet Leaks After Repair
You’ve followed the steps, replaced the parts, and reassembled carefully. But the faucet still drips. Persistent leaks after a DIY repair usually mean one of three things: the replacement part doesn’t match the original exactly, something deeper inside the faucet has failed, or hard water and corrosion have damaged the valve seat or faucet body. Before you give up and call a plumber, check these common causes.
A mismatched washer or O-ring is the easiest fix. If your new washer’s even slightly too small, too thick, or the wrong shape (flat instead of beveled), it won’t seal against the valve seat. Go back to the hardware store with your old parts and compare them side by side with the replacements. If the leak started immediately after reassembly, this is almost always the problem.
Here are five reasons a faucet keeps leaking even after repair:
Corroded or pitted valve seat. The valve seat is the metal ring inside the faucet body that the washer presses against. If it’s rough, pitted, or coated with mineral deposits, even a new washer won’t seal. You can resurface the seat with a valve-seat grinder ($10–$20) or replace it with a seat wrench.
Misaligned cartridge or ball. Cartridges and ball assemblies only fit one way. If the alignment notch or tab isn’t seated correctly, water will bypass the seals. Remove the cartridge or ball, clean the faucet body, and reinstall with careful attention to the alignment markers.
Wrong cartridge or generic replacement. Not all cartridges are universal. A “fits most brands” cartridge often leaks or binds. Always use the OEM (original equipment manufacturer) part number for your faucet brand.
Cracked faucet body or worn threads. If you see visible cracks in the brass or plastic faucet body, or if threaded parts strip easily, the faucet’s beyond repair. Replacement is the only option.
Failed shutoff valve or supply-line leak mistaken for a faucet leak. If water pools under the sink or drips from the valve handle, the problem isn’t inside the faucet. Tighten or replace the shutoff valve and supply lines first, then retest the faucet.
Hard water accelerates wear on all faucet types. If your water has high mineral content, you may need to replace washers, O-rings, and cartridges more often than the typical 5–7 year lifespan. Installing a whole-house water softener or point-of-use filter can extend faucet life significantly.
When to Replace Your Faucet Instead of Repairing It
Sometimes a leaky faucet isn’t worth fixing. If you’ve replaced the cartridge, O-rings, and washers but the drip won’t stop, or if the repair cost and time exceed the price of a new faucet, replacement makes more sense. Modern faucets are more efficient, easier to maintain, and come with warranties that cover parts for 5–10 years. Knowing when to cut your losses saves you time, money, and frustration.
| Option | Typical Cost | When It Makes Sense |
|---|---|---|
| DIY repair | $2–$80 parts | Single failed part (washer, O-ring, cartridge); faucet body in good condition; leak stops after first repair attempt |
| Professional repair | $150–$350+ labor + parts | Difficult access; specialized tools required; valve-seat replacement; multiple leaks; shutoff valve issues |
| Full faucet replacement | $80–$400 faucet + $100–$250 install | Cracked faucet body; corrosion throughout; repeated failures; parts no longer available; outdated design; want upgraded features (touchless, pull-out sprayer) |
Replace rather than repair if the faucet body’s cracked, corroded, or has visible stress fractures around the base. A cracked body won’t seal no matter what parts you replace, and it’s a sign that the faucet has reached the end of its useful life. Also replace if you’ve spent 60–90 minutes on repairs without success. You’re better off investing that time in installing a new faucet than troubleshooting an old one that’s failing in multiple places.
Cost is another factor. If a replacement cartridge or ceramic-disk assembly costs $50–$80 and a complete new faucet costs $80–$150, replacement often delivers better long-term value. You’ll get fresh seals, a warranty, and modern water-saving features. Professional installation adds $100–$250 to the total, but many homeowners can install a new faucet themselves in 1–2 hours using basic tools.
Preventive Maintenance to Avoid Future Faucet Leaks
The best way to fix a leaky faucet is to prevent the leak in the first place. A few simple maintenance tasks (done once or twice a year) keep washers, O-rings, and cartridges in good shape and catch small problems before they turn into steady drips. Most of these tasks take less than 10 minutes and cost nothing.
Regular cleaning is the single most effective preventive step. Mineral deposits from hard water clog aerators, scratch cartridges, and corrode valve seats. Once a month, unscrew the aerator from the end of the spout, rinse the screen under water, and soak it in white vinegar if you see white buildup. A clean aerator improves water pressure, reduces strain on internal seals, and extends faucet life. If your water’s very hard, consider installing an under-sink filter or whole-house softener. It’ll pay for itself in reduced repair costs.
Four simple habits that prevent faucet leaks:
Don’t over-tighten handles. Compression faucets especially wear out faster when you crank the handles hard to stop a drip. Close gently until water stops, then stop turning.
Replace washers and O-rings every 2–7 years. Even if the faucet isn’t leaking yet, swapping these small parts during routine maintenance prevents sudden failures.
Flush sediment from supply lines once a year. Turn off the water, disconnect the supply line under the sink, hold a bucket under the shutoff valve, and open the valve briefly to flush out debris.
Monitor drip rates. A faucet that drips once every 10 seconds wastes about 350 gallons per year. One drip per second wastes over 3,000 gallons. Catch slow drips early and you’ll save water, money, and wear on internal parts.
If you live in an area with freezing winters, drain faucets in unheated spaces before the first hard freeze. Frozen water expands and cracks cartridges, ceramic disks, and faucet bodies. Damage that can’t be repaired.
Final Words
You shut off the water, drained and plugged the drain, identified the faucet type, swapped worn washers or the cartridge, cleaned mineral buildup, and reassembled the parts. You turned the supply back on slowly and watched the spout, handle, and under-sink for leaks.
If the drip stopped and the handle feels smooth, you’re done. If not, check for corroded seats or misalignment, or consider replacement. These steps help you fix leaky bathroom faucet and save water. Nice work.
FAQ
Q: How do I stop my bathroom faucet from dripping?
A: Stopping a bathroom faucet from dripping starts by shutting off the water under the sink, opening the faucet to drain, plugging the drain, then identifying and replacing the worn washer, O‑ring, or cartridge.
Q: Why is my faucet dripping when I turn it off?
A: A faucet drips when you turn it off because seals or parts are worn, a cartridge or washer failed, valve-seat corrosion or debris prevents a tight shutoff, and pressure issues can make leaks worse.
Q: How do I identify the faucet brand and model?
A: You identify the faucet brand and model by checking for stamped logos on the spout or underside, looking inside the handle or cartridge for part numbers, keeping original paperwork, or matching photos online.
Q: How do I disassemble a single handle faucet?
A: To disassemble a single-handle faucet, shut off water, remove the decorative cap, loosen the handle screw with an Allen key, lift off the handle, remove the retaining clip or nut, then pull the cartridge straight up.