

Think reading a tape measure is obvious? Most DIY mistakes come from misreading the tiny ticks, not from bad tools.
This quick guide cuts through the clutter and shows the simple pattern behind the marks.
You’ll learn which line means what, how the end hook compensates for its thickness, and when to read metric instead.
Read this and you’ll measure with confidence, stop wasting cuts, and finish projects faster. I’ll show quick checks you can do on the job.
Mastering Tape Measure Markings for Accurate Reads

When you look at a tape measure blade, you’ll see lines of different lengths stacked between each numbered inch. The longest lines mark whole inches (1, 2, 3, and so on). Between each whole inch you’ll see progressively shorter lines that represent fractions. The next longest line after the inch mark is always 1/2 inch. Medium length lines mark 1/4 inch. Shorter lines represent 1/8 inch, and the smallest lines you’ll see on most tapes are 1/16 inch. Some precision tapes also include 1/32 inch marks, but those are less common for general DIY work.
The fractional hierarchy follows a simple pattern: each time you cut an inch in half, the tick marks get shorter. Most beginners make mistakes when they forget this visual rule and start counting lines randomly. The key is to identify the longest line before your measurement point, then count the smaller ticks forward. If you’re looking at a mark between 4 and 5 inches and you count four of the smallest ticks past the 4, you’re reading 4 4/16 inch, which reduces to 4 1/4 inch.
Here’s what each line length means on a standard tape:
Longest numbered lines = whole inches (1″, 2″, 3″)
Next longest = 1/2 inch (0.5″)
Medium length = 1/4 inch (0.25″)
Short lines = 1/8 inch (0.125″)
Shortest common lines = 1/16 inch (0.0625″)
Very rare tiny lines = 1/32 inch (0.03125″)
Let’s walk through two real examples using numbers. If you see three of the smallest ticks past the 2 inch mark, you’re reading 2 3/16 inch. If you count six small ticks past 7 inches, that’s 7 6/16 inch, which simplifies to 7 3/8 inch. Count carefully and always start from the nearest whole inch.
Tape Measure Anatomy and How Each Part Affects Your Reading

A tape measure has just a few main parts, but each one matters when you’re trying to get an accurate read. The case holds the coiled blade and usually has a belt clip on the back. The blade itself is the flexible metal ribbon printed with all the inch and fraction markings on one side and metric markings on the other. Most blades have a slight curve that gives them standout, the ability to stay rigid when extended without support. Common tape lengths for DIY work range from 12 feet to 30 feet, with 16 foot and 25 foot tapes being the most popular for home projects.
At the business end you’ll find the end hook (sometimes called the tang or tab), and that small metal piece is designed to wiggle. This isn’t a defect. The lock mechanism is the button or slider on the case that freezes the blade in place so it won’t retract while you’re reading a measurement. Learning to use the lock every time will save you from chasing a moving number while you’re trying to mark.
End Hook Calibration
The end hook moves back and forth by exactly the thickness of the hook itself, typically about 1/16 inch. When you hook the tape on the edge of a board and pull, the hook slides out to the end of its travel. When you push the tape into a corner or against a wall, the hook slides in. This movement compensates for the hook’s thickness automatically, so outside measurements (hooking and pulling) and inside measurements (pushing against a surface) both read correctly from the zero mark. If your hook is damaged, bent, or the rivets are worn loose beyond the designed play, your measurements will be off.
Case, Blade, and Lock
The blade’s curve isn’t just for looks. It’s what lets a 25 foot tape stand out 7 or 8 feet before it buckles. Standout ratings vary by brand and length. The lock is your best friend for one person measuring. Press it down or slide it before you start reading, and the blade stays put. The case width is sometimes printed on the bottom (often 2 or 3 inches), which matters when you’re measuring inside a cabinet or window frame and need to add the case dimension to your blade reading. The belt clip keeps the tape handy and protects the case from drops.
Reading Fractions and Converting Your Measurements Easily

Once you’ve identified which line you’re reading, the next step is often converting that fraction to a decimal or writing it down in a way that matches your project plans. Many cutting tools, digital readouts, and project plans call for decimal inches instead of fractions, so knowing the common conversions will speed up your workflow.
Here are the six most common fractional conversions you’ll use on nearly every project:
1/2 inch = 0.5 inch
1/4 inch = 0.25 inch
1/8 inch = 0.125 inch
1/16 inch = 0.0625 inch
3/8 inch = 0.375 inch
5/16 inch = 0.3125 inch
Below is a quick reference table that includes millimeter equivalents. One inch equals exactly 25.4 millimeters, so you can convert any fractional inch by multiplying the decimal by 25.4.
| Fraction | Decimal | Millimeters |
|---|---|---|
| 1/2″ | 0.5″ | 12.7 mm |
| 1/4″ | 0.25″ | 6.35 mm |
| 3/8″ | 0.375″ | 9.525 mm |
| 5/16″ | 0.3125″ | 7.9375 mm |
| 1/8″ | 0.125″ | 3.175 mm |
| 1/16″ | 0.0625″ | 1.5875 mm |
For example, if you measure 5 3/8 inches on your tape, that converts to 5.375 inches or 136.525 millimeters. If you read 7 11/16 inches, write it as 7.6875 inches or 195.2625 millimeters. Keep this table handy until the common conversions become second nature.
Understanding and Reading Metric Markings on Your Tape

Most tape measures sold in North America print metric markings on the opposite side or edge of the blade. The metric scale uses centimeters and millimeters instead of inches and fractions. Centimeters are the numbered marks (1, 2, 3, and so on), and each centimeter is divided into 10 millimeters. The small tick marks between each centimeter represent single millimeters, so counting is straightforward once you know the structure.
To read a metric measurement, find the last numbered centimeter before your measurement point, then count the millimeter ticks forward. For example, if you see three small ticks past the 3 centimeter mark, you’re reading 33 millimeters (or 3.3 centimeters). If you’re seven ticks past 5 centimeters, that’s 57 millimeters.
Here are the key conversions to remember when working between imperial and metric:
1 inch = 25.4 millimeters
1/2 inch = 12.7 millimeters
1/4 inch = 6.35 millimeters
1 foot = 30.48 centimeters
Metric measuring is simpler in one way. No fraction math. But if your project plans are in inches you’ll still need to convert. Some tapes print both scales side by side on the same edge, which helps when you’re double checking dimensions. The metric side is just as accurate as the inch side, so use whichever matches your project specs.
Measuring Techniques Every DIYer Needs for Accurate Results
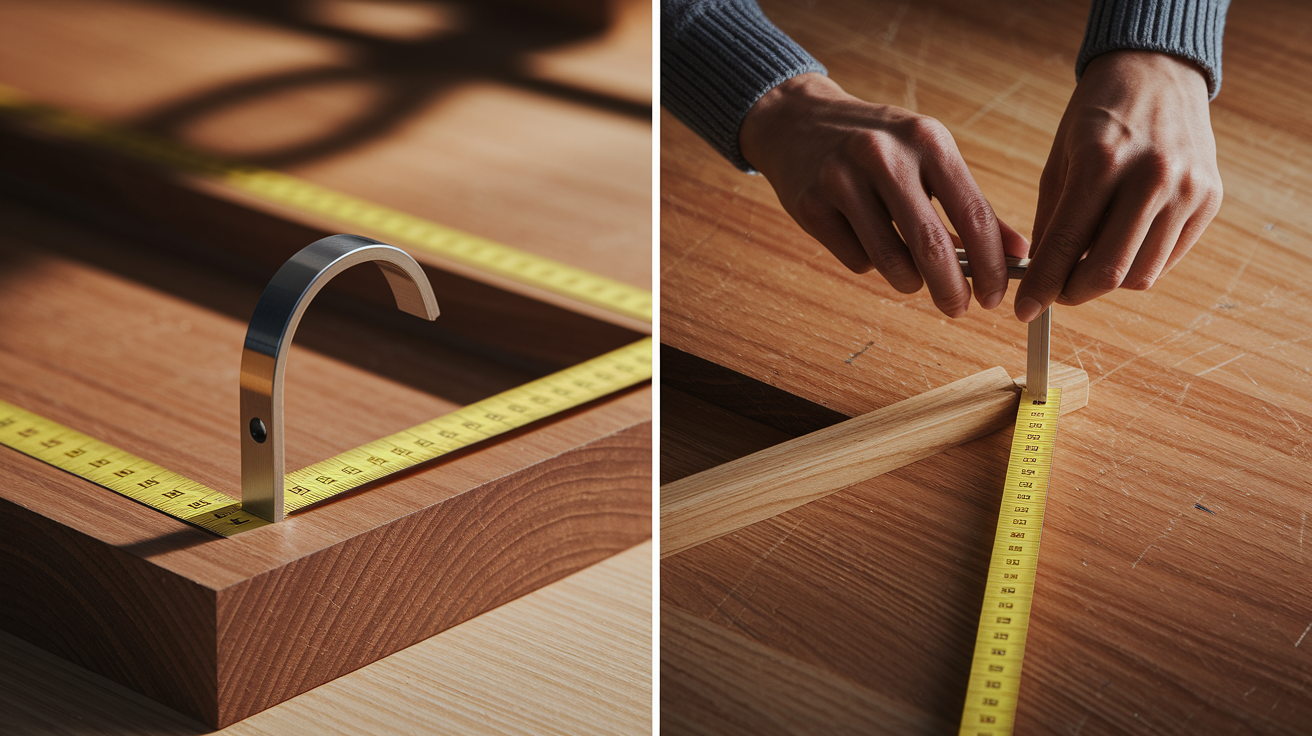
How you hold and position the tape matters just as much as reading the right line. Sloppy technique will throw off even a perfect read. Start by pulling the tape taut and keeping it as flat and straight as possible between the two points you’re measuring. Any sag, twist, or angle will add length to your measurement.
Inside vs Outside Reads
For an outside measurement (like the length of a board or the width of a door), hook the end tab on one edge and pull the tape across to the far edge. The hook will slide out to its full travel, compensating for its thickness. Read the blade at the exact point where the far edge lines up. Lock the blade before you look down to read, so the tape doesn’t shift.
For an inside measurement (like the width of a window frame or the depth of a cabinet), push the tape into one corner until the hook is flat against the inside surface. Extend the blade to the opposite inside surface. The hook will slide in by its thickness, and the zero point will still be accurate. If you’re measuring a space where the tape and case both fit inside, you can butt the case against one wall and read the blade at the opposite wall, then add the case width printed on the bottom of the case. For example, if the blade reads 30 1/2 inches and your case is 3 3/8 inches wide, the true inside dimension is 33 7/8 inches. This is one of the fastest ways to measure inside a doorway or between studs. See How to Measure Windows for Replacement for a walkthrough of inside frame measurements.
Long Distance and Overhead Measurements
For runs longer than about 10 feet, the blade will start to sag under its own weight. Support the middle of the tape with your free hand, or ask a second person to hold the far end. Some tapes have standout ratings of 7 to 11 feet, which helps, but physics still wins on a 20 foot span. Lock the blade as soon as you reach your measurement point.
When measuring overhead (like ceiling height or the top of a window), extend the tape vertically and use the lock immediately. Hold the case steady at the bottom and read at the top. If the tape bows or twists, your number will be wrong.
Here are five quick accuracy reminders:
Pull the tape tight with steady tension.
Use the lock every time before you read.
Keep the blade flat and aligned with what you’re measuring.
Support long spans or get help.
Double check by measuring a second time from the opposite direction.
Common Tape Measure Mistakes and How to Avoid Them
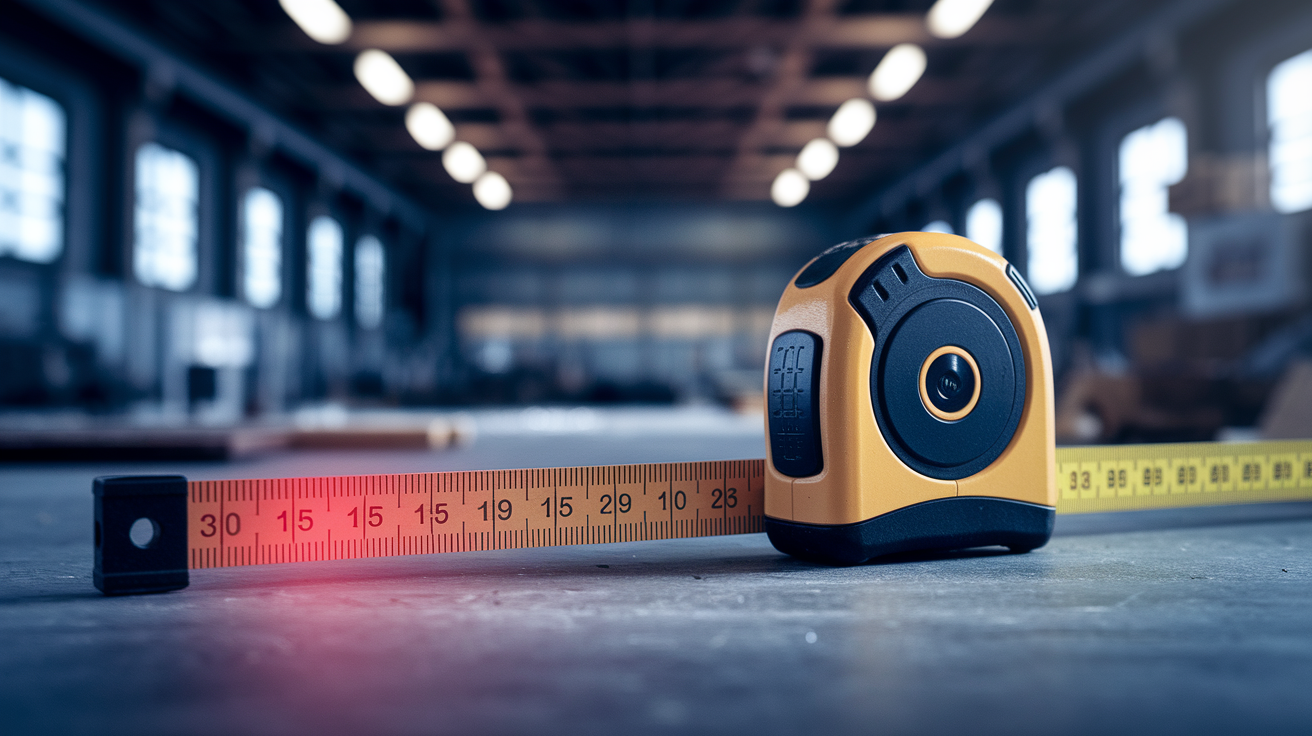
Even experienced DIYers make measuring mistakes, and most of them come down to a few repeated habits. Knowing what usually goes wrong will help you catch errors before they cost you material or time.
Here are the six mistakes that cause the most rework:
Reading at an angle. Your eye needs to be directly over the mark. If you read from the side, parallax error will shift the line you’re seeing. Crouch down or move the tape so you’re looking straight at it.
Letting the blade sag. On long runs, an unsupported tape will droop and add length. Always support the middle or use two people.
Ignoring hook movement. If you forget that the hook is supposed to slide, you might push or pull it in the wrong direction and throw off your zero point. Trust the built in play.
Miscounting fractional ticks. It’s easy to count 1/8 inch lines when you meant to count 1/16 inch lines. Slow down and identify the line length first.
Starting from the wrong zero. Some people start at the 1 inch mark by accident. Always check that the hook is at true zero or that you’re using the burn an inch method on purpose.
Using a worn or damaged tape. If the hook is bent, the rivets are loose beyond normal play, or the blade markings are faded, your tape is no longer accurate. Replace it.
If you’re getting inconsistent measurements on the same object, one of these mistakes is usually the reason. Measure twice from two different starting points and compare. If the numbers don’t match, slow down and check your technique.
Accuracy Tips for Confident DIY Measuring

Getting a measurement right the first time saves material, prevents do overs, and keeps projects moving. Small habits make a big difference when you’re laying out cuts or checking fit.
Start by using the largest fraction you can reliably read. For most DIY work, 1/16 inch is precise enough. If your tape has 1/32 inch marks and you’re not doing finish carpentry, ignore them. Reading to the nearest 1/16 inch is faster and less error prone. When the project calls for tighter tolerances (like cabinet face frames or door trim), then slow down and use the smaller increments.
The old rule “measure twice, cut once” still works, but make it count. Measure from two different directions or two different reference points and compare the numbers. If you get 47 1/4 inches one way and 47 3/8 inches the other, one of those reads is wrong. Find out which before you cut.
Use a square or straightedge when you’re marking cutlines. Holding the tape in one hand and a pencil in the other will introduce wobble. Hook the tape, lock the blade, set a square at the measurement point, and mark along the square. Your line will be straighter and your cut will be cleaner.
If your tape’s end hook feels sloppy or you’re measuring something small and fiddly, try the burn an inch method. Hook the tape at the 1 inch mark instead of zero, take your measurement, then subtract 1 inch from the result. For example, if you’re measuring a small block and the far edge lands at 6 1/4 inches when you start at the 1 inch mark, the true length is 5 1/4 inches. This trick also works great when the hook is damaged or you need to measure into a tight corner where the hook won’t fit.
Here are four pro level measuring habits that will improve your accuracy:
Lock the blade before you read, every time.
Use the hole in the hook as a pivot point when drawing arcs or circles.
Support long measurements with your free hand or a helper.
Keep your tape clean and check the hook rivets regularly.
Practice Problems to Strengthen Tape Reading Skills
The fastest way to get comfortable reading a tape is to practice with real numbers. Grab your tape and work through these six problems, then check your answers below.
- Find the mark that is three of the smallest ticks past the 2 inch line. What is the measurement in fractional form, decimal form, and millimeters?
- Read the line that is halfway between 5 and 6 inches. Convert to decimal and millimeters.
- Count seven of the smallest ticks past 11 inches. Write the fraction, decimal, and millimeter equivalent.
- Locate the mark at 4 inches plus two medium length ticks. What is the fractional inch, decimal, and millimeter reading?
- Read the line at 9 inches plus five of the smallest ticks. Convert to decimal and millimeters.
- Find the measurement at 6 inches plus one short tick and one smallest tick. Write as a fraction, decimal, and in millimeters.
Answer Key:
- 2 3/16″ = 2.1875″ = 55.5625 mm
- 5 1/2″ = 5.5″ = 139.7 mm
- 11 7/16″ = 11.4375″ = 290.5125 mm
- 4 1/2″ = 4.5″ = 114.3 mm (two 1/4″ ticks = 1/2″)
- 9 5/16″ = 9.3125″ = 236.5375 mm
- 6 3/16″ = 6.1875″ = 157.1625 mm (1/8″ + 1/16″ = 3/16″)
If you missed any, go back to the tape and count the ticks again. The most common mistake is confusing 1/8 inch lines with 1/16 inch lines. Remember, the shorter the line, the smaller the fraction.
Quick Reference Tape Measuring Cheat Sheet
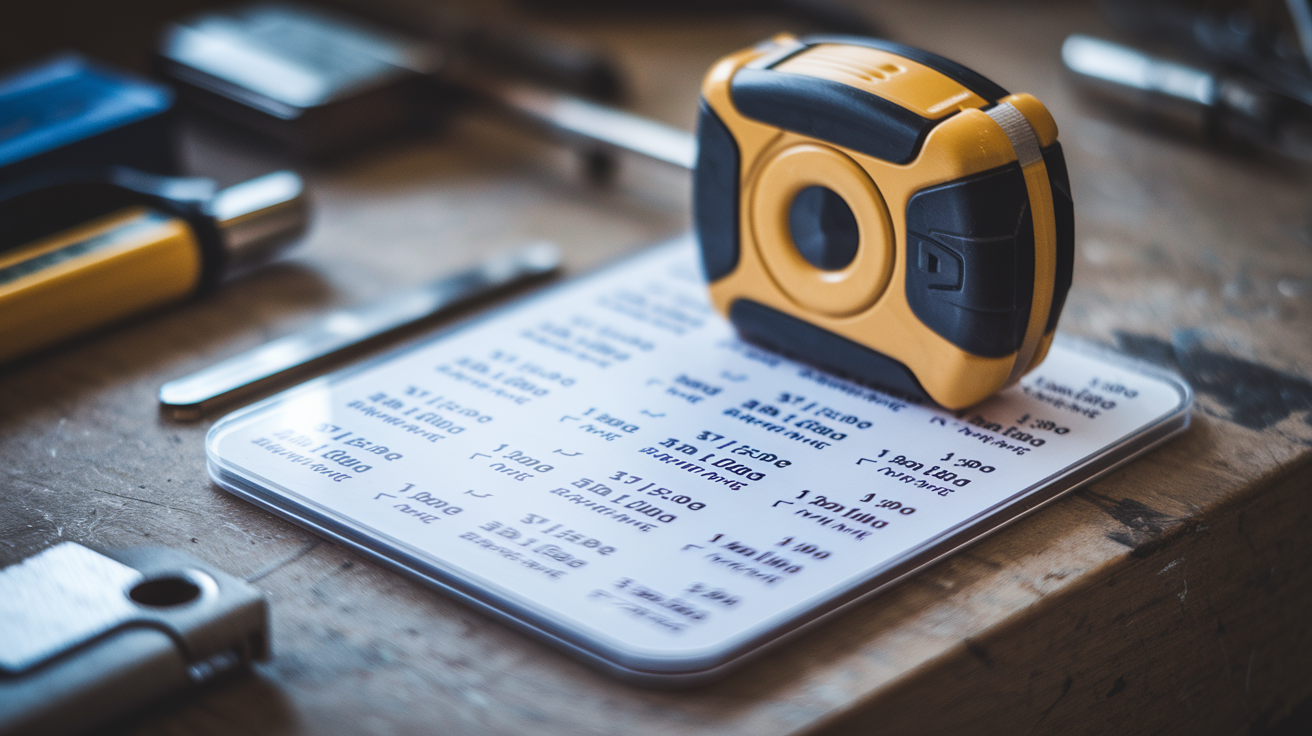
This section gives you a compact lookup for the most common measurements and builder marks you’ll see on a standard tape. Keep this table handy in your toolbox or take a photo for quick reference on site.
| Fraction | Decimal | Millimeters | Typical Use Case |
|---|---|---|---|
| 1/2″ | 0.5″ | 12.7 mm | Half inch plywood, common spacer |
| 3/8″ | 0.375″ | 9.525 mm | Drywall thickness, sheathing |
| 1/4″ | 0.25″ | 6.35 mm | Luan, tile backer, trim gaps |
| 1/8″ | 0.125″ | 3.175 mm | Expansion gaps, shim thickness |
| 1/16″ | 0.0625″ | 1.5875 mm | Fine trim fit, door clearances |
Most carpenter tapes also include builder marks to speed up layout. Red boxes or arrows every 16 inches mark standard stud spacing (16 inches on center), which is the most common framing interval in residential construction. Black diamonds appear every 19.2 inches up to 96 inches (8 feet) and indicate engineered truss spacing, which divides an 8 foot span into five equal bays.
To convert any inch measurement to millimeters, multiply the decimal inch value by 25.4. For example, 3 7/16 inches is 3.4375 inches, and 3.4375 × 25.4 = 87.3125 millimeters. If you’re working from metric plans and need inches, divide millimeters by 25.4.
Final Words
Grab your tape and read the longest ticks as full inches, then work down through halves, quarters, eighths, and sixteenths so you can spot 4 3/8″ or 7 11/16″ at a glance.
We covered the blade and moving hook, fraction-to-decimal conversions, metric marks, measuring techniques, common mistakes, practice problems, and a quick cheat sheet to keep by your toolbox.
Practice a few problems, use the cheat sheet, and you’ll know how to read a tape measure confidently for every job.
FAQ
Q: How do you read a tape measure for beginners?
A: Reading a tape measure or ruler for beginners means lining the zero at the edge, noting the nearest whole inch, then counting smaller ticks for halves, quarters, eighths, and sixteenths to finish the read.
Q: What is each line on a tape measure?
A: Each line on a tape measure shows a fraction: the longest line marks one inch, next is 1/2, then 1/4, 1/8, 1/16, and sometimes 1/32 for finer reads.
Q: What is 1.75 on a tape measure?
A: 1.75 on a tape measure equals 1.75 inches, written as 1 3/4 inches (three quarters past one inch), which is 44.45 millimeters.