

Did you know one small drip can waste over 3,000 gallons of water a year?
If your sink is dripping or water pools around the handle, the faucet stem is often the culprit.
I’ll show you how to tell which stem type you have, spot the worn washer, O-ring, or valve seat, and pick the right tools.
Follow the simple steps here and you can stop the leak yourself in under an hour, no pro needed.
Leaking Faucet Stem: Fix Your Dripping Tap Fast
What Is a Faucet Stem and How It Works

The faucet stem is the moving valve inside your tap that controls water flow. When you twist the handle, the stem opens or closes a seal that lets water through the spout. It’s basically a gate: the stem lifts or lowers it, and when it’s down, the seal should stop all water.
Inside the valve assembly, the stem works with a few key parts. The stem itself is a metal or plastic spindle that moves up and down or rotates. At the bottom, a rubber washer or ceramic disc presses against a valve seat to stop the flow. Around the stem, small rubber rings called O-rings seal the gaps so water doesn’t leak around the handle. A bonnet nut or retainer cap holds everything in place and keeps the stem snug inside the faucet body.
When you close the faucet, the stem pushes the washer or disc tight against the valve seat. If that seal is good, you get zero drips. If the washer’s worn, the O-ring’s torn, or the valve seat’s pitted, water finds a way through and you see a leak.
Most stem assemblies also include packing, a string-like material or O-ring set that wraps around the stem just under the handle. This packing prevents water from creeping up the stem shaft and leaking around the base of the handle. Over time, packing can dry out, loosen, or wear through. That’s when you’ll see water pooling around the handle instead of dripping from the spout.
Understanding these parts helps you pinpoint the exact cause of a leak. A drip from the spout usually means washer or seat trouble. A puddle around the handle points to packing or O-ring failure. Knowing which part failed tells you what to replace and saves you from buying the wrong kit at the store.
Common Faucet Stem Types
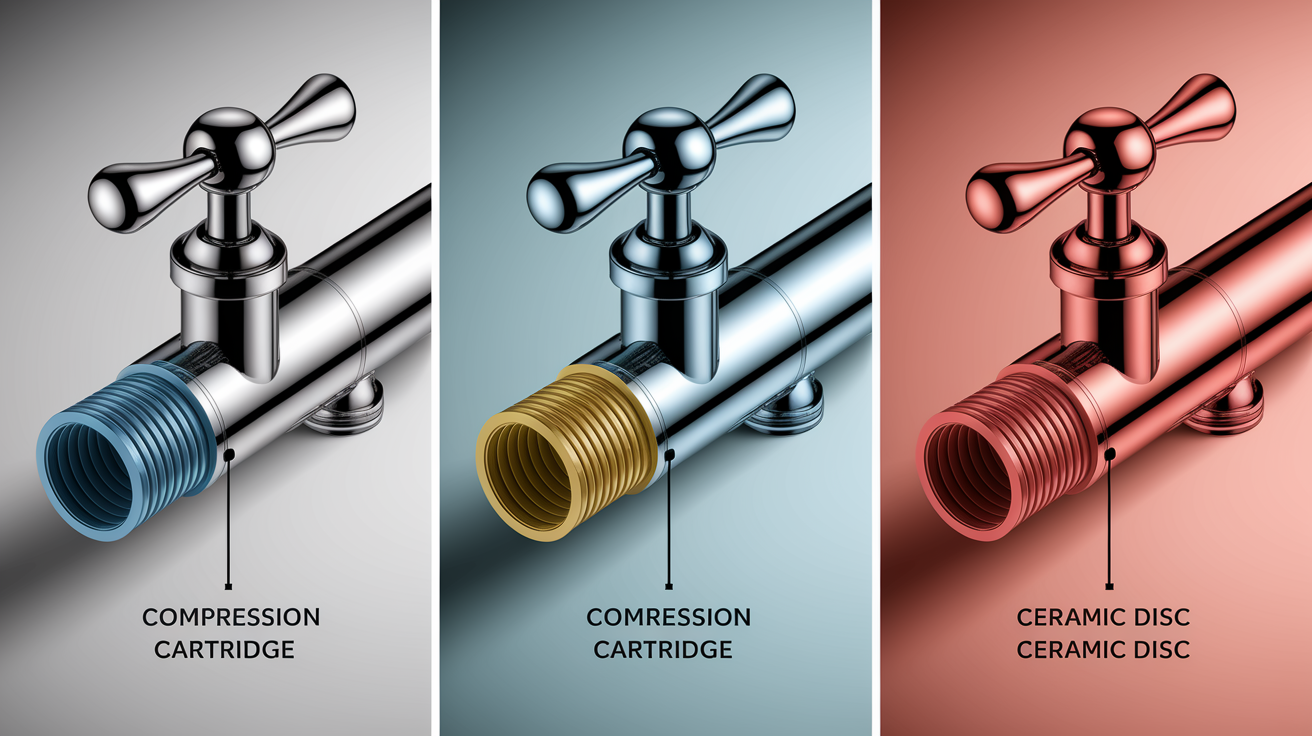
Faucets use three main stem designs: compression, cartridge, and ceramic disc. Each type controls water differently, and each has its own repair process.
Compression stems are the oldest design and still common in two-handle faucets, especially in laundry rooms, outdoor sinks, and older homes. When you turn the handle, you’re threading a stem up or down. At the bottom of the stem sits a rubber washer that presses against a metal valve seat to stop the flow. Compression faucets usually require multiple turns to fully open or close. The telltale sign: if you have two separate hot and cold handles and turning them feels like screwing a bolt, you have compression stems.
Cartridge stems are single-piece valve assemblies that slide in and out of the faucet body. You’ll find them in both single-handle and some two-handle modern faucets. Instead of threading, you pull or rotate a lever to move the cartridge, which opens internal passages for water. Cartridge faucets feel smooth and light when you operate them. Popular brands like Moen, Delta, and Kohler each use proprietary cartridge shapes, so replacement cartridges must match the brand and model exactly. If your faucet turns on with a quick pull or twist and has a sleek handle, it’s likely a cartridge type.
Ceramic disc stems are the newest and most durable design. They use two polished ceramic discs inside a cylindrical cartridge. When you move the handle, one disc rotates over the other, aligning or blocking water passages. Ceramic disc faucets are almost always single-handle with a flat, wide base and very smooth, short-throw operation. Often just a quarter turn from off to full flow. They rarely leak because ceramic is hard and resistant to wear, but when they do leak, you typically replace the entire cartridge rather than individual seals.
| Stem Type | Handle Count | Operation Feel | Common Locations | Typical Lifespan Before Repair |
|---|---|---|---|---|
| Compression | Two (hot + cold) | Multiple turns, threaded feel | Laundry, outdoor, older bathrooms | 3–10 years (washer/packing) |
| Cartridge | One or two | Smooth pull or twist | Kitchen, modern bathroom | 5–15 years |
| Ceramic Disc | One | Short, smooth quarter-turn | High-end kitchen, bathroom | 5–15 years |
To identify your stem type without disassembly, look at the handle and count the turns. Two handles that turn several times = compression. One lever that lifts or swings = cartridge or ceramic disc. If the base under the handle is wide and flat, it’s probably ceramic disc. If it’s slimmer, it’s likely a cartridge.
How to Identify a Stem-Related Leak
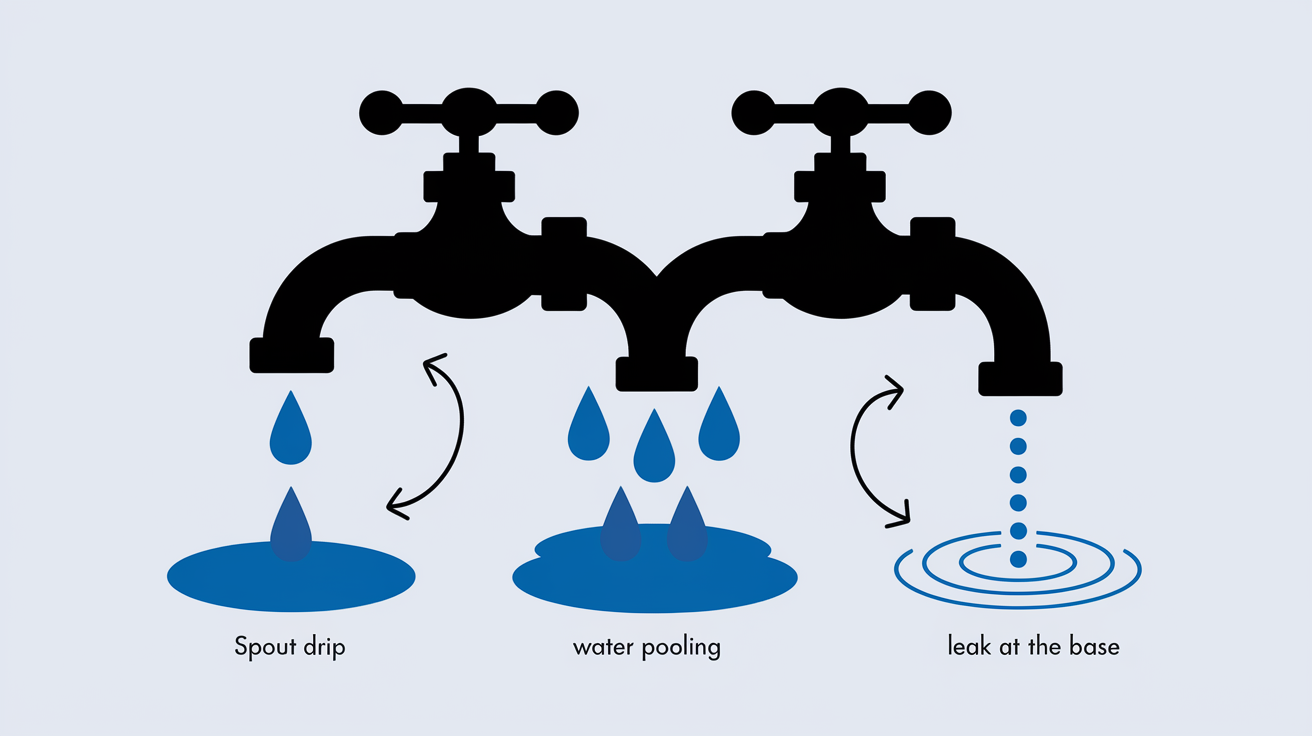
Not every faucet leak comes from the stem, so start by watching where the water appears. A continuous drip from the spout when the faucet’s off almost always means the stem assembly isn’t sealing. In a compression valve, that’s a worn rubber washer or a pitted valve seat. In a cartridge or ceramic disc valve, it’s a failed internal seal or cracked disc.
Water leaking around the handle points to the packing or O-rings on the stem shaft. These seals sit higher in the assembly, between the moving stem and the faucet body. When they wear out, water climbs up the stem and pools around the base of the handle or drips down the outside of the faucet. You’ll often see this leak only when the faucet’s running, because water pressure pushes against the worn seal.
A leak at the base of the faucet or under the sink near the valve body suggests a failed bonnet nut, a cracked valve seat, or a loose coupling between the stem assembly and the supply lines. If you see water under the sink but the spout and handle are dry, the problem’s likely at a connection point rather than inside the stem itself.
Run a quick shutoff test to confirm the stem is the source. Turn off the local shutoff valves under the sink. There’s usually one for hot and one for cold. If the leak stops completely, the problem’s inside the faucet valve. If water keeps dripping even with the shutoffs closed, the leak is downstream in the supply lines or at a connection, not in the stem.
For handle leaks, remove the handle and bonnet nut to inspect the stem directly. Look for visible corrosion, torn O-rings, or a rubber washer that’s flat and hard instead of soft and round. If you see any of those signs, you’ve found the failed part. Take a photo before you remove anything. It helps when you’re reassembling or shopping for parts.
If the faucet’s been dripping for weeks, mineral deposits may have built up on the valve seat. Even a new washer won’t seal against a rough, pitted seat. Run your finger gently around the seat (with the water off). If it feels gritty or you see white or green buildup, plan to clean or replace the seat along with the washer.
Required Tools and Supplies
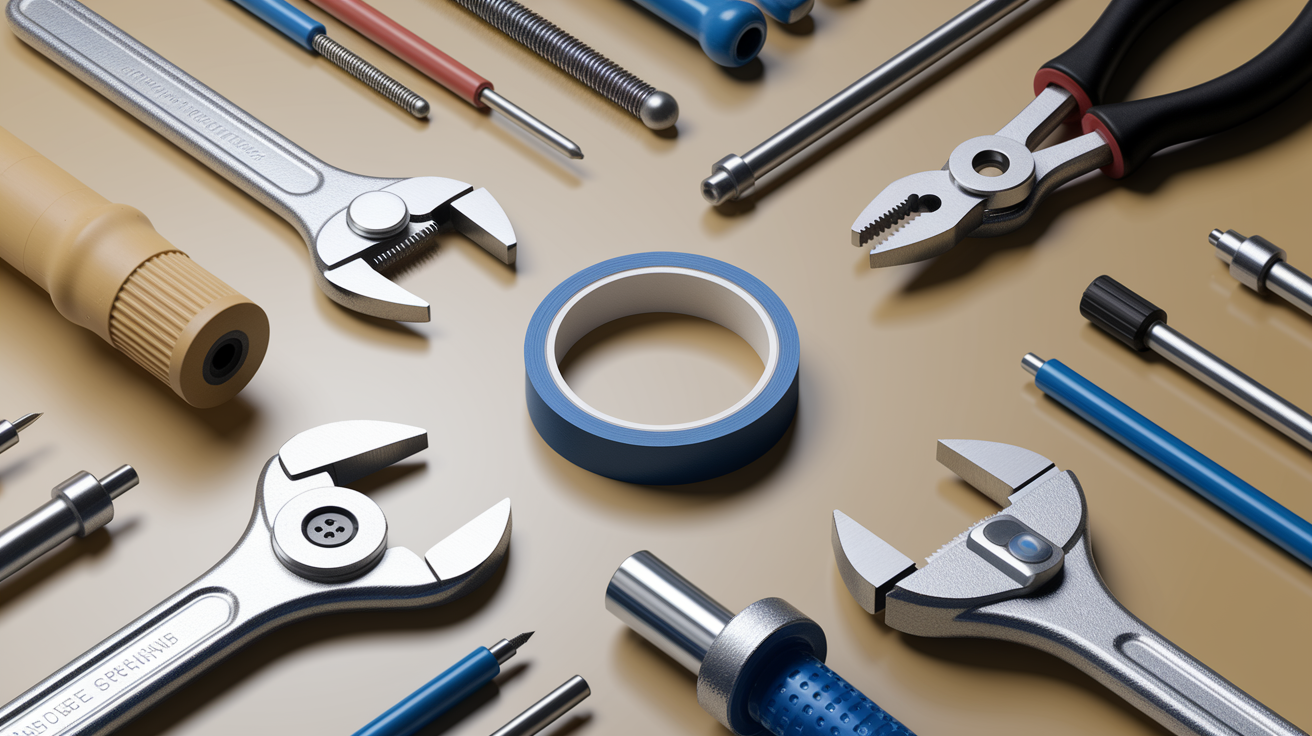
You can fix most stem leaks with tools you already own or can pick up at any hardware store for under twenty dollars. Here’s the minimum kit:
- Adjustable wrench (one 8-inch wrench covers most bonnet nuts and retaining nuts)
- Screwdriver set (both Phillips and flat-head; handle screws vary by brand)
- Allen key set (many modern handles use hex screws hidden under caps)
- Needle-nose pliers (for pulling O-rings and small clips)
- Utility knife (to cut away old packing or trim new O-rings if needed)
- Plumber’s grease (one small tube; lubricates O-rings and helps them seal)
- Plumber’s tape (PTFE tape; wrap threaded fittings to prevent leaks on reassembly)
If you’re working on a compression valve and need to replace the valve seat, add a seat wrench to the list. It’s a small L-shaped tool with a square or hex tip that fits into the seat for removal. Seat wrenches cost five to ten dollars and save you from calling a plumber.
For stubborn cartridges that won’t pull free, a cartridge puller makes the job easier. It’s a simple clamp tool that grips the cartridge and gives you leverage to yank it straight out without damaging the faucet body. Not required, but worth the ten dollars if your cartridge is stuck.
Replacement parts depend on your stem type. Bring the old parts to the store so you can match them exactly.
- Compression valves: rubber washer kit (assorted sizes, about $5), valve seat and spring set ($5–$10 if the seat’s replaceable), packing string or O-ring set ($3–$8)
- Cartridge valves: brand-specific replacement cartridge ($15–$60; Moen, Delta, Kohler, and others use different shapes)
- Ceramic disc valves: replacement cartridge ($30–$100; these are less common and often brand-specific)
- Universal O-ring assortment ($5–$10; covers most stem sizes)
If you’re unsure which washer or O-ring size you need, pull the old one first and take it with you. Hardware store staff can match it on the spot, and you’ll avoid a second trip.
Keep a basin wrench on hand if your faucet’s mounted close to the wall and the bonnet nut’s hard to reach with a standard wrench. It’s optional for most sink faucets but essential for tight spots.
Finally, protect your sink. Drop a towel in the basin to catch small screws and prevent scratches. Plug the drain so you don’t lose tiny parts down the pipe. These two steps take ten seconds and save a lot of frustration.
Step-by-Step Repair Procedure for Compression Stems
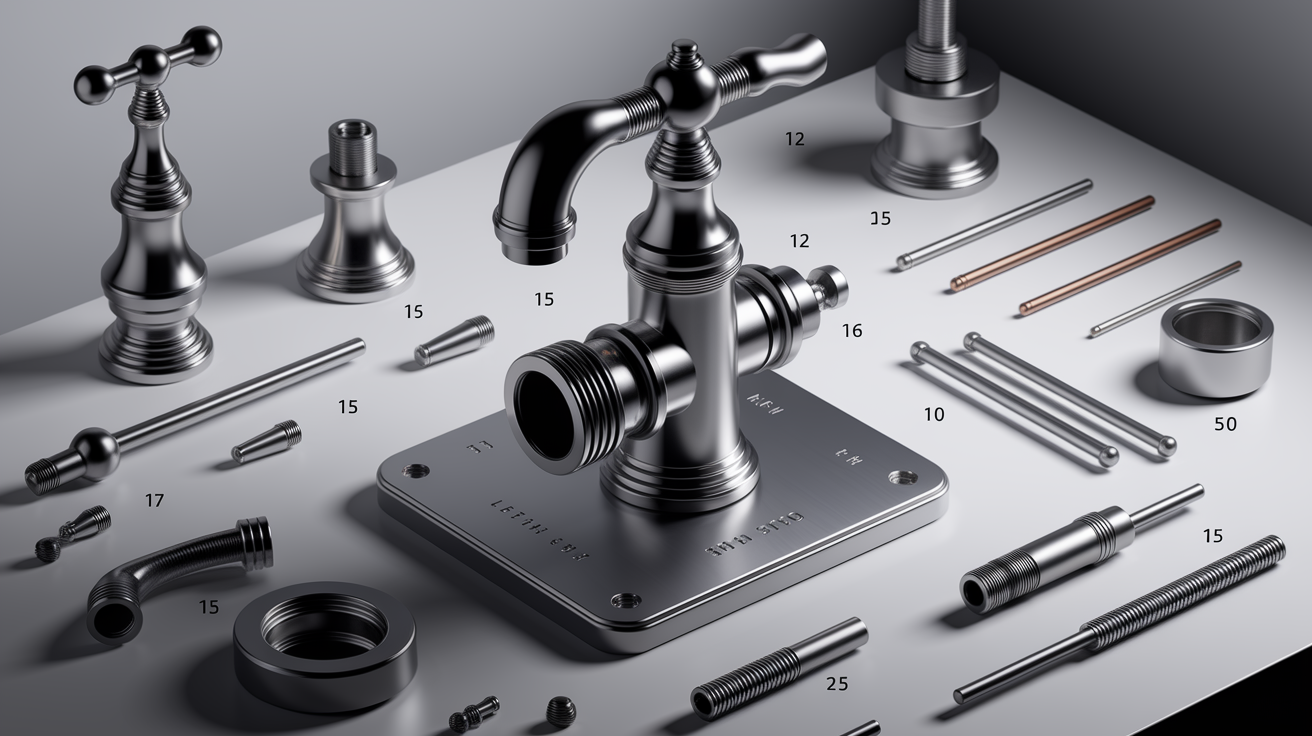
Compression stems are the most common type in older two-handle faucets, and they’re the easiest to repair because the parts are simple and cheap. Budget 30 to 60 minutes for a first-time repair.
Preparation and water shutoff
Turn off the water supply at the shutoff valves under the sink. There should be one valve for hot and one for cold. Turn each valve clockwise until it stops. If you don’t have shutoff valves under the sink, go to the main house shutoff and turn off the whole supply. Open the faucet to relieve pressure and let any remaining water drain out. You’ll see a small trickle. That’s normal. Leave the faucet open while you work.
Lay a towel in the sink and plug the drain. This catches screws and protects the finish.
Remove the handle
Look for a small screw on top of the handle or on the back near the base. Some handles hide the screw under a decorative cap, a small button or disc that snaps out or unscrews. Use a utility knife or your fingernail to pop the cap off, then remove the screw with a screwdriver. Lift the handle straight up. If it’s stuck, wiggle it gently side to side while pulling. Don’t force it or you’ll crack the plastic.
Remove the packing nut
The packing nut is the large hexagonal nut just below where the handle was. Grip it with an adjustable wrench or slip-joint pliers and turn counterclockwise to loosen. Once it’s loose, unscrew it by hand and set it aside. You’ll see the top of the stem now, along with the packing material wrapped around it.
Extract the stem
Twist the stem in the same direction you would to turn the faucet on. For most compression valves, that means counterclockwise. Keep turning until the stem threads out of the valve body. It may take several full turns. When it’s free, lift it straight out. Inspect the stem for corrosion, cracks, or stripped threads. If the stem itself is damaged, you’ll need to replace the entire stem assembly, not just the washer.
Inspect and replace the washer and packing
At the bottom of the stem, you’ll see a rubber washer held in place by a small brass screw. Remove that screw. If it’s stuck, apply a drop of penetrating oil (like WD-40), wait a minute, and try again. Don’t force it. If the screw head strips, you’ll need to drill it out, which is a much bigger hassle.
Pull off the old washer. Check its shape: some washers are beveled (angled edge), others are flat. Match the new washer exactly. Also note whether it’s marked for cold water only. Those washers swell when exposed to hot water and will restrict flow if installed on the hot side.
Look at the packing around the stem shaft. If it’s old string-style packing, unwind it and note how many wraps were used. If it’s an O-ring, pull it off with needle-nose pliers. Replace with new packing or a new O-ring of the same size. Wind new packing string clockwise around the stem, leaving enough room at the top for the packing nut to screw on. If using an O-ring, coat it lightly with plumber’s grease before sliding it into the groove.
Reassemble and test
Fasten the new washer to the stem with the brass screw. Don’t overtighten. Snug is enough. Coat the washer and the O-rings with a thin layer of plumber’s grease.
Thread the stem back into the valve body by turning it in the opposite direction from removal (clockwise for most). Screw it in until it stops, then back it off a quarter turn so the washer isn’t pressed hard against the seat. Reinstall the packing nut by hand, then tighten it with your wrench. Tighten just until snug. If you crank it down too hard, the handle will be stiff and the packing will deform.
Turn the water supply back on slowly. Leave the faucet handle off for now and watch for leaks around the stem. If you see water, tighten the packing nut a little more. One-eighth turn at a time. Once it’s dry, reinstall the handle and screw, then snap the decorative cap back on.
Open and close the faucet a few times to make sure it moves smoothly and shuts off completely. If it still drips from the spout, the valve seat may be pitted or dirty. That’s covered in the next section.
Step-by-Step Repair Procedure for Cartridge and Ceramic Disc Stems
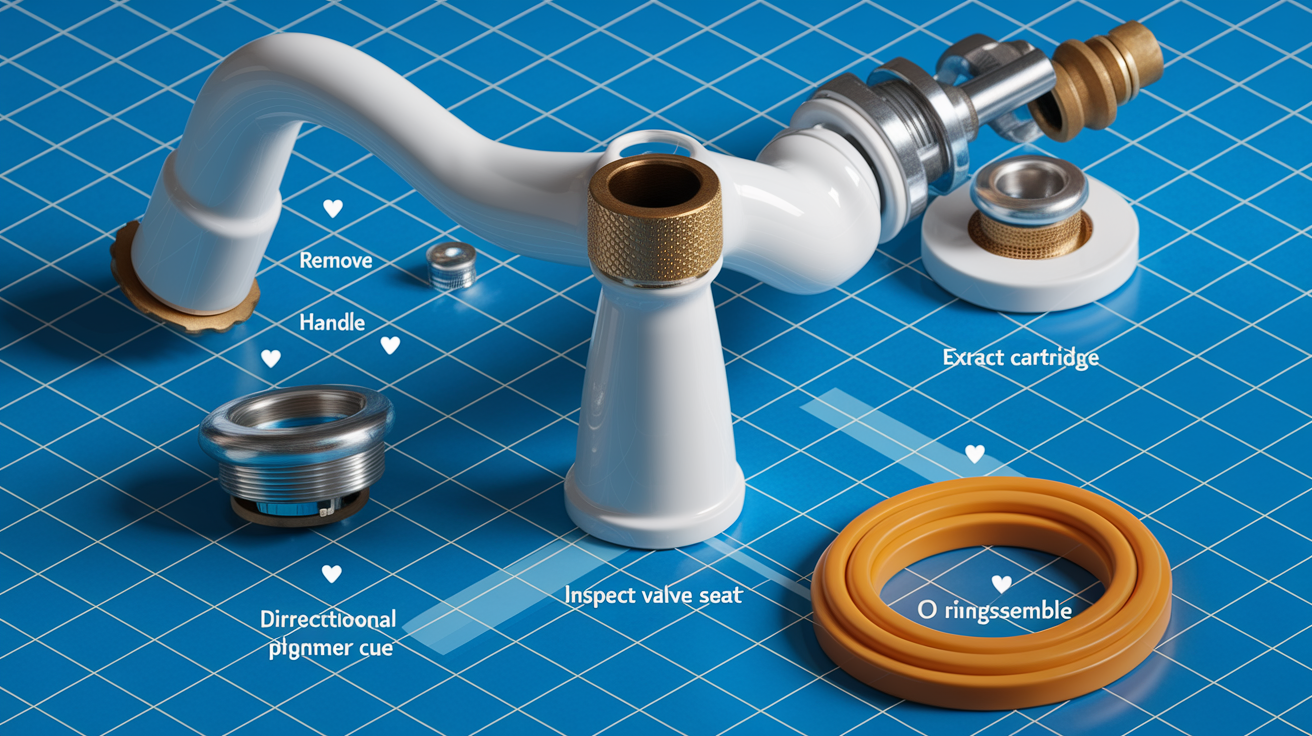
Cartridge and ceramic disc faucets are more modern and use single-piece valve assemblies. The repair process is similar for both types, but you’ll replace the entire cartridge instead of individual washers. Plan 20 to 60 minutes depending on how stubborn the old cartridge is.
Preparation and water shutoff
Shut off the water at the local shutoff valves under the sink or at the main house shutoff if no local valves are present. Open the faucet to drain residual water and relieve pressure. Plug the sink drain and lay down a towel.
Remove the handle and decorative cover
Most single-handle faucets hide the mounting screw under a decorative cap on top of the handle or on the front. Pop the cap off with your fingernail or a small flat-head screwdriver. Remove the screw. It’s often a Phillips head or an Allen screw. Lift the handle straight up. If it sticks, twist gently while pulling.
Some models have a cylindrical cover or collar around the base of the handle. Unscrew it by hand (counterclockwise) or pull it straight up if it’s a snap fit. Set all parts aside in order so reassembly is easier.
Remove the retaining nut or clip
With the handle off, you’ll see a retaining nut, a large plastic cap, or a metal clip holding the cartridge in place. If it’s a nut, use an adjustable wrench to turn it counterclockwise. If it’s a clip, use needle-nose pliers to pull it straight out. Some cartridges have a U-shaped retaining clip on top. Note its orientation before you remove it, because it must go back the same way.
Extract the cartridge
Grip the top of the cartridge with pliers and pull straight up. Cartridges can be tight, especially if they’ve been in place for years. Pull firmly and steadily. Wiggling side to side can help break the seal, but don’t twist unless the manufacturer’s instructions say to. If the cartridge won’t budge, a cartridge puller tool makes this step much easier and prevents damage to the faucet body.
Once the cartridge’s out, inspect it. Look for cracks, worn seals, or mineral buildup. If the cartridge is damaged or the seals are torn, replace the whole unit. Cartridges are brand-specific. Take the old one to the store or look up your faucet model number (usually stamped on the underside of the spout or on the original box) to order the exact replacement.
Inspect the valve seat and clean the faucet body
Look inside the valve body where the cartridge sat. Check for debris, mineral deposits, or corrosion. Wipe it clean with a damp cloth. If you see heavy mineral buildup, soak a cloth in white vinegar, stuff it in the cavity, and let it sit for ten minutes, then wipe again. A clean seat helps the new cartridge seal properly.
Install the new cartridge
Coat the O-rings on the new cartridge with plumber’s grease. Align the cartridge according to the instructions. Most cartridges have a flat side or a tab that must face a certain direction (usually toward the front of the faucet for hot/cold alignment). Push the cartridge straight down until it seats fully. You should feel it drop into place.
Reinstall the retaining nut or clip. If it’s a clip, make sure it snaps into the groove completely. If it’s a nut, hand-tighten first, then snug it with a wrench. Don’t overtighten or you’ll crack the plastic cartridge.
Reassemble and test
Put the decorative cover and handle back on in reverse order. Turn the water supply back on slowly. Open the faucet and let it run for 30 seconds to flush out any air or debris. Check for leaks around the base of the handle and at the spout. If you see a leak around the handle, the retaining nut may need another quarter turn. If the spout drips, make sure the cartridge is fully seated and aligned correctly.
Ceramic disc cartridges rarely need adjustment, but if your faucet still leaks after replacement, the valve seat in the faucet body may be cracked. That usually means replacing the entire faucet, because ceramic disc seats aren’t serviceable.
Troubleshooting Persistent Leaks After Repair

You’ve replaced the washer or cartridge, tightened everything, and turned the water back on. But the faucet still drips. Here’s how to track down what’s wrong.
Spout still drips after washer replacement (compression valve)
Check the valve seat. Even a new washer won’t seal against a pitted or corroded seat. Turn off the water again, remove the stem, and shine a flashlight into the valve body. The seat is the small brass ring at the bottom of the cavity. Run your finger around it. If it feels rough or you see grooves, that’s your problem.
Some valve seats are replaceable. Use a seat wrench to unscrew the old seat (turn counterclockwise) and screw in a new one. Seats cost about $5 each. If the seat isn’t removable, you can try resurfacing it with a seat-dressing tool (a cutter that grinds the seat smooth), but replacement is more reliable.
If you don’t have a seat wrench or the seat won’t budge, this is the point where calling a plumber makes sense.
Spout drips after cartridge replacement
Double-check that the new cartridge is seated all the way down and oriented correctly. Pull it out and reinstall it, making sure any alignment tabs or flat sides match the faucet body’s guides. If the cartridge’s in backward, hot and cold will be reversed and the seal may not engage.
Flush the supply lines. Turn off the water, disconnect the supply lines under the sink, and turn the water back on briefly to flush debris into a bucket. Sediment or small chunks of mineral buildup can get stuck in the new cartridge and prevent it from closing fully.
Leak around the handle or base
Tighten the packing nut or retaining nut a bit more. One-eighth to one-quarter turn. If that doesn’t stop it, remove the stem or cartridge and inspect the O-rings. They may have torn during installation or the wrong size was used. Replace them with exact matches, coat with grease, and try again.
Check for cracks in the faucet body or retaining nut. If you see a visible crack, the part must be replaced. Plastic retaining nuts are especially prone to cracking if overtightened.
Handle is stiff or won’t turn smoothly
You’ve overtightened the packing nut. Loosen it a quarter turn. The nut should be snug enough to stop leaks but loose enough that the handle moves freely. It’s a balance. Tighten until the leak stops, then back off slightly until the handle feels normal.
If a cartridge feels stiff, remove it and check that the O-rings are lubricated and not pinched. Also confirm the cartridge is the correct replacement part. Some aftermarket cartridges fit the hole but don’t move as smoothly as OEM parts.
Sudden low flow after reassembly
Debris is likely stuck in the cartridge or aerator. Remove the aerator from the spout (unscrew it by hand or with pliers using a towel to protect the finish) and check the screen for sediment. Rinse it under water and reinstall.
If flow’s still low, pull the cartridge and flush the supply lines as described above.
Leak under the sink at supply connections
This isn’t a stem issue. It’s a loose coupling nut or a failed supply line. Tighten the nuts where the supply lines connect to the shutoff valves and the faucet tailpieces. If a line is kinked or cracked, replace it. Braided stainless steel supply lines are cheap (around $10 per pair) and more reliable than old rubber or plastic lines.
When to Call a Plumber

Most stem repairs are straightforward DIY jobs, but some situations call for a professional. Here’s when to stop and dial a plumber.
You can’t locate or turn off the shutoff valves
If the shutoff valves under your sink are seized, broken, or missing entirely, don’t attempt the repair until you can control the water supply. A plumber can replace the shutoffs and then fix the faucet, or walk you through shutting off the main supply safely.
The valve body is cracked or severely corroded
If you see cracks in the brass or plastic faucet body, or if rust and corrosion have eaten through the metal, the faucet can’t be repaired. It needs replacement. Attempting a repair on a compromised body risks a sudden failure and water damage.
Threads are stripped
If the stem threads or bonnet nut threads are stripped, you won’t be able to reassemble the faucet securely. A plumber can often tap new threads or install a thread adapter, or they may recommend replacing the faucet.
Lead, galvanized, or very old plumbing
If your home has lead or galvanized supply pipes and the faucet work requires cutting or replacing pipe sections, hire a licensed plumber. Lead pipe work has health and legal implications, and galvanized pipe is brittle and prone to cracking if you try to wrench on it without experience.
Multiple leaks or leaks at supply connections under the sink
If fixing one faucet reveals problems elsewhere (leaking shutoff valves, corroded supply lines, or multiple faucets failing at once), you’re likely looking at a larger plumbing issue. A plumber can assess the whole system and prioritize repairs.
DIY time exceeds two hours or you lack the right tools
If you’ve spent two hours and the repair still isn’t working, or if you’re missing specialty tools like a seat wrench or cartridge puller and don’t want to buy them for a one-time job, a plumber’s service call is often cheaper than the time and frustration.
You’re not confident about reassembly
If you’ve taken the faucet apart and you’re not sure how it goes back together, stop. Take clear photos of each step next time, but for now, a plumber can reassemble it correctly and prevent a bigger mess.
Cost and Time Estimates

DIY parts cost for a typical compression valve repair runs $5 to $15 if you only need washers, O-rings, and packing. Add another $5 to $10 if you need to replace a valve seat. Cartridge replacements range from $15 to $60 depending on brand. Moen and Delta cartridges are usually $20 to $40, while specialty or high-end brands can hit $60 or more. Ceramic disc cartridges cost $30 to $100. Budget an extra $10 to $20 for plumber’s grease, tape, and a small O-ring assortment if you don’t have them already.
Tool costs if you’re starting from scratch: a basic adjustable wrench, screwdriver set, and pliers will run $20 to $40 total at a hardware store. Add $10 for a seat wrench if you need one, and another $10 for a cartridge puller if you’re tackling a stubborn cartridge. Most DIYers already own these tools or can borrow them, so actual out-of-pocket is often just the parts.
DIY labor time varies by experience and faucet type. A simple washer swap on a compression valve takes 20 to 30 minutes once you know what you’re doing. First-timers should budget 45 to 60 minutes. Cartridge replacement typically takes 30 to 45 minutes, or up to 90 minutes if the cartridge is stuck or you need to clean heavy mineral buildup. Stubborn or heavily corroded valves can push DIY time to two or three hours, especially if you make a parts run mid-job.
Professional plumber cost starts with a service call fee, usually $75 to $150 depending on your area. Labor and parts for a basic faucet repair typically total $150 to $250 for a compression valve, and $200 to $350 for a cartridge or ceramic disc replacement. If the plumber needs to replace valve seats, clear blockages, or deal with corroded fittings, expect the higher end of that range. Emergency or after-hours service can run $300 to $500 or more.
Break-even comparison: If parts cost you $30 and your time is worth $50 per hour, a one-hour DIY repair “costs” you $80 in time and materials. A plumber charging $200 saves you time but costs $120 more. If the job will take you three hours and multiple trips to the store, the plumber starts looking like the better deal. If you enjoy hands-on work and the job is straightforward, DIY wins on both cost and satisfaction.
| Repair Type | DIY Parts Cost | DIY Time | Pro Total Cost | When Pro Makes Sense |
|---|---|---|---|---|
| Compression washer/packing | $5–$15 | 30–60 min | $150–$250 | Seized parts, no tools, time-constrained |
| Cartridge replacement | $15–$60 | 30–90 min | $200–$350 | Stuck cartridge, uncertain model, multiple leaks |
| Ceramic disc cartridge | $30–$100 | 20–60 min | $200–$350 | Cracked body, brand-specific part sourcing |
| Valve seat replacement | $5–$20 | 45–90 min | $150–$300 | Non-removable seat, stripped threads |
Long-term value: Replacing a $40 cartridge yourself every ten years costs $4 per year. Paying a plumber $250 every ten years costs $25 per year. Over the life of a home, DIY stem repairs can save hundreds of dollars and give you the skills to handle other minor plumbing jobs confidently.
Safety and Best-Practice Tips

Always shut off the water supply before you start. Use the local shutoff valves under the sink when possible. If you don’t have local shutoffs or they’re stuck, turn off the main house supply. Open the faucet after shutoff to relieve pressure. Expect one to two cups of residual water to drain out when you remove the stem or cartridge.
Protect the sink and drain. Lay a towel in the basin to catch dropped screws and prevent scratches. Plug the drain so small parts can’t fall down the pipe. Losing a tiny retaining clip down the drain can turn a 30-minute job into a two-hour ordeal.
Take photos before disassembly. Use your phone to snap a picture of each step as you take the faucet apart. When you’re holding five parts and can’t remember which O-ring goes where, those photos are gold. Label parts with a marker or lay them out in order on the towel.
Save the old parts until the repair is tested. Don’t throw away the old washer, cartridge, or O-rings until you’ve turned the water back on and confirmed the faucet isn’t leaking. If the new parts don’t fit or you bought the wrong size, you can reinstall the old parts temporarily while you get the right replacements.
Don’t force anything. If a screw won’t turn, a stem won’t pull, or a nut won’t loosen, stop and apply penetrating oil. Let it sit for ten minutes and try again. Forcing a seized part breaks screws, cracks plastic, and strips threads. Turning a simple repair into a faucet replacement.
Use plumber’s grease on all O-rings and rubber seals. A thin coat of silicone-based plumber’s grease helps O-rings slide into place without tearing and improves the seal. Don’t use petroleum jelly or motor oil. They can degrade rubber over time.
Tighten fasteners snug, not tight. Brass fittings and plastic retaining nuts crack easily when overtightened. Tighten by hand first, then give a final quarter to half turn with a wrench. If it feels hard to turn, stop. You’re trying to compress a seal, not crush it.
Ventilate if using chemical cleaners or solvents. If you’re cleaning mineral deposits with vinegar or a commercial descaler, open a window or turn on the bathroom fan. Some products release fumes that are unpleasant in a confined space.
Know your limits on electrical and gas work. If your faucet repair uncovers issues with an under-sink instant water heater, a garbage disposal, or (rarely) a gas line, stop the plumbing work and call the appropriate licensed professional. Water and electricity don’t mix, and gas line work is never DIY.
Replace the entire stem or cartridge if you see cracks, deep corrosion, or scoring on the metal. A damaged stem won’t seal reliably no matter how many new washers you install. Trying to reuse a compromised part just means you’ll be doing the job again in a few weeks.
Check local codes for lead-free requirements. If you’re replacing a faucet or valve in a home built before 1986, confirm that any new parts meet current lead-free plumbing standards. Most modern parts do, but it’s worth a quick check, especially for drinking-water fixtures.
Final Words
Shut off the water and grab your tools — we walked through diagnosing a leaking faucet stem, removing the stem, swapping bushings and seals, and putting everything back so it runs quiet.
You also got a tools-and-materials list, a realistic time estimate, safety notes, and the most common mistakes that lead to repeat leaks.
If the drip stops and the handle turns smoothly, you’re done. If not, a stubborn leaking faucet stem or heavy corrosion is a good place to call in help. You’ll save time and feel ready.
FAQ
Q: How do you fix a leaky faucet stem?
A: The leaky faucet stem is fixed by shutting off water, removing the handle, inspecting and replacing worn washers or O-rings, cleaning the stem, adding plumber’s grease, then reassembling and testing for leaks.
Q: How to stop a water valve stem from leaking?
A: A water valve stem leak is stopped by shutting the valve, tightening the packing nut, replacing old packing material or O-ring, or swapping the stem cartridge if corroded; use thread sealant and test under pressure.
Q: Why is my replaced valve stem still leaking?
A: A replaced valve stem still leaks because the part was wrong size, seals or seat are damaged, debris remained in the valve body, or installation was incorrect; inspect seats, clean debris, and replace correct seals or stem.
Q: How long do faucet stems last?
A: Faucet stems typically last 5–15 years depending on water quality, use, and material; brass lasts longer than plastic. Regular cleaning and replacing seals can extend life; replace when leaking or stiff.