

Think a leaky two-handle faucet is just annoying?
It can waste over 3,000 gallons a year.
Most of the time the problem is one of three easy failures, like a worn washer, a cracked O-ring, or a bad cartridge.
In this quick guide you’ll get a simple, step-by-step fix so you can stop the drip in minutes.
We’ll cover what to check first, the tools and parts to have on hand, and exactly how to replace the worn parts without a plumber.
Quick Fix Steps for Stopping a Leaky Two-Handle Faucet Fast

Most two-handle faucet leaks show one of three patterns within 10 to 15 seconds of watching. A drip from the spout when both handles are completely off signals a worn rubber washer or damaged cartridge inside the valve body. Water weeping around the base of a handle points to worn O-rings or a loose packing nut under the handle. A leak that only appears when you turn a handle on usually means the washer or cartridge seal is failing during use.
Before touching any parts, shut off the water supply at the angle-stop valves under the sink. Turn both shut-off valves clockwise until snug. If the valves are stuck or missing, locate and shut the main house valve. After shutoff, open both faucet handles to release trapped water and pressure, about 15 seconds. Place a towel in the sink and a small container nearby to catch screws and small parts.
You’re most likely dealing with one of three simple failures. Compression style faucets use rubber seat washers that flatten over time. Cartridge faucets have internal seals that crack or harden. All two-handle types rely on small O-rings around the stem that wear out and allow water to escape at the handle base.
Here’s the fast repair path:
- Shut off water at the angle stops or main supply and relieve pressure by opening both handles.
- Remove the decorative cap on one handle, then unscrew the set screw and pull the handle off.
- Use an adjustable wrench to remove the retaining nut or bonnet underneath the handle.
- Pull out the stem, cartridge, or disc assembly and inspect the rubber washer, O-rings, and valve seat surface.
- Replace any worn washers, cracked O-rings, or damaged cartridges with new parts that match the old size and material.
- Reassemble in reverse order, turn the water back on slowly, and watch for leaks for one to two minutes.
Tools and Parts Needed for Two-Handle Faucet Leak Repair
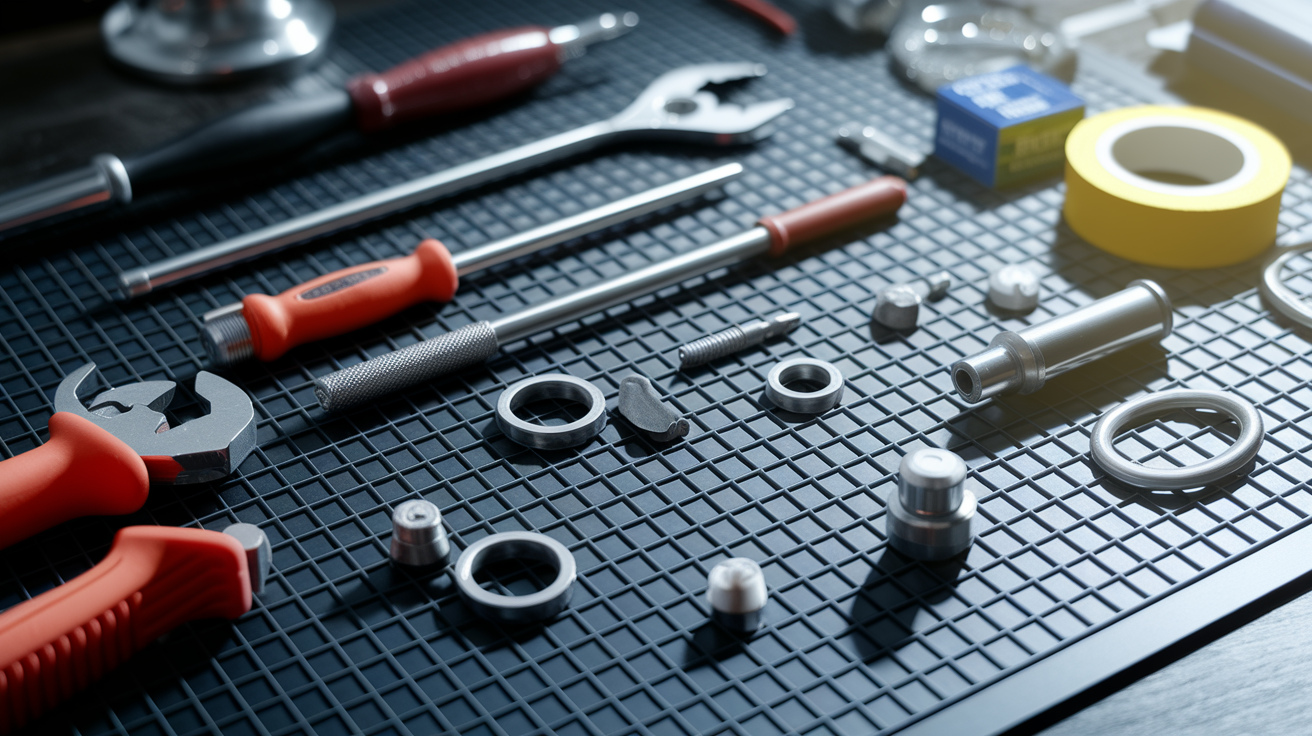
Having the right tools on hand prevents stripped screws, cracked plastic parts, and wasted trips to the hardware store. You’ll need basic hand tools that fit in a small toolbox and a few inexpensive replacement parts. Most repairs require nothing more than what’s listed here, and you can finish the job in one session without ordering specialty items.
Plan to spend $4 to $12 for washers and O-rings if you’re replacing one or two rubber parts. A full cartridge runs $10 to $80 depending on brand and style, with most common cartridges in the $25 to $60 range. Valve seats cost $5 to $25 each when they need replacement. A complete rebuild kit with multiple washers, O-rings, and seals costs $8 to $60 and covers both handles at once.
Tools and consumables checklist:
- Adjustable wrench, 6 to 10 inches (1)
- Phillips screwdriver, #2 size (1)
- Flathead screwdriver, medium (1)
- Allen wrench set, 3/32 to 1/4 inch (1 set)
- Needle-nose pliers (1 pair)
- Basin wrench for under-sink nuts, optional (1)
- Cartridge puller if cartridge is stuck, optional (1)
- Flashlight for inspecting dark valve bodies (1)
- Plumber’s grease, silicone based, 0.5 to 2 ounce tube (1)
- Teflon plumber’s tape, 1 roll (1)
- Penetrating oil for corroded parts, small can (1)
- Old towel to protect the sink (1)
- Small container or magnetic parts tray to hold screws (1)
How to Identify Your Two-Handle Faucet Type Before Repairing
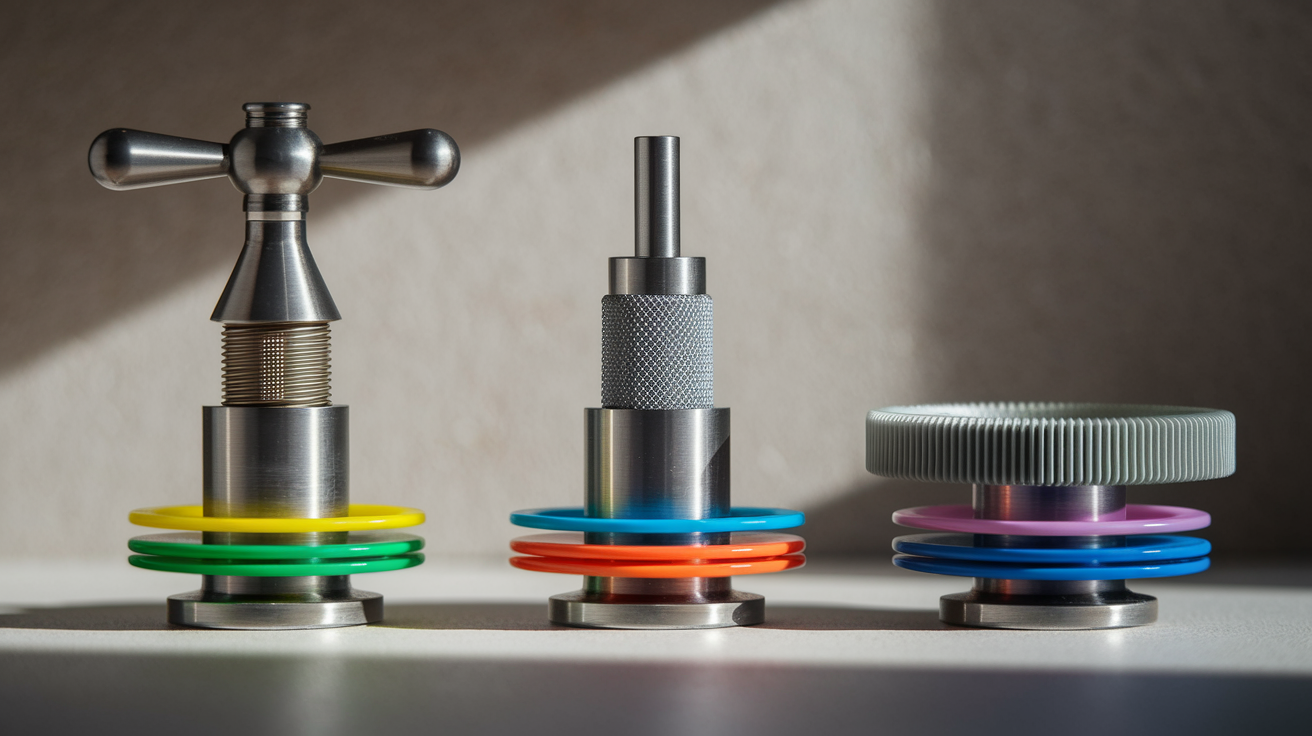
Buying the wrong replacement part wastes time and delays the fix. Two-handle faucets fall into three main internal designs, and each uses different parts. Spend two minutes checking which type you have before you remove anything or head to the store.
Compression faucets are the oldest style and easiest to spot. Turn a handle and feel resistance as you twist. The handle rotates multiple times from off to full flow. Look under the handle after you remove the decorative cap. If you see a visible stem screw on top and the handle pulls straight off a threaded stem, it’s compression. Inside, a rubber washer at the bottom of the stem presses against a metal valve seat to stop water flow.
Cartridge and ceramic disc faucets feel smooth when you operate the handles, often moving only a quarter or half turn from off to full open. Remove the handle and look for a retaining clip or a tall cylindrical cartridge that pulls straight out. That’s a cartridge faucet. Ceramic disc types have a thicker, squatter body and a flat disc assembly visible after you remove the top cover. Both cartridge and disc designs rarely need the valve seat replaced. The internal seals or the cartridge itself are usually the problem.
Repairing a Leaky Two-Handle Compression Faucet (Washer Based)
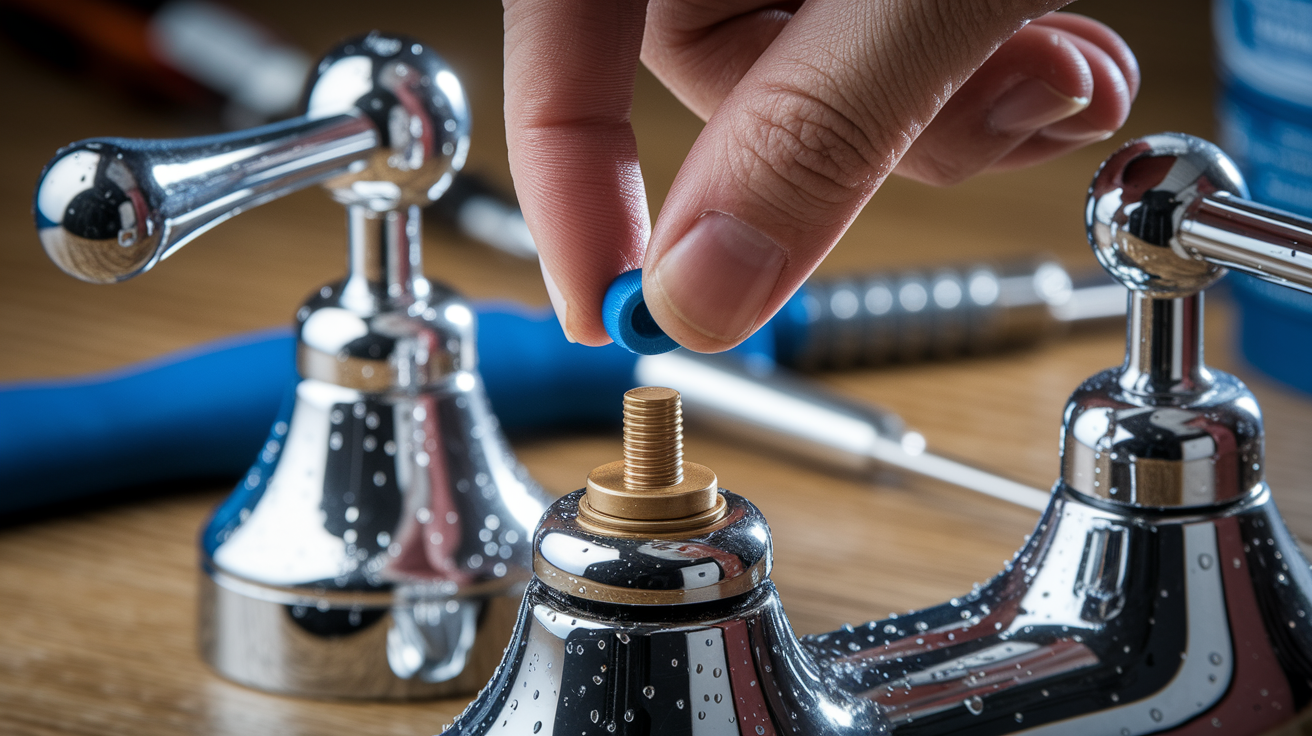
Compression faucets leak because the rubber seat washer at the bottom of the stem gets compressed thousands of times and eventually hardens, flattens, or tears. When the washer no longer seals tightly against the valve seat, water drips from the spout even when the handle is fully closed. O-rings around the stem also wear out and cause leaks at the base of the handle. The good news is parts cost under $3 per side and the repair takes 15 to 40 minutes per handle.
-
Shut off the water at the angle-stop valves under the sink. Turn both faucet handles to the open position and let any trapped water drain into the sink for 15 seconds. Place a towel in the basin to catch dropped parts.
-
Removing the Handle Cap and Screw. Pry off the small decorative cap on top of the handle using a flathead screwdriver. The cap usually snaps off or unscrews by hand. Underneath you’ll find a Phillips or flathead screw. Remove the screw completely and place it in your small container. Pull the handle straight up and off the stem. If the handle is stuck, wiggle it gently side to side while pulling.
-
Use an adjustable wrench to loosen the large hexagonal bonnet nut or retaining nut that surrounds the stem. Turn the nut counterclockwise. Some nuts are chrome plated brass. Wrap a thin cloth around the nut if you’re worried about scratching the finish.
-
Lift or unscrew the valve stem out of the faucet body. Compression stems thread out counterclockwise. As you remove the stem, note the order of any washers, packing material, or O-rings stacked on the stem so you can reassemble in the same sequence.
-
Inspecting the Rubber Washer. At the very bottom of the stem you’ll see a flat rubber washer held in place by a small brass screw. Check whether the washer is hard, cracked, torn, or has a groove worn into one side. If any of those conditions are present, remove the brass screw and replace the washer with a new one of identical size. Bring the old washer to the hardware store to match diameter and thickness. Choose a washer rated for both hot and cold water to prevent warping.
-
Look for one or two O-rings on the stem body, usually near the threads. If the O-rings are flattened, cracked, or missing, pry them off with a small flathead screwdriver or an O-ring pick and roll new O-rings onto the stem. Lightly coat the new O-rings with silicone based plumber’s grease before installation.
-
Evaluating Valve Seat Condition. Shine your flashlight into the faucet body and inspect the brass valve seat, the small ring with a center hole that the washer presses against. If you see pitting, rough edges, or mineral deposits, the seat needs to be replaced or resurfaced. Remove the old seat using a seat wrench (an inexpensive L shaped tool) by inserting it into the seat and turning counterclockwise. Install a new seat by threading it in clockwise and tightening gently. If the seat is only lightly scaled, you can use fine emery cloth wrapped around a pencil to smooth the surface, but replacement is more reliable.
-
Reassemble the stem with the new washer, new O-rings, and clean or new valve seat. Thread or insert the stem back into the faucet body, tighten the bonnet nut by hand, then snug it with the wrench using only a quarter turn past hand tight. Reattach the handle, insert the screw, and snap the cap back on. Turn the water supply back on slowly and open the faucet handle to check for leaks at the spout and around the handle base. If a small drip persists at the handle, tighten the bonnet nut another eighth of a turn.
Repairing a Leaky Two-Handle Cartridge Faucet

Cartridge faucets use a cylindrical plastic or brass cartridge that contains all the seals and moving parts in one assembly. When the cartridge seals wear out or the cartridge itself cracks, water drips from the spout or leaks around the handle. Replacing the entire cartridge is the standard fix and takes 20 to 40 minutes. Stuck cartridges may add another 15 to 30 minutes if you need penetrating oil or a cartridge puller.
Start by shutting off both angle-stop valves under the sink and opening the faucet handles to drain pressure. Remove the decorative cap and handle screw as described in the compression faucet section, then lift the handle off. You’ll see an escutcheon (decorative collar or sleeve) covering the cartridge. Unscrew or pull it off.
-
Look for a U shaped retaining clip or a threaded retaining nut holding the cartridge in place. Use needle-nose pliers to pull the retaining clip straight out, or use your adjustable wrench to unscrew the retaining nut counterclockwise.
-
Grip the top of the cartridge with pliers and pull straight up. Cartridges should slide out smoothly, but mineral deposits or corrosion can bind them. If the cartridge won’t budge, apply penetrating oil around the cartridge rim, wait 10 minutes, and try again. Work the cartridge back and forth gently while pulling. A cartridge puller (a small clamping tool that costs $8 to $25) provides extra leverage without damaging the cartridge ears.
-
Inspect the old cartridge for cracks in the plastic body or worn rubber seals around the base. Note the orientation of any flat sides or alignment tabs on the cartridge. The new cartridge must go back in the same way or hot and cold will be reversed. Measure the old cartridge length if you’re unsure of the model. Most run 2 to 3 inches. Check for the number of splines or the shape of the stem at the top.
-
If only the O-rings on the cartridge body are damaged and the cartridge itself is intact, you can replace the O-rings instead of the whole cartridge. Roll off the old O-rings, coat the new ones with silicone plumber’s grease, and roll them into the grooves on the cartridge.
-
Coat the new or rebuilt cartridge O-rings with a thin layer of silicone grease. Insert the cartridge into the faucet body in the exact orientation of the original, aligning any flat sides or tabs with the slots in the valve body. Push down firmly until the cartridge seats completely.
-
Reinstall the retaining clip or nut, replace the escutcheon, reattach the handle and screw, and snap the cap back on.
-
Turn on the water supply slowly, open the faucet, and check for leaks at the spout and handle base. Let hot and cold run separately for 30 seconds each to confirm proper operation. If the hot and cold are reversed, shut off the supply, remove the handle and retaining hardware, pull the cartridge, rotate it 180 degrees, and reinsert.
Repairing a Two-Handle Ceramic Disc Faucet
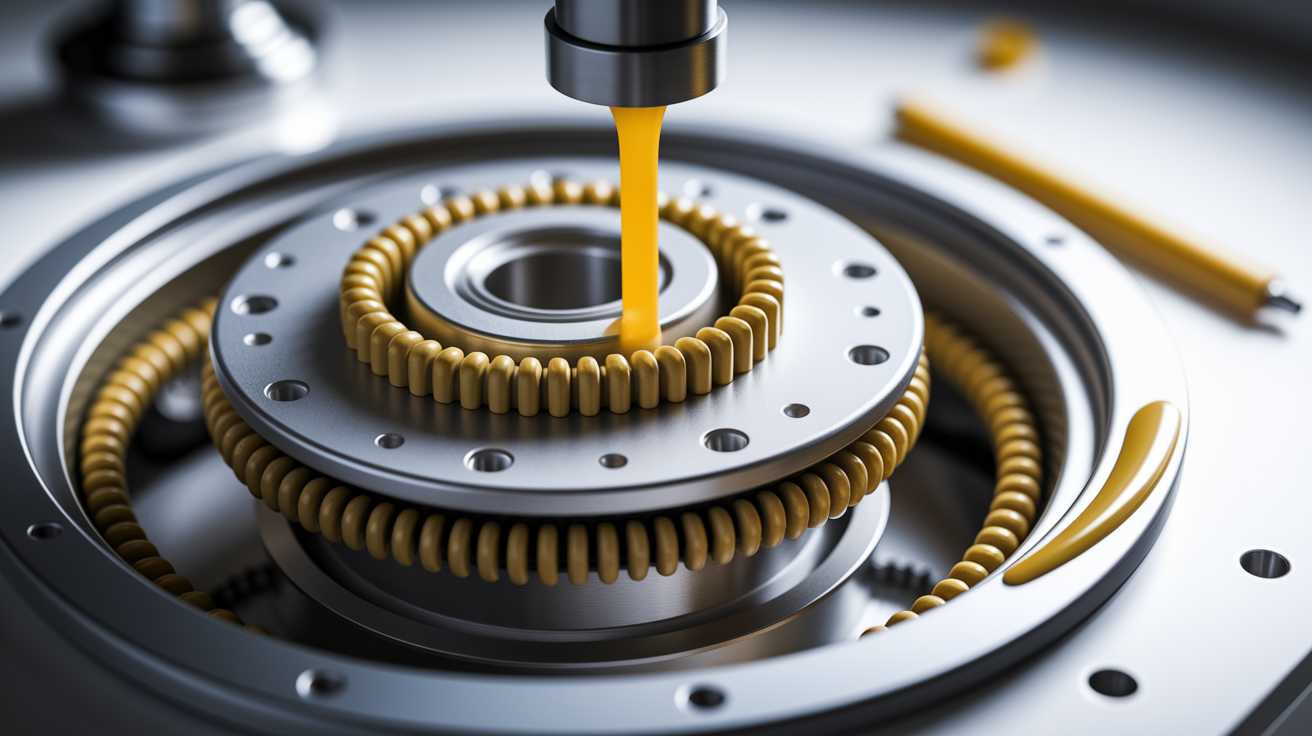
Ceramic disc faucets use a pair of hard ceramic plates that slide against each other to control water flow. The discs themselves rarely crack or wear out, but the rubber seals underneath the disc assembly do degrade and cause leaks. Replacing the seals is straightforward and takes 15 to 30 minutes. If the ceramic discs are chipped or the faucet body is cracked, you’ll need to replace the entire disc cartridge or the whole faucet.
Shut off the water and relieve pressure as usual. Remove the handle by taking off the decorative cap and unscrewing the set screw. Some ceramic disc handles have a small Allen screw on the side or underneath instead of a top screw.
-
Lift off the handle and remove the top cap or escutcheon. You’ll see a large disc assembly held down by two or three screws. Remove those screws with a Phillips screwdriver and lift the disc assembly straight up.
-
Turn the disc assembly over and inspect the rubber seals or inlet seals on the underside. These are usually black rubber rings pressed into recesses in the plastic or metal housing. Pry the old seals out carefully with a small flathead screwdriver or pick.
-
Press new seals into the recesses, making sure they sit flat and fully seated. Coat each seal lightly with silicone grease to prevent binding during reassembly.
-
If the ceramic discs themselves show cracks or deep scratches, replace the entire disc cartridge. Replacement disc assemblies cost $15 to $80 depending on brand and are available by faucet model number. Bring the old assembly or a clear photo to the parts counter.
-
Set the disc assembly back into the faucet body, align the screw holes, and tighten the mounting screws snugly but not over tight. Ceramic and plastic parts crack easily. Reattach the escutcheon, handle, and cap. Turn the water back on and test both hot and cold for leaks.
Troubleshooting Leaks by Location on a Two-Handle Faucet
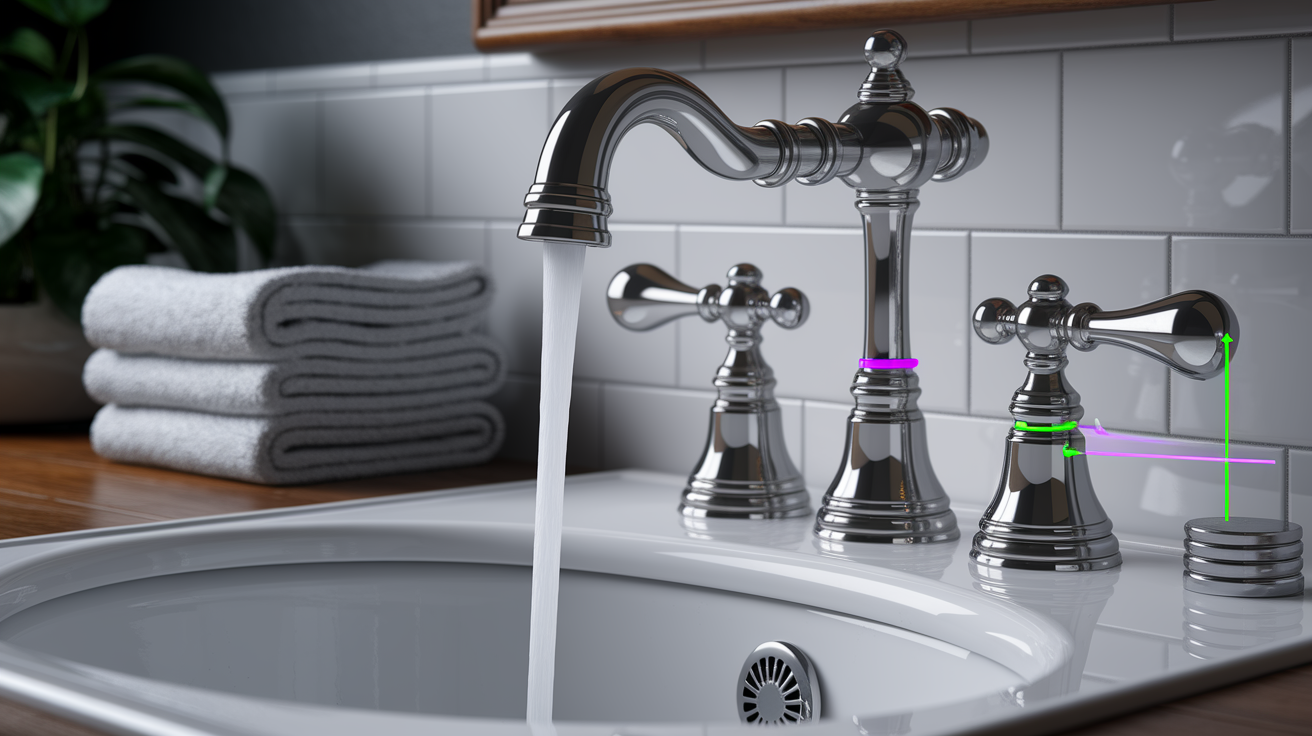
Different leak locations point to specific failed parts. Use this guide to narrow down the problem before you start disassembling the faucet. Knowing what you’re looking for saves time and helps you buy the right parts on the first trip.
| Leak Location | Probable Cause | Recommended Fix |
|---|---|---|
| Drip from spout when both handles are off | Worn seat washer (compression), damaged cartridge seals, or pitted valve seat | Replace rubber washer and inspect valve seat; or replace cartridge; or resurface/replace valve seat if pitted |
| Water seeping at base of handle | Worn or missing O-rings on stem, or loose packing nut | Replace O-rings (1 to 2 per handle); tighten packing/bonnet nut hand tight plus 1/8 turn |
| Leak under sink at supply line connection | Loose coupling nut or worn supply hose washer | Tighten coupling nut by hand plus 1/4 turn; replace braided supply hose if cracked or bulging |
| Leak only when handle is turned on | Washer not sealing during flow (compression) or cartridge seal failure | Replace seat washer and check valve seat; or replace cartridge assembly |
Testing, Reassembly, and Final Leak Check for Two-Handle Faucets
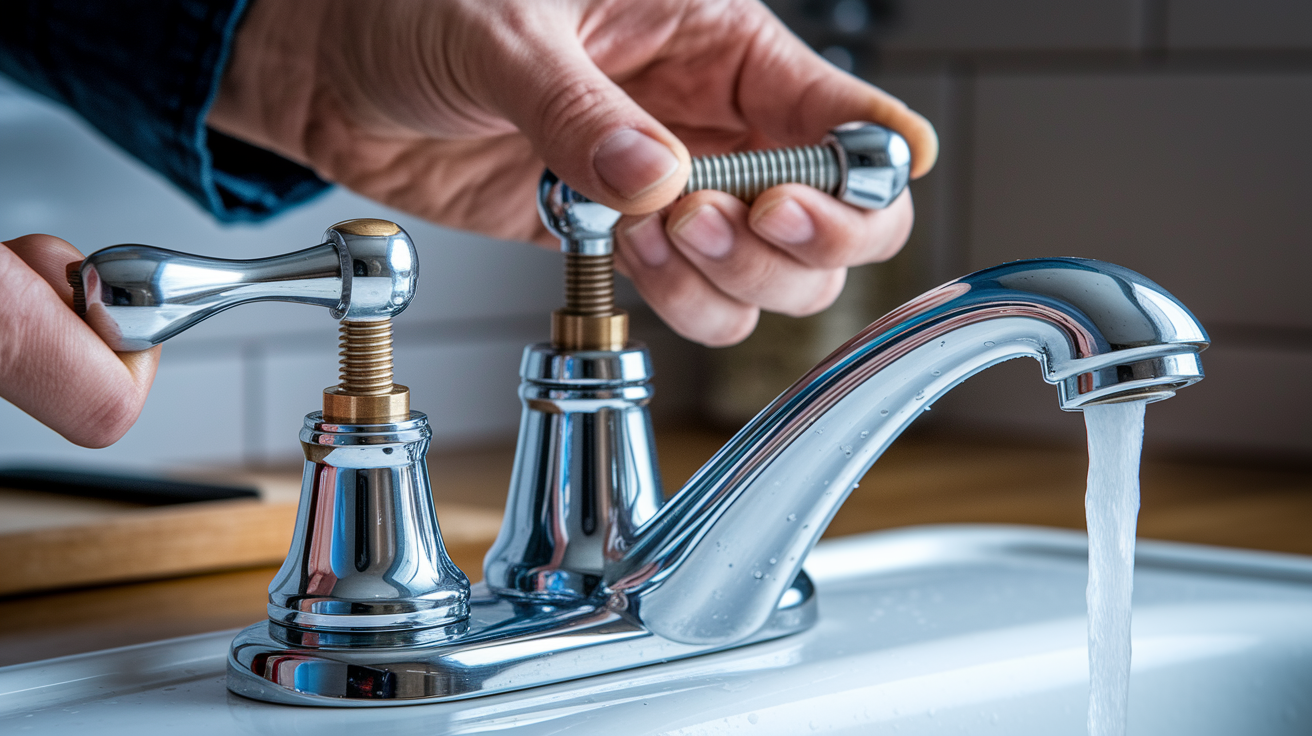
After you’ve replaced washers, O-rings, or cartridges, careful reassembly and testing confirm the repair worked. Rushing this step or overtightening parts creates new leaks or cracks plastic components.
Reassemble each handle in reverse order of disassembly. Thread stems and cartridges back into the valve body by hand first, then use your wrench to snug retaining nuts or bonnets. Stop tightening when the nut feels snug by hand, then add only one quarter turn with the wrench. Ceramic disc assemblies and plastic cartridge retainers crack easily, so finger tight plus a small turn is enough. Reattach handles, insert screws, and snap caps back on.
Turn the angle-stop valves back on slowly, one full turn at a time, while watching for leaks at the faucet base and under the sink. Open the hot handle fully and let water run for 30 seconds. Close it and check the spout for drips. Repeat with the cold handle. If you see no leaks after one minute, the repair is complete. A drip rate of one drop every 10 seconds or slower often stops on its own as new washers and seals settle in. Wait five minutes and check again.
If the leak persists:
- Shut off the water and remove the handle again.
- Check that the washer or cartridge is seated fully and oriented correctly.
- Tighten the bonnet or retaining nut another eighth of a turn.
- Confirm that any O-rings are in their grooves and not pinched during reassembly.
When to Replace a Two-Handle Faucet Instead of Repairing It
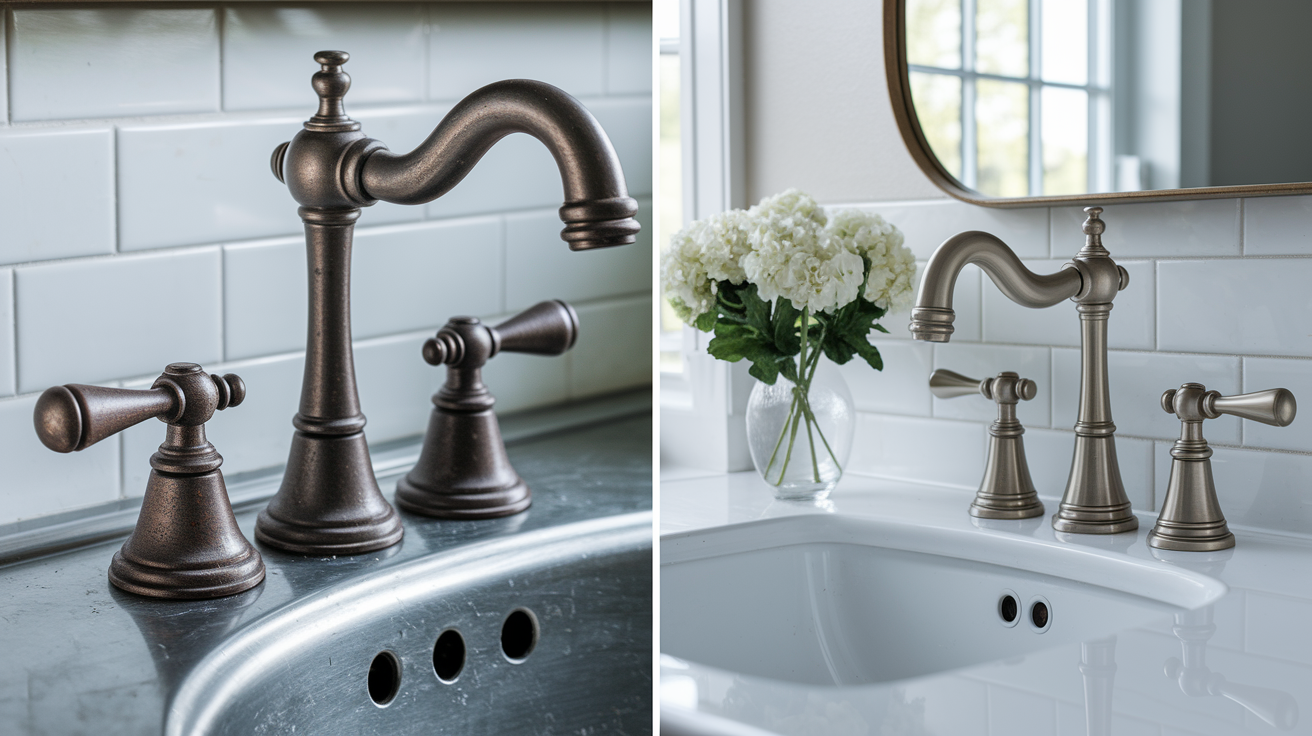
Some leaks signal that the faucet has reached the end of its serviceable life. Replacement makes more sense than repair when the valve body is corroded, parts are no longer available, or you’ve already replaced washers and cartridges without fixing the problem.
Look for these signs that replacement is the better path. Deep pitting or cracks in the brass valve body mean water is corroding the metal from the inside. If you see green or white mineral buildup throughout the valve assembly and the threads are corroded, cleaning and new parts won’t restore a good seal. Faucets with proprietary cartridges or discontinued models may have parts that cost $60 to $100 or are unavailable entirely. At that price point a new faucet, which runs $60 to $300 depending on finish and features, makes better financial sense.
Replacing a two-handle faucet yourself takes one to three hours and requires basic plumbing skills to disconnect supply lines and remove the old faucet from the sink or countertop. Many newer faucets come with flexible supply hoses pre-installed and quick-connect fittings that simplify installation. If you’d rather hire the work out, expect to pay a plumber $100 to $350 for parts and labor depending on your location and the complexity of the installation.
Consider replacement if:
- You’ve replaced all washers, O-rings, and cartridges but the leak returns within days or weeks.
- The faucet body shows cracks, heavy corrosion, or stripped threads.
- Replacement parts are unavailable or cost more than half the price of a new faucet.
- You want to upgrade to a modern style, finish, or water saving aerator.
Preventive Maintenance Tips for Two-Handle Faucets
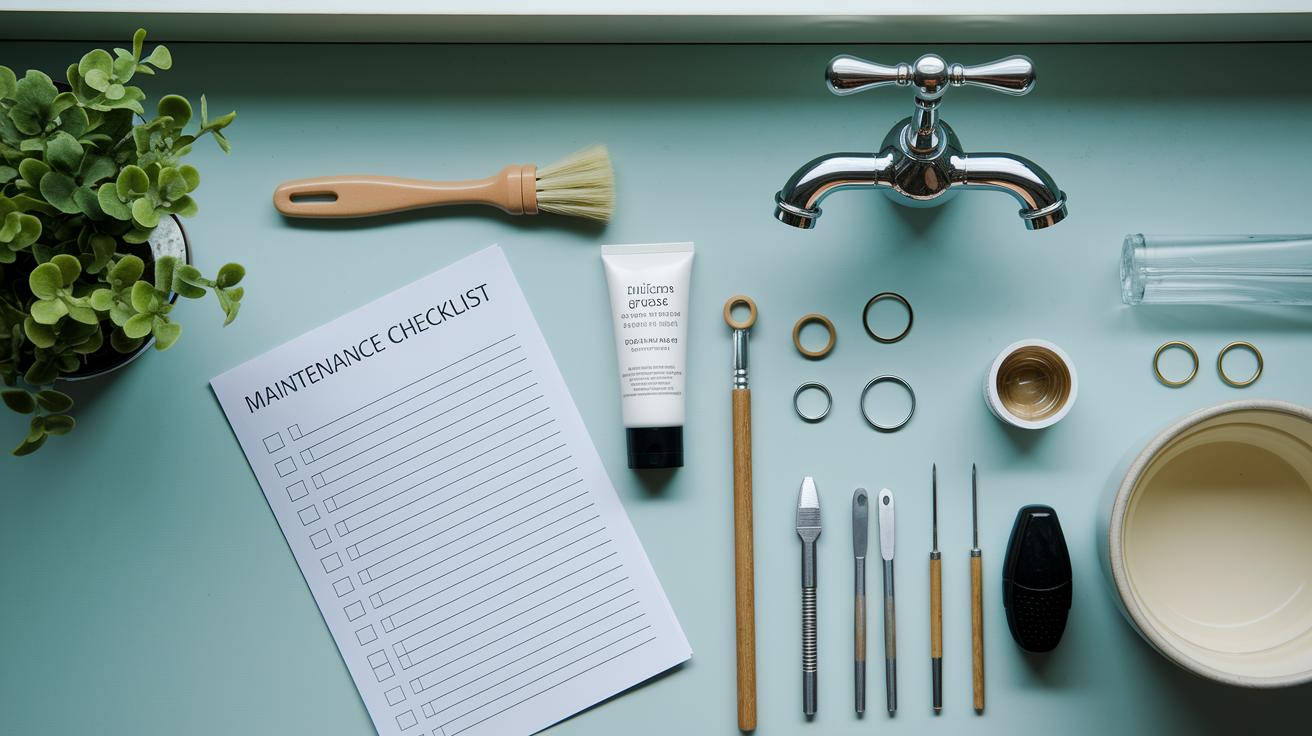
Simple upkeep every few months extends the life of washers, O-rings, and cartridges and prevents future leaks. Most maintenance takes five minutes and requires no tools beyond a wrench and a small brush.
- Clean the aerator every three to six months by unscrewing it from the spout tip, rinsing the screen under running water, and soaking it in white vinegar for 15 minutes if mineral deposits are visible. Hard water leaves calcium and lime scale that restrict flow and put extra pressure on internal seals.
- Operate both handles through their full range of motion once a week. Moving parts that sit unused for long periods develop mineral buildup and stuck spots that cause uneven wear on washers and seals.
- Apply a thin coat of silicone grease to O-rings and cartridge seals during any repair or annual inspection. Dry rubber cracks faster than lubricated rubber.
- Check under the sink quarterly for moisture around supply line connections and angle-stop valves. Tighten any loose nuts immediately to prevent slow drips that cause cabinet damage.
- Replace braided stainless supply hoses every 10 years even if they show no visible wear. Internal rubber hoses degrade over time and can burst without warning.
- If you live in an area with hard water, consider installing an under-sink water softener or whole house softener to reduce mineral deposits inside faucet cartridges and valve seats.
Final Words
If the drip’s still on, shut off the water, relieve pressure, and ID the faucet type. Grab the right tools so you don’t strip anything.
Replace the worn washer, O-ring, or cartridge, clean the valve seat, reassemble, and test each side for a few minutes. Choose replacement if the valve body is corroded or parts aren’t available.
Follow those steps and you’ll see how to fix a leaky two handle faucet without guesswork. You’ll stop the drip and get back to normal.
FAQ
Q: How to stop a double handle faucet from dripping?
A: Stopping a double-handle faucet from dripping starts with shutting off the water, relieving pressure, then replacing the worn washer, O-ring, or cartridge, and cleaning or reseating the valve seat as needed.
Q: What is a faucet with two handles called?
A: A faucet with two handles is called a two-handle or double-handle faucet; if the handles sit close it’s a centerset, and if they’re separate it’s a widespread style.
Q: How do I identify the faucet brand and model?
A: Identifying the faucet brand and model means checking for logos on the handle or escutcheon, looking under the sink for stamped numbers, removing the cartridge for part codes, or photographing it to compare online.
Q: Can I fix a leaky faucet without replacing it?
A: You can often fix a leaky faucet without replacing it by swapping washers, O-rings, or cartridges; most repairs take 30–90 minutes and cost under $60, but call a pro for severe corrosion or pitted seats.