

Think one drip is no big deal?
A faucet that leaks once a second wastes more than 3,000 gallons a year—and your money.
This post shows fast, practical fixes you can do today: shut off the water, spot the leak, swap a washer or cartridge, and test for a clean stop.
You’ll get a short tool list, time and cost estimates, and the most common mistakes so you don’t redo the job.
Follow these steps and the drip will quit, your bills will drop, and you’ll feel like you fixed it right.
Immediate Steps to Stop a Leaky Faucet Problem
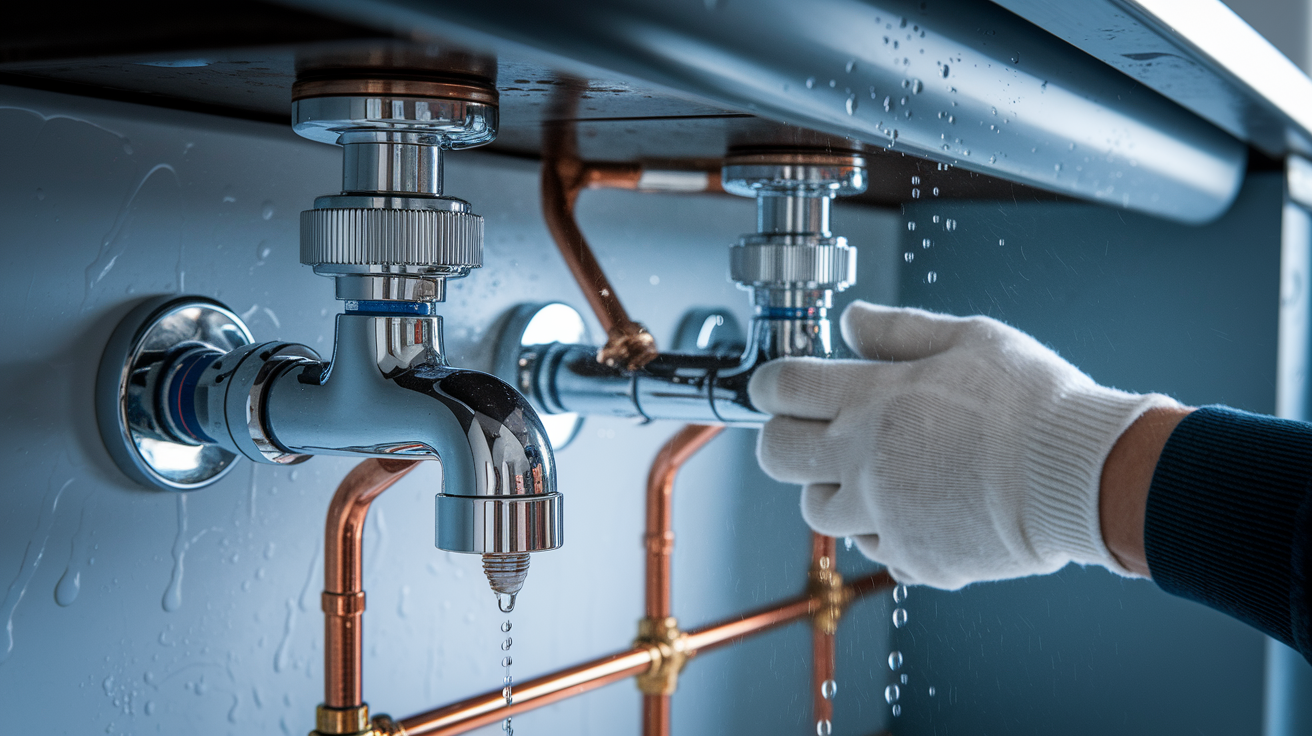
Shut off your water right now using the valves under your sink. This stops the drip immediately. Turn both hot and cold supply valves clockwise until they’re snug. You’ll find these on the flexible lines running from the wall to the faucet. If the handles are stuck or there aren’t any under-sink valves, find your home’s main shutoff and close it all the way.
After you’ve killed the water, open the faucet handles to let trapped pressure escape. Leave them open for 5–10 minutes while everything drains. The dripping slows down, then quits. Relieving this pressure also makes disassembly safer because you won’t get surprised by spurts when you start taking things apart.
While the faucet’s draining, do a quick look around. Check the spout tip, both handle bases, where the spout meets the sink, and all the supply connections you can see under the sink. Run a dry hand around the faucet base to catch any hidden moisture. Most leaks show up in one of these spots, which tells you what part probably gave out.
Here’s your six step “stop it now” checklist:
- Turn off both supply valves under the sink, clockwise until snug
- Open faucet handles to dump line pressure, wait 5–10 minutes
- Check the aerator at the spout tip, unscrew it and look for debris or cracks
- Inspect visible supply lines for bulges, rust, or loose nuts
- Confirm shutoff valves are fully closed, drip should stop. If not, close the main shutoff
- Dry everything completely with towels so you can actually see where the leak’s coming from
Essential Tools and Parts for Faucet Leak Repair
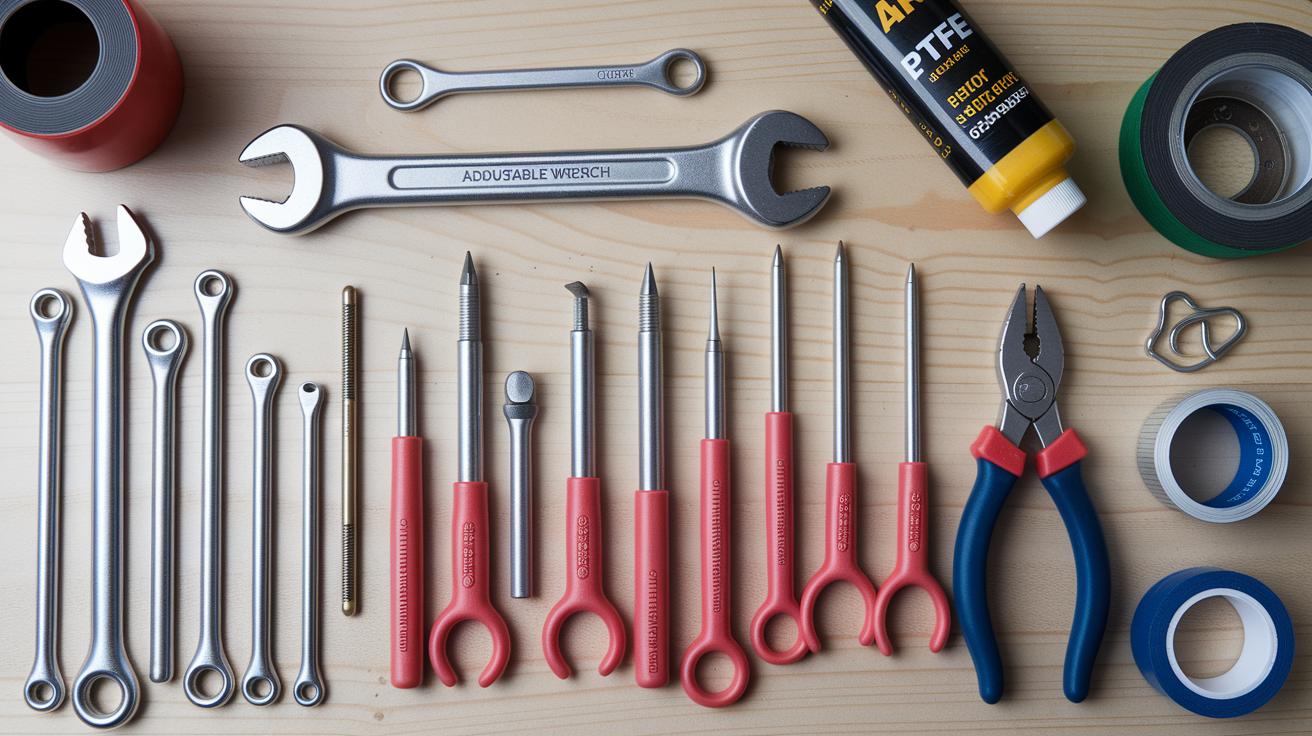
Most faucet repairs need tools you’ve probably got in a basic box, plus a few cheap replacement parts. An adjustable wrench (6–10 inches) and a Phillips #2 screwdriver handle about 80% of what you’ll take apart. A basin wrench makes reaching under-sink nuts way easier. It’s got a long handle with a swiveling jaw that fits into cramped spaces. If your faucet uses Allen set screws to hold the handle on, grab a small hex key set (1/16″, 3/32″, and 1/8″ are the common sizes). Needle-nose pliers help pull retaining clips and grab little parts.
For putting it back together and sealing, you’ll want a tube of silicone plumber’s grease (about $4–$10) and a roll of PTFE thread tape ($2–$6). Grease keeps rubber O-rings from binding or tearing when you install them. A cartridge puller’s optional but handy. It grips and extracts stuck cartridges without wrecking the faucet body. Replacement parts depend on your faucet type. Budget $3–$12 for O-ring or washer kits, $15–$60 for a standard cartridge, $15–$40 for a ball-valve kit, or $25–$75 for a ceramic-disk cartridge.
What you’ll actually need:
- Adjustable wrench (6–10 inches), $10–$25
- Basin wrench, $10–$30
- Phillips #2 and flathead screwdrivers
- Hex key set (Allen wrenches)
- Needle-nose pliers
- Plumber’s grease (silicone, one tube)
- PTFE thread tape (one roll)
- Replacement O-rings, washers, or cartridge (depends on your faucet)
- Optional: Cartridge puller, $10–$20
- Towels and a small container for trapped water
Diagnosing the Type of Faucet and Leak Location

Faucets come in four main flavors: compression, cartridge, ball, and ceramic disk. Compression faucets have separate hot and cold handles that you turn several full rotations to open. Cartridge faucets might have one or two handles but need less turning, just a quarter or half turn. Ball faucets use a single handle that swivels over a rounded ball-shaped valve. Ceramic-disk faucets also use one handle but control water through two ceramic plates inside a wide cartridge.
Knowing your type matters because each one uses different guts. The easiest way to figure out what you’ve got is to pull the handle and look inside. You’ll see either a threaded stem with a washer (compression), a tall cylinder (cartridge type), a metal or plastic ball (ball type), or a short, wide disk cartridge (ceramic disk). Still not sure? Check the model number stamped on the faucet body or search the brand online with a photo.
Where the leak shows up gives you a direct hint about which part died. If water drips from the spout when the faucet’s off, the valve seal or cartridge is toast. A puddle around the handle base means an O-ring or packing nut needs work. Water pooling under the sink points to a loose supply connection or a busted braided hose. Moisture around the faucet base where it touches the sink often means the sink seal broke down.
| Leak Location | Likely Cause | Typical Fix |
|---|---|---|
| Drips from spout when faucet is off | Worn seat washer, O-ring, or cartridge seals | Replace washer/cartridge, 15–45 min, $5–$60 |
| Leak at handle base | Worn O-ring or loose packing nut | Replace O-ring or tighten nut, 10–20 min, $3–$12 |
| Water pooling at faucet base (sink deck) | Failed sink seal or corroded faucet body | Remove faucet, reseal with putty, 30–60 min, $5–$15 |
| Leak under sink at supply line | Loose compression nut or damaged supply hose | Tighten nut or replace hose, 5–15 min, $5–$25 |
| Constant trickle from spout | Corroded valve seat or failed cartridge | Clean/replace seat or swap cartridge, 20–60 min, $15–$75 |
Complete Faucet Repair Process With Type-Specific Instructions

Faucet repair follows a basic workflow with small tweaks depending on what type you’ve got. You’ll yank the handle, get at the valve guts, replace or clean whatever wore out, then put it back together and test. Most repairs take 15–60 minutes once you’ve got the right parts. The steps below work for pretty much any faucet. Just follow the notes for your specific model.
Remove the Faucet Handle
Start by finding the handle’s set screw, usually hiding under a small cap on top or behind the handle. Pop off the cap gently with a flathead screwdriver. Be careful not to scratch the finish. You’ll see a Phillips or hex set screw underneath. Loosen it with the right driver, then lift the handle straight up. Some handles are tight and need a wiggle or a light pull. If the handle won’t budge after you’ve backed out the screw, it’s probably stuck from mineral crud. Spray some penetrating oil around the base, wait five minutes, then try again.
Access and Inspect Internal Components
With the handle off, you’ll see the valve assembly. On compression faucets, there’s a packing nut and a threaded stem. On cartridge faucets, a retaining nut or clip holds the cartridge. Ball faucets show the ball and cam assembly. Ceramic-disk faucets have a wide, flat disk cartridge held by one or two screws. Remove whatever’s holding things in place (clips, nuts, screws) and carefully pull out the internal part. Take a photo before you remove anything so you remember how it goes back.
Check all the rubber parts for cracks, tears, or flat spots. Look at metal surfaces for rust, especially the valve seat inside the faucet body. Mineral buildup looks like white or greenish crust. It can stop a seal from working even with brand new parts. If you see heavy buildup, soak the parts in white vinegar for 30 minutes, then scrub gently with an old toothbrush.
Replace Worn or Damaged Parts
For compression faucets, pull the old seat washer off the bottom of the stem and press on a new one that matches the size (usually 1/2″–3/4″ diameter). Replace any O-rings on the stem by rolling them off and sliding new ones into the grooves. Coat the new O-rings lightly with plumber’s grease before you install them. For cartridge faucets, just swap the old cartridge for an identical new one. Make sure the orientation’s right. Most cartridges have a flat side or notch that lines up with the faucet body. Ball faucets need a full repair kit: yank the old ball, seats, and springs, then drop in the new set from the kit. Make sure the ball slots in with the alignment pin. Ceramic-disk faucets often just need new rubber seals under the disk, but if the ceramic plates are cracked, replace the whole cartridge.
Reassemble the Faucet and Test
Slide everything back into the faucet body in reverse order. Tighten retaining nuts by hand first, then snug them with a wrench. Don’t crank down too hard or you’ll crack plastic parts or squash rubber seals. Put the handle back on, stick in the set screw, and snap the cap back. Turn the supply valves back on slowly and watch for leaks. Open the faucet handle and let water run for 30 seconds to flush out any junk. If you see drips from the spout or handle, shut off the water and check that all O-rings are sitting right and the cartridge or ball is oriented correctly.
Compression Faucet Variations
Compression faucets are the oldest style and use separate hot and cold handles. Each handle controls a threaded stem that squashes a rubber washer against a valve seat. To fix a drip, turn off water, pull the handle, unscrew the packing nut, and yank out the stem. Replace the seat washer at the bottom of the stem and any O-rings around the stem body. If the drip keeps going after you’ve swapped the washer, the valve seat inside the faucet body’s probably corroded. Use a valve-seat wrench to unscrew and replace it, or smooth it with a seat-dressing tool. Typical repair time’s 15–30 minutes per handle. Replacement washers cost $2–$8 for a multipack.
Cartridge Faucet Variations
Cartridge faucets have a tall cylinder that slides into the faucet body. They might have one or two handles. Start by pulling the handle and any trim. You’ll see a retaining nut or a U-shaped metal clip holding the cartridge. Pull the clip with pliers or unscrew the nut, then grab the cartridge stem and pull straight up. Some cartridges are tight and work better with a cartridge puller. Check the cartridge for cracks and look at all the O-rings. Drop in the new cartridge, making sure any tabs or flats match the faucet body. Expect 20–45 minutes for a full swap. Replacement cartridges run $15–$60 depending on brand.
Ball Faucet Variations
Ball faucets use a single handle that rocks over a slotted metal or plastic ball. Pull the handle and unscrew the cap with pliers or a specialty wrench (often comes in repair kits). Lift out the cam, cam washer, and ball. You’ll see small rubber seats and springs in the faucet body. Use needle-nose pliers to yank them out. Install new seats and springs from your kit, drop in the new ball (line up the slot with the pin in the faucet body), replace the cam and washer, then put it back together. Ball-faucet repairs take 30–60 minutes and use a $15–$40 kit that includes the ball, seats, springs, and O-rings.
Ceramic-Disk Faucet Variations
Ceramic-disk faucets control water with two ceramic plates inside a short, wide cartridge. Pull the handle and unscrew the cartridge screws. Lift out the disk cartridge and flip it over to get at the rubber seals on the bottom. Pry out the old seals and press in new ones from a seal kit, or replace the whole ceramic cartridge if the disks are cracked. Clean any mineral gunk from the cartridge chambers with vinegar before you put it back. Ceramic-disk repairs take 20–45 minutes. Seal kits cost $10–$25. Full ceramic cartridges run $25–$75.
Troubleshooting Persistent Drips and Leaks
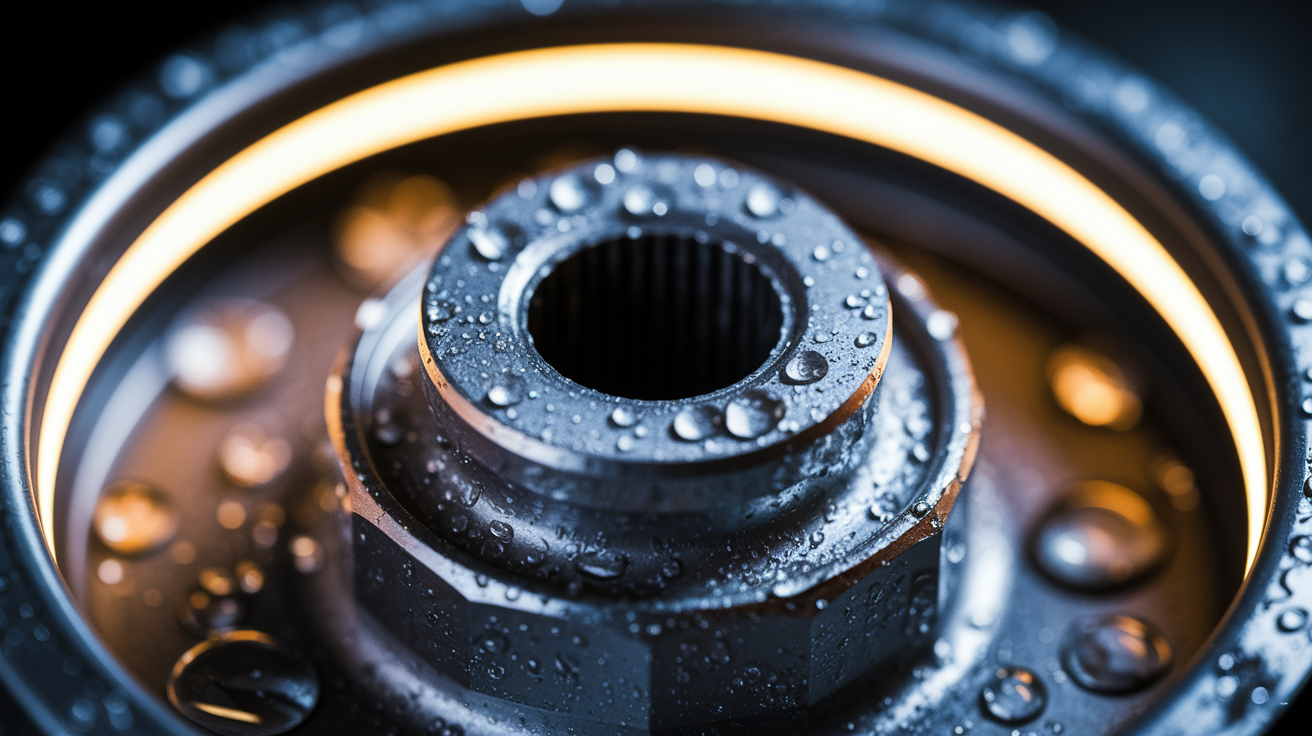
If your faucet’s still dripping after you’ve replaced the obvious worn parts, the valve seat inside the faucet body’s probably corroded or pitted. Even a tiny groove in the seat stops a good seal. You can grab a cheap valve-seat wrench to unscrew and replace the seat, or use a seat-dressing tool (a small grinding bit) to smooth the surface. Both tools cost under $15 and work in minutes. Just be gentle so you don’t grind away too much metal.
Leaks that pop up at the handle base right after you put things back together usually mean an O-ring isn’t sitting flat or you forgot to grease it. Take the handle apart again, check that the O-ring’s in its groove, slap on a thin coat of silicone grease, and reassemble. If water leaks from under the sink after you’ve fixed the faucet, double-check that you didn’t bump or loosen a supply-line connection during the repair. Tighten the compression nuts a quarter turn and watch for drips.
Five quick checks when leaks keep going:
- Wrong cartridge orientation, cartridges have a flat or notch that has to line up. Pull it out, rotate 180°, and try again
- Corroded valve seat, replace or dress the seat if new washers don’t stop the drip
- Loose packing nut, tighten the nut under the handle by hand, then a quarter turn with a wrench
- Mineral buildup on sealing surfaces, soak parts in white vinegar for 30–60 minutes and scrub with a toothbrush
- Old supply hoses, if under-sink leaks continue, swap out braided supply lines ($5–$25 each)
Costs for DIY vs. Professional Faucet Leak Repair

Simple DIY faucet repairs cost almost nothing if you’ve already got basic tools. A pack of assorted washers or O-rings runs $3–$12 at any hardware store. Swapping a standard cartridge usually costs $20–$45 for the part. Ball-faucet repair kits range from $15–$40, and ceramic-disk cartridges cost $25–$75 depending on brand. Add $5–$10 for plumber’s grease and thread tape if you don’t have them. Most first-time repairs take 30–90 minutes once you’ve figured out the problem and grabbed the right parts.
Professional plumbers charge a service call or diagnostic fee of $50–$150, which some waive if you go ahead with the repair. Hourly labor runs $45–$200 depending on where you live and the plumber’s experience. A straightforward washer or O-ring swap might cost $90–$180 total, while a cartridge replacement often runs $150–$350. If you need a whole new faucet, expect $200–$700+ including labor and the fixture. Emergency or after-hours rates can jump to 1.5× or 2× the standard rate, so calling a plumber at 10 p.m. on Sunday costs more than scheduling a weekday visit.
| Repair Type | DIY Cost Range | Pro Cost Range |
|---|---|---|
| Replace washer/O-ring (compression faucet) | $3–$12 parts | $90–$180 total |
| Swap cartridge (cartridge faucet) | $20–$60 parts | $150–$350 total |
| Ball-valve repair kit (ball faucet) | $15–$40 parts | $120–$300 total |
| Full faucet replacement | $50–$400 fixture + tools | $200–$700+ (labor + fixture) |
When You Should Call a Plumber Instead of DIY

Call a plumber right away if you can’t stop water flow even after closing the under-sink shutoff valves. That means there’s a problem with the valve itself or the supply line, and messing with the faucet won’t help. You should also call a pro if parts are seized, stripped, or so corroded you can’t remove them without risking damage to the faucet body or sink. Forcing stuck parts often leads to cracked fittings or broken pipes, which turn a $30 DIY job into a $500 emergency.
If you’ve already tried one full repair (replaced the cartridge or washers) and the leak keeps going or gets worse, a plumber can diagnose hidden problems like a cracked faucet body, corroded supply lines inside the wall, or pressure issues hitting multiple fixtures. When water pools under the sink and soaks the cabinet, speed matters. Long-term moisture causes mold, cabinet rot, and even structural damage, so don’t wait around to see if it dries out on its own.
Four triggers that mean it’s time to call a plumber:
- Shutoff valves won’t stop water, the valve itself is broken or the supply line failed
- Parts are corroded, stripped, or totally stuck, forcing them risks breaking the faucet or sink connections
- Leak persists after one full DIY attempt, hidden damage or wrong diagnosis means you need professional tools and experience
- Multiple fixtures show leaks or low pressure, indicates a bigger supply-line or pressure issue beyond one faucet
Preventive Maintenance to Avoid Future Faucet Leaks

Faucet aerators catch sediment and mineral deposits that cut water flow and crank up pressure inside the valve, which wears out seals and washers faster. Unscrew the aerator from the spout tip every one to three months and soak it in white vinegar for 30 minutes. Scrub the screen with an old toothbrush and rinse it under running water before you screw it back on. This simple step keeps water flowing smoothly and takes stress off internal parts.
Every six to twelve months, shut off the water and pull the faucet handles to check O-rings and seals. Look for any cracks, flat spots, or hardening. If the rubber feels stiff instead of flexible, replace the O-rings even if they’re not leaking yet. Slap a thin coat of silicone plumber’s grease on all rubber parts before you put things back together. It stops binding and extends seal life by a year or more. In hard-water areas, plan to replace O-rings and seals every one to two years no matter what they look like, because mineral deposits trash rubber faster.
Replace flexible supply hoses every five to ten years or right away if you see fraying, rust, or bulges. A blown supply hose can dump gallons of water in minutes, so swapping them out ahead of time is cheap insurance. Mark the install date on the hose with a permanent marker so you remember when it’s time for a new one.
Four routine tasks to stop leaks before they start:
- Clean the aerator every 1–3 months, soak in vinegar, scrub the screen, rinse and reinstall
- Inspect O-rings and seals every 6–12 months, replace if cracked or stiff, lubricate with silicone grease
- Replace O-rings proactively every 1–2 years in hard-water areas, prevents leaks before they happen
- Swap supply hoses every 5–10 years, mark install dates and watch for fraying or bulges
Final Words
Shut off the water, open the faucet to relieve pressure, then check the aerator, handles, hoses, and shutoff valves. Those steps stop the drip and point to the problem.
Grab an adjustable wrench, screwdrivers, O-rings or a cartridge, and a basin wrench for tight spots. Follow the step-by-step repair to remove the handle, swap worn parts, reassemble, and test.
This leaky faucet repair guide also covers troubleshooting, costs, when to call a pro, and simple maintenance so leaks stay away. You can do this, one fix at a time, and you’ll have a dry sink soon.
FAQ
Q: How do I stop my faucet from dripping, and what is the most common cause?
A: To stop a faucet from dripping, shut off the water valves under the sink, open the faucet to relieve pressure, then check the aerator, washers, O-rings, or cartridge; worn washers or O-rings are the most common cause.
Q: Do I need a plumber to fix a leaky faucet?
A: You need a plumber to fix a leaky faucet when shutoff valves won’t stop water, parts are seized or badly corroded, the leak persists after one DIY try, or you don’t feel confident doing the repair.
Q: How do I identify the faucet brand and model?
A: To identify the faucet brand and model, look for stamps or labels under the spout, on the escutcheon, or behind handles, take clear photos, and compare them to manufacturer sites or show them at a hardware store.