

Think you have to rip up the hardwood to fix a squeak?
You don’t.
Working from below, through your basement or crawlspace, lets you stop the tiny movement that makes the noise without touching the finished floor.
This guide shows simple, safe fixes you can do yourself: the right screws, a few shims, and basic blocking to draw the subfloor tight to the joists.
Most jobs take a few hours, cost under $50 for a small room, and leave no visible holes, so you get quiet, permanent results without a big mess.
Why Wood Floors Squeak and Why Working From Below Works Best

Wood floors squeak when something moves that shouldn’t. The most common cause? Loose connections between your subfloor and the floor joists underneath. Every time you step on a loose spot, the subfloor shifts against the joist or against the finished flooring above it. That tiny movement creates the squeak you hear.
Other common causes include gaps between the joist and subfloor (often from wood shrinkage or improper installation), warped or rotated joists that no longer sit flat against the subfloor, and seasonal expansion and contraction driven by changes in indoor humidity. When indoor humidity drops below 40% or rises above 60%, wood naturally swells and shrinks. Over time, this movement loosens fasteners and opens small gaps that allow friction and noise.
Working from below (through a basement or crawlspace) lets you fix the root problem without touching your finished floor. You can add screws, blocking, shims, and adhesive exactly where the movement happens. You won’t leave visible holes, patches, or repairs on the surface above. Most squeaks that seem complicated from above are straightforward fixes from below once you can see the subfloor and joists.
The techniques in this guide focus on mechanical fastening (screws driven through joists into subfloor), gap filling (shims and construction adhesive), and joist stabilization (blocking and sistering). Each method stops movement at the source. When done correctly, these repairs are permanent and invisible.
What Causes Squeaky Floors (And What You’ll Find When You Look)

Squeaky floors almost always come down to movement between layers. The three main culprits are loose subfloor fasteners, gaps between joists and subfloor, and joist problems like warping or rotation.
Loose subfloor fasteners happen when the original nails pull up over time. Nails can work their way out as wood expands and contracts with seasonal humidity changes. Once a nail loses its grip, the subfloor can slide against the joist or finished floor above it. That sliding creates the squeak.
Gaps between the joist and subfloor are common in older homes and in new construction where lumber wasn’t perfectly flat when installed. A joist that sits even 1/16″ below the subfloor will allow the subfloor to flex every time you step on it. If the gap is along a seam where two sheets of subfloor meet, the movement and the noise get worse.
Joist rotation is another frequent issue. Floor joists are installed on edge (narrow side down, wide face vertical). If a joist isn’t blocked or braced between neighboring joists, it can twist or roll over time. A rotated joist no longer supports the subfloor evenly, and the unsupported spots squeak under load. You’ll often find this problem near the middle of a joist span, away from the support walls.
Seasonal humidity changes drive many of these problems. Wood expands when humidity rises and shrinks when humidity drops. If your indoor humidity swings outside the 40–60% range, you’ll see more squeaks in winter (when heating dries the air) and fewer in summer (when humidity rises). Keeping indoor humidity stable won’t eliminate existing squeaks, but it will slow the cycle that makes them worse.
Subfloor damage from water leaks, rot, or deterioration also causes squeaks, but these issues need more than a simple screw or shim. If you find soft, discolored, or crumbling subfloor material, plan to replace that section or call a professional. Fasteners won’t hold in damaged wood.
Locating Squeaks From Below (The Partner Method and Solo Tricks)

Before you can fix a squeak, you need to know exactly where it is relative to the joists and subfloor seams. The partner method is the fastest and most accurate approach. Have someone walk slowly across the floor above while you watch and listen from below. When they step on a squeak, you’ll see the subfloor move or hear the friction. Mark that spot on the joist or subfloor with chalk or a marker.
If you’re working alone, walk the floor above and mark each squeak location with painter’s tape or a sticky note. Then go below and use a stud finder or a tape measure and reference walls to locate the marked spots from underneath. It takes longer, but you’ll get the same result.
A long screwdriver or a wooden dowel helps you test for movement from below. Press the tool upward against the subfloor directly under a suspected squeak, and have your helper step on that spot. If the subfloor shifts or if you feel spring or resistance, you’ve found the loose connection.
A stethoscope (or even a length of PVC pipe held to your ear) will amplify the sound of friction and movement, making it easier to pinpoint squeaks in a large room. This trick is especially useful in finished basements or crawlspaces with low light and limited visibility.
Map multiple squeaks to a simple floor plan or sketch. Note which joist each squeak is on and how far it is from a reference wall or corner. This map will guide your repairs and help you track which spots you’ve fixed and which still need work.
Expect to spend 15 to 60 minutes locating squeaks in a single room, depending on the number of problem spots and your access conditions.
Tools and Materials Checklist (What to Gather Before You Start)
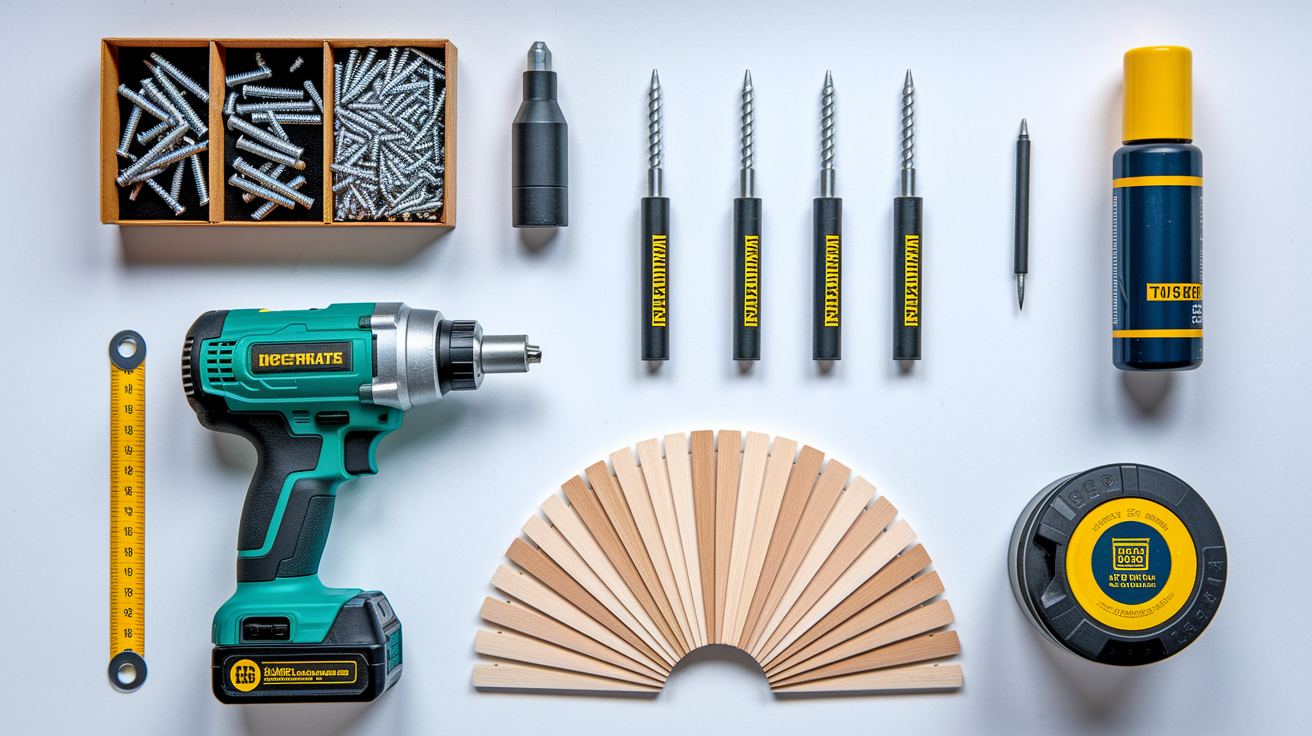
You’ll need a cordless drill or impact driver with variable speed control. An impact driver is faster and less likely to strip screw heads, but a standard drill works fine if you have a clutch setting to prevent over tightening.
Drill bits: a 1/8″ twist bit for pilot holes, a 3/16″ bit for hardwood subfloor, and a 3/8″ spade bit if you plan to inject adhesive through the joist. Phillips and square drive bits (depending on your screw type) are necessary. A magnetic bit holder will save you time and frustration.
Fasteners: use coarse thread wood screws with trim heads or flat heads. Lengths of 2″ and 3″ cover most repairs. For repairs from below where you’re driving screws upward through the subfloor into the joist, SPAX T-STAR plus Flat Head HCR-X Partial Thread screws are a strong choice. They feature a 4CUT point that doesn’t require pre drilling and they countersink cleanly. A T20 PLUS 1″ bit (S2 material) is the recommended driver bit for the T-STAR recess.
Plan for 2 to 4 screws per squeak. For a 12×12 room with typical squeak density, expect to use 50 to 150 screws. A box of 100 screws costs $6 to $20 depending on brand and coating.
Construction adhesive: one 10 to 10.3 oz tube per small room is a good starting point. Use polyurethane or heavy duty latex adhesive designed for subfloors. Cost is $5 to $12 per tube. Plan 1 to 4 tubes depending on the number of gaps you find.
Shims: composite or hardwood shims in 1/32″ to 1/8″ thicknesses. Buy a pack of 20 to 100 depending on room size. Cost is $5 to $15. Composite shims resist splitting and compression better than softwood shims.
For blocking and joist sistering, you’ll need dimensional lumber (2×4, 2×6, or 2×8 to match your joist size) and construction grade wood screws or nails. If you’re replacing subfloor sections, pick up 3/4″ plywood or OSB to match the existing subfloor thickness.
A stud finder or joist finder will speed up the locating process. A tape measure, chalk or marker, flashlight or headlamp, rubber mallet, pry bar, utility knife, and shop vacuum round out the tool list.
Safety gear: wear safety glasses (debris and dust fall when you work overhead), work gloves (to protect against splinters and sharp edges), and a dust mask if the crawlspace is dusty or has insulation fibers.
If you don’t own a cordless drill or impact driver, you can rent one for $20 to $60 per day at most home improvement stores.
How to Choose the Right Screw Length (And Avoid Penetrating Your Finished Floor)
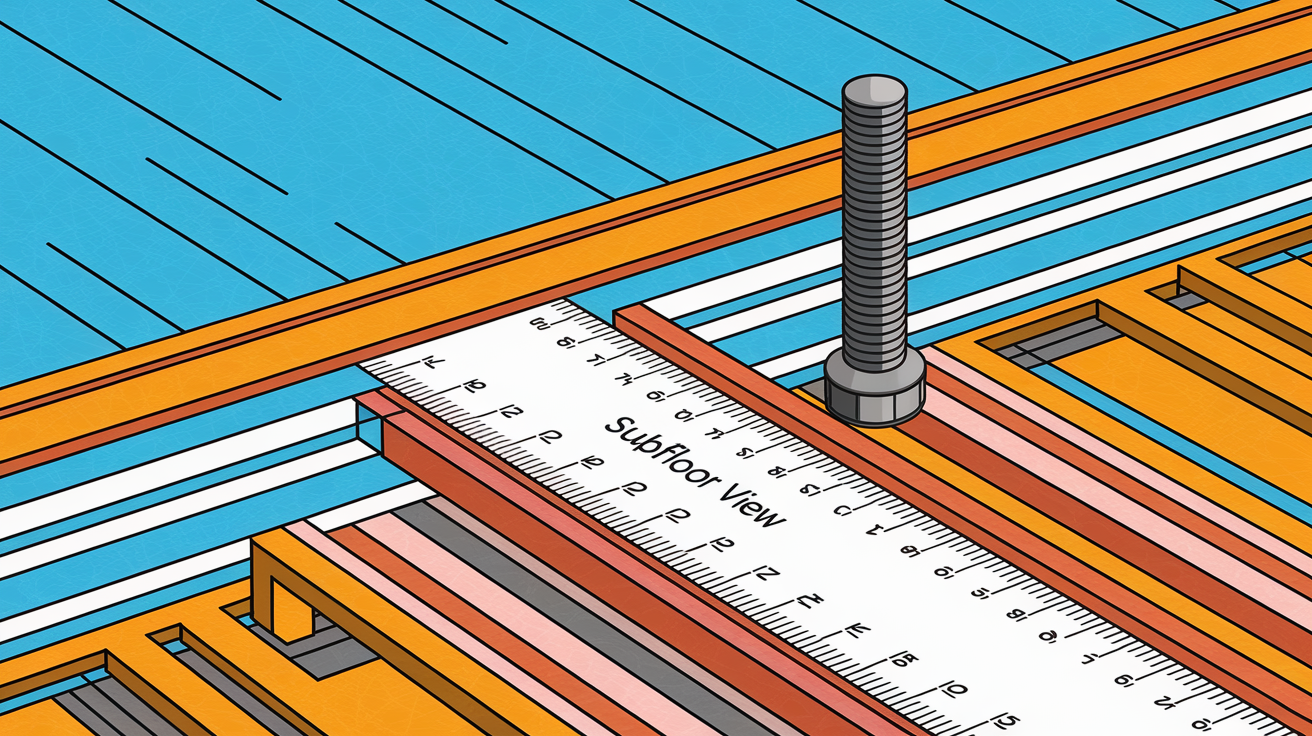
Screw length is critical when you’re working from below. The screw must pass through the subfloor and bite into the joist, but it must not poke through the finished flooring above.
Measure the thickness of your subfloor. Most subfloors are 3/4″ plywood or OSB. Measure the thickness of your finished flooring. Hardwood is typically 3/4″, but engineered hardwood can be 3/8″ to 5/8″. Add these two measurements together.
For example, if you have a 3/4″ subfloor and 3/4″ finished hardwood, your total thickness is 1 1/2″. A 2 1/2″ screw driven upward through the joist into the subfloor will leave about 1″ of penetration into the subfloor and joist without reaching the finished floor.
When driving screws upward from below, choose a screw length that stops just short of the total floor thickness. A safe rule is to subtract 1/4″ from the total thickness and use that as your maximum screw length. For a 1 1/2″ total thickness, use a 2″ or 2 1/2″ screw.
If you’re driving screws downward through the subfloor into the joist (less common but possible in some access scenarios), add the joist height to your calculation. A 2×8 joist is 7 1/4″ tall, so a 3″ screw driven through the subfloor will penetrate about 2 1/4″ into the joist. Plenty for a secure hold.
Test your screw length on a scrap piece of flooring or subfloor before you commit to the repair. Drive a screw through a piece of 3/4″ plywood and check the tip. If it pokes through, go one size shorter.
Partial thread screws work best for subfloor to joist connections because the unthreaded shank allows the subfloor to draw tight against the joist without binding or splitting. Fully threaded screws can work, but they’re more likely to split thin subfloor or pull the subfloor up instead of down.
Screw Down Method From Below (The Most Common Fix)

The screw down method is fast, effective, and low risk. It works for loose subfloor connections, pulled nails, and areas where the subfloor has separated from the joist.
Start by locating the squeak and confirming which joist it’s on. Use your chalk mark or reference map. Position yourself directly below the squeak with your drill and screws ready.
Drive screws at a slight angle, about 45 degrees, into the joist. This angled approach draws the subfloor tighter against the joist and reduces the chance of splitting. Place two screws per squeak location, angled toward each other in a converging pattern. This creates a clamping effect that locks the subfloor in place.
Space screws every 8 to 12 inches along the joist if the squeak covers a larger area or if you’re working along a subfloor seam. Squeaks at seams often need 4 to 6 screws to fully stabilize the joint.
If you’re using SPAX T-STAR screws with the 4CUT point, you can skip pre drilling in most cases. The 4CUT point cuts its own path and countersinks cleanly. If you’re working with very hard subfloor material or if you’re concerned about splitting, pre drill a 1/8″ pilot hole.
Drive the screw until the head sits flush with the joist surface. Do not over tighten. Over tightening can strip the screw, crack the subfloor, or pull the subfloor away from the finished floor above. If you’re using an impact driver, use the lower torque settings and stop as soon as the screw head meets the wood.
Once you’ve driven the screws, go upstairs and walk on the repaired spot. The squeak should be gone. If it’s still there, add one more screw or check for a gap that needs shimming.
A single squeak typically takes 10 to 30 minutes to repair using the screw down method, including locating, drilling, and testing.
Shim and Adhesive Method for Gaps Between Joist and Subfloor
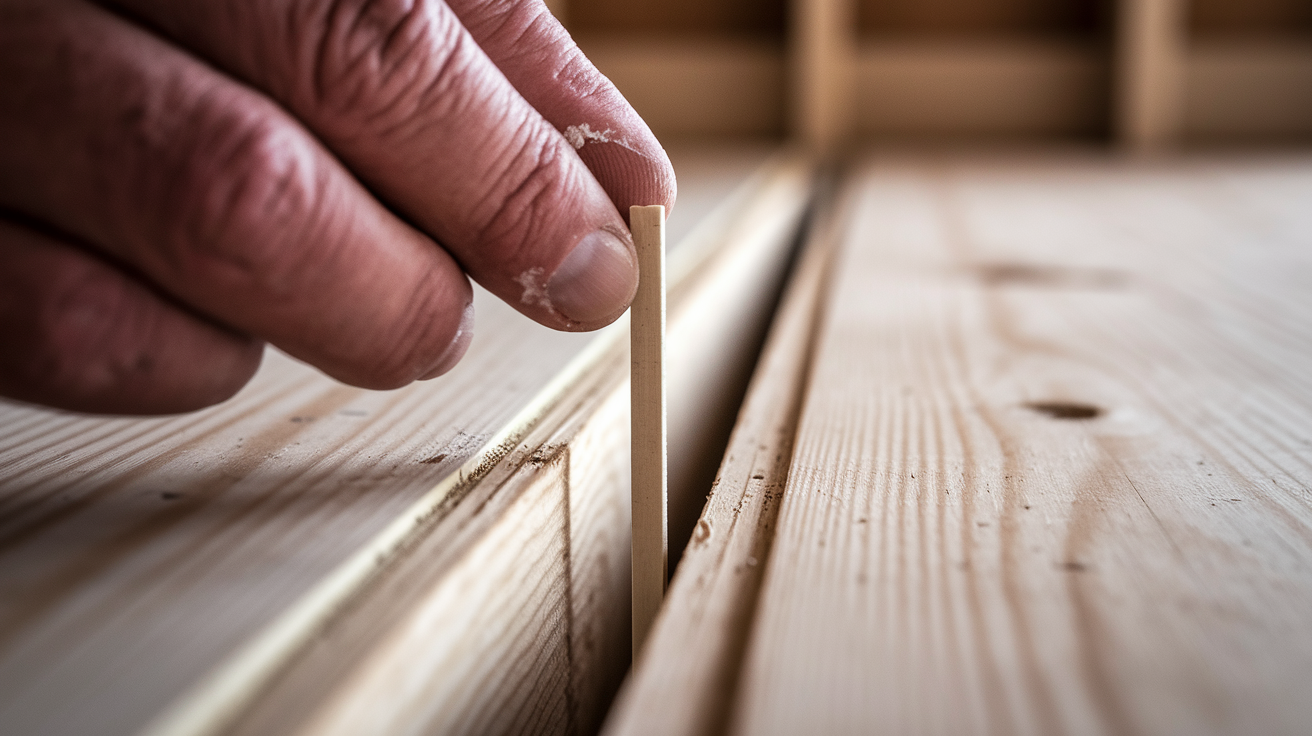
Gaps between the joist and subfloor are common, especially in older homes and in areas where joists have twisted or settled. A gap as small as 1/16″ is enough to cause a squeak. Shims and construction adhesive fill the gap and prevent movement.
Start by confirming the gap with a visual inspection or by pressing upward on the subfloor with a screwdriver or dowel. If the subfloor flexes or you can slide a shim into the space easily, you have a gap.
Apply a bead of construction adhesive to the top edge of the joist where it meets the subfloor. Use enough adhesive to fill the gap but not so much that it squeezes out when you insert the shim.
Slide a thin composite shim into the gap while a helper walks on the floor above. The weight will help seat the shim snugly against the subfloor. Insert the shim from the side, starting thin end first. Stop when the shim feels snug. Do not force the shim or hammer it in. Forcing a shim can lift the finished floor above and create a high spot.
If the gap is larger than one shim can fill, stack two or three thin shims instead of using one thick shim. Thin shims conform better and distribute pressure more evenly.
Trim the shim flush with the joist edge using a utility knife or a pull saw. Leave the shim in place and allow the adhesive to cure for 24 to 48 hours before testing the repair.
For gaps that run along the length of a joist, you may need to insert shims every 12 to 16 inches. Mark each shim location, apply adhesive, and insert shims one at a time.
If access is tight or if you can’t slide a shim into position, you can inject construction adhesive directly into the gap using a caulk gun with a narrow nozzle or an adhesive injection kit. Drill a small hole (1/4″ to 3/8″) through the side of the joist into the gap, inject adhesive until it begins to ooze out, and allow it to cure. This method is slower and uses more adhesive, but it works when shimming isn’t practical.
Expect to use 1 to 4 tubes of adhesive for an average room, depending on the number and size of gaps.
Adding Blocking Between Joists to Stop Rotation

Joist rotation happens when a joist twists on its long axis. A rotated joist no longer supports the subfloor evenly, and the unsupported areas squeak under load. Blocking (short pieces of lumber installed perpendicular between joists) stops rotation and stiffens the floor system.
Measure the space between two joists. Standard joist spacing is 16 inches on center, which means the actual gap between joists is about 14 1/2 inches (assuming 2x dimensional lumber). Cut a piece of 2x lumber (2×6, 2×8, or 2×10 to match your joist size) to fit snugly between the joists.
Apply construction adhesive to the top edge of the block where it will contact the subfloor. Press the block into place between the joists, tight against the subfloor. The adhesive will help lock the block to the subfloor and reduce future movement.
Fasten the block to the joists on both ends using 3″ to 3 1/2″ wood screws or 16d nails. Drive two fasteners through each end of the block into the neighboring joist. Angle the fasteners slightly to improve the hold.
Install blocking at each squeak location and at intervals of 4 to 6 feet along any joist that shows signs of rotation or twist. For maximum stiffness, run a continuous line of blocking across the entire room, wall to wall, midway between the support walls.
Blocking takes more time and material than screws or shims, but it’s the most effective fix for widespread joist movement and for floors that feel bouncy or unstable.
A small room with 4 to 6 joists typically needs 10 to 20 blocks. Lumber costs $5 to $30 depending on joist size and the number of blocks needed.
Sistering a Warped or Twisted Joist
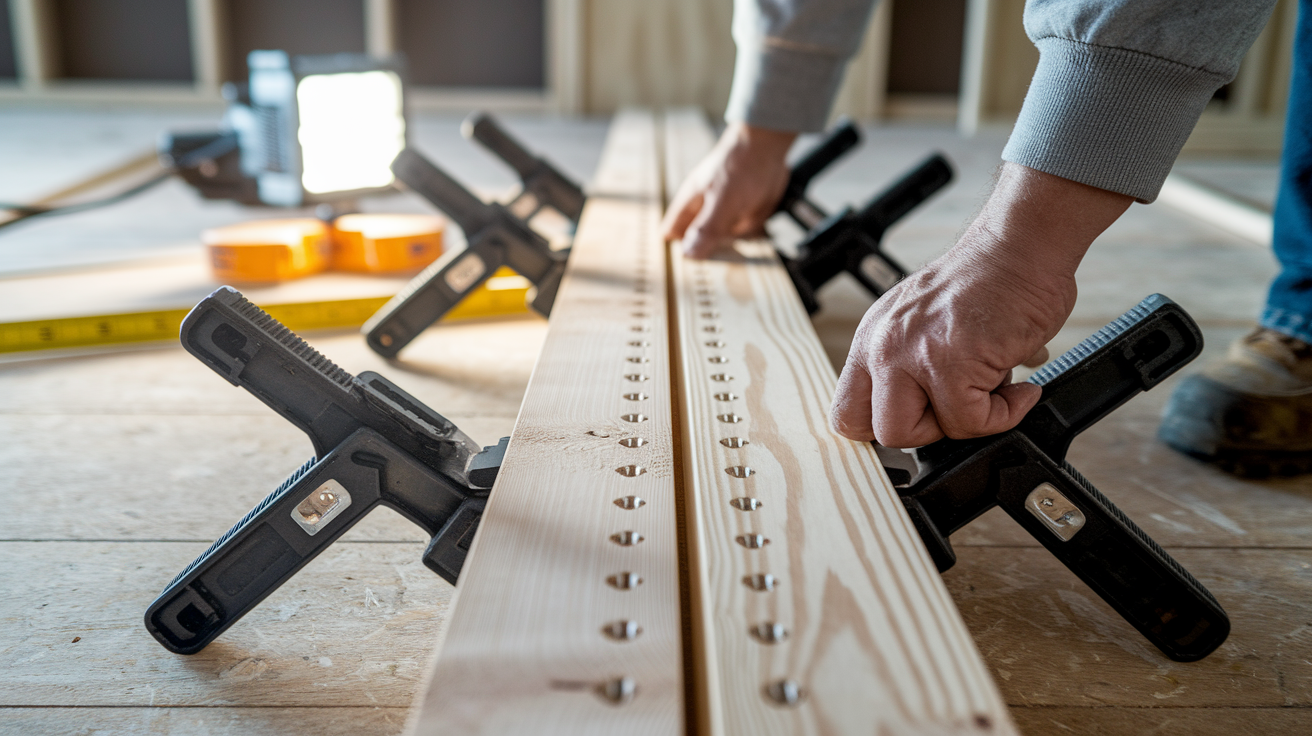
If a joist is visibly warped, twisted, or sagging, and if screws and blocking don’t eliminate the squeak, sistering the joist is the next step. Sistering means attaching a new, straight piece of lumber alongside the damaged joist to reinforce it and prevent further movement.
Measure the length of the problem section. If the entire joist is warped, you’ll need a full length sister. If only the middle section is bad, you can sister a 4 to 8 foot section.
Cut a piece of 2x lumber (2×8, 2×10, or 2×12 to match the existing joist size) to length. Hold the new board tight against the side of the warped joist with the crown (high spot) facing up. Use clamps or a helper to hold the board in position.
Drive 3″ or 3 1/2″ wood screws through the sister into the original joist every 12 to 16 inches, staggering the screws in a zigzag pattern to avoid splitting. Start at one end and work toward the other, pulling the warped joist into alignment as you fasten.
If the joist is badly twisted, you may need to use a come along, ratchet strap, or temporary bracing to pull it into position before sistering.
Once the sister is installed, the warped joist will behave like a straight joist, and the subfloor above will stop moving.
Sistering is labor intensive and requires more material, but it’s the correct fix for structural problems that screws and shims can’t solve. Expect to spend $10 to $40 per sistered joist in lumber costs, plus 1 to 3 hours per joist depending on length and access.
Injecting Construction Adhesive Into Long Gaps
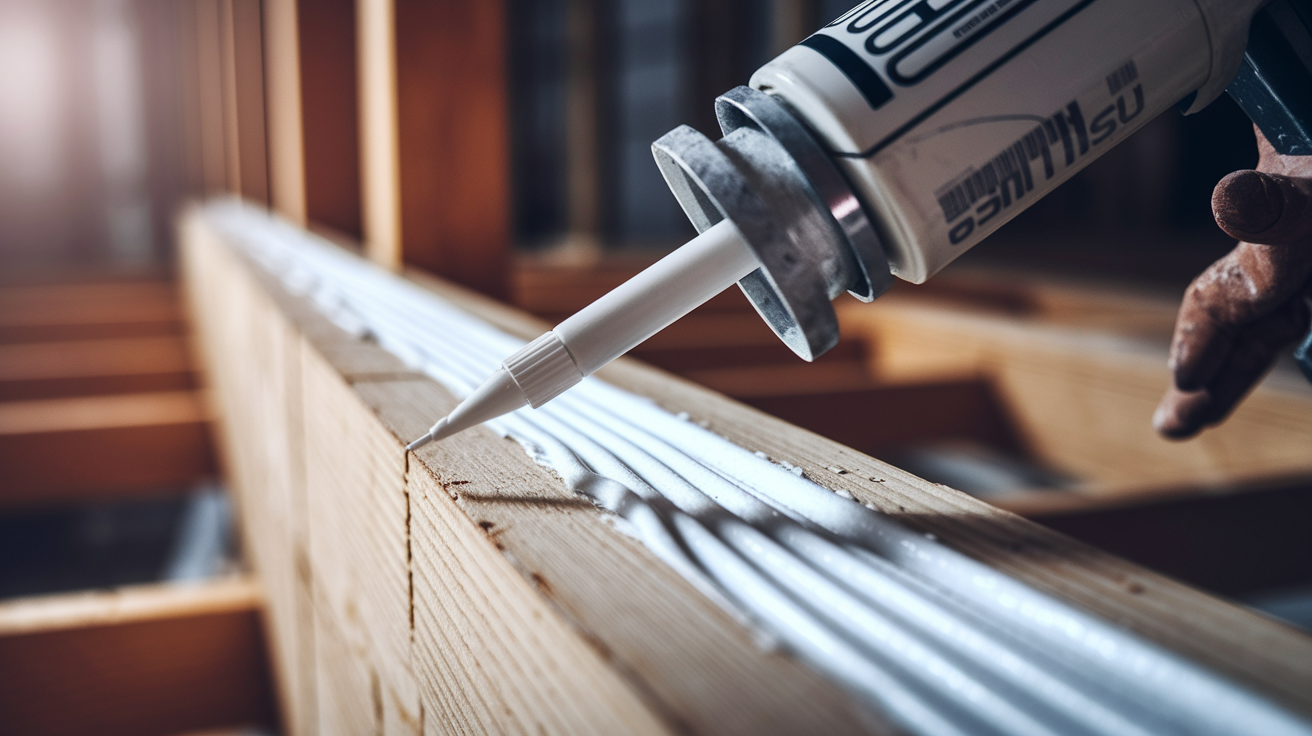
Some gaps run along the entire length of a joist or across multiple joist bays. These gaps are too long to shim easily, but construction adhesive can fill them and stop the movement that causes squeaks.
Load a tube of construction adhesive into a caulk gun. If the gap is visible and accessible, apply a continuous bead of adhesive along the top of the joist where it meets the subfloor. Use enough adhesive to fill the gap without creating a bulge.
If the gap is hidden or if you can’t reach it from the side, drill a 1/4″ to 3/8″ hole through the joist flange or subfloor and inject adhesive into the gap using the caulk gun or an adhesive injection syringe. Move the nozzle along the gap every 12 inches and inject adhesive until it begins to ooze out at the edges.
Wipe away excess adhesive with a damp rag before it cures. Allow the adhesive to cure for 24 to 48 hours before testing the repair.
Adhesive only repairs work best for narrow gaps (1/16″ or less) and for areas where shimming isn’t practical due to tight access. For wider gaps, combine adhesive with shims for a stronger, longer lasting fix.
Screw Placement and Fastener Spacing Guidelines
Fastener placement matters. Screws driven too close together can split the wood. Screws placed too far apart won’t stop the movement.
For a single squeak point, place two screws at 45 degree angles converging toward the center of the squeak. Space the screws 2 to 3 inches apart.
For subfloor seams, place screws every 8 to 12 inches along the seam line, centered over the joist. Seams are high stress areas and need more fasteners than mid board locations.
For widespread squeaks or bouncy areas, place screws every 12 to 16 inches along each joist under the problem area.
Always aim to drive screws into the center of the joist, not near the edges. Screws near the edge are more likely to split the joist and less likely to draw the subfloor tight.
When working along a seam, focus screws within 6 inches of the seam line. Fasteners outside this zone won’t stabilize the seam effectively.
| Repair Type | Screw Spacing | Typical Screw Count |
|---|---|---|
| Single squeak point | 2–3 inches apart, angled at 45° | 2–4 screws |
| Subfloor seam (per joist) | 8–12 inches along seam | 4–6 screws |
| Widespread squeak area | 12–16 inches along each joist | 10–30 screws depending on area |
Testing and Adjusting Repairs
After you’ve completed each repair, go upstairs and walk across the floor. Step directly on the repaired spot and put your full weight on it. The squeak should be gone.
If the squeak is still there, go back below and look for additional movement. Press upward on the subfloor with a screwdriver while someone walks above. If you see or feel movement, add another screw or insert a shim.
If the squeak has moved to a nearby spot, you may have fixed the original problem but created tension or a new gap a few inches away. Repeat the process at the new location.
Some squeaks take multiple passes to eliminate. Don’t be discouraged if the first attempt doesn’t work. Add screws, adjust shim positions, or add blocking until the movement stops.
Allow adhesive repairs to cure for a full 24 to 48 hours before final testing. Adhesive doesn’t reach full strength immediately, and testing too early can reopen gaps or shift shims.
Temporary Friction Fixes (Talcum Powder and Dry Lubricants)
If the squeak is caused by friction between floorboards (not loose joists or subfloor), a dry lubricant can provide a temporary fix. This approach doesn’t address the root cause, but it can buy you time until you can make permanent repairs.
Sprinkle talcum powder, powdered graphite, or a specialized floorboard lubricant into the seams between floorboards. Work the powder into the cracks using a soft brush or a piece of paper. Walk on the area to help the powder settle into the gaps.
The powder reduces friction and stops the squeak for a few weeks or months. You’ll need to reapply the powder as it wears away or gets vacuumed up.
This method only works for surface friction squeaks. It will not fix loose subfloors, gaps between joists and subfloor, or structural problems.
Use this technique as a stopgap, not a permanent solution.
When to Call a Professional
Some squeaks signal bigger problems that need a licensed contractor or structural carpenter.
Call a professional if you find visible rot in the joists or subfloor. Rot means the wood has lost its strength and can’t hold fasteners. Repairs require cutting out and replacing damaged material, and rot often spreads farther than you can see.
If your crawlspace or basement has less than 12 inches of clearance, working safely is difficult or impossible for most DIYers. Professionals have the tools, experience, and body mechanics to work in confined spaces.
If the floor sags more than 1/4 inch over a 6 foot span, or if you see cracks in the subfloor or joists, the problem is structural. A structural engineer or contractor should inspect the floor system before you attempt repairs.
If you’ve tried multiple repair methods and the squeaks persist, or if squeaks are widespread across several rooms, hire a pro. Persistent squeaks often mean underlying framing issues, improper joist spacing, or missing support that requires more than screws and shims.
Expect to pay $200 to $800 for professional squeak repairs in a single room. Structural repairs or subfloor replacement can cost $1,000 to $2,500 or more depending on the extent of damage and the complexity of access.
Cost and Time Estimates for DIY Repairs
Small spot repairs (one or two squeaks) typically cost $20 to $60 in materials. You’ll use 10 to 20 screws, one tube of adhesive, and a few shims. Time investment is 1 to 2 hours including locating, repairing, and testing.
A medium sized room (12×12) with multiple squeaks costs $50 to $150 in materials. Plan on 50 to 150 screws, 2 to 4 tubes of adhesive, 20 to 50 shims, and lumber for blocking if needed. Time investment is 3 to 6 hours.
Larger jobs that involve sistering joists or replacing sections of subfloor can cost $100 to $400 in materials and take 1 to 2 days depending on the extent of work and your access conditions.
Tool rental (if you don’t own a drill or impact driver) adds $20 to $60 per day.
| Repair Scope | DIY Material Cost | DIY Time | Professional Cost |
|---|---|---|---|
| Single squeak spot repair | $20–$60 | 1–2 hours | $150–$300 |
| 12×12 room, multiple squeaks | $50–$150 | 3–6 hours | $200–$800 |
| Multiple rooms or structural work | $100–$400 | 1–2 days | $1,000–$2,500+ |
Maintenance and Prevention Tips
Once your squeaks are fixed, a few simple habits will keep them from coming back.
Maintain indoor humidity between 40% and 60% year round. Use a humidifier in winter and a dehumidifier in summer if needed. Stable humidity reduces seasonal expansion and contraction that loosens fasteners and opens gaps.
Inspect your basement or crawlspace twice a year for signs of moisture, leaks, or standing water. Water damage weakens subfloors and joists and creates new squeaks.
Address plumbing leaks, roof leaks, and foundation drainage problems as soon as you notice them. Water is the enemy of wood floors.
If you’re installing new flooring or doing a remodel, use construction adhesive and screws (not just nails) when attaching subfloor to joists. This will prevent squeaks before they start.
Check high traffic areas every few years and add screws or shims as needed. Floors near doorways, staircases, and hallways take more stress and are more likely to develop new squeaks over time.
Additional Fixes When Working From Above (No Access Below)
If you don’t have access to a basement or crawlspace, you can still fix squeaks, but the repairs will be visible and require patching.
Locate the squeak and identify the joist location using a stud finder. Mark the joist centerline with a pencil.
Drive finishing nails or trim head screws through the finished flooring into the joist at a slight angle. Countersink the fastener below the surface using a nail set or a countersink bit.
Fill the hole with wood filler that matches your floor color. Sand smooth once the filler dries.
For squeaks between floorboards (not at a joist), drive two trim head screws at opposing 45 degree angles through the face of the squeaking board and into the subfloor below. The angled screws will draw the boards together and stop the movement.
This method works, but it leaves small visible repairs. It’s best used as a last resort when below access repairs aren’t possible.
Tools and Safety Notes for Overhead Work in Crawlspaces
Working overhead in a crawlspace is physically demanding and can be dangerous if you don’t take precautions.
Wear a hard hat or bump cap to protect your head from joists, nails, and low clearance.
Use a rechargeable headlamp instead of a handheld flashlight. You’ll need both hands free to hold your drill and position screws.
Wear knee pads and bring a foam pad or creeper to lie on. Crawlspace floors are hard, cold, and often damp.
Turn off HVAC systems in the work area if you’re using construction adhesive with strong fumes. Open vents or use a fan to improve air circulation.
Check for electrical wiring, plumbing, and HVAC ducts before drilling or driving screws. Hitting a wire or pipe can cause serious damage and injury.
If the crawlspace has exposed insulation, wear long sleeves, gloves, and a dust mask. Fiberglass insulation irritates skin and lungs.
If you see signs of mold, asbestos insulation, or hazardous materials, stop work and hire a professional to assess and remediate before continuing.
Work in short sessions (30 to 60 minutes) and take breaks. Overhead work in confined spaces is tiring and increases the risk of mistakes.
Final Words
Get moving: find the squeak, mark the spot, then fix from below. Tighten screws into joists, use adhesive or construction screws, and add a shim or washer where a gap is causing the rub. Test the floor and repeat on nearby boards until the noise stops.
Keep it simple: small tools, short prep, and patience. If the joists or subfloor look damaged, call a pro.
Following these steps on how to fix squeaky wood floors from below will quiet your home and give you one less thing to worry about.
FAQ
Q: Can you fix squeaky floors from underneath and can squeaky hardwood floors be fixed?
A: Squeaky hardwood floors can be fixed, often from underneath. Common fixes are screwing the subfloor to joists, adding shims, or using construction adhesive; major problems may need a pro.
Q: Is there anything you can put down on your hardwood floor so it stops creaking like a rug or yoga mat?
A: Putting a rug or yoga mat can reduce the noise of creaks but won’t stop the floor’s movement. Use a thick rug and non-slip pad to muffle sound until you repair it.
Q: Does WD-40 work on squeaky wood?
A: WD-40 does not work well on squeaky wood; it can attract dirt and harm finishes. Use powdered graphite, paraffin wax, or a silicone-based dry lubricant made for wood-on-wood instead.