

Could a tiny faucet drip be secretly wasting hundreds of gallons and a stack of cash each year?
If your bathtub faucet is dripping, you don’t have to call a pro right away.
This post walks you through quick, step-by-step fixes: shut the water off safely, spot your faucet type, swap the worn parts, and test the repair.
Most fixes take 15 to 60 minutes, use basic tools, and cut noisy, wasteful drips fast, so you can stop the leak this weekend and save water.
Immediate Steps to Stop a Bathtub Faucet Dripping Problem
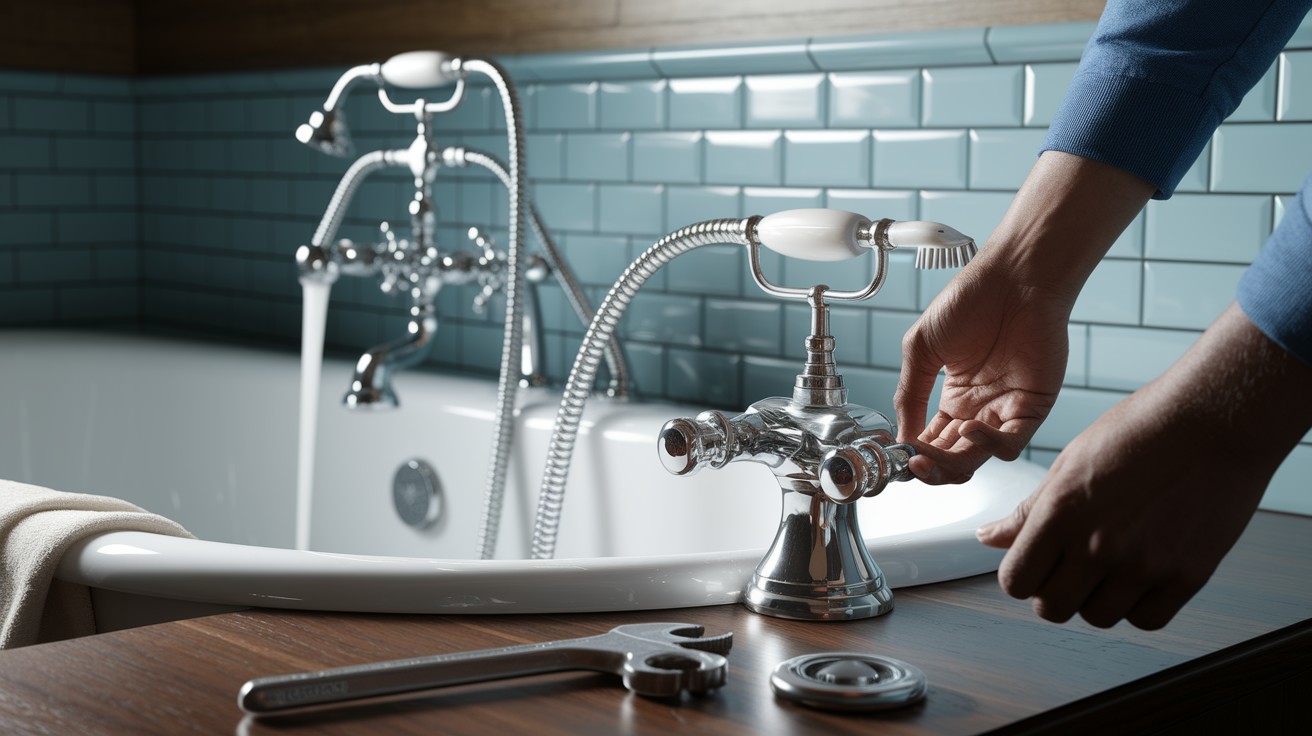
A bathtub faucet dripping usually means you’ve got one of four designs: compression (those older two handle models with separate hot and cold knobs), cartridge (single or double handle with a replaceable cylinder inside), ball (common in older single handle Delta tubs), or ceramic disc (smooth single handle operation). Spend 30 seconds watching where the drip comes from. Under the handle, at the base of the spout, or directly from the spout itself. If water drips only from the spout after you turn the handle off, the problem’s usually inside the valve body. Water seeping around the handle or base? That’s often a worn O ring or loose packing nut.
Before you touch anything, shut off the water supply. Most bathrooms have a local shutoff valve in a basement, crawlspace, or access panel behind the tub. Turn the valve clockwise until it stops, then open the bathtub faucet to relieve pressure and drain any water left in the pipes. Can’t find a local shutoff? Turn off your home’s main water valve. Draining the lines prevents a sudden spray when you remove the handle and protects you from scalding water if the hot side is still pressurized.
While you’re gathering tools or waiting for replacement parts, tighten the packing nut (the large ring just under the handle) a quarter turn clockwise with an adjustable wrench. Sometimes a loose nut allows water to seep past the stem. You can also turn the handle back on just enough to stop the drip, then mark that position with a piece of tape. It’s a short term trick to reduce waste until you complete the repair.
Essential immediate actions:
- Shutoff: Close the local or main water valve and confirm flow stops when you turn handles.
- Pressure relief: Open both hot and cold handles fully to drain pipes and release trapped air.
- Handle wobble check: Gently wiggle each handle to see if loose screws or a worn stem cause the leak.
- Drip rate: Count drops per minute. Steady drips (one per second or faster) waste 3 to 7 gallons per day.
- Drain cover: Place a towel over the tub drain or tape it closed so tiny screws and washers don’t fall in.
Dripping Bathtub Faucet Causes and What They Mean

Most bathtub faucet dripping traces back to worn internal parts that no longer seal tightly. Compression faucets use a flat rubber or neoprene washer at the base of the stem. Every time you turn the handle, that washer compresses against a metal valve seat. After thousands of cycles, the washer develops grooves or tears, allowing water to slip past even when the handle is fully closed. Similarly, O rings (thin rubber bands that sit in grooves on the stem or cartridge) harden and crack over time, especially if the faucet sees hot water daily. When an O ring fails, you often see water seeping around the base of the handle rather than dripping from the spout. Cartridge based faucets rely on plastic or brass cylinders with internal seals. If the cartridge body cracks or its seals dry out, water leaks through the spout continuously. Springs and seats inside ball or ceramic disc assemblies can also wear thin, creating gaps that let water trickle.
Corrosion and mineral buildup accelerate these failures. If you’ve got hard water, calcium and lime deposits coat valve seats and clog inlet screens, preventing a clean seal even after you install a new washer or cartridge. A corroded valve seat (the brass ring inside the faucet body where the washer presses) develops pits or rough edges that chew through fresh washers in weeks. High water pressure (above 80 psi) forces extra stress on seals and can cause drips that appear suddenly. Sediment in old galvanized pipes sometimes travels into the valve, lodging between the washer and seat so the faucet never fully closes.
Six common causes of a bathtub faucet dripping:
- Worn washer or seat: Flat washer develops grooves. Valve seat corrodes or pits, breaking the seal.
- Cracked or dry O rings: Rubber bands around stem or cartridge harden, shrink, or split over time.
- Faulty cartridge: Internal seals inside cartridge fail, or plastic body cracks from over tightening.
- Corroded valve seat: Rough metal surface prevents washer from sealing even when handle is shut tight.
- Mineral buildup: Hard water deposits coat seats, screens, and cartridges, blocking proper closure.
- High water pressure or debris: Pressure above 80 psi stresses seals. Sediment particles wedge between moving parts.
Tools and Parts Needed to Fix a Dripping Bathtub Faucet
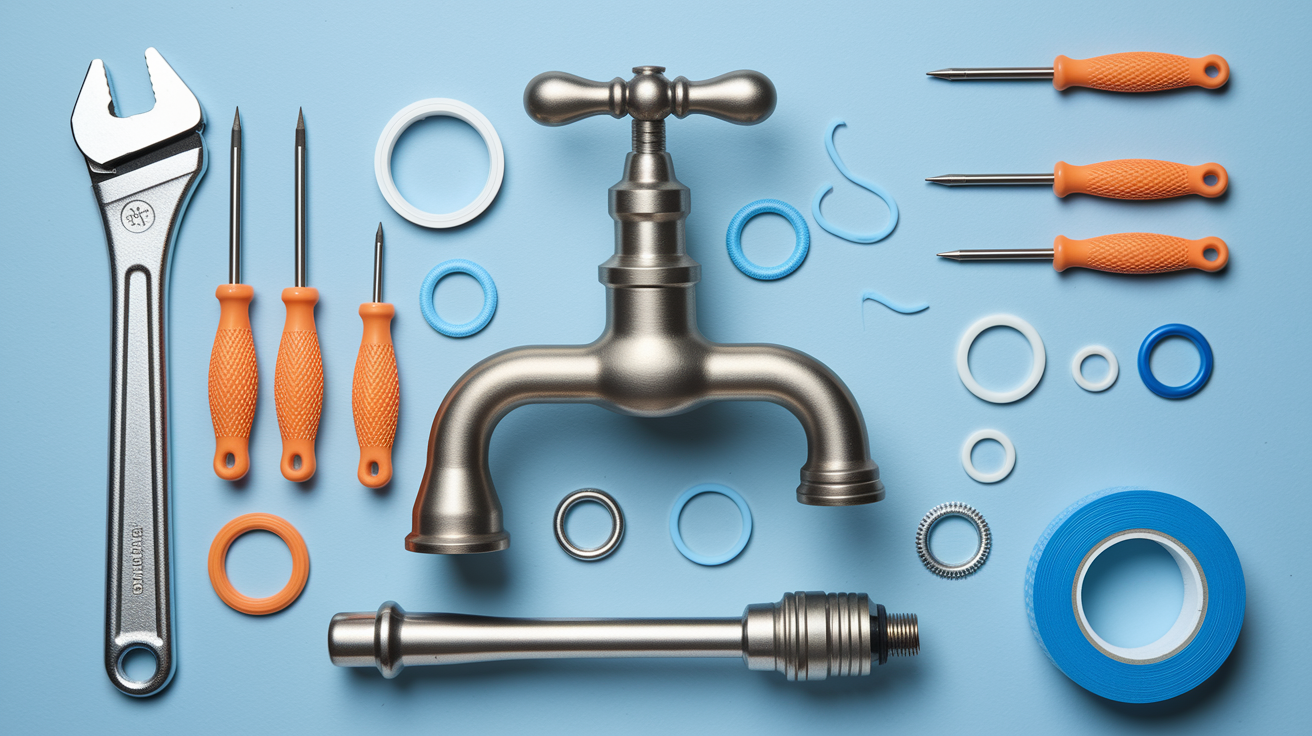
Gather your tools before you shut off the water so you can work straight through without extra trips. Most repairs need hand tools you already own, plus a few inexpensive replacement parts matched to your faucet model. If your toolbox is empty, expect to spend $10 to $60 on a basic kit that covers compression, cartridge, and ball repairs. Bring the old washer or cartridge to the hardware store to ensure an exact match. Faucet parts look similar but tiny differences in size or shape will cause the new part to fail immediately.
| Tool/Part | Purpose | Typical Cost |
|---|---|---|
| Adjustable wrench or socket set | Remove bonnet nut, packing nut, and retaining rings | $8–$25 |
| Flat & Phillips screwdrivers | Remove handle screws and decorative caps | $5–$15 (set) |
| Allen (hex) key set | Loosen set screws hidden under handle or trim | $5–$12 |
| Replacement washers or O rings | Create watertight seal at valve seat or around stem | $2–$10 |
| Faucet cartridge (model specific) | Replace entire valve assembly in cartridge type faucets | $15–$70 |
| Plumber’s grease & PTFE tape | Lubricate O rings, seal threaded spout connections | $3–$8 (tube + roll) |
Identifying Your Bathtub Faucet Type Before Repairing a Drip

Count the handles and check how the faucet turns. Compression faucets have two separate handles (hot and cold) that you twist multiple full rotations to open and close. Inside, a threaded stem presses a rubber washer against a valve seat. Cartridge faucets can be single handle or double handle and move with less effort, often a quarter turn or a simple lift. The key difference is a removable cartridge (a plastic or brass cylinder) that contains all the sealing surfaces. Ball faucets, rare in tubs but common in older kitchens, use a single rotating ball with inlet holes. You’ll recognize them by a rounded cap and a loose feel when the handle moves. Ceramic disc faucets operate smoothly with minimal turning resistance and contain two polished ceramic plates that slide against each other to control flow.
Look for a brand name stamped on the handle, trim ring, or underside of the spout. Common tub faucet makers include Moen, Delta, Kohler, American Standard, and Pfister. Once you know the brand and faucet style, search online for an exploded diagram using your model number (often printed on the valve body after you remove the handle). Matching the exact cartridge or washer size prevents a second trip to the store and eliminates trial and error installations.
Four faucet type identifiers:
- Two handles, multiple turns to shut off: Compression faucet. Repair by replacing washer and O ring on each stem.
- One or two handles, quarter turn operation: Cartridge faucet. Pull and replace the cartridge cylinder.
- Single handle, rounded cap, loose movement: Ball faucet. Replace springs, seats, or entire ball assembly.
- Single handle, very smooth operation, minimal effort: Ceramic disc faucet. Replace worn disc cartridge or rubber seals underneath.
Step by Step Repair: Stopping a Bathtub Faucet From Dripping
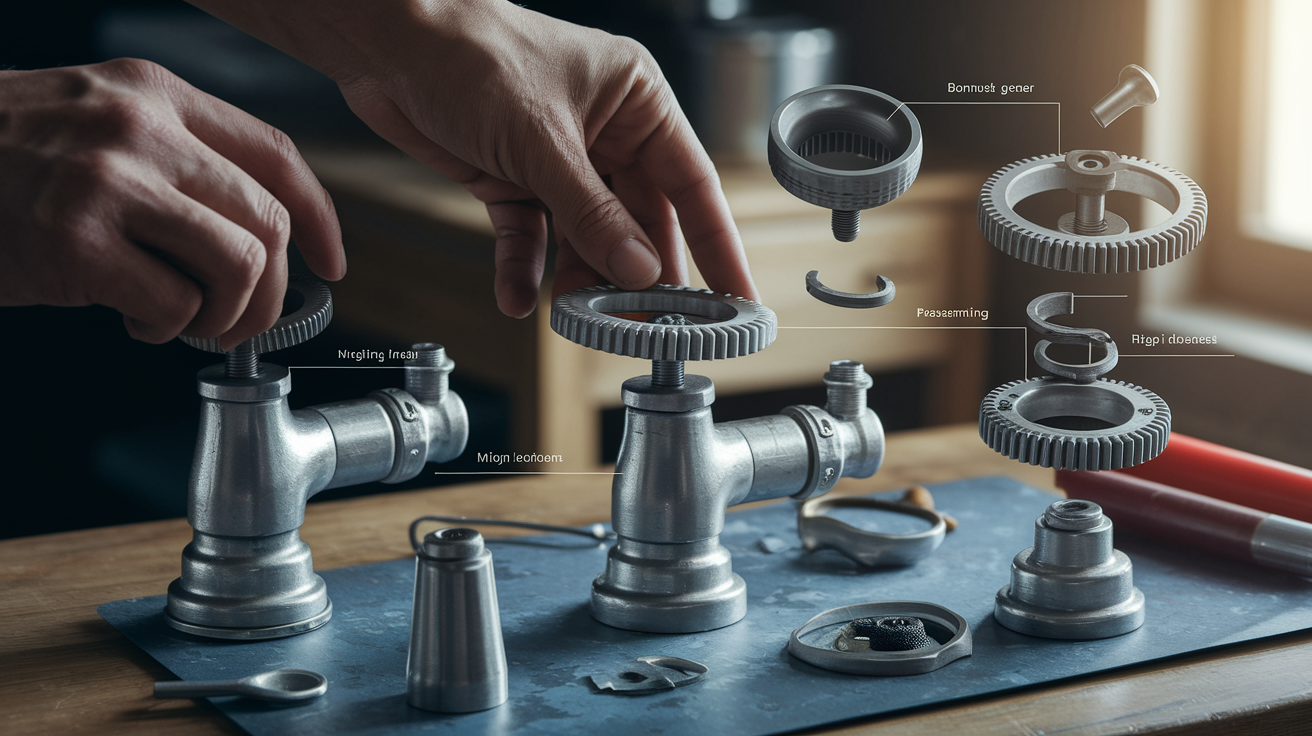
Most bathtub faucet dripping repairs take 15 to 60 minutes once you have the right parts. The process follows the same general path: remove the decorative trim and handle, inspect or extract the internal valve components, swap the worn part, lubricate seals, and reassemble in reverse order. Work slowly the first time and take a photo after each step so reassembly is straightforward. Always apply a thin layer of plumber’s grease to new O rings and rubber washers before installation. Dry rubber tears easily during reassembly and grease extends the part’s life.
Washer Based (Compression) Faucet Repair
Pry off the decorative cap on top of the handle with a flat screwdriver, then remove the Phillips or flat head screw underneath. Pull the handle straight up and off the stem. Use an adjustable wrench to unscrew the bonnet nut (the large hexagonal nut directly below the handle). Once the nut is off, pull the stem assembly out of the valve body. At the bottom of the stem, you’ll see a flat rubber washer held in place by a small brass screw. Remove the screw, replace the washer with an exact size match, and tighten the screw just until snug. Overtightening cracks the washer. Inspect the O ring around the stem body and replace it if it looks dry or cracked. Coat the new washer and O ring with plumber’s grease, slide the stem back into the valve, thread the bonnet nut on by hand, and tighten a quarter turn past hand tight. Reattach the handle and cap. Repeat for the other handle if both sides drip.
Cartridge Based Faucet Repair
Remove the handle by loosening a set screw (usually hex) hidden under a small cap or on the side of the handle. Pull the handle off to expose the cartridge retaining nut or clip. Unscrew the retaining nut with an adjustable wrench, or use needle nose pliers to pull out a U shaped metal clip. Grip the top of the cartridge with pliers and pull straight up. Some cartridges resist, so a twisting motion helps break the seal. Note the orientation of any flat edges or notches (ears) on the cartridge. The new one must go in the same way or hot and cold will be reversed. Inspect the O rings on the old cartridge and replace them if you’re reusing the same cartridge body, though most pros recommend installing a new cartridge entirely. Coat the O rings on the new cartridge with plumber’s grease, align the notches with the slots in the valve body, and push the cartridge down until it seats fully. Reinstall the retaining clip or nut, then the handle.
Ball or Ceramic Disc Faucet Repair
Loosen the set screw on the handle and lift it off. Unscrew the cap or collar (often by hand) to expose the cam assembly or ceramic disc cylinder. In ball faucets, lift out the cam, ball, and plastic seats with springs underneath. Replace the seats and springs as a matched set from a repair kit, then reassemble the ball and cam in the same orientation. In ceramic disc models, unscrew the cylinder cap and lift the disc cartridge out. Inspect the rubber seals on the bottom of the cartridge and replace them if worn, or swap the entire cartridge if the ceramic plates show scratches. Clean any mineral deposits from the valve body with white vinegar on a cloth before reassembly. Apply a thin coat of plumber’s grease to all rubber parts, press the disc cylinder or ball assembly back in, and hand tighten the cap and collar. Reattach the handle and test.
Tub Spout and Diverter Repair
If water drips from the spout even when both handles are off, or if the diverter button (the knob that sends water to the showerhead) feels loose, the spout itself may need replacement. Most tub spouts either screw onto a threaded pipe or slide over a smooth pipe and lock with a set screw underneath. Locate the set screw on the bottom of the spout and loosen it with an Allen key, then twist and pull the spout off. If there’s no set screw, grip the spout with a strap wrench or wrap it in a towel and turn counterclockwise. Clean old plumber’s tape and caulk from the pipe threads. Wrap three layers of PTFE tape clockwise around the threads (viewed from the pipe end), slide or thread the new spout on, and tighten until snug. Run a thin bead of silicone sealant around the spout base where it meets the tile if gaps allow water to seep behind the wall. Turn the water on and test the diverter several times to confirm it holds pressure and the spout no longer drips.
Cost, Time, and Difficulty of Fixing a Dripping Bathtub Faucet
Repairing a bathtub faucet dripping yourself costs anywhere from $2 for a single washer to $80 for a premium cartridge, plus tools if you don’t own a basic wrench set. A universal washer and O ring assortment runs $5 to $15 and covers most compression faucets. Name brand cartridges for Moen, Delta, or Kohler models typically cost $20 to $50 at home centers, while generic cartridges sell for $15 to $30. If the valve body is corroded or you want an entirely new faucet, replacement units range from $50 for a basic chrome two handle set to $400 for designer finishes and single handle thermostatic controls. Tools add $10 to $60 if you’re starting from scratch, but most homeowners already have screwdrivers and an adjustable wrench.
Hiring a plumber shifts the expense. A service call fee runs $75 to $150, and hourly labor typically costs $50 to $150 depending on your area and the plumber’s experience. A straightforward washer or cartridge replacement often takes a pro 30 to 45 minutes, so total invoices range from $120 to $300 including parts. Complex jobs (corroded valve seats that need machining, hidden leaks requiring wall access, or full faucet replacement with tile work) can push costs to $400 to $600 or more.
Time varies by repair type and your comfort level. Simple washer changes take 15 to 30 minutes once you have the handle off. Cartridge replacements run 30 to 60 minutes because extracting a stuck cartridge and aligning the new one requires patience. Ball and ceramic disc repairs fall in the same 30 to 60 minute window if you have a kit ready. Corroded valve seats or stripped threads can stretch the job to 1 to 3 hours, especially if you need to remove tile or cut into the wall to reach the valve body.
Typical time ranges by repair type:
- Washer or O ring only: 15 to 30 minutes for one handle. Double if both sides need work.
- Cartridge replacement: 30 to 60 minutes including handle removal, extraction, and reassembly.
- Ball or ceramic disc kit: 30 to 90 minutes depending on mineral buildup and part alignment.
- Valve seat work or corroded parts: 1 to 3+ hours. May require specialized seat dressing tools or wall access.
Water Waste and Utility Costs From a Dripping Bathtub Faucet
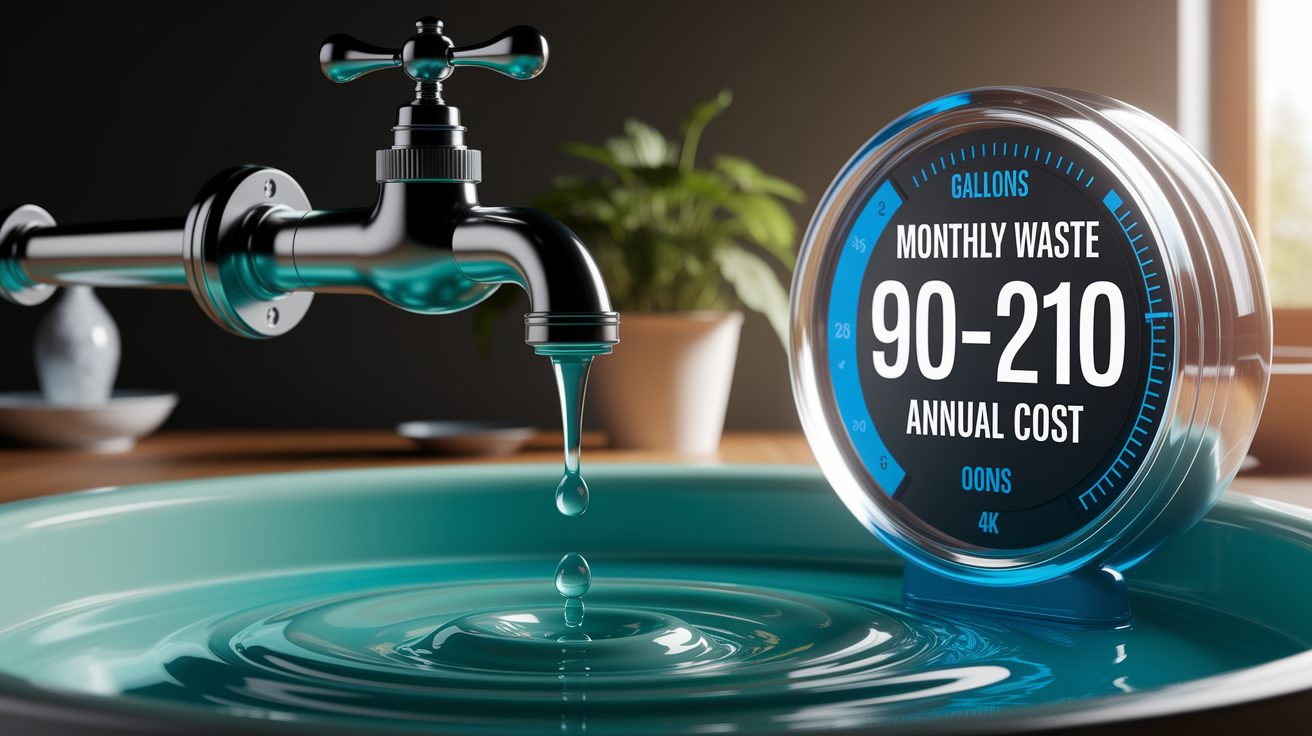
A single drop per second sounds harmless, but it adds up to roughly 3 to 7 gallons per day. Over a month, that one slow drip wastes 90 to 210 gallons, and if you ignore it for a year, you’ve lost 1,100 to 2,500 gallons down the drain. Faster drips (two or three drops per second) can double or triple that waste. The environmental cost is real. Every gallon of treated drinking water requires energy to pump, filter, and deliver, and every gallon sent down the drain must be processed again at a wastewater plant.
Financially, a dripping bathtub faucet costs you every month on your water and sewer bill. Water rates vary widely, from as low as $0.005 per gallon in rural areas to $0.02 per gallon in drought prone cities. At $0.01 per gallon (a common mid range rate), a one drip per second leak costs roughly $0.90 to $2.10 per month, or $11 to $25 per year. Faster leaks or higher local rates push annual costs toward $30 to $60. Those numbers assume only water charges. Many municipalities also bill for sewer treatment based on water usage, so your real cost may be 1.5 to 2 times the water only figure.
Three water waste data points:
- Monthly waste (1 drip/second): 90 to 210 gallons, depending on drop size and water pressure.
- Annual waste (1 drip/second): Approximately 1,100 to 2,500 gallons per year.
- Annual cost (mid range rate): $11 to $50 for water and sewer combined, more in high rate regions or with faster drips.
When a Dripping Bathtub Faucet Requires a Professional Plumber
Call a licensed plumber when the leak persists after you’ve replaced the obvious parts. If a brand new washer or cartridge still allows water to drip from the spout, the valve seat is likely corroded or the valve body itself has cracks. Pros carry seat dressing tools (small grinders that smooth pitted valve seats) and they know when a valve body is too far gone and must be replaced. Trying to machine a seat yourself without experience often makes the problem worse.
Hidden leaks behind the tile or inside the wall are another red flag. If you see water stains on the ceiling below the bathroom, feel soft drywall behind the tub, or smell mold near the faucet, the drip is escaping through a cracked valve body or loose pipe connection you can’t see. Plumbers use inspection cameras and moisture meters to locate these leaks and open the wall only where necessary. Similarly, if you can’t find a shutoff valve or the existing valve won’t turn, don’t force it. Snapping off a corroded shutoff creates an emergency flood. A plumber can install a new shutoff or work with the main valve safely.
Multiple fixtures leaking at once often signal a whole house problem, like water pressure above 80 psi or a failing pressure reducing valve at the meter. A plumber will test system pressure and install or adjust a regulator to protect all your faucets and appliances. Finally, if you lack the time, tools, or confidence to disassemble the faucet correctly, hiring a pro for $150 to $300 is cheaper than a flooded bathroom or a misassembled valve that fails in the middle of the night.
Four red flag situations that call for a plumber:
- Leak continues after parts replacement: Indicates corroded valve seat, cracked body, or internal damage beyond DIY scope.
- No accessible shutoff, or shutoff valve won’t turn: Forcing a stuck valve risks breaking it and flooding the room.
- Water stains, soft walls, or mold near the tub: Points to a hidden leak inside the wall requiring professional detection and repair.
- Multiple drips throughout the house: Suggests high system pressure or a failing pressure regulator best diagnosed by a licensed plumber.
Preventing Your Bathtub Faucet From Dripping Again
Regular maintenance extends the life of washers, O rings, and cartridges and keeps your bathtub faucet dripping free for years. Every five to ten years, pull the handle and inspect the internal seals even if the faucet isn’t leaking yet. Rubber naturally hardens and cracks over time, and replacing O rings and washers on a schedule prevents surprise leaks. When you reassemble, always coat new rubber parts with a thin layer of heat proof plumber’s grease or silicone grease. The lubricant reduces friction during operation and keeps rubber flexible.
Flush inlet screens and aerators once a year if you have hard water. Unscrew the spout (or remove the cartridge if there’s no aerator), soak small screens and the aerator in white vinegar for 30 minutes to dissolve calcium and lime buildup, then rinse and reinstall. Mineral deposits left unchecked score valve seats and clog cartridge ports, causing drips that no amount of tightening will fix. Similarly, avoid over tightening handles when you turn the water off. Compression faucets only need firm hand pressure. Cranking the handle down with extra force crushes washers prematurely and damages valve seats.
Five preventive maintenance tips:
- Replace seals every 5 to 10 years: Swap O rings and washers on a schedule, even before visible wear, to prevent sudden leaks.
- Lubricate all rubber parts: Apply plumber’s grease to every O ring and washer during installation and annual inspections.
- Flush inlet screens and aerators annually: Soak components in white vinegar to remove mineral buildup that damages seals.
- Install a pressure regulator if system exceeds 80 psi: High pressure stresses seals and shortens faucet life. Test with a gauge at an outdoor spigot.
- Turn handles gently: Close faucets with firm hand pressure only. Over tightening crushes washers and scores valve seats, causing faster wear.
Final Words
Start by finding where the drip comes from, handle, spout, or valve, then shut off the local or main water and relieve pressure before you touch anything. Quick checks take under a minute and stop a lot of wasted water.
Gather the right tools and parts — wrench, replacement washer or cartridge, O-rings, plumber’s grease — and follow the repair steps that match your faucet type. Use a temporary fix if you need more time.
If the bathtub faucet dripping keeps up after basic fixes, call a pro. You’ll save water and sleep better knowing it’s solved.
FAQ
Q: How do I get my bathtub faucet to stop dripping?
A: To get your bathtub faucet to stop dripping, first find the leak source and shut off the water. Relieve pressure, try a light packing-nut tighten or temporary seal, then replace a worn washer, O-ring, or cartridge.
Q: Why is my tub spout dripping when the water is off? / Why is my faucet dripping in the tub?
A: A tub spout or faucet drips when the water is off because worn washers, O-rings, or cartridges, corroded valve seats, mineral buildup, or debris let water bypass the valve and continue to leak.
Q: How much does it cost for a plumber to fix a leaky bathtub faucet?
A: A plumber to fix a leaky bathtub faucet typically costs $120–$350 total. Expect a $75–$150 service call, $50–$150 hourly labor, plus parts ($2–$80) depending on the repair.