

Think a bubble level is just a toy for hobbyists?
It’s really the quiet tool that saves jobs from crooked cabinets, sloped shelves, and wobbly frames.
A bubble level is a tiny vial of liquid with an air bubble that tells you when something is truly level or plumb.
In this post we’ll show how that simple vial works, the common types to keep in your bag, and how to use one fast and sure so your projects sit straight the first time.
Clear Definition and Core Purpose of a Bubble Level

A bubble level is a simple, durable hand tool that shows you whether a surface is perfectly horizontal (level) or perfectly vertical (plumb). It works through a sealed curved vial that’s partially filled with liquid, leaving a small air bubble inside. When the bubble rests centered between two reference lines marked on the vial, the surface beneath the tool is exactly level or plumb. People also call it a spirit level because the liquid inside is usually alcohol, not water.
The vial is what makes everything work. It’s made from glass or clear acrylic and shaped with a slight curve along its length. This curve makes the center of the vial the highest point when the tool sits flat. Because the air bubble is lighter than the liquid around it, gravity pulls the liquid down and pushes the bubble toward the highest spot. When the tool is level, that highest spot is the exact middle of the vial, so the bubble sits centered. If the tool tilts even slightly, the bubble moves away from center, showing you the direction and degree of the tilt.
Most bubble levels have at least two vials built into a rigid frame. One vial runs lengthwise to check horizontal surfaces. A second vial sits perpendicular to check vertical alignment. Some models add a third vial set at 45 degrees for angled work. The frame is typically aluminum or reinforced plastic and protects the delicate vials from jobsite impacts.
What you need to know about bubble levels:
The bubble isn’t inserted. It forms naturally when the manufacturer partially fills and seals the vial.
Alcohol is used instead of water for faster settling, resistance to freezing, and lower surface tension.
When centered, the bubble indicates the surface is within a fraction of a degree of true level.
Melchisedech Thévenot invented the tool in 1661 and it became widespread by the 18th century.
How a Bubble Level Works Through Vial Design and Liquid Mechanics

The curved shape of the vial is what makes the bubble move predictably. The inside surface is ground to a precise radius, often between a few inches and several feet, depending on the tool’s intended sensitivity. A gentler curve (longer radius) makes the vial more sensitive, so even a tiny tilt causes noticeable bubble movement. A tighter curve (shorter radius) creates a less sensitive vial that responds only to larger angles. This curvature ensures the bubble always seeks the center when the vial is perfectly level, and shifts smoothly in proportion to any tilt.
The liquid inside is typically ethanol or a similar alcohol chosen for several practical reasons. Alcohol has lower viscosity than water, so the bubble slides into position faster instead of drifting slowly. It also resists freezing in cold weather and won’t expand as much with temperature changes, which helps maintain accuracy. The liquid’s low surface tension reduces drag on the bubble, letting it settle cleanly without sticking to the vial walls. Some specialty levels use oil based liquids for extra damping in high vibration environments, but alcohol remains the standard for general construction and DIY work.
Vial sensitivity is measured by how much the tool must tilt to move the bubble a set distance, commonly 2 millimeters. Manufacturers express this as an angle in degrees, minutes, or seconds of arc, or as a gradient (rise over run). For example, a vial rated at 10 minutes per 2 mm means tilting the level by 10 arcminutes (1/6 of a degree) will shift the bubble 2 mm from center. You can usually center a bubble to within about 0.5 mm by eye, so choosing the right sensitivity ensures the tool matches the precision needed for the job.
How bubble movement translates to angle and sensitivity:
The vial’s internal radius determines how far the bubble travels for a given tilt angle.
A longer radius spreads the bubble’s travel over more distance, making small tilts easier to see.
Sensitivity ratings tell you the angle change per 2 mm of bubble shift (common reference point).
To pick the right vial, calculate your maximum allowable tilt and match it to a sensitivity that lets you see and correct errors smaller than that limit.
Professional grade levels often achieve sensitivities around 0.0005 inches per inch, meaning the bubble moves noticeably for tilts as small as a few hundredths of a degree.
Main Types of Bubble Levels and Their Common Applications

Bubble levels come in several distinct styles, each designed for specific tasks and work environments. The frame shape, length, and number of vials vary to match the demands of carpentry, plumbing, masonry, precision machine setup, and general DIY projects. Choosing the right type makes the work faster and more accurate.
Torpedo Levels
Torpedo levels are compact tools, usually around 10 inches long, shaped like a tapered cylinder or triangular prism. They fit easily into tool belts and tight spaces where longer levels won’t reach. Plumbers and electricians use them constantly for leveling pipe runs, conduit, outlet boxes, and fixtures in confined areas. Most torpedo levels include three vials: horizontal, vertical, and 45 degree for common angled installations.
Box Beam Levels
Box beam levels have a hollow rectangular cross section that makes them strong and twist resistant. They’re heavier than I beam models but handle rough treatment on construction sites without warping. Carpenters and masons prefer box beams for framing, laying block, setting forms, and leveling long runs of lumber or concrete. Common lengths range from 24 to 96 inches.
I-Beam Levels
I beam levels use a lightweight H shaped profile that reduces weight while maintaining rigidity along the tool’s length. They’re easier to carry and handle than box beams, making them popular for finish carpentry, cabinetry, and repetitive leveling tasks. The open design also lets you see through the frame to align marks or layout lines underneath. They’re more prone to twisting if dropped or stressed sideways though.
Line Levels
A line level is a small vial housed in a lightweight metal or plastic body with hooks on each end. You hang it from a taut string stretched between two points, then adjust the string until the bubble centers. This setup lets you transfer level over distances far longer than any solid level could span, like laying out fence lines, setting batter boards, or grading slopes. Accuracy depends on keeping the string tight and free from sag.
Precision & Machinist Levels
Precision levels, also called machinist or engineer’s levels, are built for extremely accurate work like aligning machine tools, calibrating equipment, or checking surface plates. They often have finely ground vials with sensitivities measured in seconds of arc or thousandths of an inch per foot. The frames are made from stable materials and may include adjustable feet or mounting points. Some precision levels use ground glass vials with graduations to measure exact angles, not just confirm level.
Digital & Electronic Levels
Digital levels replace or supplement the bubble vial with an electronic inclinometer that displays the angle on a backlit LCD screen. They offer readouts in degrees, percent slope, or rise over run, and many include audible alerts when level is reached. Accuracy typically ranges from 0.05 degrees at 0 and 90 degrees to 0.1 degrees at other angles. Most digital levels still include traditional vials as a backup and work well in bright sunlight where laser guides lose visibility. Advanced models add Bluetooth for data logging, auto rotation of the display, and multiple measurement units.
| Type | Typical Length Range | Main Use |
|---|---|---|
| Torpedo | 9–12 inches | Plumbing, electrical, tight spaces |
| Box Beam | 24–96 inches | Framing, masonry, heavy construction |
| I-Beam | 24–78 inches | Finish carpentry, cabinetry, layout |
| Line Level | 3–4 inches (body only) | Long distance leveling with string |
| Precision | 6–24 inches | Machine setup, calibration, metrology |
| Digital | 10–96 inches | Angles, slopes, data logging, versatile tasks |
How to Use a Bubble Level for Accurate DIY Measurements
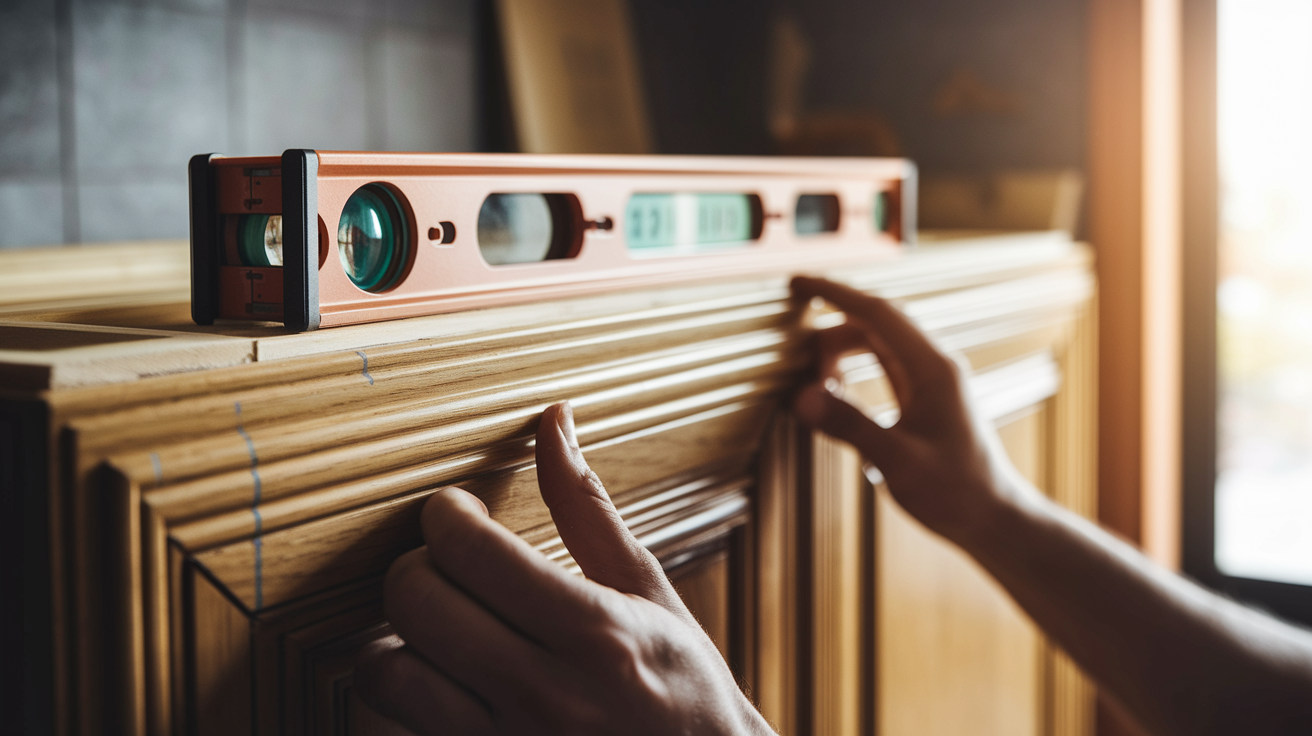
Using a bubble level correctly takes only a few seconds once you understand the basic steps. Place the level on the surface you want to check, making sure it sits flat with no gaps underneath. Dirt, sawdust, or uneven texture can tilt the tool and give you a false reading, so wipe the surface and the bottom edge of the level clean before you start. Position the level so the vial you’re checking runs along the direction you care about. Lengthwise for horizontal checks, crosswise for vertical.
Look straight down at the vial to avoid parallax errors. The bubble should appear perfectly centered between the two reference lines etched or printed on the glass. If the bubble sits off center, the surface is tilted in the direction the bubble has moved. Adjust the work piece, lift one end, shim a corner, or tap it gently, until the bubble floats exactly in the middle. Some vials have magnifying lenses or high contrast backgrounds to make centering easier in dim light or at awkward angles.
Steps for proper bubble level use:
Clean the surface and the bottom of the level to remove debris that could create a false tilt.
Place the level flat on the work piece with the correct vial aligned to the direction you’re checking.
Look directly down at the vial to avoid viewing it at an angle, which can make the bubble appear off center when it’s not.
Check where the bubble sits relative to the reference lines. Centered means level, shifted means tilted.
Adjust the work piece (shim, lift, tap, or turn) until the bubble centers, then secure the piece in place.
Recheck after fastening, since tightening screws or brackets can shift alignment slightly.
Common applications include leveling kitchen cabinets before securing them to the wall, hanging picture frames straight, setting fence posts plumb, leveling washing machines and refrigerators to prevent vibration and door swing problems, checking countertops and shelves for flatness, and aligning deck joists or stair stringers during framing.
Testing and Calibrating a Bubble Level to Ensure Accuracy
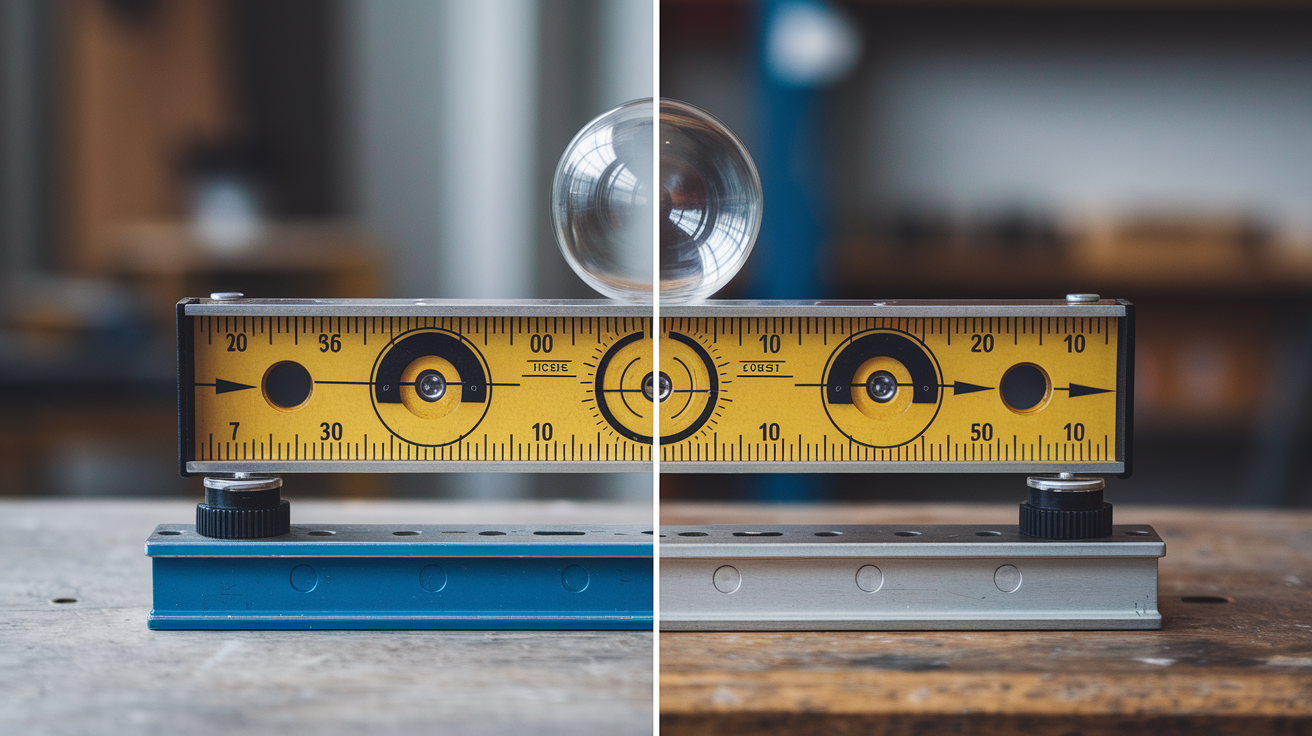
Even a quality level can lose accuracy over time from drops, temperature swings, or rough handling. The most reliable field test is the flip or turn test, which requires only a flat surface and takes about a minute. Place the level on a flat, stable surface like a workbench or concrete slab and note exactly where the bubble sits within the lines. Without moving the surface, pick up the level, rotate it 180 degrees end to end, and set it back down in the same spot. If the bubble returns to the exact same position, the vial is accurate. If the bubble shifts, the vial is off by half the distance between the two readings.
Professional grade levels are typically built to an accuracy of 0.0005 inches per inch, meaning a 48 inch level should be within about 0.024 inches over its full length. Digital levels are usually rated at 0.05 degrees at 0 and 90 degrees, slightly coarser at intermediate angles. If your level fails the turn test or gives inconsistent readings, the vial mounting may have shifted. Some high end models use adjustable vial mounts that let you recalibrate in the field, but most consumer levels have vials fixed with wedges, brackets, or ultrasonic welding that can’t be adjusted. In those cases, a failed test means it’s time to replace the tool.
Temperature extremes can temporarily affect readings because the alcohol inside expands and contracts, changing the bubble size slightly. Let the level acclimate to the work environment for a few minutes before critical measurements. Avoid leaving levels in direct sun or freezing vehicles for long periods. The vial’s mounting system, tensioning wedges, ultrasonic welded seals, or threaded brackets, is designed to resist temperature related shifts, but large or repeated swings can still loosen or distort the bond over time.
Signs your bubble level may be inaccurate:
The bubble doesn’t return to the same spot when you flip the level 180 degrees on a flat surface.
Readings differ noticeably when you rotate the level slightly on the same work piece.
The vial shows visible cracks, cloudiness, or liquid leakage around the seal.
The bubble is unusually large or small, or splits into multiple smaller bubbles, indicating the vial seal has failed.
Choosing the Right Bubble Level for Your Project

The most important decision is length. Longer levels bridge minor surface irregularities and give more accurate readings over distance, but they’re harder to handle in tight spaces. For general framing, drywall, and layout work, a 48 inch level is a solid all around choice. Cabinet installers and trim carpenters often carry both a 24 or 32 inch level for overhead work and a shorter torpedo for tight spots. Masons working with long wall runs prefer 72 to 96 inch levels. If you only buy one level, a 48 inch box beam or I beam covers the widest range of tasks without being too heavy or awkward.
Material and construction affect durability and rigidity. Aluminum frames resist rust, stay straight under moderate stress, and weigh less than steel. Plastic levels are lighter still and cheaper, but they flex more easily and can warp if stored improperly or left in hot vehicles. Box beam construction is stronger and more twist resistant than I beam, making it better for rough conditions, though it weighs more and costs a bit extra. Features like rare earth magnets let you stick the level to steel studs or pipe, freeing both hands. LED backlit vials improve visibility in dim crawl spaces or early morning jobsites. Some models include removable end caps that double as rulers or scribe guides.
| Level Type | Best For | Key Advantages |
|---|---|---|
| Torpedo (10–12 inches) | Plumbing, electrical, HVAC in tight areas | Compact, fits in tool belt, often includes 45° vial |
| Box Beam (48–96 inches) | Framing, concrete, masonry, outdoor construction | Strong, twist resistant, survives rough handling |
| I-Beam (24–78 inches) | Finish carpentry, cabinetry, trim, repetitive tasks | Lighter weight, see through design for layout marks |
| Digital (10–96 inches) | Angles, slopes, data recording, versatile precision work | Numeric readout, audio alerts, multiple units, Bluetooth |
Maintaining Your Bubble Level for Long-Term Accuracy
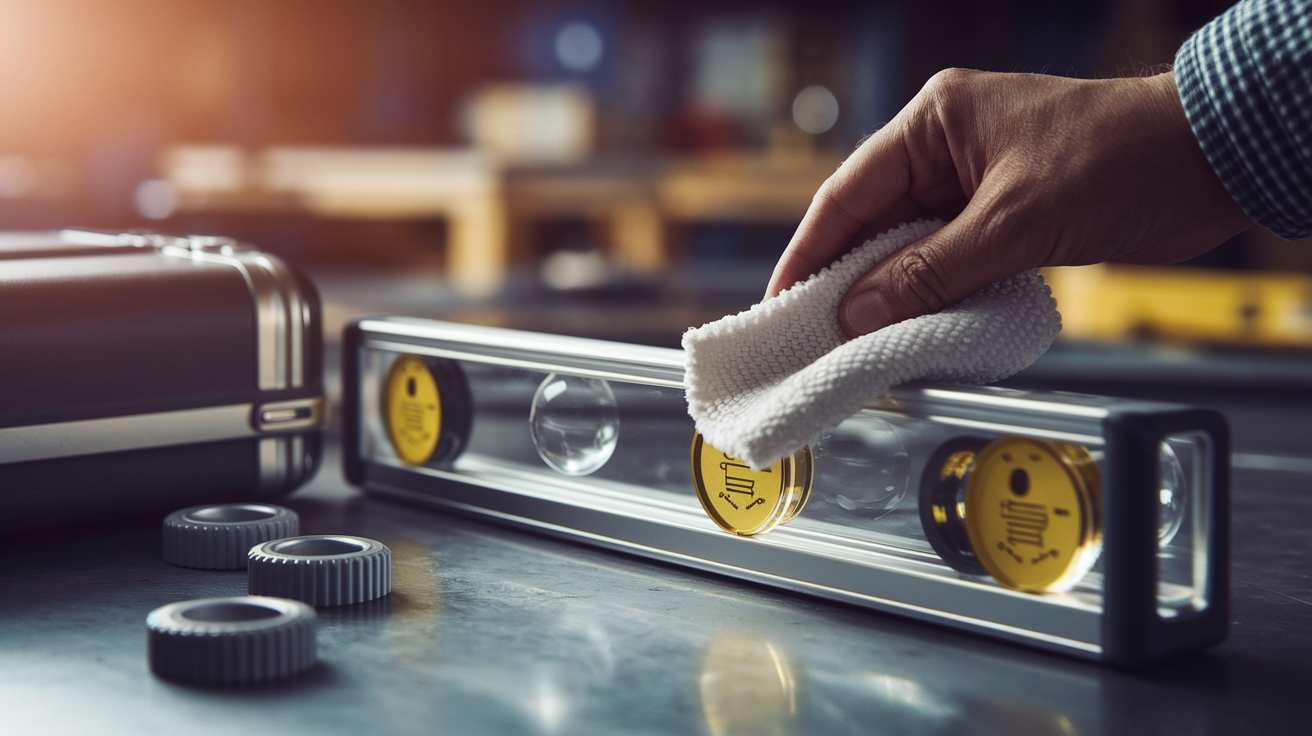
Keep vials clean for clear readings. Dirt, paint overspray, or dried caulk on the clear window makes it hard to see the bubble’s position, especially in low light. Wipe the vials gently with a damp cloth after each job and avoid solvents that might cloud acrylic vials or damage printed reference lines. If you work in dusty environments, store the level in a case or hang it on a wall rack instead of tossing it loose in a truck bed where grit can scratch the glass.
Protect the level from drops and impacts. Even a small fall onto concrete can jar the vial out of alignment or crack the seal, letting liquid leak and the bubble split or disappear. Reinforced end caps and shock absorbing bumpers help, but no level is indestructible. Transport longer levels in a padded case or strap them securely to prevent bouncing. Temperature swings won’t usually damage the vial permanently, but letting a level bake in a hot vehicle or freeze overnight can temporarily change the bubble size and throw off readings until the liquid stabilizes. Store levels indoors when possible, and let them acclimate to the work site before critical measurements.
Simple maintenance tips to extend level life:
Wipe vials and frame clean after each use to prevent buildup that obscures the bubble or clogs magnets.
Store levels flat or hanging to avoid warping the frame, especially plastic models.
Run the turn test every few months to catch calibration drift early before it affects your work.
Don’t use the level as a prying bar, hammer, or straight edge for cutting. Dedicated tools do those jobs without risking vial damage.
Final Words
Put the level on the surface and watch the bubble. If it sits between the lines, you’re good. If not, adjust until it centers.
This post gave a clear definition, explained how the vial and liquid make the bubble move, compared common level types, and walked through using, testing, choosing, and maintaining one.
If you still wonder what is a bubble level, remember, it’s a simple vial with liquid and a bubble that shows true horizontal or vertical. Use it, trust it, and you’ll finish the job straight and steady.
FAQ
Q: How does bubble level work?
A: The bubble level works by using a slightly curved vial partly filled with liquid so the air bubble rises to the highest point and centers when the surface is perfectly horizontal or vertical.
Q: What does a bubble level look like?
A: A bubble level looks like a straight aluminum or plastic bar with one or more clear curved vials holding a bubble; each vial has center lines and a high-contrast background for easy reading.
Q: What does a 2% grade look like on a bubble level?
A: A 2% grade on a bubble level looks like a very small tilt, about 1.15 degrees, so the bubble sits slightly off center; use a slope-marked vial or digital level to read it.
Q: What liquid is in a bubble level?
A: The liquid in a bubble level is usually alcohol (ethanol or isopropyl) or colored spirit. It flows easily, resists freezing, and leaves a clear bubble; some vials use oil instead.