

What if a single weekend project could lower your heating and cooling bills and stop drafts?
Weatherstripping does that by sealing the gaps around doors and windows.
You’ll find leaks, pick the right strip, prep the surface, install it, and test the seal.
This guide lays out easy step-by-step instructions, the tools and materials you need, time and cost estimates, and the common mistakes to avoid.
By the end you’ll know what “good enough” looks like and can finish the job fast with confidence.
Quick Overview of the Weatherstripping Process
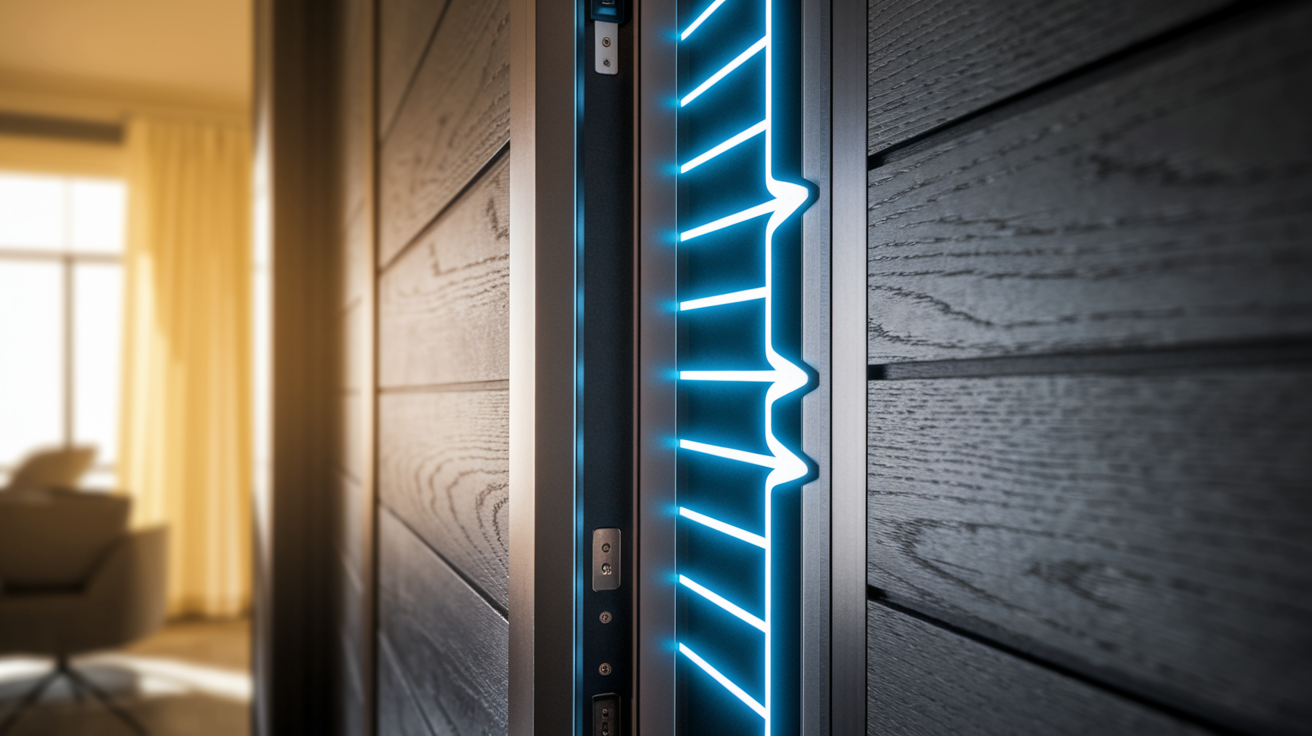
Weatherstripping follows a pretty straightforward pattern, whether you’re working on a door, a window, or both. You find where air’s getting through, prep the surface, stick or fasten the new material, and then check if it’s actually sealing. The installation quirks change depending on what type you’re using, but the basic sequence doesn’t.
Most jobs start with spotting gaps and picking materials that fit the size and spot of the leak. Once you’ve got the right product, you move into prep work. Old stuff comes off, and the surface needs to be clean and dry or new seals won’t stick or sit right. How you apply things varies. Could be adhesive foam, nail-in felt, or compression strips. But the goal’s always the same: create contact that blocks air without making it a pain to open and close the door or window.
After you install everything, testing shows you if tweaks are needed. Look for light leaking through. Feel for moving air with your hand. Or use a candle to spot drafts. If the door sticks or there’s still a gap, small adjustments to placement or compression usually solve it. The whole process is built to be fast and repeatable so you can move from one opening to the next without second guessing yourself.
Here’s the basic installation sequence for most weatherstripping projects:
- Inspect the door or window for visible gaps, feel for drafts, or use a candle to detect airflow.
- Measure the length and width of each gap with a tape measure.
- Choose the weatherstripping type that matches the gap size and location.
- Remove old weatherstripping if it’s there and clean the surface with a damp cloth.
- Cut the new material to length using scissors or a utility knife.
- Install the weatherstripping by pressing adhesive products into place or fastening non-adhesive types with screws or nails.
- Close the door or window and test the seal by checking for light, air movement, or how hard it is to operate.
Tools and Materials Required for a Successful Weatherstripping Install

Getting the right tools together before you start keeps things moving and saves you from mid-project store runs. Most weatherstripping installs use basic household tools you probably already own. A few specialty items depend on what type of material you’re working with. Installing a metal door sweep with screws? You’ll need a drill. Foam tape projects only require scissors and a clean cloth.
Your material list should match the gaps you measured during inspection. Foam tape works for small, irregular spaces. V-strip fits into channels on door jambs and window tracks. Door sweeps seal the bottom edge where light and bugs usually sneak through. Buy slightly more material than your measurements call for. Gives you room to trim for a perfect fit without running short.
Tools and Materials Checklist:
- Measuring tape for recording gap lengths and widths
- Scissors or utility knife for cutting foam tape, felt, and vinyl materials to size
- Small pry bar for removing old door sweeps and stapled weatherstripping
- Hacksaw for trimming metal or plastic carriers on door sweeps
- Drill with 1/8″ bit for creating pilot holes before screwing in door sweeps
- Screwdriver (Phillips or flat-head, depending on sweep screws)
- Cleaning cloths and mild soap to prep surfaces for adhesive products
- Work gloves to protect hands while handling sharp aluminum carriers
- Safety glasses for drilling and cutting tasks
- Replacement weatherstripping materials: foam tape, V-strip, felt, tubular rubber/vinyl, door sweeps, or adhesive corner seals
Types of Weatherstripping and the Best Use for Each Application

Each weatherstripping material has a specific job it does well and a place where it doesn’t. Foam tape is soft and forgiving, so it fills irregular gaps around windows and light-use doors without much effort. V-strip, also called tension seal, is stiffer and springs open when you install it in a channel. Makes it a smart pick for door jambs and the sides of double-hung windows where you need reliable contact without bulk. Door sweeps handle the bottom edge of a door, where foot traffic and threshold contact demand tougher materials like vinyl or rubber mounted on a metal or plastic carrier.
Felt is the budget option. Works fine for low-traffic doors or seasonal applications, but it doesn’t last long. Usually one to two years before it compresses flat or starts shedding fibers. Tubular rubber and vinyl strips are thicker and handle larger gaps better than foam. They’re commonly used on door bottoms or window sashes that close against a flat surface. When installed in a groove, tubular silicone can create a nearly invisible seal that holds up for several years.
Spring metal, sometimes called spring bronze, is a durable choice for high-traffic entries or older homes where you want a seal that lasts without changing the look of the trim. It’s trickier to install because it requires precise nailing and bending. But once it’s in place, it can last decades. The trade-off is cost and complexity. Spring metal costs more and is less forgiving if you make a measuring mistake.
| Material Type | Best Use |
|---|---|
| V-strip (tension seal) | Sides and tops of doors; sides of double-hung and sliding windows; channels where you need a low-profile, durable seal |
| Foam tape | Small or irregular gaps around windows and light-use doors; quick fixes on uneven surfaces |
| Felt | Low-traffic windows and doors; temporary seals; budget-conscious projects with 1–2 year replacement cycles |
| Tubular rubber/vinyl | Door bottoms, window sashes, larger gaps; areas needing thicker compression and longer durability |
| Door sweep | Bottom edge of exterior and interior doors to block drafts, dirt, pests, and light leaks at the threshold |
Measuring and Preparing Surfaces Before Installing Weatherstripping
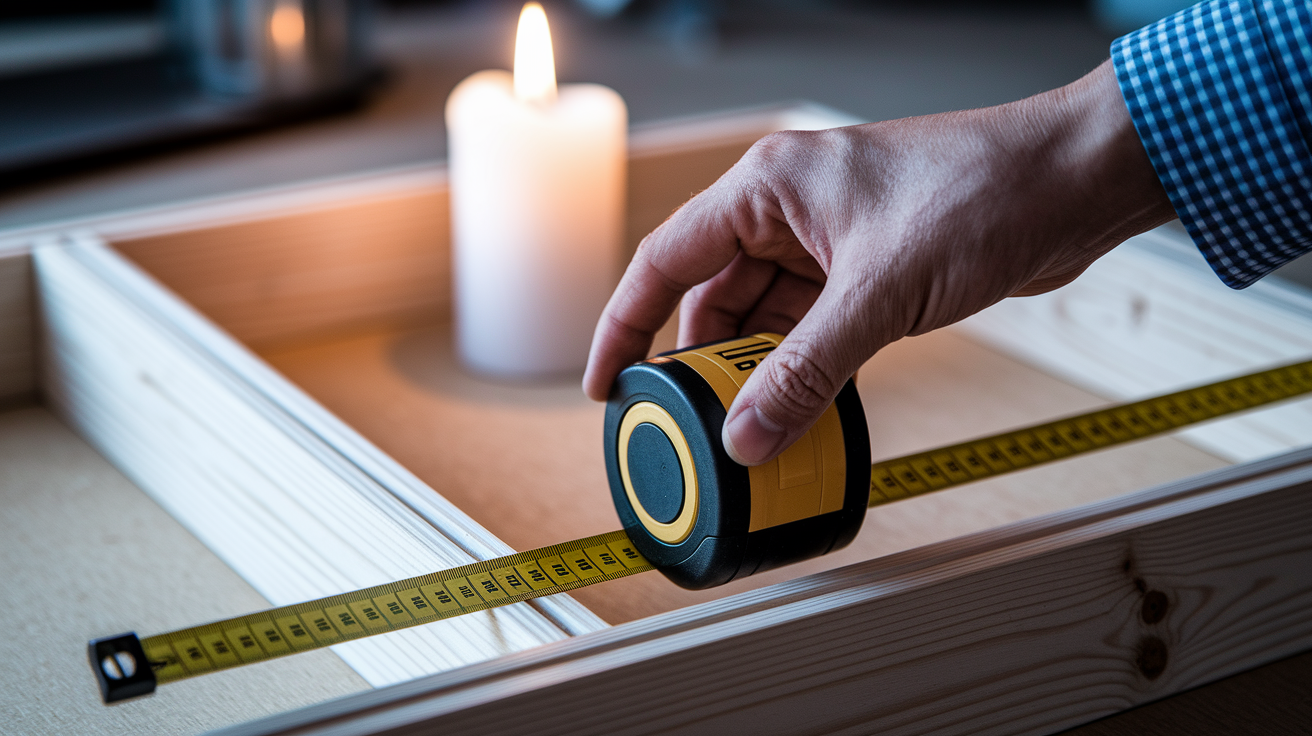
Accurate measurements prevent waste and make sure your new weatherstripping fits without gaps or overlap. Start by opening and closing the door or window to see where it contacts the frame. Then measure the full length of each side that needs sealing. Write down those numbers and add a small margin. An extra half-inch to an inch gives you room to trim for a perfect fit rather than coming up short.
Before any new material goes on, remove the old weatherstripping completely. Door sweeps held with staples can usually be pried off in about thirty seconds using a small pry bar. Pull gently so you don’t damage the door surface. Once the old material is gone, clean the surface with a damp cloth and let it dry fully. Adhesive-backed products won’t stick to dust, grime, or leftover adhesive residue. This step matters more than it looks like it should. Skip cleaning and you’ll be back in a few weeks re-doing the job when the foam tape peels off.
Gap-Measurement Techniques:
- Use a tape measure to record the full length of each door or window edge that needs sealing.
- Check gap width by sliding a ruler or folded cardboard into the space between the door and frame; note the thickness so you buy weatherstripping that compresses enough to fill the gap.
- Perform a candle test by holding a lit candle near the closed door or window edge on a breezy day. Moving flame reveals air leaks.
- Look for visible daylight around closed edges during the daytime, which confirms gaps large enough to need sealing.
Installing Door Weatherstripping: Sweeps, Jamb Strips, and Corner Seals
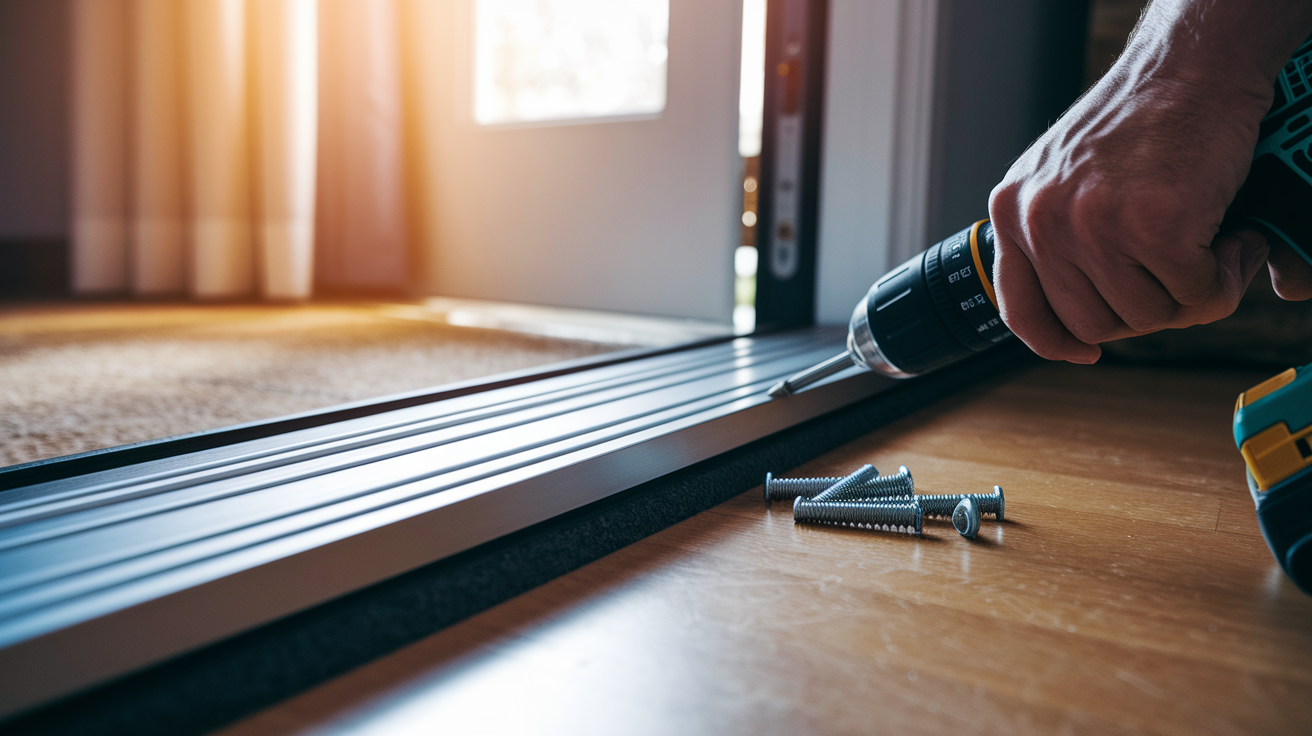
Door weatherstripping tackles three zones. The bottom edge where the door meets the threshold. The sides and top where the door closes against the jamb. And the corners where two seals meet. Each area uses a different product because the gap size, compression needs, and wear patterns vary. The bottom gets the most foot traffic and weather exposure, so a door sweep with a durable vinyl or rubber insert is the standard fix. The jamb uses compression strips or V-strip that tucks into the frame channel. Corners often need small adhesive seals to close the last gaps where sweeps and jamb strips don’t quite touch.
Jamb weatherstripping is usually the easiest part. Many modern doors use a kerf-style jamb with a narrow slot that holds a rubber or foam insert. To replace it, you just pull the old strip out. No tools required in most cases. Press the new piece into the slot, starting at the top and working down. Trim any excess at the bottom with scissors so the strip ends at the same height as the door. The material should sit snug but not bulge out of the slot. If the door suddenly becomes hard to close, the strip is too thick or wasn’t seated fully.
Corner leaks are common even after you’ve installed a sweep and jamb strips. The bottom corners of the door are where the sweep ends and the jamb strip starts. That transition often leaves a small triangle of open space. Adhesive-backed rubber corner seals are sold specifically to fill this spot. Peel the backing, press the seal into place at each bottom corner, and check that the door still opens smoothly. These small pieces make a noticeable difference in draft reduction and pest entry.
Installing a Door Sweep
Measure the full width of your door at the bottom edge, then mark that measurement on the new door sweep. Most sweeps come slightly longer than standard door widths, so trimming is normal. Use a hacksaw to cut the aluminum or plastic carrier to length. Wear work gloves and safety glasses because the cut edge can be sharp. Position the sweep on the door so the vinyl or rubber insert lightly touches the threshold when the door is closed. You want contact without drag. Mark the screw holes with a pencil, then drill 1/8″ pilot holes to prevent the door from splitting when you drive the screws. Secure the sweep with the included screws, open and close the door to confirm smooth operation, and check that no light shows underneath. If the door binds, loosen the screws slightly and shift the sweep up a fraction of an inch, then retighten.
For more detailed techniques on door sweep alignment and threshold prep, see How To Weatherstrip Your Exterior Door: Keep The Cold Out.
Installing Weatherstripping on Common Window Types

Window weatherstripping varies by how the window operates. Double-hung and sliding windows have moving sashes that create specific leak points where the sash slides past the frame or meets another sash. Casement windows swing open on hinges, so their sealing needs are closer to a door’s. The goal is always to add material that compresses when the window closes without making it too stiff to open or creating visible gaps when it’s shut.
Double-Hung Windows
Double-hung windows have two sashes that slide up and down in vertical tracks. The main leak zones are the sides of each sash, the meeting rail where the top of the lower sash touches the bottom of the upper sash, and the top and bottom edges where the sashes contact the frame. Start by cleaning the frame channels and sash edges with a damp cloth. V-strip works well on the sides because it fits into the narrow track space without interfering with the sliding motion. Press or nail the V-strip into place. Make sure the open side of the V faces the sash so it compresses when the window closes. For the meeting rail, use tubular weatherstripping or a thin foam strip that seals the gap when both sashes are closed. Add foam tape to the top edge of the upper sash and the bottom edge of the lower sash so they seal against the frame when fully shut.
Sliding Windows
Sliding windows move horizontally on tracks. The leak points are the vertical edges where the moving panel slides past the frame and the horizontal meeting point where two panels overlap. Clean the track thoroughly before installing any weatherstripping. Dirt and debris will keep the seal from sitting flat. Apply V-strip or tubular weatherstripping on the vertical edges of the moving panel, positioning it so the material compresses when the window is closed. Pile weatherstripping, which looks like a thin brush, works well in the track itself because it seals without adding bulk that would jam the sliding action. At the meeting stile where two panels overlap, a brush seal or thin foam strip blocks drafts while still allowing smooth operation.
Avoiding Common Weatherstripping Installation Mistakes
The most frequent mistake is installing weatherstripping that’s too thick or too tight. Makes doors and windows hard to operate. When a door suddenly drags or a window won’t latch, the problem is usually excessive compression. The fix is to remove the weatherstripping and replace it with a thinner product, or adjust the placement so it compresses less when the door or window closes. A good seal should create light resistance when closing, not a wrestling match.
Another common issue is leaving gaps because the material wasn’t measured or cut correctly. If you see daylight or feel air moving after installation, double-check that the weatherstripping runs the full length of the gap and that corners are covered with seals where two pieces meet. Adhesive products can fail if the surface wasn’t cleaned before application. Dirt, oil, and moisture all prevent the adhesive from bonding. If foam tape starts peeling within a few days, pull it off, clean the surface again with rubbing alcohol, let it dry completely, and reinstall fresh material.
Maintenance, Replacement Frequency, and Seasonal Checkups

Weatherstripping doesn’t last forever. Regular checks help you catch problems before drafts return or energy bills creep up. Most weatherstripping products have a lifespan of two to five years depending on material quality, how often the door or window is used, and how much weather exposure they see. Felt and foam tape tend to wear out faster, closer to the one to two year mark. V-strip, tubular rubber, and door sweeps can go longer if maintained. Inspect all weatherstripping at the start of each season, especially before winter when heating costs are highest.
Cleaning weatherstripping is simple and extends its life. Wipe down door sweeps and jamb strips with a damp cloth and mild soap a few times a year to remove dirt and grime that can interfere with the seal. Avoid harsh chemicals or abrasive scrubbers, which can degrade rubber and vinyl. If you have metal weatherstripping, a light spray of silicone lubricant on the moving parts keeps it flexible and prevents sticking. Check corner seals every few months because they take a lot of impact from foot traffic and can peel loose before other parts fail.
Seasonal routines make a difference. In summer, inspect for damage caused by winter storms and clean window tracks so sliding sashes operate smoothly. Before winter, replace any weatherstripping that shows cracks, peeling, or reduced compression. Adding extra insulation or temporary seals to seldom-used doors can lower heating costs without major work. For more guidance on building a year-round maintenance schedule, see A Beginners Guide To Weatherstripping.
Signs It’s Time to Replace Weatherstripping:
- Visible cracks, tears, or brittleness in the material
- Light is visible around the edges of a closed door or window during the day
- You feel moving air when you hold your hand near the seal
- The door or window has become noticeably easier to close, indicating the material has lost compression
- Energy bills have increased without other obvious causes, suggesting air leaks are forcing your heating or cooling system to work harder
Final Words
Grab your tape measure and go to the door or window. Inspect for light, clean the surface, and remove old strips. Decide which type fits the gap.
Measure gaps, cut or size material, apply adhesive or press-in strips, and test by closing and checking for drafts. Keep alignment right and avoid over-compressing seals. If they stick, that’s the usual hiccup.
Run seasonal checks and replace worn pieces every few years. This weatherstripping installation guide gives the simple sequence and checkpoints so you can finish fast and feel confident.
FAQ
Q: How to properly install weather stripping?
A: Properly installing weather stripping means inspecting gaps, cleaning and measuring, choosing the right material, applying it evenly (adhesive or fasteners), and testing the seal to make sure no drafts remain.
Q: Do I install the top or sides first door weather stripping?
A: You install the side jamb strips first, then the top header so the top overlaps the sides; that overlap helps prevent leaks and gives a cleaner, weather-tight seal.
Q: Does a weather strip go on the inside or outside of a door?
A: A weather strip goes where it best seals the gap: jamb strips often sit on the door’s interior side of the frame, while door sweeps attach to the bottom outside edge to block drafts.
Q: What are the three types of weather stripping?
A: The three common types are V-strip (tension seal), foam tape for irregular gaps, and door sweeps for the bottom; each suits different gap sizes and movement.