

Want to stop old hardwood floors from squeaking without sanding, replacing boards, or ruining the finish?
You can, and you’ll learn which fixes actually work and which just mask the problem.
First we’ll show quick, damage-free checks to map squeaks, then simple fixes from above (screws, adhesive, lubricants) and from below (shims, screws) so you pick the right method.
Read on for a weekend plan that protects your floor’s finish and turns down the noise for good.
Pinpointing Squeaks in Old Hardwood Floors for Accurate Repair

Old hardwood floors squeak because wood rubs against nails, other boards, ductwork, or piping. The floor acts like a giant soundboard, so even tiny movements create loud, annoying sounds. Before you fix anything, you need to know exactly where the noise is coming from. A squeak near a joist requires a different fix than one in the middle of a span. Accurate location saves you from guessing and from doing the same repair twice.
Use a walk test to start. Walk slowly across the room in normal shoes and listen for squeaks. Mark each spot with painters’ tape or a pencil dot. Next, use a two person test. One person stands on the squeaky board while the other watches from below (if you have crawlspace or basement access) or presses nearby boards to see which one moves. This isolates the exact plank and shows whether the problem is at the subfloor, the joist, or between two boards rubbing together.
Map every squeak before you buy materials or start repairs. Write down which squeaks are near walls, which are in the center of the room, and which ones feel soft or bounce when you step on them. Soft spots may mean subfloor damage or missing support, not just a loose nail. Mapping takes 30 to 90 minutes for a full room, but it tells you what methods and materials you actually need.
Step by step diagnostic sequence:
- Walk the entire floor in a grid pattern and mark every squeak with tape or pencil.
- Press down hard on each marked spot to see if the board flexes or if the sound comes from deeper movement.
- If you have access below, have a helper walk on each squeak while you watch the subfloor and joists for gaps or movement.
- Tap gently on the floor surface with your knuckles near each squeak to feel for hollow spots or loose planks.
- Group squeaks by type: surface rubbing, subfloor gaps, or joist problems, so you can fix similar issues in one pass.
Common Causes Behind Squeaky Old Hardwood Floors
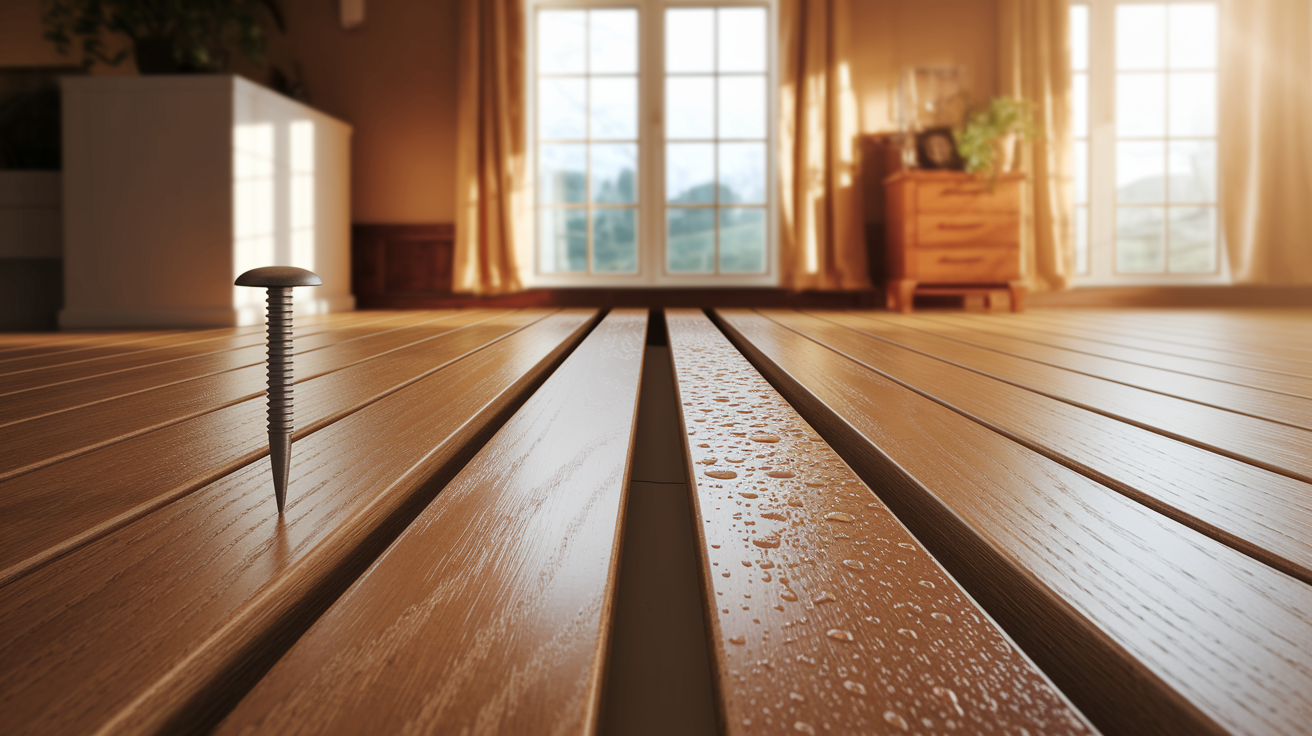
Age related wood shrinkage is the main reason old floors squeak. As boards dry out over decades, they pull away from nails and create gaps between the subfloor and joists. Nails work loose or rust, losing their grip. Seasonal humidity makes the problem worse. In winter, boards contract and loosen. In summer, they expand and press against each other, rubbing and creaking. If the original installer used adhesive, it may have dried out and lost its bond.
Structural settling also causes squeaks. Joists can twist, sag, or pull away from the subfloor over time. If you feel the floor bounce or see visible gaps when you look from below, the issue is structural, not just cosmetic. Rotten or water damaged joists and subfloors require professional repair, not DIY fixes. If the wood feels soft, spongy, or crumbles when you press it, stop and call a contractor.
Four most frequent causes:
Loose or failed nails that no longer hold floorboards tight to the subfloor or joists
Gaps between subfloor and joists caused by wood shrinkage, warping, or settling
Seasonal expansion and contraction from indoor humidity swings, especially in older homes without climate control
Degraded or missing construction adhesive that originally bonded subfloor panels to framing
Quick, Non‑Invasive Fixes for Older Squeaky Hardwood Floors
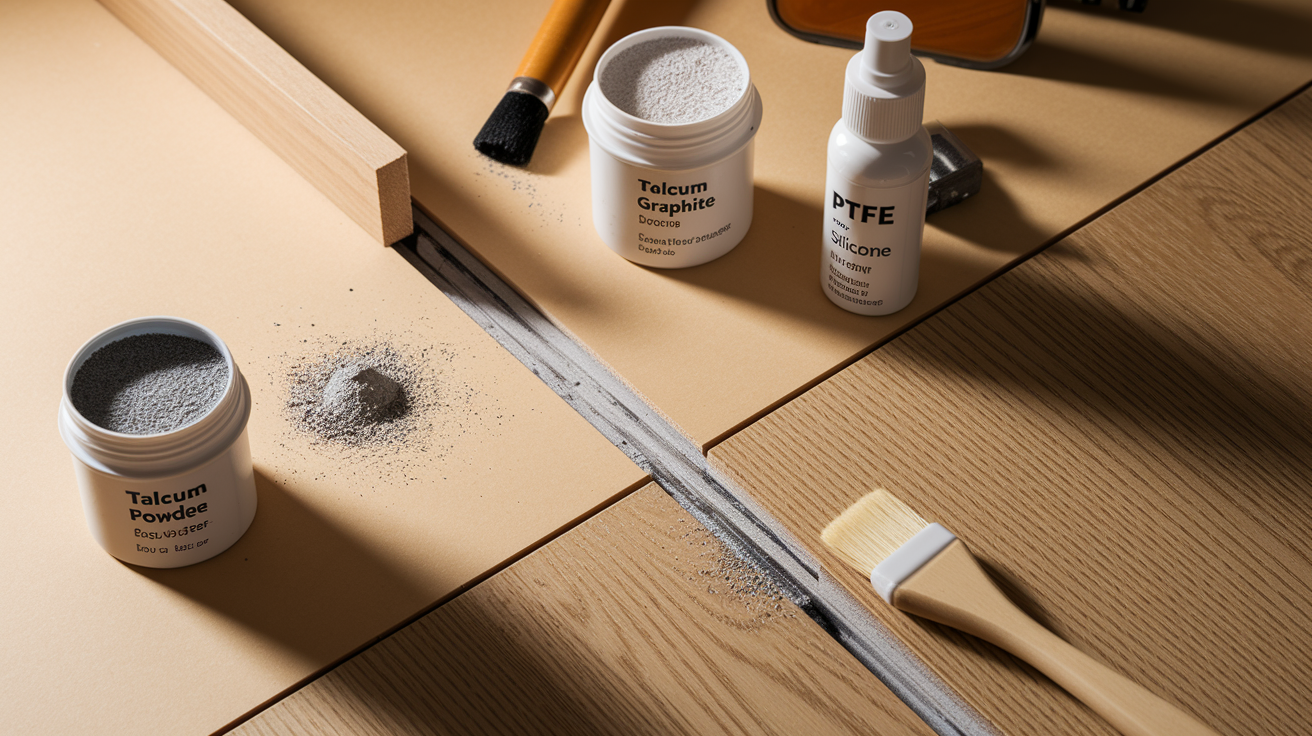
If the squeak comes from two boards rubbing together at a tongue and groove joint, you can reduce friction without tools or fasteners. Sprinkle talcum powder or powdered graphite along the seam and work it into the crack with a soft brush or cloth. Walk over the area to settle the powder deeper into the joint. This fix costs three to fifteen dollars and takes 15 to 60 minutes for a whole room. It works for surface rubbing but does nothing if the subfloor is loose or a joist has a gap.
These lubricant fixes are temporary. Powder wears away over weeks or months, especially in high traffic areas. You’ll need to reapply after vacuuming or mopping. Use this method for seasonal squeaks that come and go, or as a test to confirm the noise is friction based before you commit to screws or adhesive. If the squeak continues after powder, the problem is structural and needs fastening from above or below.
Four lubricant options compared:
Talcum powder (baby powder): cheapest option, safe for finished floors, easy to apply, but wears away fastest and may leave a slight residue
Powdered graphite: lasts longer than talc, doesn’t clump with moisture, works well on tight joints, but can smudge light colored finishes if over applied
Silicone spray: penetrates deeper, can reach tongue and groove surfaces, but may make the floor slippery and interfere with future refinishing
Dry PTFE lubricant: long lasting, non staining, but more expensive and harder to find in small containers
Repairing Squeaks from Above the Hardwood Floor Surface
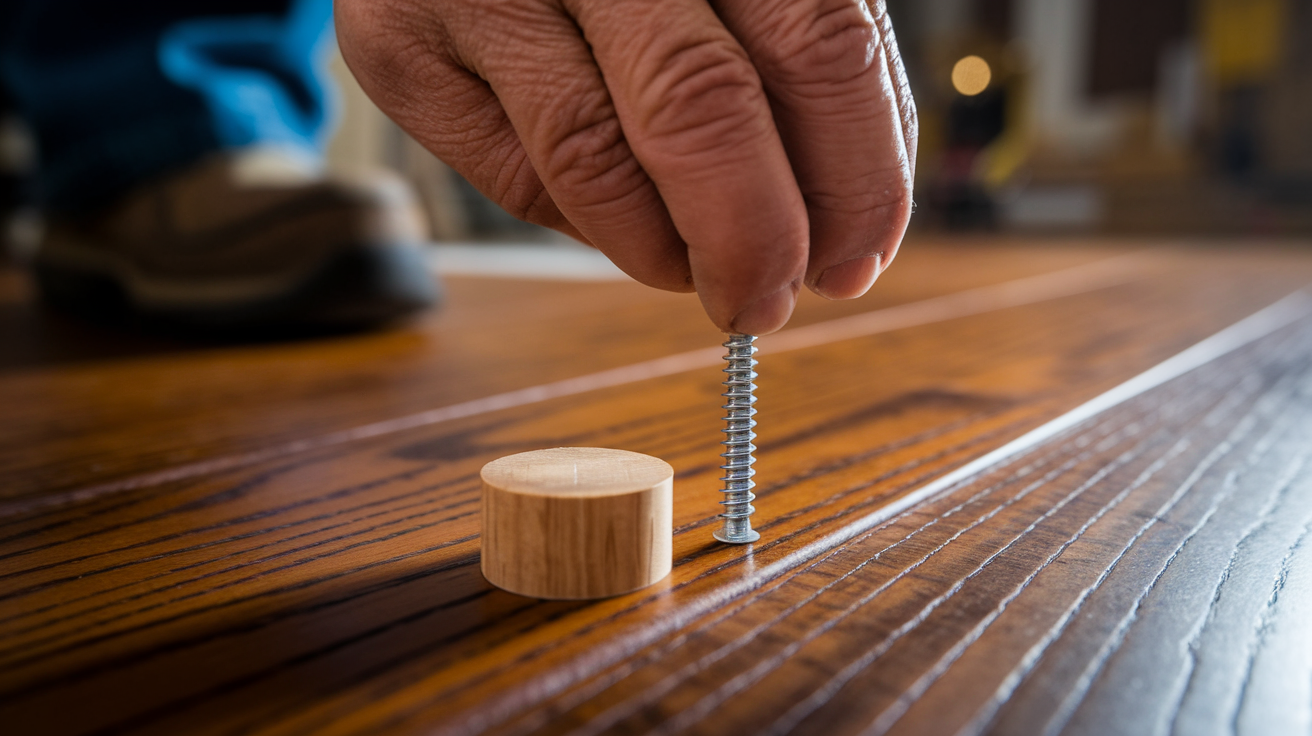
If you don’t have access to the crawlspace or basement, or if the squeak is definitely in the floorboards themselves, you’ll fix it from the top. Above floor repairs work well for localized squeaks and for floors where the subfloor is still solid. The trade off is visible repair spots, which you’ll need to plug, fill, or blend with the existing finish. These methods take 5 to 20 minutes per squeak and cost five to sixty dollars in materials for a small job.
Screw and Plug Method
Drill a pilot hole through the squeaky board into the subfloor or joist below using a 1/8 inch bit. Countersink the hole 1/8 to 3/16 inch deep so the screw head sits below the surface. Drive a 1‑1/4 to 2 inch trim head or finish screw until it’s snug, not over tight. Space screws 6 to 8 inches apart if the squeak runs along a seam. Glue a wood plug into each countersink hole using a plug that matches your floor species and grain direction. Let the glue dry, then sand the plug flush and touch up with stain or polyurethane to blend the repair. If you can’t find matching plugs, use stainable wood filler and color it to match.
Adhesive Injection Between Loose Boards
Use a thin applicator tip to inject a small bead of wood glue or construction adhesive into the gap between two squeaky boards. Press the boards down and wipe away any squeeze out immediately with a damp cloth. Place a weight (a gallon jug of water or a concrete block) over the spot and leave it for four hours. This method works best when you can see a visible gap and the boards are still attached to the subfloor. Don’t flood the joint with adhesive or it will ooze up and ruin the finish. One tube of adhesive handles 10 to 20 small repairs.
Replacing or Refastening Individual Boards
If a board is cracked, split, or so loose that screws won’t hold, you may need to remove and replace it. Use an oscillating multi tool to cut along the tongue and groove joints on both sides of the damaged board. Pry it out carefully, clean the subfloor, and cut a new board to fit. Trim off the lower part of the groove on the replacement so it drops into place. Fasten it with screws or finish nails, pre drilling every hole. Fill and finish to match. This fix is time consuming and requires woodworking skill, but it’s permanent and looks clean when done right.
| Technique | Best Use | Time | Cost | Visibility |
|---|---|---|---|---|
| Screw and plug | Localized squeaks, accessible joists | 5–20 min per spot | $5–$60 | Plugs visible but blendable |
| Adhesive injection | Board to board gaps, no joist access | 10–30 min per gap | $8–$30 | Nearly invisible if wiped clean |
| Board replacement | Cracked or split planks | 1–3 hours per board | $15–$100 | New board visible until stained |
| Finishing nail refastening | Lifting board edges, small gaps | 5–15 min per nail | $5–$20 | Small filled holes, easy to hide |
| Squeak relief kit | Multiple squeaks, snap off screws | 10–20 min per location | $25–$100 | Minimal, screw snaps flush |
Fixing Squeaks from Below the Subfloor (Basement or Crawlspace)
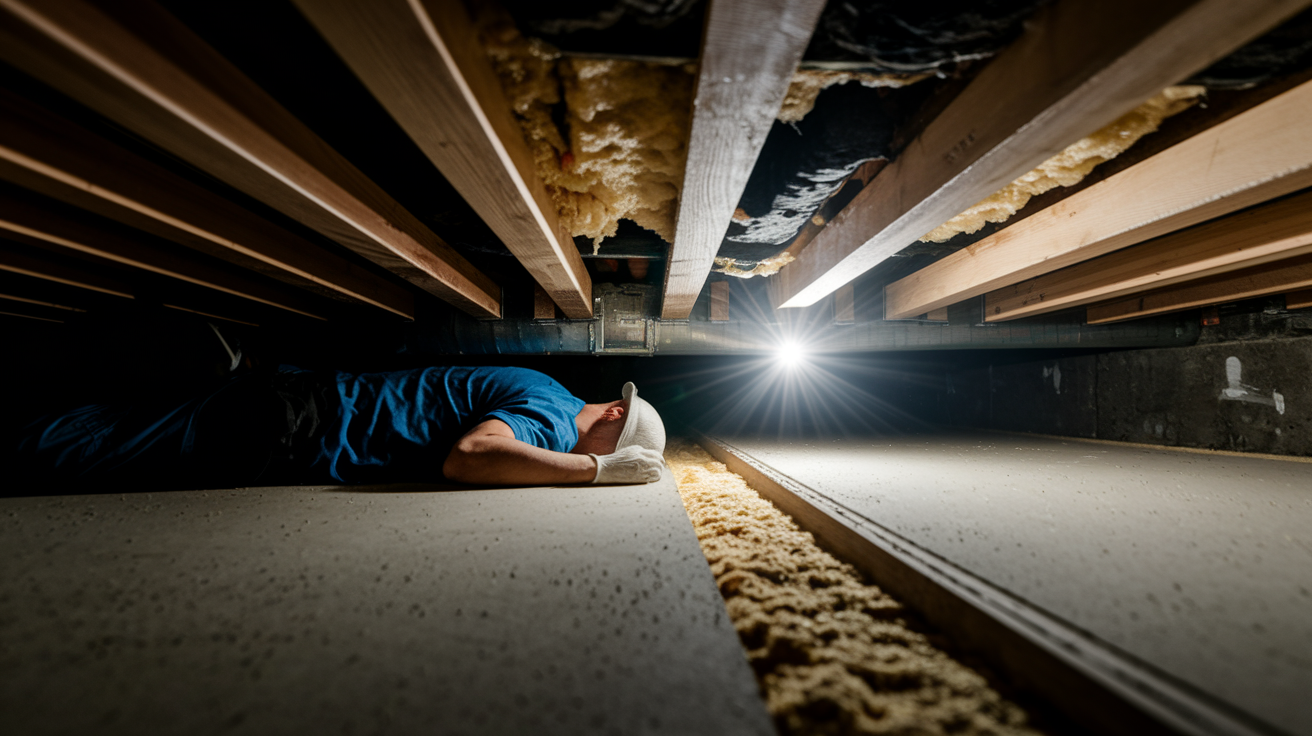
If you can get under the floor, fixing squeaks from below is cleaner and more effective than working from the top. You can secure the subfloor directly to joists, fill gaps with shims and adhesive, and add blocking for long term support. These repairs don’t damage the finished floor surface and they address the root cause, which is almost always movement between the subfloor and the framing. Plan on spending a few hours under the house, so wear old clothes, knee pads, and a headlamp.
Before you start, measure the floor thickness from below or by drilling a small test hole in a closet corner. Buy screws that are one quarter inch shorter than the total floor thickness to avoid poking through the surface. Mark your drill bit with masking tape so you know when to stop drilling pilot holes. If the crawlspace is tight or damp, bring a respirator rated for organic vapors because construction adhesive fumes build up fast in confined spaces.
Shimming and Adhesive Gap Filling
Gaps between the joist and subfloor are the most common cause of squeaks. Slide a thin wood shim into the gap until it feels snug, but don’t force it or you’ll push the floor up and create a high spot. Apply a bead of construction adhesive to both sides of the shim before you insert it. The adhesive bonds the shim in place and fills irregular spaces that a shim alone can’t reach. After shimming, stay off the floor for four hours so the adhesive can set without pressure. If you see a long gap along a joist, use multiple shims spaced 12 inches apart, not one thick shim jammed in hard.
Installing 2×4 or 2×8 Blocking and Refastening the Subfloor
For wide gaps or sagging joists, add blocking for structural support. Cut a 2×4 two feet longer than the unsupported span so it extends one foot past the problem area on each end. Apply construction adhesive to the top edge of the 2×4 and press it against the subfloor. Predrill 3/16 inch clearance holes through the 2×4 every 12 inches at a slight upward angle. Drive 2.5 inch wood screws through the 2×4 into the joist on each side. The adhesive should squish out when you tighten the screws, confirming good contact. If the squeak is at a subfloor seam, cut a 2×8 block to fit snugly between two joists and install it the same way, forcing it tight against the seam from below.
Step by step subfloor refastening method:
- Locate the squeak from below and mark the joist nearest to it with chalk or pencil.
- Drill a 1/8 inch pilot hole through the subfloor into the joist, stopping about half an inch before the finished floor surface.
- Drive a number 8 wood screw (2 to 3 inches long depending on floor thickness) until it’s flush with the subfloor but not countersunk.
- Add screws every 6 inches along the squeaky area, following the joist line, until the subfloor feels tight and doesn’t move when pressed.
Advanced Repair Techniques for Stubborn or Structural Squeaks
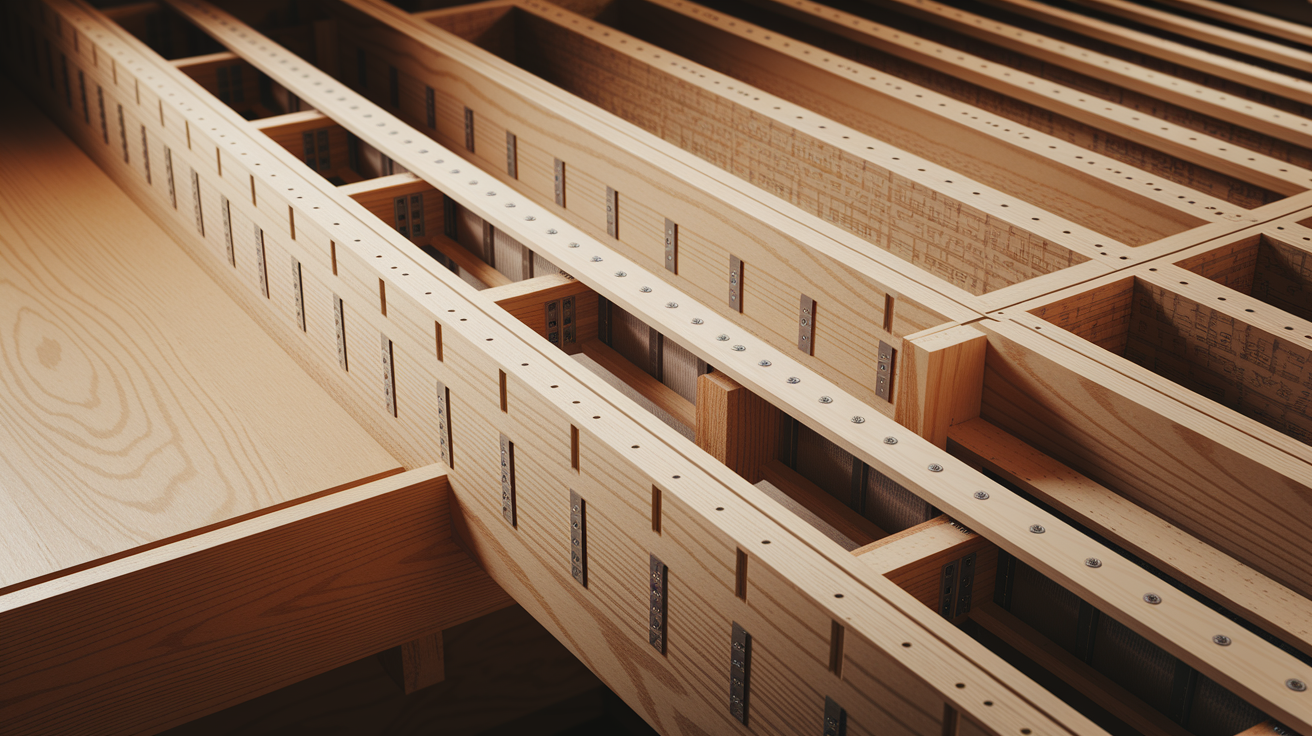
When standard fixes don’t stop the squeak, or when you find soft, damaged subfloor or joists, you’ll need to do structural repair. Sistering a joist means attaching a new full length board alongside a weak or twisted joist using lag screws or through bolts every 16 inches. This adds stiffness and stops movement. Use lumber that matches the original joist size and run it the entire span from bearing wall to bearing wall. Sistering can cost 200 to 800 dollars in materials for DIY work, but it’s a permanent fix. Check local codes because some areas require a permit for joist modifications.
Partial subfloor replacement is necessary when panels are rotted, delaminated, or broken. Mark and cut out the damaged section using a circular saw set to the subfloor thickness, cutting along joist centers so you have backing for the new panel. Install 3/4 inch plywood or OSB and fasten it every 6 to 8 inches with ring shank nails or screws. Add construction adhesive to the joists before laying the new panel. If the hardwood flooring is still good, you can reattach it to the new subfloor from above using the screw and plug method. Total cost for a small section runs 50 to 300 dollars, but larger areas can reach 1,000 dollars or more in materials.
If squeaks persist after blocking, shimming, and refastening, the problem may be uneven joists or a sagging beam. Leveling requires jacks, temporary supports, and sometimes new beams or posts. This work is advanced and risky if done wrong. Hire a structural contractor or engineer to assess and quote the repair. Costs range from 600 to 3,000 dollars or more depending on the scope. Don’t attempt joist leveling on your own unless you have carpentry experience and understand load paths and local building codes.
Tools, Materials, and Safety Gear Needed for Repairing Old Hardwood Squeaks

A cordless drill is essential for all fastening and pilot hole work. You’ll need a set of twist bits in 1/8, 3/16, and 1/4 inch sizes, plus a countersink bit for above floor repairs. A plug cutter that matches your drill size lets you make wood plugs from scrap flooring, which blend better than store bought dowels. For fasteners, buy a variety pack of number 8 and number 10 wood screws in lengths from 1‑1/4 to 3 inches. Ring shank screws or deck screws hold better in old wood than standard screws. Plan on 50 to 200 screws for a typical room depending on how many squeaks you’re fixing.
Stock up on construction adhesive in caulk gun tubes. Two to four tubes handle most small to medium jobs. Buy wood shims in packs of 10 to 20 for shimming gaps from below. If you’re using lubricant fixes, one small container of powdered graphite or talcum powder costs three to ten dollars and covers several rooms. For safety, wear knee pads and gloves when working in crawlspaces. A respirator with organic vapor cartridges is required if you’re using adhesive in tight, unventilated spaces. Bring a headlamp or clip on work light so both hands stay free.
Essential tools and fasteners list:
Cordless drill with variable speed and clutch settings
Drill bit set (1/8, 3/16, 1/4 inch twist bits) plus countersink bit
Number 8 and number 10 wood screws in assorted lengths, preferably ring shank or coated
Wood shims (tapered, plastic or wood) and construction adhesive tubes
Respirator with organic vapor cartridges for confined space adhesive work
Knee pads, work gloves, headlamp, and masking tape for marking drill bit depth
Cost, Time, Difficulty, and When to Call a Professional

Quick lubricant fixes cost three to fifteen dollars and take 15 to 60 minutes. Screw and plug repairs for a few squeaks in one room run 20 to 150 dollars in materials and take one to six hours depending on how many spots you’re treating. From below fastening, shimming, and blocking cost 50 to 800 dollars for DIY materials and can take several hours to a full day if you’re working across a large area or adding structural blocking. Professional repairs start around 150 to 600 dollars for minor localized work and climb to 600 to 3,000 dollars or more for extensive subfloor or joist repair.
Time estimates depend on access and the number of squeaks. Diagnosing and marking squeaks takes 30 to 90 minutes. Each above floor screw and plug repair takes 5 to 20 minutes. Shimming from below takes 10 to 30 minutes per gap once you’re in position. Installing blocking or sistering joists can take half a day to a full day per room, especially if you’re working in a cramped crawlspace. If you’re doing a whole house or dealing with structural damage, expect multiple days of work or a professional crew to finish in one to three days.
Difficulty ranges from easy (lubricant, visual diagnostics) to medium (above floor screws, basic shimming) to hard (joist sistering, subfloor replacement). If you’re comfortable with a drill and can follow step by step instructions, you can handle most squeak repairs. Advanced structural work requires carpentry skills, knowledge of framing, and comfort working in tight or awkward spaces. Always start with the easiest fix and move up in complexity only if the squeak persists.
When to hire a professional:
- You find visible rot, mold, water damage, or soft wood in the joists or subfloor.
- Squeaks are widespread across multiple rooms or the entire house, suggesting foundation or framing issues.
- You don’t have safe access to the crawlspace or basement, or the space is too tight to work in.
- You’ve tried DIY fixes and the squeaks return or get worse, indicating a structural problem beyond simple fastening.
Preventing Future Squeaks in Old Hardwood Flooring

Control indoor humidity to reduce seasonal expansion and contraction. Use a humidifier in winter to keep levels around 35 to 45 percent and a dehumidifier in summer to stay below 55 percent. Stable humidity means the boards move less and stay tight to their fasteners. This is the single most effective long term prevention step. Check humidity with a simple hygrometer, which costs ten to thirty dollars and mounts on the wall.
Re inspect and tighten fasteners every 5 to 15 years, especially in high traffic areas like hallways and kitchens. Nails and screws can work loose over time even in well maintained floors. From below, check for new gaps between the subfloor and joists and add shims or screws as needed. Inspect the crawlspace or basement annually for moisture problems, leaks, or joist damage. Catching small issues early prevents bigger repairs later.
Five item maintenance checklist:
Monitor and maintain indoor humidity between 35 and 55 percent year round
Walk the floor twice a year to listen for new squeaks and mark them for repair
Inspect crawlspace or basement annually for moisture, joist rot, and subfloor damage
Re tighten or add fasteners in high traffic areas every 5 to 10 years
Use area rugs or furniture pads to reduce concentrated wear and limit board flexing in open spans
Final Words
You’ve mapped the squeaks and used walk-tests to pinpoint every spot.
You’ve tried talcum or graphite quick fixes and learned when to screw-and-plug or work from below.
This guide showed causes, tools, time and cost, and advanced options like sistering joists.
Follow the steps and safety notes to cut rework and save money.
This is your action plan for how to fix old squeaky hardwood floors.
Start small, test as you go, and call a pro for rot or major structural issues. You’ll have quieter floors soon.
FAQ
Q: How do you stop old wood floors from squeaking?
A: You stop old wood floors from squeaking by first locating squeaks, then fastening loose boards with screws or shims, or using talcum/graphite as a temporary fix; call a pro for rot or structural issues.
Q: Does WD-40 work on squeaky wood?
A: WD-40 works briefly on some squeaks, but it’s short-term, can attract dust, and may harm finishes; powdered graphite or talcum powder is a cleaner, longer-lasting option for board-to-board rubbing.
Q: Why do my floors squeak when I walk on them?
A: Your floors squeak when you walk because boards, nails, or the subfloor are rubbing or shifting against joists or other boards; small movement gets amplified by the floor acting like a soundboard.
Q: Is it possible to make floors in an old home less squeaky?
A: It is possible to make floors in an old home less squeaky by mapping squeaks, using talcum/graphite, topside screw-and-plug repairs, or fastening from below; extensive rot or joist issues may need pro-level fixes.