

Nails are a band-aid, screws fix squeaky floors for good.
If you want a quiet floor without ripping up the whole room, choose the right screw and you’ll save time and headaches.
This post shows the screws that actually work, why length, thread, and coating matter, and when to drive them from above or below.
Follow these picks and simple checks and the creak will be gone for good.
No fancy tools, just the right screws, a drill, and a little know-how.
Best Screws for Eliminating Squeaky Floors and How to Choose the Right Type

SPAX T-STAR plus Flat Head screws are your go-to for most squeak repairs. They’ve got a 4CUT Point that bites into wood without pre-drilling, which means you won’t split boards and you’ll finish faster. The HCR-X coating works in damp crawl spaces, while the yellow zinc finish suits dry interiors. Counter-Snap breakaway screws are brilliant if you’re working on visible hardwood because the head snaps off flush after you drive it, leaving just a tiny countersunk hole that’s nearly invisible. Standard wood screws in the 40 to 50 mm range do the job for basic floorboard-to-joist connections when you need something simple and reliable. Screws beat nails every time because they grip harder, won’t back out with foot traffic, and create a connection that lasts through seasonal wood movement.
Getting the specs right matters more than you’d think. You want enough length to sink at least 25 mm into the joist without punching through the finished floor on the flip side. Thread type changes how the screw performs: coarse threads grab aggressively into softwood joists and plywood subfloors, while fine threads glide smoothly into dense hardwood where you can’t risk cracking the surface. Partial-thread screws pull the subfloor tight against the joist because the smooth shank near the head compresses the gap while the threaded end locks into the framing. Coatings aren’t just cosmetic. HCR-X handles moisture in basements, and yellow zinc keeps things rust-free in dry rooms.
- SPAX T-STAR flat head screws work best for joist fastening from either direction. Countersinking head, no pilot hole needed in wood, strong hold that doesn’t quit. Available in exterior HCR-X or interior yellow zinc.
- Counter-Snap breakaway screws are perfect for hardwood or anywhere the floor shows. Breakaway head snaps flush, needs a 3/32″ or 7/64″ pilot hole, keeps damage minimal.
- Standard 40 to 50 mm wood screws handle basic subfloor or board attachment without fuss. Cheap, easy to find, reliable when you size them correctly.
- Coarse-thread screws suit plywood or OSB subfloors and softwood joists. Aggressive bite, quick install, good when you’re working overhead.
- Fine-thread screws are the choice for hardwood flooring. Smooth entry cuts splitting risk, holds tight in dense grain.
- Partial-thread screws excel at closing subfloor gaps. Smooth shank pulls layers together while the threaded tip anchors into the joist.
Use SPAX or partial-thread screws when you’re tightening subfloor-to-joist connections from below, Counter-Snap for top-side hardwood repairs where you care about looks, and coarse-thread standard screws for quick plywood or carpeted installs. Fine-thread screws fit engineered or solid hardwood where clean entry matters.
How to Identify Squeaky Floor Locations Before Installing Screws

Squeaks happen when surfaces rub together, gaps open between the subfloor and joists, or nails work loose and let things move. The friction makes noise every time weight shifts the boards. Hardwood board ends without tongue-and-groove connections lift slightly with each step, which creates a common squeak source. Stair squeaks usually show up near the center of each tread where flex is worst, not at the edges. Mark the exact squeak spot before you drill so you don’t waste holes and you know screws will land where they’ll actually stop the movement.
Walk slowly and listen for creaks, then press lightly with your foot to confirm the spot moves. Check if the squeak sits directly over a joist or between joists by mapping the framing below with a stud finder. Mark each problem area with masking tape or a chalk dot so you can work through them without losing track. For carpeted floors, peel back a corner of the carpet and underlay to see if you can pin the noise to a specific board or seam, then mark the surface with tape before you put everything back.
- Walk the floor slowly and listen for each squeak, testing high-traffic paths and spots near doorways.
- Press gently with your foot at each suspected location to confirm movement and make the creak repeat.
- Use a stud or joist finder to locate the nearest framing and verify whether the squeak sits on a joist or in between.
- Mark the squeak with masking tape or chalk so you can see it clearly while drilling.
- Check joist alignment by tapping lightly on the floor or drilling a small test hole to confirm you’ve hit solid framing before driving full-length screws.
Step-by-Step Screw Installation Methods to Fix Squeaky Floors

Pick whether you’re driving screws from above or below based on your access and what the floor looks like. Going from above works when there’s no basement or crawl space and you don’t mind small countersunk holes or breakaway screw remnants in the surface. Working from below keeps the finished floor perfect and lets you tighten the subfloor without leaving marks. Size screws so they sink at least 25 mm into the joist but stop before breaking through the top surface. Measure your subfloor thickness, add joist penetration, then subtract a safety margin if you’re working overhead.
Pilot holes matter for some screw types and floor materials. Counter-Snap screws need a 3/32″ or 7/64″ pilot hole to keep hardwood from cracking during installation. SPAX screws with a 4CUT Point can go straight in without pre-drilling in most wood, but a pilot hole still helps near board ends or in really hard species. When you’re driving screws, stop tightening as soon as the head sits flush or just below the surface. Overtightening crushes the wood, creates a dip, and weakens the connection.
Driving Screws at Angles
The 45° opposite-angle technique uses two screws per squeak, each driven at 45° toward the other so they meet inside the joist. This tightens the subfloor against the joist from two directions and locks the connection harder than a single vertical screw. Angled screws also resist working loose under repeated foot traffic because the opposing angles fight pull-out in multiple directions.
| Method | When to Use | Screw Type | Notes |
|---|---|---|---|
| Angled (45°) | When you want maximum hold and can access from above | SPAX T-STAR or standard wood screws | Drive two screws per location angled toward each other; tightens joint in two directions |
| Direct from above | Ground-level floors, no basement access, visible surface acceptable | Counter-Snap breakaway or countersinking flat head | Pilot drill if needed; countersink or snap head flush; fill hole if desired |
| Direct from below | Basement or crawl space access available | Partial-thread or coarse-thread screws | No surface damage; measure carefully to avoid penetrating finished floor |
| Carpeted floor | When you want to avoid lifting entire carpet | Counter-Snap with carpet guide or specialized carpet screws | Lift corner to mark location; use guide to bury screw head below pile; press carpet back onto grippers |
Surface-Sensitive Installation Techniques for Hardwood and Carpeted Floors
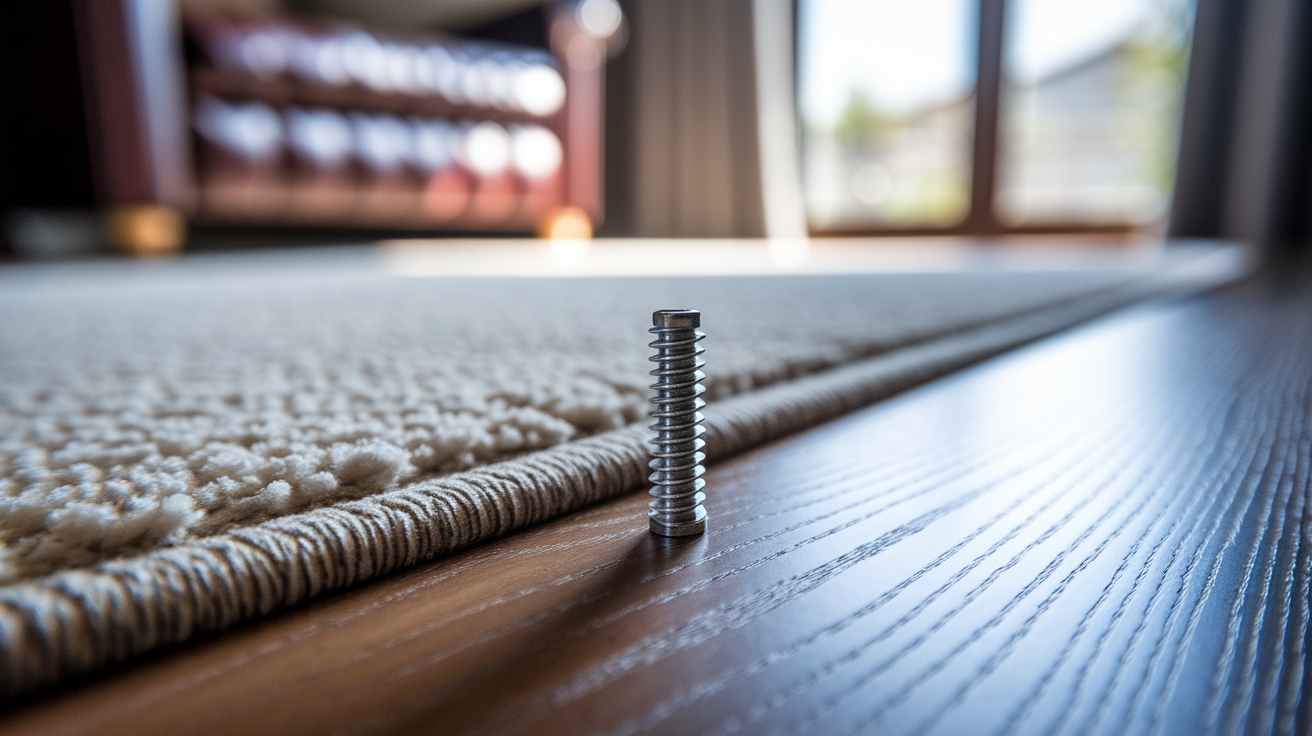
When you’re driving screws into hardwood or engineered flooring from above, you want to kill the squeak without creating damage that looks worse than the noise. Counter-Snap breakaway screws fix this by snapping their heads off at a set depth, leaving a small countersunk hole that’s tough to see from standing height. The holes are bigger than finish nails but still blend into most hardwood grain, especially if you position screws where natural wood color variations help hide them. Pilot drilling with a 3/32″ or 7/64″ bit stops the hardwood from cracking as the screw goes in, which matters most near board edges or in brittle old flooring.
Depth control separates a clean finish from a visible repair. If you’re using a metal depth fixture (some Counter-Snap kits include one), set it beside the screw as you drive so you know when to stop. The screw should sit just below the surface before you snap the head. Without a fixture, watch the screw head sink and stop tightening when it’s flush or slightly countersunk, then test the floor for movement before snapping. One firm hammer tap at the breakaway point should snap the head cleanly. If the screw won’t break, you’ve driven it too deep or not deep enough. Back it out slightly and try again. Each screw makes a noticeable difference when you set it right, so test after each install rather than driving a dozen screws and hoping they all worked.
For carpeted floors, lift the corner of the carpet and underlay just enough to expose the subfloor at the squeak. Use a drill guide or carpet-specific screw kit to control depth so the screw head sits safely below the carpet pile and won’t snag feet or show as a lump. Drive the screw until it pulls the subfloor tight against the joist, then press the underlay and carpet back onto the gripper rods. The screw disappears under the carpet, and you skip the time and hassle of removing tack strips or re-stretching the whole room.
Fixing Squeaky Floors from Below Using Joist Access
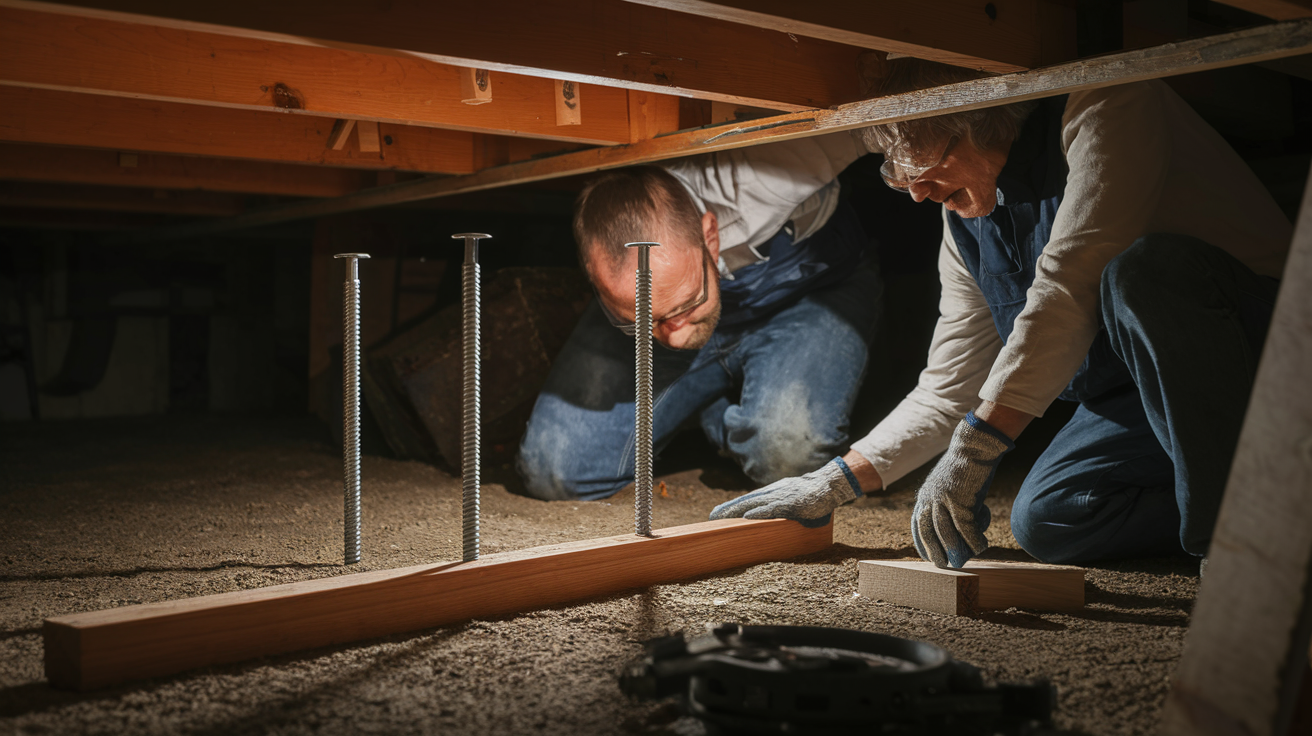
Working from below gets rid of any visible impact on your finished floor and puts you right at the subfloor-to-joist connection where most squeaks start. If you’ve got a basement or crawl space, you can tighten loose subfloor panels, add reinforcement, and stop movement without drilling a single hole in the hardwood above. Partial-thread screws work best for this because the smooth shank near the head pulls the subfloor down against the joist while the threaded tip locks into the framing.
- Partial-thread screw installation means driving screws up through the joist into the subfloor at squeak locations. The smooth shank compresses the gap while the threads anchor in the plywood or OSB above.
- Installing cleats involves cutting a wood cleat to fit tight against the joist, positioning it so it contacts the underside of the subfloor, and fastening it with indoor zinc-coated screws long enough to penetrate the cleat and joist without breaking through the floor above.
- Adding blocking means installing solid wood blocks between joists where rotation or flexing causes squeaks. Apply blocks wall-to-wall to stiffen the floor system and keep the load path even.
- Strengthening weak OSB or plywood underlayment requires driving screws at closer intervals (every 15 to 20 cm along joist edges) if the subfloor itself is sagging or delaminating. This pulls it tight and cuts down movement.
Pick screw lengths by measuring your subfloor thickness and adding the depth you want into the joist (at least 25 mm), then subtract 5 to 10 mm as a safety margin. A 40 mm screw handles most standard subfloor-to-joist jobs when the subfloor is 18 to 20 mm thick. If you’re adding cleats or blocking, use screws long enough to pass through the new wood and bite into the joist but short enough to stay well below the finished flooring on the other side.
Additional Structural Methods for Eliminating Squeaks Long-Term

Shimming fills gaps between the subfloor and joist where separation happened. Use wood shims or construction shims to snug the gap, then apply construction adhesive to hold the shim and reduce future movement. Wood glue on joints between subfloor panels or along joist tops can tighten connections and stop friction before it turns into noise. Adhesive won’t fix big structural gaps, but it helps when boards are rubbing slightly or subfloor seams are loose.
Joist Reinforcement Techniques
Blocking and bridging cut down joist rotation and flex, which cause squeaks in older floor systems. Blocking uses solid wood pieces installed perpendicular between joists, usually at mid-span or near problem areas. The blocks transfer load between joists and stiffen the whole floor system. Install blocking wall-to-wall rather than just at isolated squeak points so the load stays even and you don’t create new weak spots nearby. Bridging uses diagonal bracing (wood or metal) in an X-pattern between joists to limit twisting and bouncing. Both methods work best combined with screws at squeak locations, because reinforcement stops the movement that caused the squeak in the first place.
Seasonal humidity makes wood expand and contract, which can loosen fasteners and open gaps even after repairs. Preventive reinforcement using screws, blocking, and adhesive cuts the chance of squeaks coming back when the wood moves. Watch high-traffic areas and re-tighten or add fasteners if you notice new movement during seasonal changes, especially in climates with big swings in indoor humidity.
Tools Needed for Installing Screws to Fix Squeaky Floors

A cordless drill or impact driver is essential for driving screws efficiently and controlling depth. Impact drivers work especially well for long screws or overhead installs because they deliver torque without needing heavy pressure. T20 bits are required for SPAX T-STAR screws, and using the right bit stops stripping the recess and makes driving faster. Pilot drill bits in 3/32″ or 7/64″ sizes are needed for Counter-Snap screws and for pre-drilling hardwood to prevent cracking. A stud or joist finder locates framing members so you know where to place screws for a solid connection. Clamps hold cleats or blocking in position while you fasten them. PPE includes a dust mask rated FFP3 or N95 for drilling, and safety goggles with indirect vents to protect your eyes from debris when working overhead.
- Cordless drill or impact driver for driving screws and drilling pilot holes
- Impact driver for extra torque on long or overhead screws
- T20 driver bits (S2 material recommended) for SPAX T-STAR screws
- 3/32″ or 7/64″ pilot drill bits for Counter-Snap and hardwood pre-drilling
- Stud/joist finder to locate framing before driving screws
- Clamps to hold cleats, blocking, or shims in place during fastening
- Dust mask (FFP3 or N95) and safety goggles for drilling and overhead work
Final Words
Grab a SPAX or Counter-Snap and mark the squeaky spot before you drill. This guide gave clear product picks, how to locate the sound, and step-by-step ways to drive screws from above or below.
We also covered pilot holes, angled screws, breakaway heads, and how to protect hardwood or carpet, plus below-floor fixes and reinforcement like shims and blocking.
With the right screws to fix squeaky floors, proper length, thread, and technique, you’ll quiet the floor and keep it solid. You’ve got this.
FAQ
Q: How to screw down a squeaky floor?
A: Screwing down a squeaky floor means finding the exact squeak point, driving screws into the joist (angled or straight), using pilot holes when needed, then countersinking or snapping heads for a neat, hidden fix.
Q: What screws to use for squeaky floorboards? / What kind of screws to use for flooring?
A: The screws to use for squeaky floorboards are SPAX T-STAR, Counter-Snap breakaway screws, or standard 40–50 mm wood screws; pick coarse thread for subfloors, fine thread for hardwood, and pilot holes for breakaways.