

Think a drip is harmless?
Not always.
A steady shower faucet leak wastes water and can damage walls fast.
If your shower still drips ten minutes after you shut it off, this guide shows quick fixes you can do now to stop the leak without calling someone.
You’ll get immediate stop-gap moves, the right tools and parts to grab, and a clear step-by-step for common repairs like replacing cartridges, O-rings, or tightening fittings.
Follow these steps and you’ll know when to DIY and when to call a pro.
Immediate Steps to Stop a Shower Faucet Leak Now
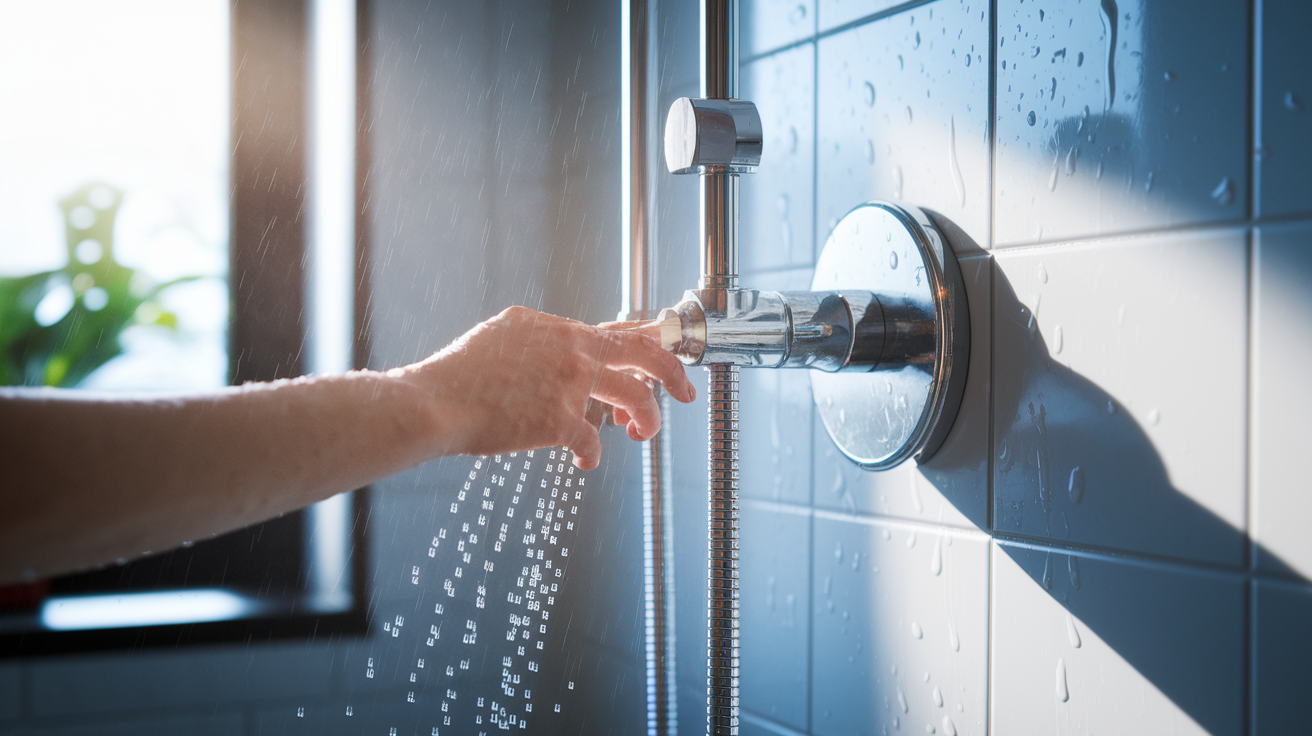
Not every drip means you’ve got a problem. Right after you turn off the shower, a little water stuck in the spout might drip for about a minute. That’s normal. A real leak keeps going hours later or never stops at all. If your shower faucet is still dripping steadily after you’ve left it alone for ten minutes, you’re wasting water and you need to fix it.
Your first move is stopping the flow and preventing damage. Turn off the water at the nearest shutoff valve for the shower. Usually that’s near the shower itself, in a basement access panel, or at the main water line if you can’t find a fixture shutoff. Opening the shower valve after you’ve shut off supply will drain any water left in the line. This prevents surprise drips when you take the faucet apart. It also tells you whether you’ve found the right shutoff. If water still comes out, you shut off the wrong valve.
Temporary fixes can buy you a few days when a full repair isn’t possible right away. If the leak is minor and you need time to gather parts or wait for help, tightening any visible loose screws or applying plumber’s putty around a worn seal can slow the drip. These aren’t permanent solutions, but they cut water waste while you plan the real fix. If the leak is heavy or you see water pooling behind walls, skip the temporary patch. Move straight to cartridge replacement or call someone.
Quick Stop Checklist:
- Turn off water at the nearest shutoff valve to the shower or at your home’s main line.
- Drain remaining water by opening the shower valve and letting it run dry.
- Inspect the handle, faceplate, and visible components for cracks, loose screws, or obvious wear.
- Apply a temporary seal or tighten accessible screws and nuts to slow the leak if you can’t fix it immediately.
- Decide whether you can replace the cartridge yourself or if you need to call a plumber for hidden damage or corroded parts.
Common Causes Behind a Shower Faucet Leaking
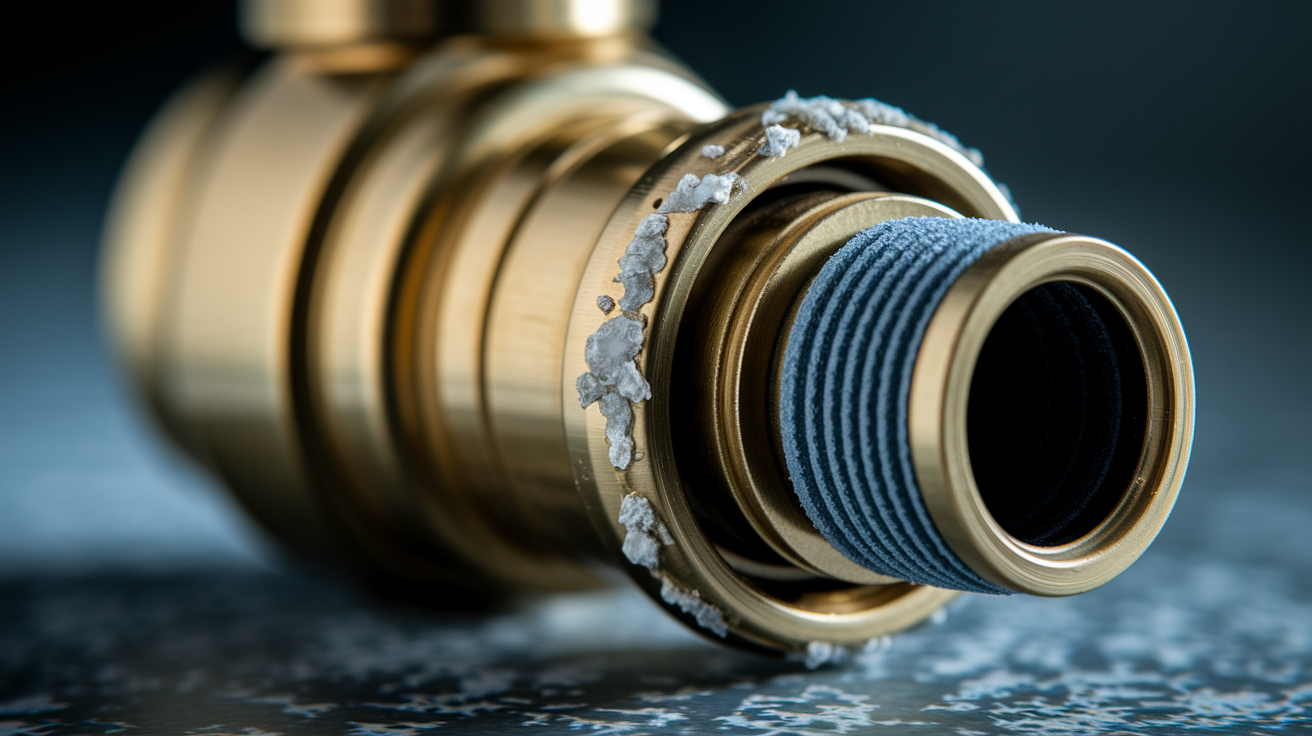
Most shower faucet leaks start with small mechanical parts wearing out over time. Washers, O-rings, and rubber seals inside the faucet lose their shape and flexibility after thousands of on and off cycles, especially in hard water areas. When these seals don’t press tightly against metal surfaces anymore, water finds tiny gaps and drips out. A worn washer is the single most common reason a faucet drips from the spout when the handle is off.
Internal components like cartridges, valves, and the escutcheon plate can also fail or shift. A faulty shower valve sometimes needs nothing more than a quarter turn tightening to stop a leak. You don’t always need a full replacement. The cartridge sits in the center of the faucet assembly and controls water flow and temperature. When it cracks or its seals wear down, water leaks past the handle or spout. A loose or improperly seated escutcheon (the decorative cover plate against your shower wall) can let water seep behind the wall. That often points to a weak or failing cartridge inside.
Environmental wear speeds up every leak. Hard water deposits minerals that corrode valve stems, clog narrow passages, and roughen seals. High water pressure forces water through openings that would stay sealed under normal pressure. Homes with well water or older galvanized pipes see faster corrosion, which creates leaks at joints and inside valve bodies. If you’ve noticed rust stains, reduced water quality, or mineral crusts on your shower head, corrosion is likely affecting your faucet internals too.
Where the leak shows up tells you what’s broken. A drip from the spout when the handle is off usually means a bad washer or cartridge seal. Water pooling around the handle or escutcheon points to worn O-rings or a loose cartridge. A leak from the shower head connection often means the rubber gasket behind the head has cracked. Leaks below the wall, inside the access panel, or dripping from the ceiling below suggest failed supply line connections or corroded pipes that need immediate attention.
Tools & Materials Needed for DIY Shower Faucet Repair
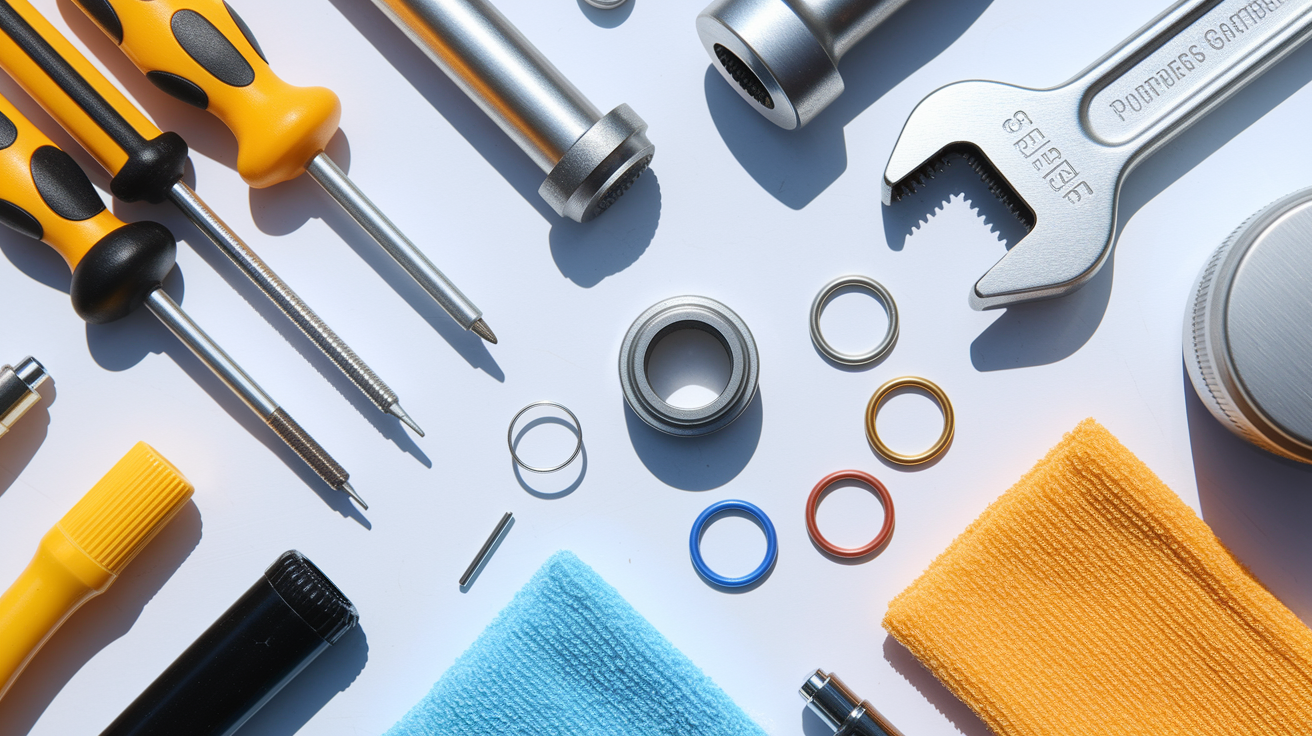
Gathering everything before you start keeps the job moving and prevents mid repair trips to the hardware store with a disassembled faucet. Most shower faucet repairs use basic hand tools you probably already own, plus a few replacement parts matched to your exact faucet model. Having your phone handy to photograph each disassembly step helps during reassembly, especially if this is your first time inside a shower valve.
Matching replacement parts to your faucet brand and model is the most important prep step. Shower cartridges, washers, and O-rings come in dozens of sizes and thread patterns. Bring your old cartridge or washer to the store. Or look up your faucet’s model number online to find the right part. Installing the wrong size washer or a mismatched cartridge wastes time and won’t fix the leak. It may create a new one.
What You’ll Need:
- Screwdriver (flathead and Phillips, depending on handle screws)
- Adjustable wrench or pliers
- Socket wrench or cartridge puller tool (for some cartridge types)
- Utility knife (to cut away old caulk if needed)
- Flashlight (to see inside the valve body)
- Replacement shower cartridge (match brand and model)
- Replacement O-rings and washers (bring old parts to match size)
- Plumber’s grease (silicone based, to lubricate new seals)
- Rag or small bucket (to catch trapped water)
- Locking clip or retaining pin (usually comes with new cartridge)
Step-by-Step Guide: How to Fix a Shower Faucet Leaking at the Handle or Spout
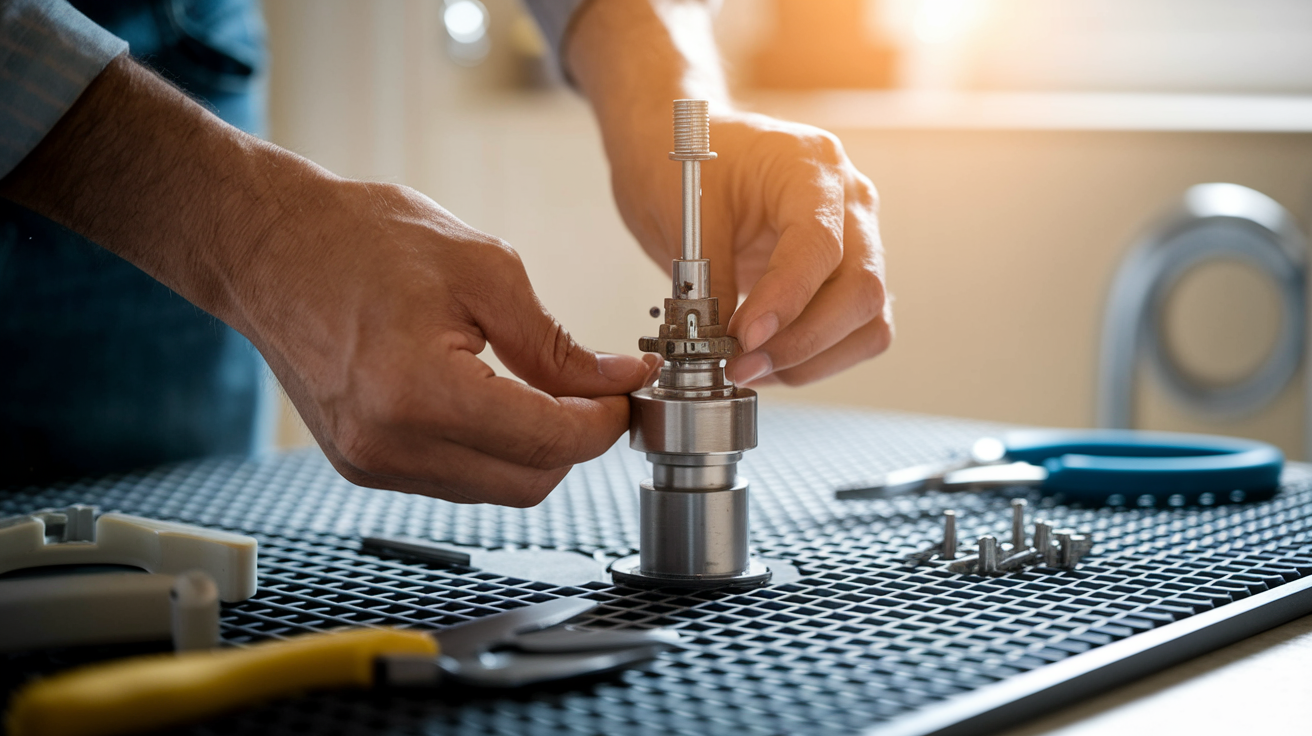
Start by shutting off the water supply to the shower at the fixture shutoff or main line. Open the shower valve to drain any water still in the pipes, then leave the handle in the off position. Lay a rag in the tub to catch small screws or clips that might fall. If you’re working with a single handle shower, you’ll access one cartridge. Two handle showers have separate hot and cold stems, so you’ll need to identify which side leaks. Or replace both if they’re old.
Removing the Handle and Accessing the Valve
Most shower handles hide their mounting screws under a decorative cap or button at the center or base of the handle. Pry off the cap gently with a flathead screwdriver or utility knife. Remove the screw with a Phillips or flathead screwdriver, then pull the handle straight off the valve stem. Some handles are tight. Wiggle gently or use a handle puller if it won’t budge. Once the handle is off, unscrew the trim sleeve or escutcheon to expose the valve body and cartridge inside the wall.
Look for a small metal locking clip or retaining pin at the top or side of the cartridge. This clip holds the cartridge in place and must come out before you can pull the cartridge. Use needle nose pliers to pull the clip straight out. Don’t bend or twist it. Keep the clip if it’s still in good shape, though most replacement cartridges include a new one.
Replacing the Cartridge or Stem
Grip the cartridge stem with pliers or a cartridge puller tool and pull it straight out of the valve body. Cartridges can stick from mineral buildup, so you may need steady, firm pressure. Once it’s out, inspect the old cartridge for cracks, worn rubber seals, or mineral deposits. Compare it side by side with your replacement to confirm you have the right part. Orientation and alignment notches matter.
Coat the rubber O-rings on the new cartridge with a thin layer of plumber’s grease. This helps the cartridge slide in smoothly and creates a better seal. Push the new cartridge into the valve body, aligning any tabs or notches exactly as the old one sat. Insert the new locking clip to secure the cartridge, pressing it fully into its slot. If the clip doesn’t seat all the way, the cartridge isn’t aligned correctly. Pull it back out and try again.
Reassembling and Testing for Leaks
Screw the escutcheon back onto the valve body, hand tight only. Slide the handle back onto the cartridge stem, making sure it fits snugly, then replace the mounting screw and decorative cap. Turn the water supply back on slowly and watch for leaks around the escutcheon and handle. Open and close the shower valve a few times to verify smooth operation and check that the drip has stopped.
If water still drips from the spout after a few minutes, the cartridge may not be seated correctly. Or you may need to replace additional seals inside the valve. If you see water behind the escutcheon or around the handle, turn off the supply and check that all parts are tightened properly and the O-rings are in place. Small adjustments, repositioning the cartridge or adding more grease to the seals, often solve lingering drips without needing another new part.
Diagnosing Specific Leak Types in Your Shower Faucet
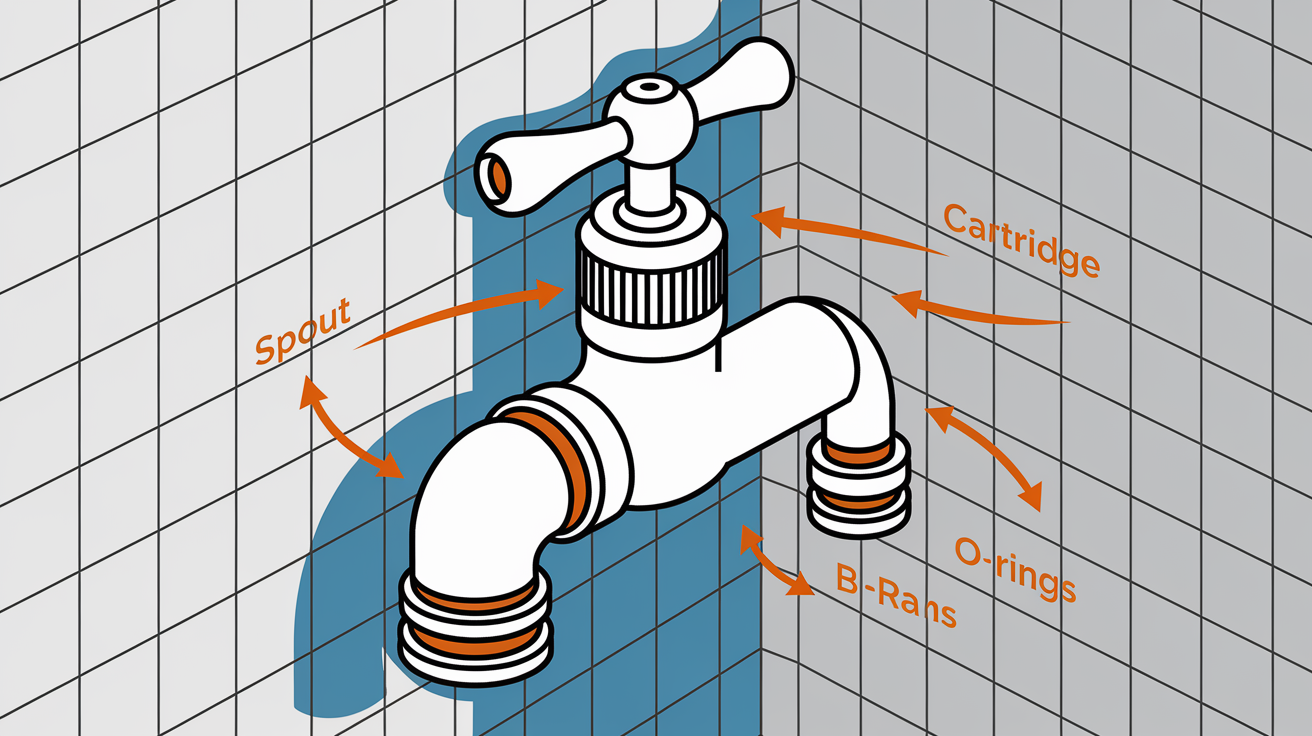
Different leak locations point to different failures inside your faucet, and knowing which part to replace saves time and wrong purchases. A drip from the shower head when the valve is off may seem like a faucet problem, but it’s usually a worn gasket inside the shower head connection, not the valve itself. Water seeping from behind the escutcheon or pooling at the handle tells you the cartridge seals or O-rings have failed. Leaks you can see guide you to the exact repair.
| Leak Location | Likely Cause | Difficulty Level |
|---|---|---|
| Spout dripping when handle is off | Worn cartridge seals or washer | Low to Moderate |
| Water around handle or escutcheon | Failed O-ring or loose cartridge | Moderate |
| Shower head connection dripping | Cracked rubber gasket behind head | Low |
| Leak inside wall or access panel | Corroded supply line or valve body crack | High, call pro |
| Diverter spout leaking during shower | Worn diverter valve or seat | Moderate |
Compression valves and ceramic disc valves fail in slightly different ways. Compression valves use rubber washers that wear down and need regular replacement. When the washer at the base of the stem flattens or cracks, water drips from the spout. Ceramic disc valves have two polished discs that slide against each other to control flow, and they rarely need washer replacement. When a ceramic disc valve leaks, it’s usually because mineral buildup has scratched the disc surfaces or the inlet seals have dried out. Cleaning the discs and replacing inlet seals often fixes ceramic valve leaks without replacing the entire cartridge.
Understanding your valve type before you start helps you buy the right parts and set realistic expectations for how hard the fix will be. Single handle mixers typically use cartridges. Two handle setups may use compression stems, ceramic discs, or ball valves, depending on age and brand. Check your faucet’s brand name stamped on the handle or escutcheon, then search online for the valve type and replacement parts specific to that model.
Preventing Future Shower Faucet Leaks
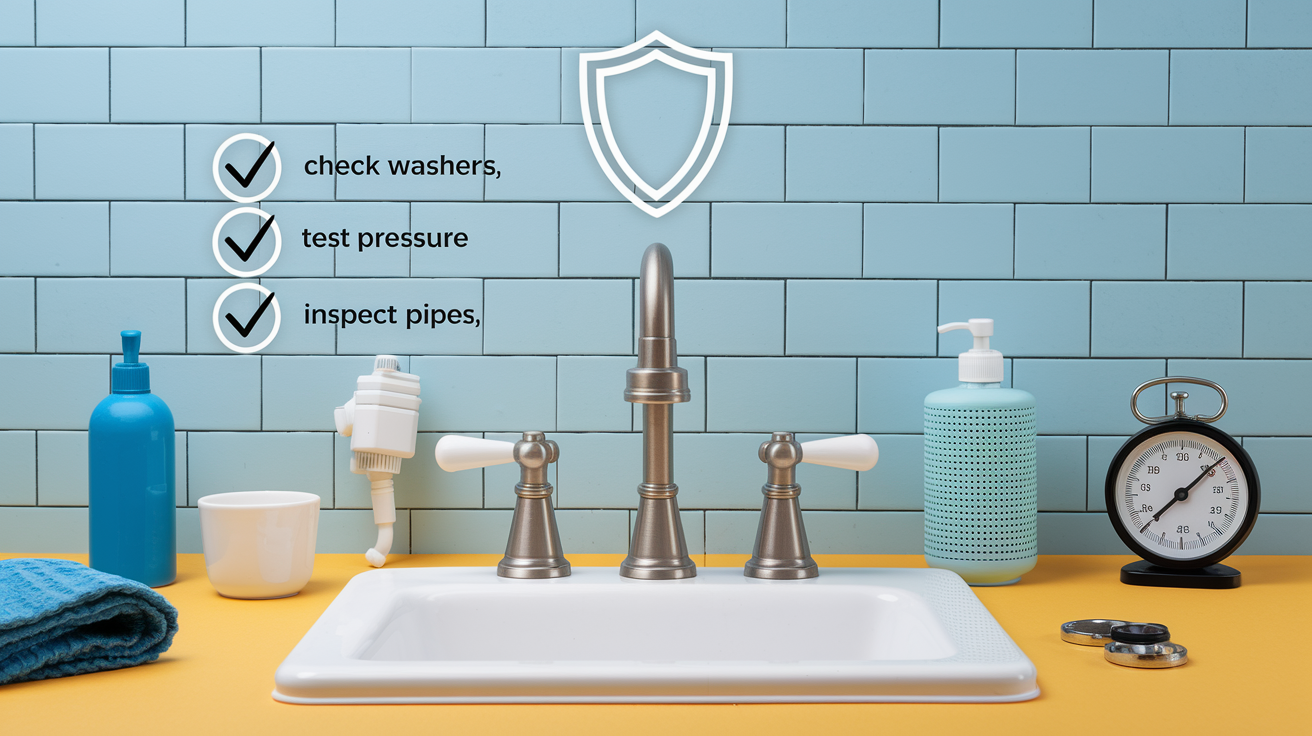
Routine checks catch small problems before they turn into leaks. Inspecting your shower faucet twice a year takes about five minutes and can save hundreds of gallons of water and the cost of emergency repairs. Look for early warning signs like a handle that feels loose, slow drips that start and stop, or moisture around the escutcheon. Tightening a screw or replacing a washer now is faster than dealing with mold or rotted drywall later.
High water pressure is a silent leak accelerator. If your home’s pressure runs above 60 psi, every seal, washer, and gasket wears out faster, and small openings widen under the force. Install a water pressure gauge on an outdoor spigot to check your pressure. Add a pressure regulator to your main water line if readings stay consistently high. Moderating pressure protects every fixture in your home, not just the shower. Homes with well water or in areas with very hard water should consider a water softener to reduce mineral buildup that corrodes cartridges and clogs valve bodies.
Simple Habits That Prevent Leaks:
- Check washers and O-rings during any faucet handle removal and replace them if they look flat or cracked.
- Tighten loose handle screws and escutcheon plates as soon as you notice wobble or movement.
- Monitor your home’s water pressure with a gauge once a year and install a regulator if pressure exceeds 60 psi.
- Flush your shower head every few months to remove mineral deposits that can back up into the valve.
- Inspect visible pipes in access panels for rust stains, moisture, or white mineral crusts.
- Replace old galvanized supply lines with PEX or copper before they corrode and leak inside walls.
Early signs of trouble include handles that turn too easily or require more force than before, temperature that’s hard to control, or reduced water flow from the shower head. Any of these symptoms mean parts inside the valve are wearing down. Addressing them during your twice yearly check prevents sudden failures and water damage. If you see black spots, musty smells, or soft drywall around your shower, you already have a hidden leak that needs immediate professional assessment.
When to Call a Professional Plumber for a Shower Faucet Leaking

Some repairs are beyond what a screwdriver and new cartridge can fix. If you’ve replaced the cartridge, tightened every accessible screw, and the leak continues, the problem may be inside the valve body itself or in pipes hidden behind your wall. Cracked valve bodies, corroded supply lines, and leaks that have already caused structural damage require a licensed plumber with the tools and permits to open walls, replace pipes, and ensure code compliance.
Call a professional when the leak location isn’t obvious. Water stains on the ceiling below your shower, damp spots on the wall opposite the faucet, or mold growth around the shower surround mean water is traveling behind finished surfaces. Tracking and repairing hidden leaks often involves cutting access holes, using moisture meters, and replacing sections of drywall or tile. Plumbers also handle pressure regulator installation, whole house re-piping for corroded systems, and diagnosing complex mixing valve failures that affect multiple fixtures.
Call a Pro When:
- You’ve replaced the cartridge and seals but the leak persists or worsens.
- You see water damage, mold, or soft spots in walls or ceilings near the shower.
- The valve body itself is cracked, corroded, or leaking from areas you can’t access.
- Your home has old galvanized or polybutylene pipes that need replacement to prevent future leaks.
Costs, Parts, and Replacement Expectations for Shower Faucet Repair
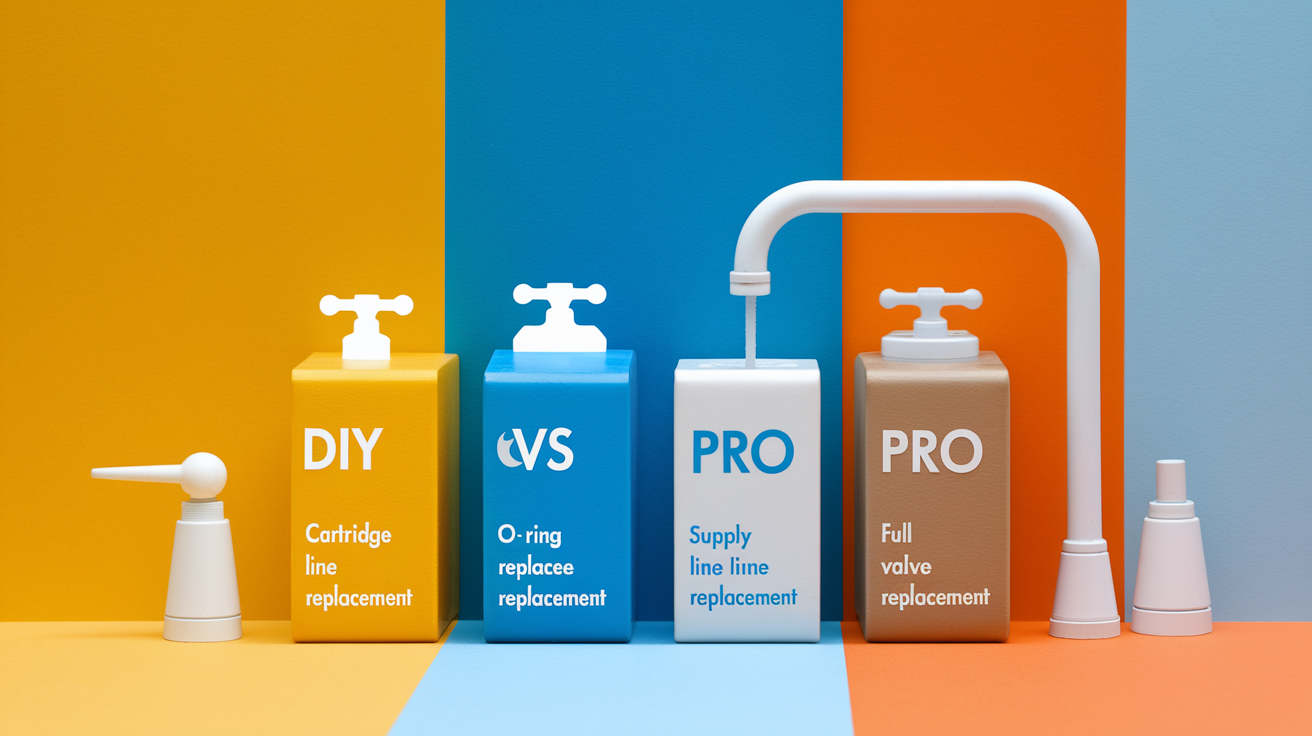
DIY cartridge replacement is one of the most cost effective home repairs you can do. A replacement cartridge runs between eight and forty dollars depending on brand and valve type, and a full seal and washer kit costs under ten dollars. If you already own basic tools, your total out of pocket for a standard single handle repair is usually under fifty dollars. Two handle showers cost a bit more if you’re replacing both stems, but the work is still straightforward and saves you a service call fee.
Professional repair costs vary by region, job complexity, and whether walls need opening. A plumber’s service call to replace a cartridge typically runs between one hundred and two hundred fifty dollars, including labor and the part. If the valve body is damaged or supply lines need replacement, costs climb into the four hundred to eight hundred dollar range. Full shower valve replacement, including new trim and possible tile work, can reach fifteen hundred dollars or more. Comparing these numbers makes the case for tackling simple cartridge swaps yourself and calling a pro only when the job involves hidden leaks or structural repair.
| Repair Type | Skill Level | Cost Range |
|---|---|---|
| Cartridge or washer replacement | Low to Moderate (DIY-friendly) | $8–$50 DIY / $100–$250 Pro |
| O-ring and seal replacement | Low (DIY-friendly) | $5–$15 DIY / $100–$200 Pro |
| Supply line or valve body replacement | High (call pro) | $400–$800 Pro |
| Full shower valve replacement with trim | High (call pro) | $800–$1,500+ Pro |
Many faucet manufacturers offer limited lifetime warranties on cartridges and internal parts, though labor isn’t covered. If your faucet is less than ten years old, check the brand’s website or your original purchase receipt before buying a replacement cartridge. You may be able to request a free part. Warranties typically require proof of purchase and only cover manufacturing defects, not wear from hard water or improper installation. Even when the part is free, you’ll still pay a plumber’s labor rate if you hire help, so DIY replacement remains the most budget friendly option for most homeowners.
Final Words
You shut off the nearest valve, drained the line, and checked the handle for worn washers or a bad cartridge. Those steps stop most active drips fast.
You learned the common causes, gathered the right tools, and followed the step-by-step cartridge or seal replacement. Diagnosis helps you target repairs, and quick temporary fixes buy time.
If pipes are corroded or the leak hides behind the wall, call a pro. With these checks, a shower faucet leaking is fixable and you’ll be back to normal soon.
FAQ
Q: How do I stop a shower faucet leak now?
A: To stop a shower faucet leak now, shut the nearest shutoff valve, drain remaining water, inspect visible parts, tighten or apply a temporary seal, then decide if cartridge replacement is needed.
Q: What qualifies as a true leak versus normal post-use dripping?
A: A true leak is continuous water loss after the valve is off, while short dripping right after use is normal as pressure equalizes and parts settle.
Q: How do I safely turn off the water supply to the shower valve?
A: To turn off the water supply to the shower valve, locate and turn the nearest shutoff clockwise; if none, shut your main supply, then open the shower to confirm flow has stopped.
Q: What temporary fixes can stop a leaking shower faucet until I repair it?
A: Temporary fixes that stop a leaking shower faucet include tightening accessible nuts, wrapping threads with plumber’s tape, or using a rubber patch and hose clamp; these are short-term solutions only.
Q: What tools and parts do I need for a DIY shower faucet repair?
A: For DIY shower faucet repair, gather screwdrivers, adjustable wrench, pliers, socket set, replacement washers or cartridge, O-rings, plumber’s tape, silicone grease, and towels to catch water.
Q: What are the common causes behind a shower faucet leaking?
A: Common causes behind a shower faucet leaking are worn washers or O-rings, corroded cartridges or stems, loose escutcheon parts, mineral buildup from hard water, and high water pressure.
Q: How do I find where the leak in my shower faucet is coming from?
A: To find where the leak is coming from, run the shower and watch the handle, spout, and supply connections, feel for wet spots, and remove the faceplate to inspect the valve area.
Q: How do I replace a shower cartridge or stem?
A: To replace a shower cartridge or stem, turn off water, remove the handle and retaining clip, pull the old cartridge, install a matching new one with seals, reassemble, and test for leaks.
Q: When should I call a professional plumber for a shower faucet leak?
A: You should call a professional plumber when corrosion or hidden leaks exist, you can’t locate a shutoff, there’s structural water damage or mold, or the repair needs pipe or wall work.
Q: What should I expect to pay to repair or replace a shower valve?
A: Expect to pay under $30 for small parts like washers, $50–$150 for cartridge parts, and $150–$500 or more total with professional labor depending on damage and access.