

Did you know a single dripping faucet wastes about 104 gallons of water a year?
That tiny drip costs money and drives you nuts, but you don’t have to call someone first.
In minutes you can quiet or stop the drip with simple moves—shut the local valve, snug the handle screw, or clean the aerator.
This post shows fast temporary fixes and clear repair steps for the four common faucet types so you fix it right and finish fast.
Immediate Actions to Stop a Dripping Faucet
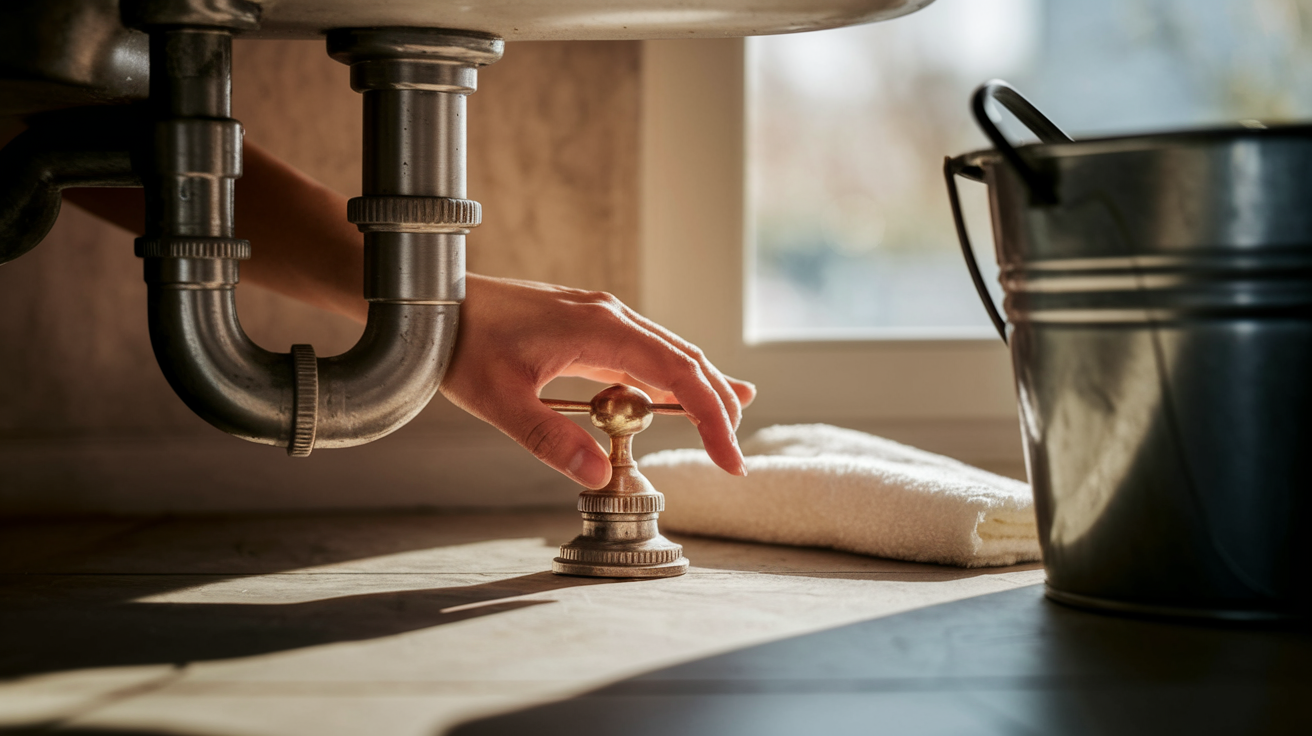
A dripping faucet wastes about 104 gallons of water per year at just three drips per minute. Before you tear into a full repair, you can take a few quick steps to slow or stop the drip temporarily. These fixes buy you time if you need to grab tools or parts, and sometimes they’ll solve the problem without any disassembly at all.
Start by shutting off the water supply. Most faucets have small shutoff valves under the sink. Turn the valve handles clockwise until they stop. If you don’t see valves under the sink, you’ll need to shut off the main water supply to the house. Open the faucet to drain whatever water’s left in the lines.
-
Tighten the faucet handle by removing the decorative cap and snugging the screw underneath with a screwdriver. Stop when it feels snug, not forced.
-
Check the aerator at the tip of the spout. Unscrew it by hand and rinse out any debris or mineral buildup that might be preventing a tight seal.
-
Tie a piece of cotton string around the spout so it hangs down into the sink. This won’t stop the drip, but it’ll quiet it by channeling water silently down the string instead of letting it splash.
-
Close the local shutoff valve if the drip continues and you’re not ready to repair it right away.
-
Place a towel or small bucket under the faucet to catch drips and protect your drain from losing small parts if you decide to open things up.
Identifying Your Faucet Type
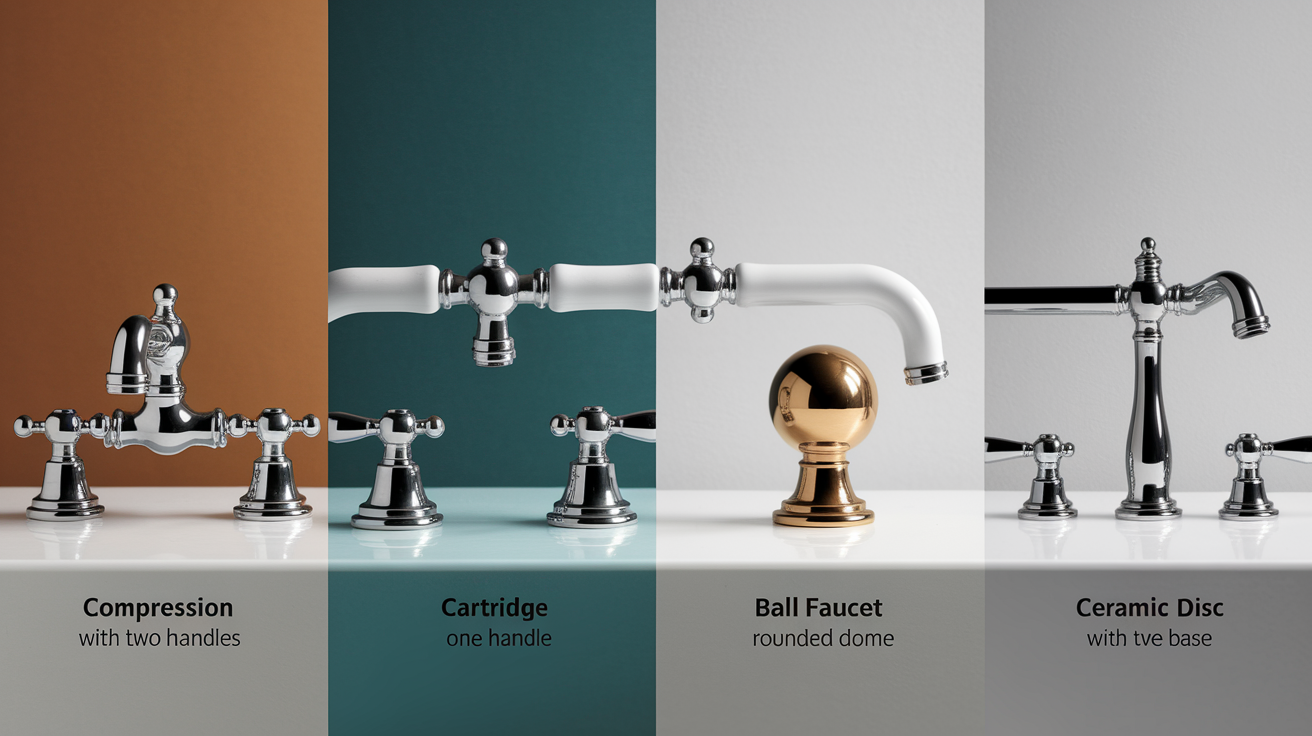
Before you fix a dripping faucet, you need to know which type you have. The internal parts and repair steps differ by design, and buying the wrong replacement cartridge or washer wastes your time. Most home faucets fall into one of four categories, each with clear visual clues.
Compression faucets have two separate handles, one for hot and one for cold. Turn each handle and you’ll feel distinct stops when fully open or closed. These are the oldest and simplest design, and they rely on rubber washers that press down to stop water flow. Cartridge faucets may have one or two handles, but they move smoothly without the hard stops of compression models. Inside, a plastic or brass cartridge slides up and down to control flow. Ball faucets have a single handle that swivels in all directions over a rounded cap. Lift the handle and you’ll see or feel the ball joint underneath. Ceramic disc faucets also use a single handle, but the base is wider and the handle moves with very little effort because two smooth ceramic discs inside glide against each other to control water.
Look at your faucet’s handle setup and movement:
Two handles with firm on/off stops? Compression faucet. One or two handles that glide smoothly? Cartridge faucet. Single handle on a rounded dome base? Ball faucet. Single handle with effortless, wide range motion? Ceramic disc faucet.
Tools and Materials Needed
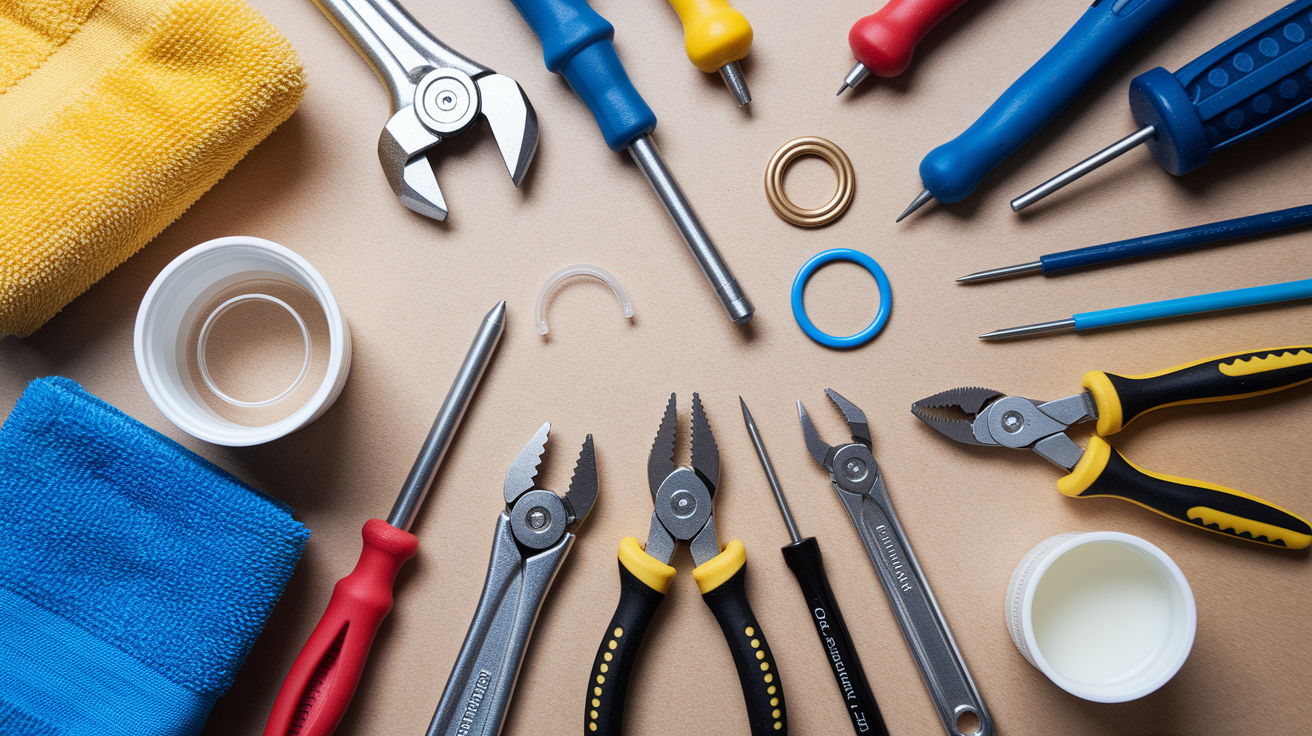
Most faucet repairs use basic hand tools you probably already own. Gather everything before you start so you’re not hunting for a wrench with wet hands. You’ll also need a few cheap replacement parts, which you can pick up at any hardware store once you know your faucet type.
Here’s what to have on hand:
Adjustable wrench for loosening retaining nuts and packing nuts. Flathead and Phillips screwdrivers to remove handles and trim caps. Needle nose pliers to grip and pull cartridges or small components. Replacement washers and O rings sized to match your faucet’s original parts. Plumber’s grease (nontoxic, heat resistant) to coat O rings and moving parts. Small soft bristled brush for cleaning mineral deposits. White vinegar mixed 1:1 with water in a bowl for descaling. Towels or a drain plug to catch parts and protect the sink.
Diagnosing the Cause of the Drip
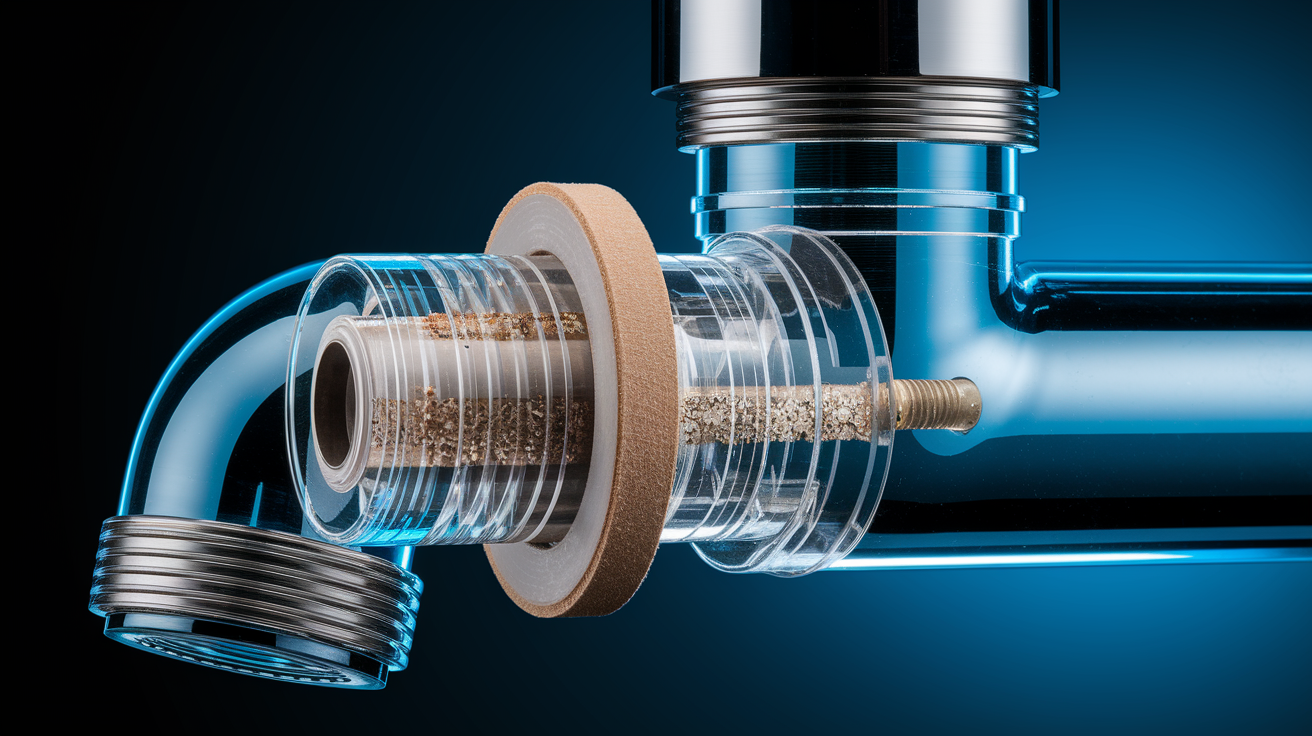
Once you’ve identified your faucet type and gathered your tools, the next step is figuring out why it’s dripping. Most drips come from worn or damaged internal parts that no longer create a watertight seal. Compression faucets typically drip because the rubber washer at the base of the stem has flattened, cracked, or torn. Cartridge and disc faucets usually leak when O rings dry out or when mineral deposits clog the cartridge’s internal channels. Ball faucets can drip if the springs and rubber seats inside the ball assembly wear down or if O rings around the spout degrade.
Hard water speeds up wear on all faucet types. Calcium and mineral buildup forms crusty deposits that scratch seals, jam cartridges, and prevent parts from sitting flush. If you see white or greenish scale on components when you take apart the faucet, plan to clean everything before installing new parts.
You won’t know the exact cause until you open the faucet, but the drip location offers clues. Water dripping from the spout points to problems inside the valve body, like a bad washer, cartridge, or ball assembly. Water pooling around the base of the handle means O rings or seals under the handle have failed. Water seeping from the stem where it enters the faucet body suggests a loose or worn packing nut. Start by noting where the water appears, then take things apart carefully and inspect each piece for visible damage, wear, or mineral crust.
Repair Steps for Compression Faucets
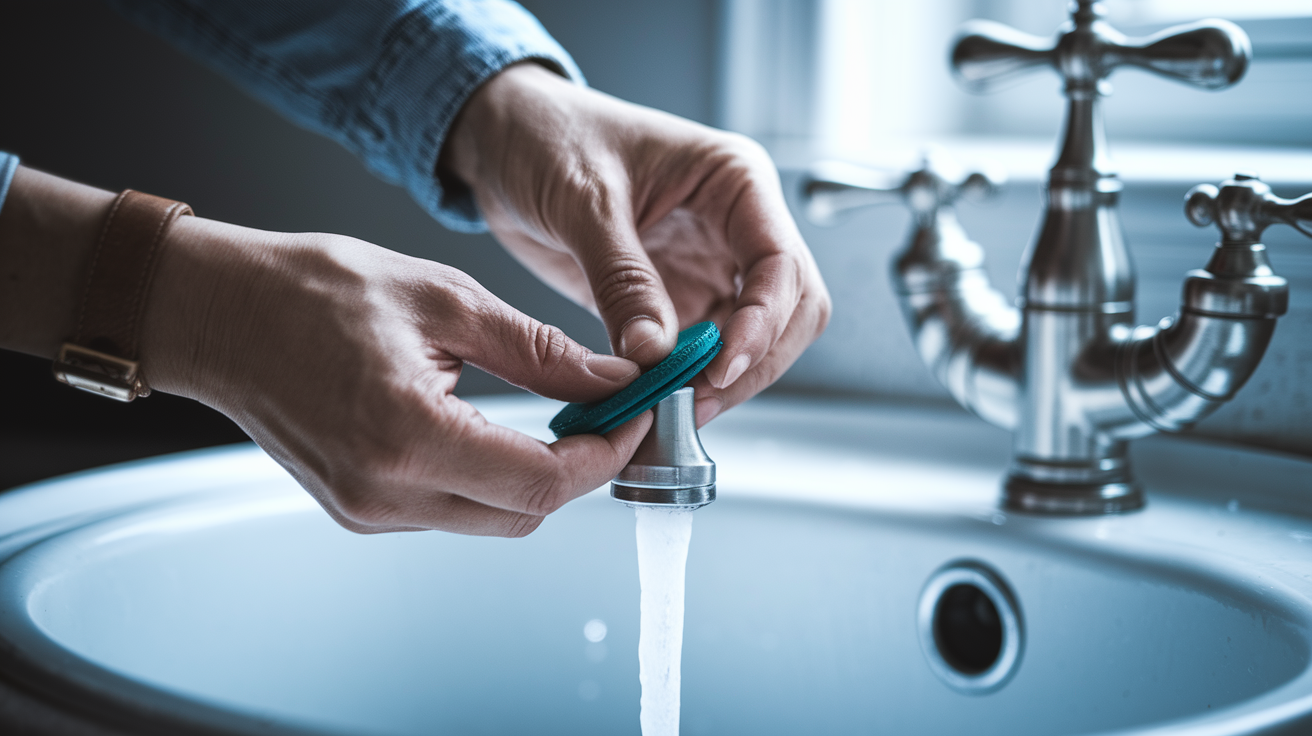
Compression faucets are the easiest to fix because they use simple rubber washers and basic threaded parts. Replacing a worn washer usually stops the drip. If both hot and cold handles drip, you’ll need to repair both sides.
Shut off the water supply valves under the sink by turning them clockwise until they stop. Open the faucet to drain leftover water.
Pry off the decorative cap on the handle with a flathead screwdriver. You’ll see a screw underneath. Remove the screw and lift off the handle.
Use an adjustable wrench to unscrew the packing nut. This is the large hexagonal nut directly under the handle. Turn it counterclockwise and set it aside.
Pull out the valve stem by gripping it with pliers or your hand and twisting counterclockwise. The stem will thread out of the faucet body. Check it for cracks or heavy corrosion.
At the bottom of the stem, you’ll find a rubber washer held in place by a brass screw. Remove the screw, pull off the old washer, and press on a new washer that matches the size and shape exactly. Put the brass screw back in snugly but don’t crank it down.
Look at the O ring around the stem. If it looks flattened, cracked, or dry, replace it. Coat the new O ring with a thin layer of plumber’s grease before sliding it into the groove.
Put the faucet back together by threading the stem back into the body, tightening the packing nut with the wrench, replacing the handle, and securing the screw. Turn the water supply back on and test. The drip should be gone.
Repair Steps for Cartridge Faucets
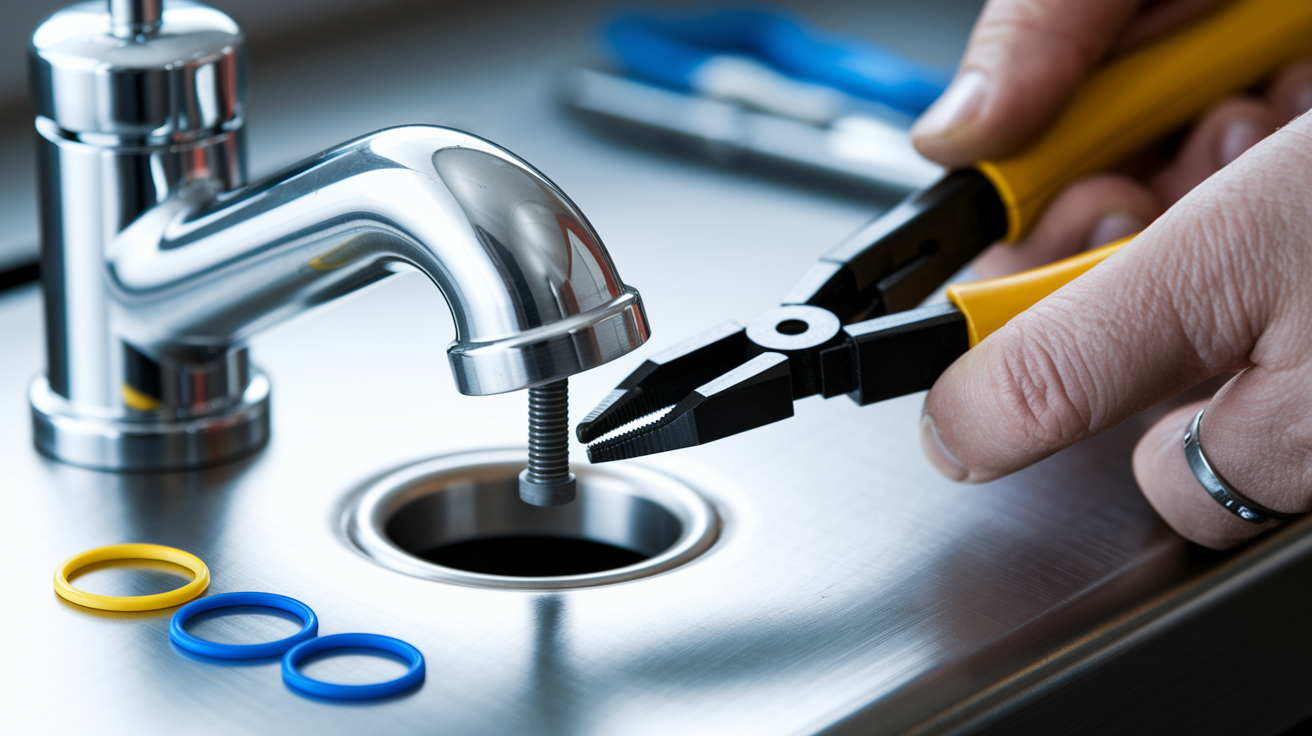
Cartridge faucets require you to remove and replace the cartridge itself or the O rings that seal it. Match the replacement cartridge to your faucet’s make and model, because cartridges aren’t universal. Bring the old cartridge to the hardware store if you’re not sure.
Shut off the water supply under the sink. Open the faucet to release pressure and drain the lines.
Remove the handle. Some cartridge faucets have a small set screw on the side or back of the handle. Loosen it with an Allen wrench or screwdriver. Others have a cap you pry off to access a Phillips screw underneath.
Lift off the handle and any decorative escutcheon or trim ring. You’ll now see the cartridge retaining clip or nut. Use needle nose pliers to pull out the U shaped metal clip if present, or unscrew the retaining nut with an adjustable wrench.
Grip the top of the cartridge stem with pliers and pull straight up. Cartridges can stick because of mineral buildup, so wiggle gently while pulling. Don’t twist unless the instructions for your model say to.
Check the cartridge for cracks, worn rubber seals, or heavy scale. If the O rings on the cartridge body look damaged, you can replace just the O rings. If the cartridge itself is cracked or the internal parts are worn, replace the whole thing.
Before installing the new cartridge, clean the inside of the faucet body with a 1:1 vinegar and water solution and a soft brush. Rinse well.
Line up the new cartridge exactly as the old one was. Most cartridges have a flat side or tab that must face a certain direction. Push the cartridge in by hand until it seats all the way, then put the retaining clip or nut back on.
Put the handle, escutcheon, and cap back together. Turn the water back on slowly and test. If the drip’s still there, double check that the cartridge is facing the right way and seated completely.
Repair Steps for Ball Faucets
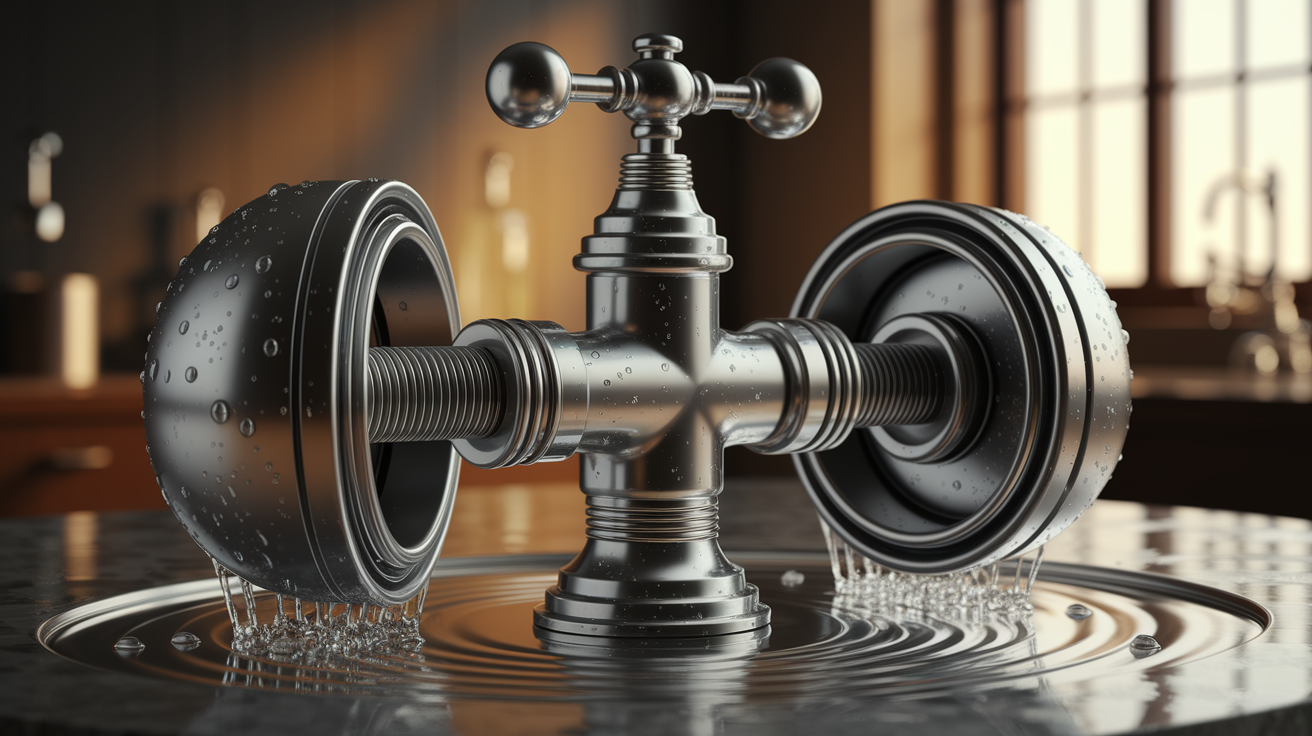
Ball faucets are more complex than compression models, and most repairs mean replacing multiple small parts at once. Buy a ball faucet repair kit for your faucet brand, which includes springs, rubber seats, O rings, and sometimes a new ball. The kit costs about $10 to $20 and saves you from buying parts one by one.
Turn off the water supply and open the faucet to drain pressure. Find the small Allen screw on the side of the handle and loosen it. Lift off the handle.
Unscrew the cap with adjustable pliers or a specialty cap wrench if your faucet came with one. Underneath the cap, you’ll see the cam, cam washer, and rotating ball.
Lift out the cam, cam washer, and ball. Look at the ball for scratches, pitting, or corrosion. If the ball’s damaged, replace it with the one in your repair kit.
Use needle nose pliers to remove the rubber seats and springs from the two inlet holes inside the faucet body. These are small and easy to lose, so keep a towel in the sink.
Press new springs into each inlet hole, then push new rubber seats on top of the springs. Make sure the seats sit flat.
Put the ball, cam washer, and cam back in reverse order. The cam has a small tab that must line up with a notch in the faucet body. Screw the cap back on hand tight, then snug it with pliers. Reattach the handle and turn the water back on. Test the faucet and adjust the cap if there’s still a slight drip.
Repair Steps for Ceramic Disc Faucets
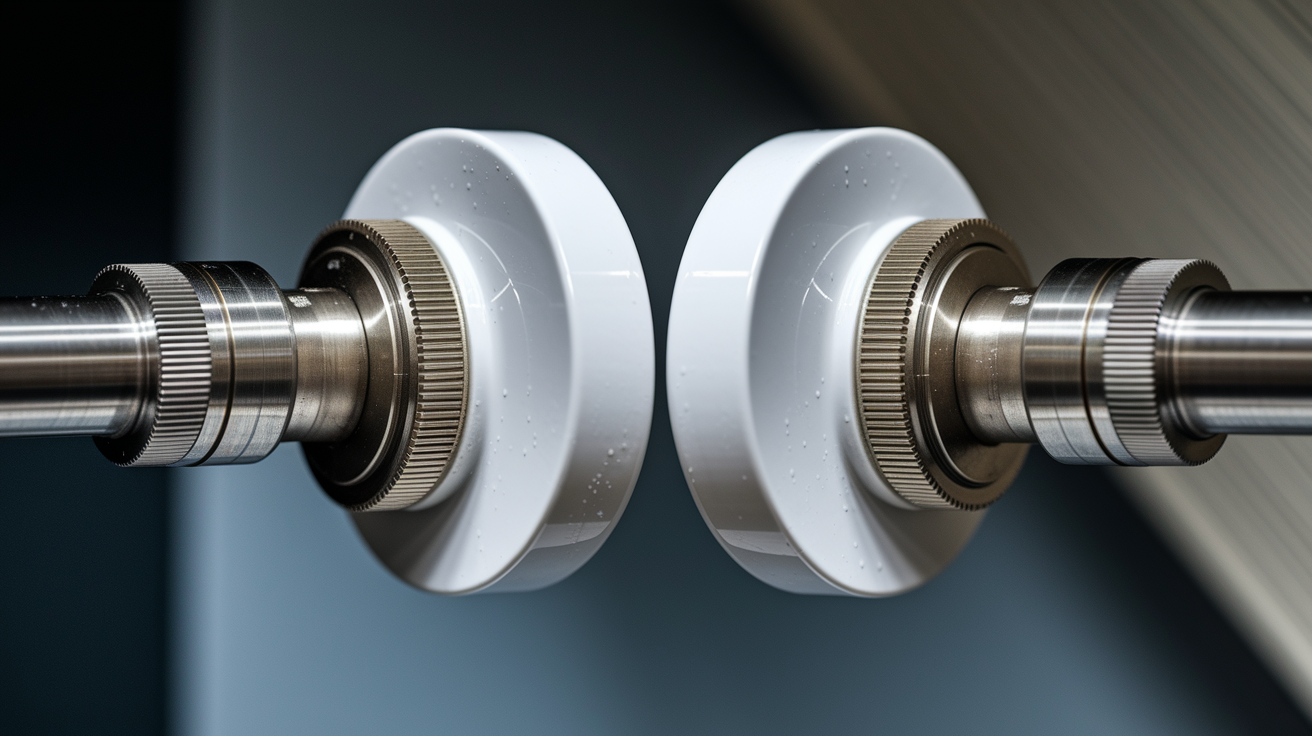
Ceramic disc faucets are durable and rarely fail, but when they do drip, it’s usually because the rubber seals at the base of the disc cartridge have worn out or because sediment has clogged the inlet ports. Replacing the seals is pretty straightforward. If the ceramic discs themselves are cracked, you’ll need to replace the entire cartridge.
Shut off the water and open the faucet. Loosen the set screw on the handle (often hidden under a cap) and remove the handle.
Unscrew the dome shaped cap or escutcheon to expose the disc cartridge. Some cartridges are held by screws. Others lift straight out.
Remove the cartridge by unscrewing any mounting screws and lifting it out of the faucet body. Turn the cartridge upside down and you’ll see the rubber seals on the underside. Pry them out gently with a flathead screwdriver.
Press new seals into place, making sure they sit flat in their grooves. Coat them lightly with plumber’s grease.
Look at the inlet ports in the faucet body for sediment or mineral buildup. Flush them with water or clean with a soft brush dipped in vinegar solution.
Put the cartridge back in, lining up any tabs or notches, and secure the mounting screws. Replace the cap, handle, and set screw. Turn the water back on slowly. Ceramic disc faucets can crack if air or debris is forced through the lines too fast.
If you still see a drip after putting everything back together, the ceramic discs inside the cartridge may be damaged. Replacement cartridges for ceramic disc faucets can cost $30 to $80, and they must match your faucet’s brand and model exactly.
Troubleshooting Persistent Leaks After Repair
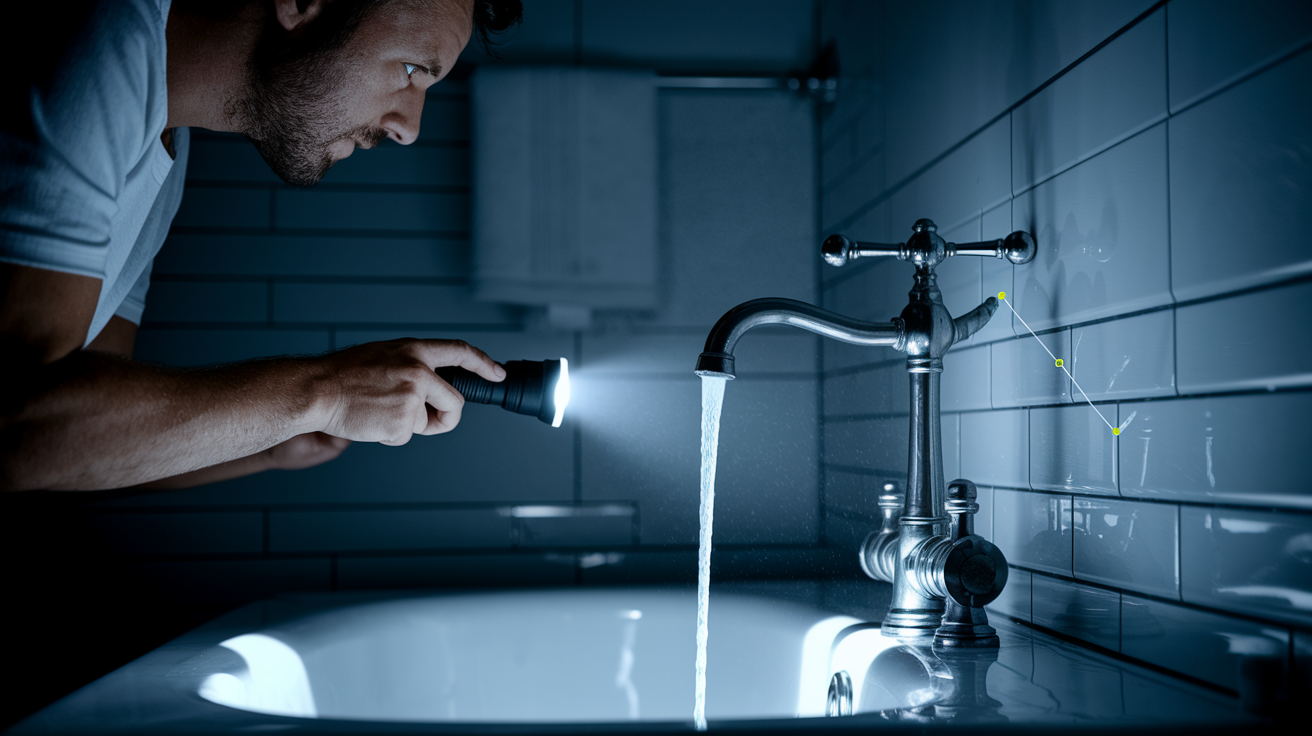
If your faucet still drips after you’ve replaced washers, O rings, or cartridges, something else is wrong. The most common post repair issues are mismatched parts, improper seating, or damage you didn’t notice during disassembly. Double check that every replacement part matches the original in size, shape, and thickness. Even a slightly thicker O ring can keep the faucet from sealing properly.
Make sure all components are seated fully and aligned correctly. Cartridges have specific orientations, and if you installed one backward or rotated 90 degrees off, it won’t seal. Retaining nuts and packing nuts should be snug but not overtightened, which can crack plastic parts or squish rubber seals. If you see water pooling around the base of the faucet instead of dripping from the spout, the problem’s likely a loose packing nut or a damaged O ring on the stem or cartridge body.
Here are the most common reasons a faucet still leaks after repair:
Replacement washer or O ring is the wrong size or installed upside down. Cartridge isn’t fully seated or is turned the wrong way. Valve seat inside the faucet body is corroded or pitted and needs replacement or resurfacing. Mineral deposits remain inside the faucet body and are blocking a proper seal. A crack in the faucet body or spout is allowing water to bypass the valve mechanism entirely.
If you’ve checked all these and the drip continues, take the faucet apart again and look closely at the valve seat. Compression faucets have a removable brass valve seat that can become pitted or corroded. You can buy a valve seat wrench to unscrew it and install a new one. For other faucet types, persistent leaks after thorough cleaning and part replacement usually mean the faucet body itself is damaged and the entire fixture needs replacement.
Cost Expectations and When to Call a Professional

Most DIY faucet repairs cost between $5 and $25 for parts. A pack of assorted washers and O rings runs about $5, a replacement cartridge costs $15 to $50 depending on the brand, and a ball faucet repair kit is usually $10 to $20. If you already own basic hand tools, you won’t need to buy anything else. Hiring a plumber to fix a dripping faucet typically costs $75 to $150 for a straightforward repair, though rates vary by region and whether the visit happens during regular hours or as an emergency call.
Call a professional if you’ve tried the repair and the faucet still drips, if you can’t figure out your faucet type or find matching replacement parts, or if taking things apart reveals cracks in the faucet body or corrosion you can’t clean. Plumbers also have specialized tools for resurfacing valve seats and removing seized cartridges without damaging the faucet. If your faucet’s old and requires hard to find proprietary parts, a plumber can often suggest a modern replacement that’s easier to maintain. When in doubt, a service call costs about the same as a mid range replacement faucet, so weigh the age and condition of your fixture before putting too much time into an aging unit.
Final Words
Shut off the water, tighten the handle, and clear mineral buildup to stop the drip now.
This post walked you through spotting your faucet type, the tools and parts to grab, diagnosing worn washers or clogged cartridges, and step-by-step fixes for compression, cartridge, ball, and ceramic disc faucets. It also covers troubleshooting stubborn leaks and when a pro makes sense.
Use the quick fixes first, then follow the repair steps for a lasting solution. If you want to know how to stop a faucet from dripping, this plan gets you quieter plumbing and lower bills, fast and doable.
FAQ
Q: What causes a dripping faucet?
A: A dripping faucet is usually caused by worn washers or O-rings, mineral buildup, loose valve seats, or a failing cartridge or seals. Each faucet type points to different parts to check.
Q: How do you stop a faucet from dripping without? / How do I stop a constant dripping tap?
A: To stop a faucet dripping fast without parts, shut off the supply valves, tighten the handle, clean the aerator, and clear mineral debris. For constant drips, replace worn washers or the cartridge.
Q: How do I disassemble a single handle faucet?
A: To disassemble a single-handle faucet, shut off the water, remove the handle cap or set screw, lift off the handle, unscrew the bonnet or retaining nut, then pull the cartridge or ball assembly.