

Tired of that faucet drip wasting water and money?
You don’t need a plumber to fix it.
In five simple steps, with basic tools and a quick parts run, you can stop the leak in under an hour.
This short guide shows what to check, which parts to buy, and exactly how to swap worn seals or cartridges without guesswork.
Read on and you’ll have a dry sink and one less repair on your list.
How to Fix a Dripping Kitchen Faucet (Step-by-Step)
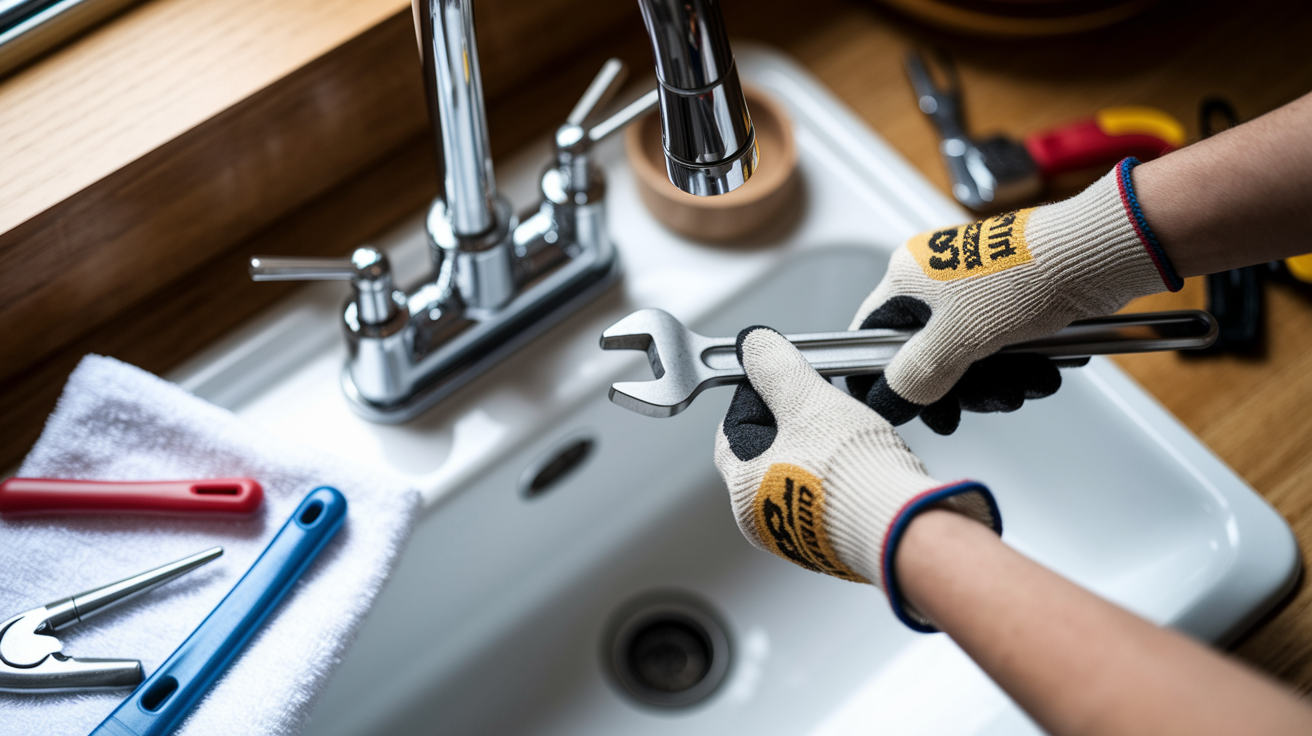
This section walks you through the fastest way to stop a leak using basic tools and a bit of patience. Most kitchen faucet drips come from worn internal parts that you can replace in under an hour without calling anyone.
-
Turn off the water supply. Look under your sink for two shutoff valves, one for hot, one for cold. Turn each clockwise until snug. If there are no under-sink valves, shut off your home’s main water supply.
-
Open the faucet to release pressure. Flip the handle up or turn both handles fully open, then wait about 15 seconds for the lines to drain. This step prevents surprise sprays when you start disassembly.
-
Plug the drain and lay down a towel. A small rag or sink stopper keeps screws and washers from disappearing. The towel catches water and protects your sink from scratches.
-
Remove the handle. Check under any decorative cap on the handle for a set screw. Use an Allen wrench or small screwdriver to loosen it, then lift the handle straight off. Some handles twist or pull directly up without a screw.
-
Take off the retaining nut or bonnet. Use an adjustable wrench or slip-joint pliers to unscrew the large nut holding the cartridge, stem, or ball assembly in place. Turn counterclockwise and set the nut aside.
-
Pull out the cartridge, stem, or ball. Depending on your faucet type, you’ll see a cylindrical cartridge, a threaded stem, or a rounded ball. Grip it firmly and pull straight up. If it resists, wiggle gently or use needle-nose pliers. When it feels stuck, a light twist usually breaks the seal.
-
Inspect and replace worn parts. Look for cracked O-rings, flattened rubber washers, or corroded springs. O-rings should feel smooth and round, not brittle. Washers should sit flat without tears. Replace any damaged component with an exact match from your repair kit.
-
Clean mineral deposits. White or green buildup on the cartridge or inside the faucet body can block seals. Wipe surfaces with a damp cloth and scrape stubborn deposits gently with a toothbrush.
-
Lubricate seals and reassemble. Coat new O-rings and rubber parts with a thin layer of plumber’s grease or silicone lubricant. Reinstall the cartridge or stem in the same orientation you removed it, replace the retaining nut, and tighten snugly. Not forced.
-
Turn the water back on and test. Open the shutoff valves slowly, then run the faucet through hot and cold for two minutes. Check around the handle, spout base, and supply lines for drips.
After reassembly, let the faucet run for a minute to flush out any debris. If a small drip continues, tighten the retaining nut another quarter turn. Over-tightening can crack plastic cartridges, so stop when it feels snug.
How to Identify Your Kitchen Faucet Type
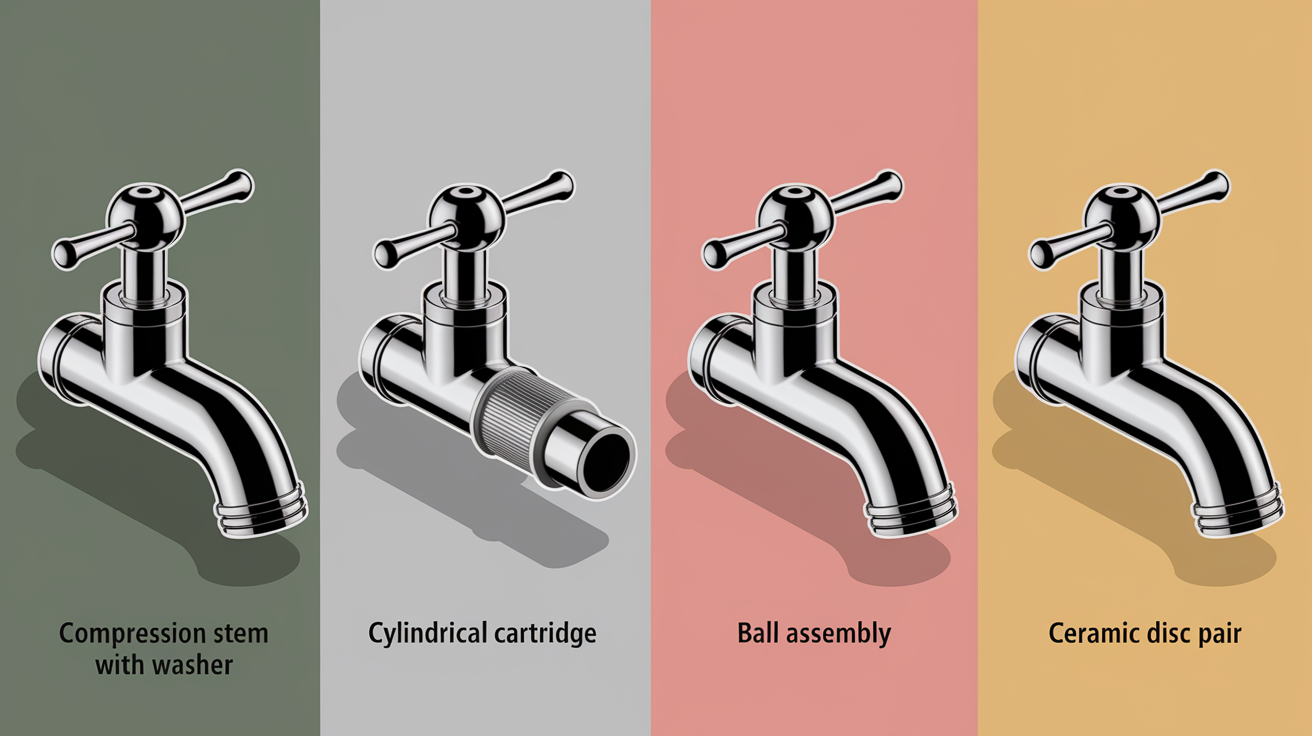
Knowing your faucet type determines which parts to buy and which steps to follow. A cartridge faucet fix won’t work on a compression model, and ball faucet repair kits are different from disc kits.
Most kitchen faucets fall into four categories: compression, cartridge, ball, and ceramic disc. Single-handle faucets usually use cartridge, ball, or disc mechanisms. Double-handle faucets are often compression style, though some newer models use dual cartridges.
Here are the visual and functional cues for each type:
Compression faucet: Two separate handles that turn multiple full rotations to open or close. Inside each handle is a threaded stem with a rubber washer at the bottom. These are the oldest and simplest design.
Cartridge faucet: Single handle that lifts and rotates smoothly, or two handles that move with a short quarter-turn. The internal cartridge slides up and down or rotates to mix hot and cold. Cartridge designs feel precise and controlled.
Ball faucet: Single handle with a large, dome-shaped cap under the handle. The ball inside the faucet body rocks back and forth to adjust flow and temperature. Movement feels looser and more ball-socket-like than a cartridge.
Ceramic disc faucet: Single wide handle, often with a flat, broad base. The mechanism uses two ceramic disks that slide against each other to control water. Disc faucets feel very smooth and require minimal effort to operate.
To confirm your type, remove the handle as described in the first section and look at the part you pull out. A threaded metal stem means compression. A cylindrical plastic or brass piece means cartridge. A round metal ball means ball faucet. Two stacked ceramic disks mean ceramic disc.
Once you identify your faucet, match it to the correct repair section below. Buying the wrong cartridge or repair kit wastes time and an extra trip to the hardware store.
Tools and Replacement Parts You’ll Need
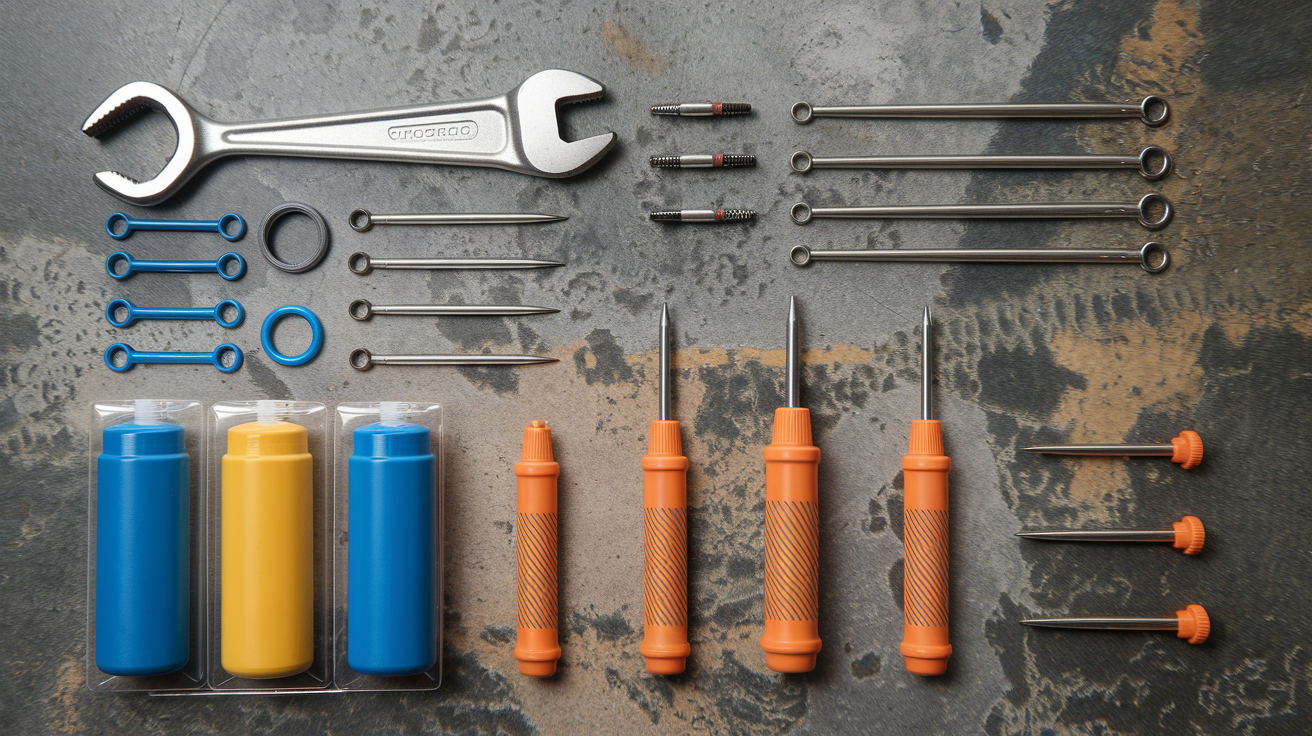
Gathering the right tools and parts before you start saves interruptions and prevents frustration halfway through the job.
Essential tools and supplies:
Adjustable wrench (one 8-inch model covers most nuts), slip-joint pliers (helpful for gripping rounded parts), Phillips and flathead screwdrivers (one of each), Allen wrench set or hex key set (for handle set screws), needle-nose pliers or small hook (to remove retaining clips and O-rings), small flashlight (under-sink spaces are dark), towel or rag (to protect the sink and catch water), bucket or small bowl (to catch residual water from supply lines), plumber’s grease or silicone lubricant (one small tube, around five to ten dollars), replacement parts specific to your faucet type (see below).
Common replacement parts:
O-ring assortment kit (two to twelve dollars for mixed sizes), rubber washer kit for compression faucets (three to ten dollars), replacement cartridge for single-handle models (fifteen to sixty dollars depending on brand), ball faucet repair kit with cam, seats, and springs (ten to forty dollars), ceramic disc cylinder or seal kit (forty to one hundred fifty dollars for high-end models).
When buying parts, bring the old cartridge or a photo of your faucet’s brand and model to the hardware store. Brand compatibility matters. A Moen cartridge won’t fit a Delta body, and generic cartridges rarely align correctly. Check under the spout or on the faucet base for stamped model numbers. Those numbers speed up correct part selection and prevent returns.
How to Diagnose the Cause of the Leak
Pinpointing the exact source of the leak before you disassemble anything helps you order the right parts and avoid unnecessary work.
Start by identifying where water appears. Is it dripping from the spout when the handle is off, seeping around the base of the handle, pooling under the spout collar, or collecting under the sink at the supply lines?
Check the spout when the faucet is fully closed. If water drips from the spout tip, the problem is usually a worn cartridge, damaged washer, or failed seals inside the valve body.
Inspect around the handle. Water leaking from under the handle cap or around the base of the handle stem points to bad O-rings on the cartridge or stem, or a loose packing nut.
Look at the base where the spout meets the sink deck. Puddles here mean the spout O-rings are worn. You’ll need to lift the spout off the valve body and replace those rings.
Examine the supply lines under the sink. Drips at the connection points between braided supply hoses and shutoff valves often come from loose nuts or cracked ferrules, not the faucet itself. Tighten the nut one or two turns and check again.
Test the aerator at the spout tip. Unscrew the aerator screen and run water. If the leak stops, mineral buildup or a damaged aerator washer is the culprit. Clean or replace the aerator.
Write down what you observe before you take anything apart. If the faucet drips only when the handle is in a specific position, that’s a clue the cartridge is damaged at that angle. If it leaks all the time, seals or O-rings are the usual suspects.
Match your findings to the faucet type and move to the corresponding repair section. A compression faucet with a handle leak needs new O-rings and possibly a packing nut adjustment. A single-handle cartridge faucet dripping from the spout likely needs a full cartridge swap.
Repair Instructions for Single-Handle Cartridge Faucets

Cartridge faucets are popular in modern kitchens because they offer smooth control and long life, but worn cartridges and O-rings eventually cause drips.
Follow these steps to replace the cartridge and stop the leak:
Shut off the water and drain the lines. Turn both under-sink valves clockwise, then open the faucet handle for fifteen seconds.
Remove the handle. Pry off the decorative cap with a flathead screwdriver. Use an Allen wrench to loosen the set screw underneath, then lift the handle straight up.
Take off the retaining nut or cap. Use an adjustable wrench to unscrew the large nut or dome cap covering the cartridge. Some models also have a small metal retaining clip at the top of the cartridge. Use needle-nose pliers to pull the clip straight out.
Pull the cartridge out. Grip the cartridge stem with pliers and pull firmly upward. Cartridges can stick due to mineral buildup. If it won’t budge, wiggle it gently side to side while pulling. A stuck cartridge usually breaks free after a few light twists.
Inspect O-rings and seals. Check the rubber O-rings on the cartridge body. If they’re cracked, flattened, or hard, replace them. If the cartridge itself shows wear or the internal seals look damaged, replace the entire cartridge with an exact brand match.
Lubricate and install the new cartridge. Coat the O-rings on the replacement cartridge with plumber’s grease. Align the flat side or tab on the cartridge with the slot in the faucet body. Cartridges only fit one way. Push down firmly until it clicks or seats fully.
Reassemble the faucet. Replace the retaining clip if your model uses one, screw the retaining nut back on snugly, reattach the handle, and tighten the set screw.
Turn the water on and test. Open the shutoff valves slowly and run the faucet through its full range of motion for two minutes. Check for leaks at the handle and spout.
When handling retaining clips, don’t bend or lose them. They keep the cartridge locked in place. If your new cartridge won’t seat fully, rotate it slightly while pressing down. The alignment tabs must match the faucet body slots or the handle won’t turn correctly.
Repair Instructions for Double-Handle Compression Faucets

Compression faucets are straightforward but require periodic washer and O-ring replacement because the rubber parts wear from repeated contact with the valve seat.
Here’s how to rebuild a compression faucet:
Turn off the water and open both handles. Shut the under-sink valves and let the faucet drain for fifteen seconds.
Remove one handle at a time. Pry off the decorative cap, unscrew the handle screw, and pull the handle off. You’ll see a packing nut or bonnet covering the stem.
Unscrew the packing nut. Use an adjustable wrench to turn the nut counterclockwise. Once loose, lift the entire stem assembly out of the faucet body.
Inspect the seat washer at the bottom of the stem. The rubber washer sits in a small brass cup secured by a screw. If the washer is cracked, flattened, or torn, unscrew the retaining screw and replace it with a new washer of the same size.
Check the O-ring on the stem. The O-ring sits in a groove partway up the stem. Roll it off with your fingers or use a small pick. Replace it if it’s brittle or damaged.
Examine the valve seat inside the faucet body. Shine a flashlight into the opening and feel the seat surface with your finger. If it’s rough, pitted, or corroded, use a valve seat wrench to unscrew and replace it. A damaged seat will cut through new washers quickly.
Lubricate the new washer and O-ring. Apply a thin coat of plumber’s grease to the rubber parts, then reassemble the stem and screw it back into the faucet body.
Reinstall the packing nut and handle. Tighten the nut snugly. Not forced. Replace the handle, and repeat the process for the second handle if needed.
Valve seats are often overlooked but critical. A worn seat feels rough to the touch and creates an uneven surface that prevents the washer from sealing. If you replace the washer but skip the seat, the leak will return within weeks. Valve seat wrenches are inexpensive and available at most hardware stores.
Repair Instructions for Ball and Ceramic Disc Faucets
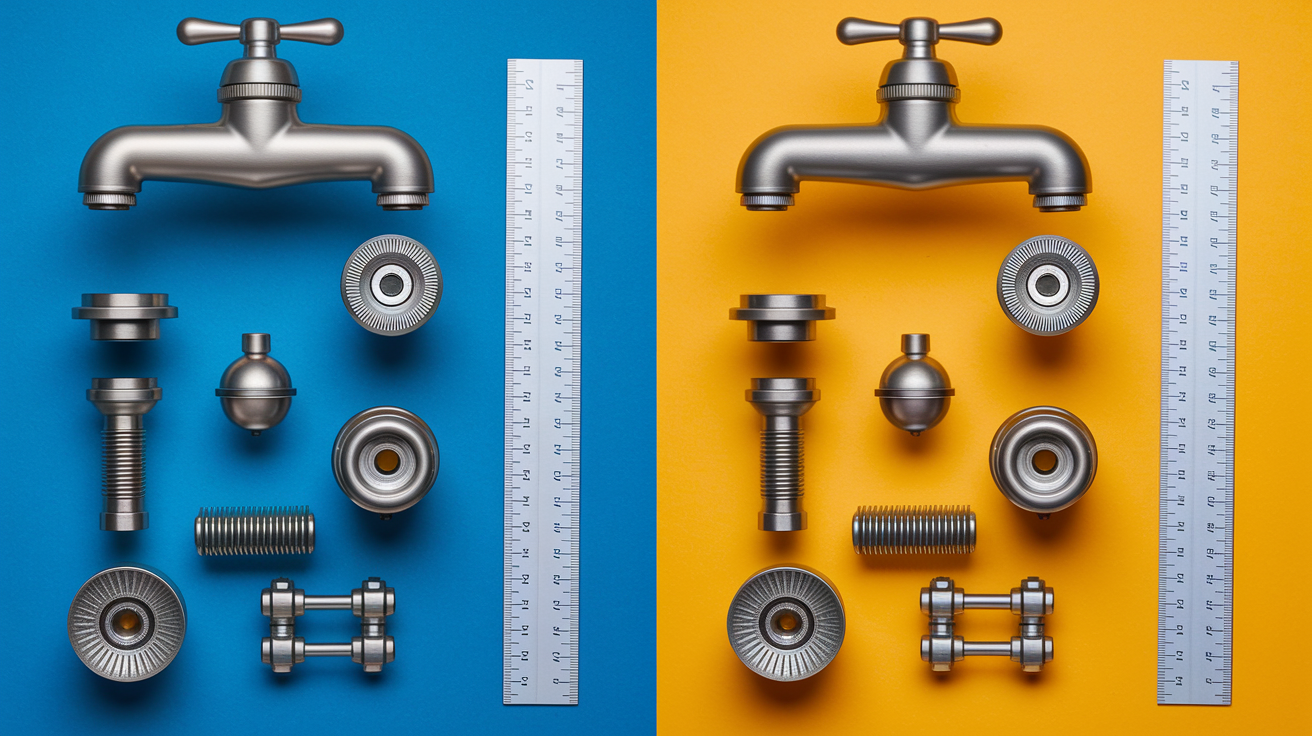
Ball and ceramic disc faucets use different mechanisms but both can develop leaks from worn seals or internal parts.
Ball faucet repair:
Shut off water and remove the handle. Loosen the set screw under the handle and lift it off.
Unscrew the cap and collar. Use slip-joint pliers to remove the large cap, then lift off the cam and cam washer sitting on top of the ball.
Remove the ball assembly. The ball lifts straight out. Check for corrosion or wear on the ball surface. If the ball is pitted, replace it.
Replace the seats and springs. Inside the faucet body are two small rubber seats with springs underneath. Use needle-nose pliers or a pick to lift them out. Install new seats and springs from a repair kit.
Reassemble with new parts. Place the new ball in the body, align the slot with the pin, add the cam washer and cam, screw the cap back on, and reattach the handle.
Test for leaks. Turn the water on and operate the handle through its full range.
Ceramic disc faucet repair:
Turn off water and remove the handle. Unscrew the set screw and lift the handle off the disc cylinder.
Remove the cylinder cap or escutcheon. Some models have a decorative cap that unscrews. Underneath is the ceramic disc cylinder.
Lift out the cylinder. The cylinder assembly pulls straight up. Inspect the rubber seals on the bottom of the cylinder.
Replace the seals or the entire cylinder. If seals are worn, pry them out gently and press new ones into the grooves. If the ceramic discs themselves are cracked or scratched, replace the entire cylinder with a factory part.
Clean the cylinder seats inside the faucet body. Wipe away mineral deposits with a damp cloth and white vinegar if needed.
Reinstall the cylinder and handle. Align the cylinder properly. There’s usually a tab or notch. Press down until seated. Replace the cap and handle.
Ball faucet repair kits typically cost ten to forty dollars and include all the small parts you need. Ceramic disc cylinders are more expensive, but disc faucets rarely fail. When they do, the cylinder replacement usually solves the problem permanently. Make sure to note your faucet’s brand and model before buying a disc cylinder. They’re not universal.
Troubleshooting Common Issues After Repair
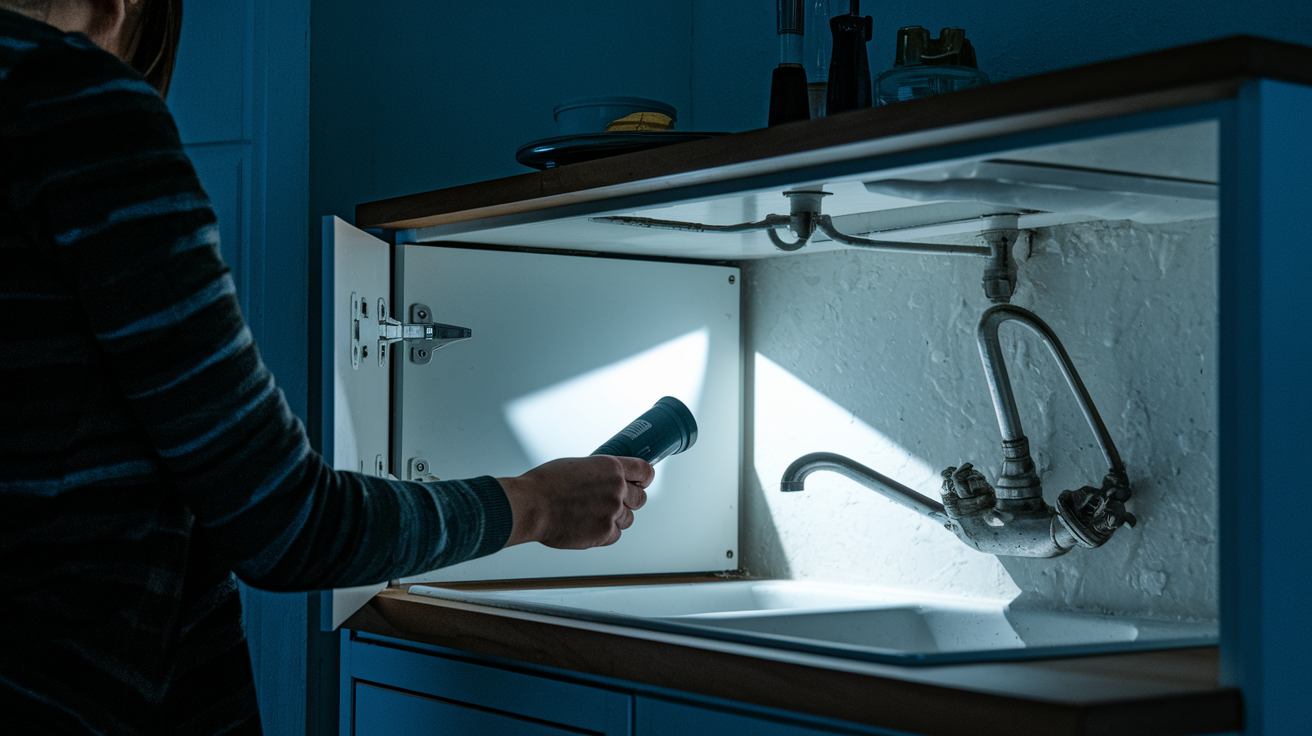
Sometimes a faucet still drips or behaves oddly even after you’ve replaced parts. Here’s how to fix the most common post-repair problems.
Faucet still drips from the spout. The cartridge or washer may not be seated correctly. Disassemble the faucet again and check that the cartridge is fully inserted and aligned. Tighten the retaining nut another quarter turn.
Low water pressure after reassembly. The aerator is clogged with debris shaken loose during repair. Unscrew the aerator, rinse the screen under water, and screw it back on.
Handle is stiff or won’t turn smoothly. You over-tightened the packing nut or retaining nut. Loosen it slightly until the handle moves freely, then tighten just enough to stop leaks.
Water leaks around the base of the handle. The O-ring on the cartridge or stem is damaged, misaligned, or missing lubrication. Remove the handle, coat the O-ring with plumber’s grease, and reinstall.
Leak appears under the sink after turning water back on. A supply line nut or shutoff valve packing nut is loose. Tighten the nut with a wrench. If tightening doesn’t stop the leak, replace the supply line.
Never force parts during reassembly. If a cartridge won’t slide in or a nut won’t thread easily, stop and check alignment. Forcing a stuck part can crack plastic housings or strip threads. When in doubt, back out and start again with a careful look at how parts fit together.
Cost and Time Estimates for Fixing a Kitchen Faucet Leak

Most kitchen faucet repairs are inexpensive and fast when you do them yourself. Here’s what to expect.
| Repair Type | Time Estimate | Cost Estimate (DIY parts only) |
|---|---|---|
| Replace O-rings or washers | 15–30 minutes | $2–$12 |
| Replace cartridge (single-handle) | 30–60 minutes | $15–$60 |
| Rebuild ball faucet (seats, springs, ball) | 30–60 minutes | $10–$40 |
| Replace ceramic disc cylinder | 30–90 minutes | $40–$150 |
Professional plumber service calls typically start at seventy-five to one hundred fifty dollars, with total repair costs ranging from one hundred fifty to four hundred dollars once parts and labor are included. Full faucet replacement by a plumber can run two hundred to seven hundred dollars or more, depending on the faucet you choose and local rates.
If your faucet is more than fifteen years old and you’re facing a costly cartridge or cylinder replacement, consider replacing the entire faucet instead. A good-quality new faucet costs sixty to three hundred dollars and gives you modern features, better water efficiency, and a fresh warranty. Installing a new faucet yourself takes one to three hours and uses the same basic tools.
When to Call a Professional Plumber

Most kitchen faucet leaks are DIY-friendly, but some situations require a plumber’s tools and experience.
You can’t shut off the water using the under-sink valves, and they’re corroded or broken.
Mounting nuts or supply fittings are seized and won’t turn even with a basin wrench.
The leak continues after you’ve replaced the correct parts and reassembled carefully.
You see signs of water damage, mold, or ongoing hidden leaks inside the cabinet.
The faucet body itself is cracked or corroded and needs replacement in a confined or awkward space.
Don’t force stuck nuts or over-torque fittings. Cracking a valve body or stripping threads can turn a simple repair into a much larger and more expensive project. If a part won’t budge after reasonable effort, stop and call someone with the right extraction tools and backup parts. Budget one hundred to three hundred dollars for a service call and straightforward labor when a professional is the smarter choice.
Final Words
Start by shutting off the water and matching your faucet type so you tackle the right repair.
You worked through the tools, diagnosis steps, and clear fixes for cartridge, compression, ball, and disc faucets. You also got troubleshooting tips plus time and cost expectations.
If the leak is small, replacing O-rings or cartridges often takes under an hour, and call a pro for corroded valves or leaking pipes. Follow the checklist, test carefully, and you’ll fix leaky kitchen faucet problems without stress. You’ll stop the drip and get back to your day.
FAQ
Q: How can I stop my kitchen faucet from dripping?
A: Stopping a kitchen faucet from dripping involves first shutting off the water, cleaning the aerator, then replacing worn O‑rings or the cartridge; most fixes take under an hour with basic tools.
Q: Why is my faucet dripping when I turn it off?
A: A faucet drips after you turn it off because worn seals, O‑rings, or a damaged cartridge let water pass; mineral buildup or loose packing nuts can also prevent a full shutoff.
Q: How do I identify the faucet brand and model?
A: You identify the faucet brand and model by checking for logos on the handle or spout, looking under the sink for tags, measuring parts, or snapping photos to match online or on manufacturer sites.
Q: What is the most common cause of a dripping faucet?
A: The most common cause of a dripping faucet is worn rubber parts—washers or O‑rings—that fail to seal; damaged cartridges or corroded valve seats are other frequent culprits.