

You don’t have to pull up the carpet to stop that annoying squeak.
Most squeaks happen because the subfloor has pulled away from a joist or the original nails have backed out, so the floor flexes and rubs.
This intro shows simple, fast ways to find the noisy spot and drive screws from above, or use a breakaway repair kit, so you clamp the subfloor down without lifting the carpet.
Follow these steps and you can quiet the floor in an afternoon with low cost and very little mess.
Fast DIY Methods to Stop Squeaky Floors From Above
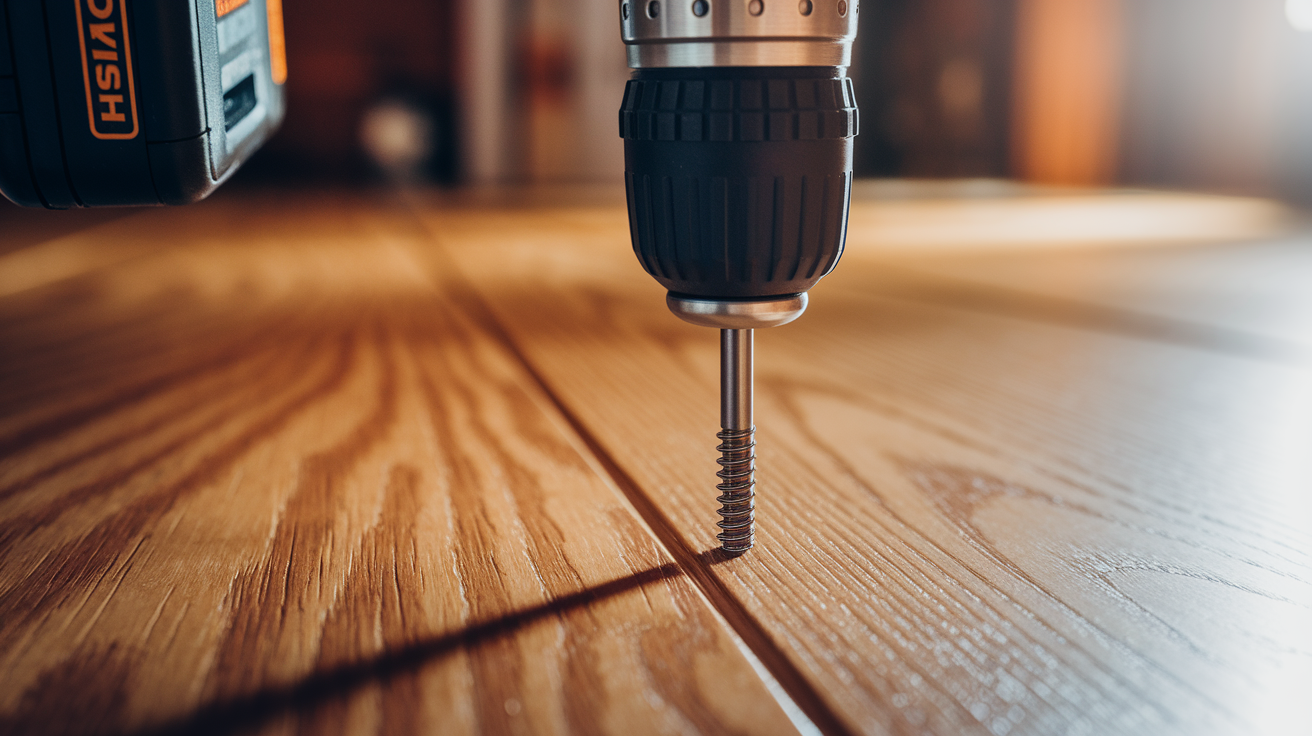
Most floor squeaks happen because the subfloor pulled away from the joist underneath, or because the nails that used to hold everything tight backed out over time. The fastest permanent fix is driving new screws straight down through the finished floor and subfloor into the joist below. This clamps everything back together. Works on hardwood, carpet, and most other floor types if you use the right screw length and hit the right spot.
Before you drill anything, walk slowly across the squeaky area and mark exactly where the noise happens. If the squeak moves around a little, mark a circle or outline with painter’s tape. Use a stud finder to locate the nearest joist. Joists are usually spaced 16 inches apart, so once you find one you can measure over to find the next. You want to drive screws through the floor and subfloor and at least one inch into the solid wood joist underneath.
For a temporary fix on hardwood floors, you can dust talcum powder into the cracks between boards to cut down on friction. Wipe off the excess right away. Talc is slippery. This might quiet things down for a season, but it won’t stop the movement causing the squeak.
Here’s the basic screw down sequence:
- Walk the floor and mark every spot that squeaks.
- Use a stud finder to locate the joist centerline nearest each squeak.
- Drive 2 to 2.5 inch wood screws through the floor and subfloor into the joist, spacing screws about 12 inches apart along the joist.
- Walk the floor again to test whether the squeak is gone.
- If the noise continues, add one or two more screws a few inches away from the first set.
- Repeat the walk test until the area is quiet.
Understanding Why Floors Squeak and How Movement Occurs

Squeaks are caused by movement. When the subfloor (usually 3/4 inch plywood or OSB) separates from the joist beneath it, every step you take flexes that gap and the wood rubs against nails, other boards, or the joist itself. Over the years, the nails that originally held the subfloor down can back out slightly. This happens especially if the house settled or if the wood dried and shrunk. Once there’s even a tiny gap, walking pressure forces the subfloor to flex up and down. That movement creates the creak.
Hardwood tongue and groove flooring can add another layer of noise. If the tongue or groove edges rub against each other as the boards shift, you’ll hear a squeak even if the subfloor is tight to the joist. Humidity changes make this worse. Wood expands when it’s humid and contracts when it’s dry, so a floor that’s quiet in winter might squeak all summer. Gaps between subfloor sheets can also produce noise as the edges rub together under load. Stopping the squeak means stopping the movement, either by clamping the loose parts back together with screws or by filling gaps with adhesive or shims so there’s no room left to flex.
Locating Joists and Squeak Points Before Repairing Floors
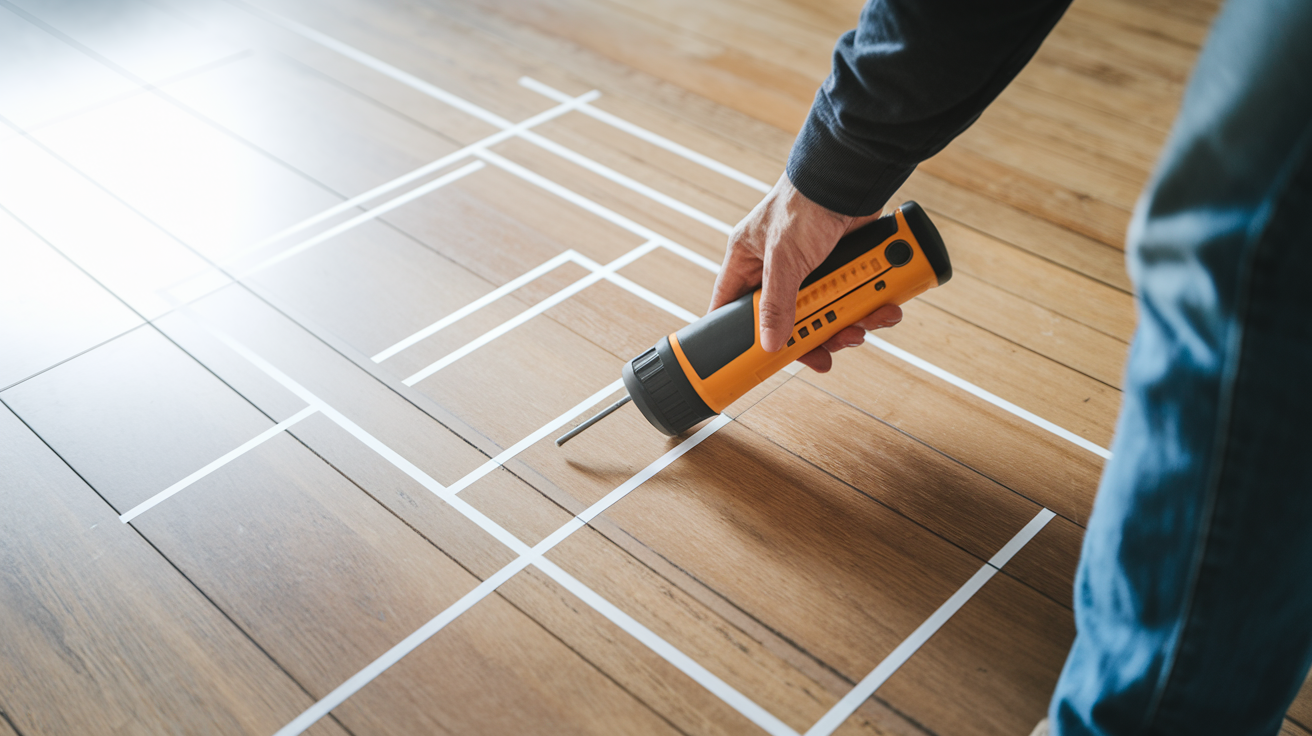
Accurate joist location saves time and prevents mistakes like driving screws into empty space or damaging pipes and wires. Start by tapping the floor with your knuckles as you move perpendicular to the direction you think the joists run. You’ll hear a solid thud when you’re over a joist and a hollow sound between them. Once you find one joist, measure 16 inches to the side to find the next. Most floor joists are spaced 16 inches on center, though older homes sometimes use 12 or 24 inch spacing.
A magnetic stud finder or an electronic edge finding model will locate the joist centerline more precisely. Mark the centerline with a pencil or a small piece of painter’s tape. If you’re not sure, drill a tiny 1/8 inch pilot hole at an angle. If the bit stops after half an inch you’ve hit solid joist wood. If it sinks deeper you’re in the gap between joists. For carpet, you can mark the squeak location by carefully pushing an 8d finish nail down through the carpet backing until it touches the subfloor. Leave the nail in place as a guide while you find the joist, then pull it out before you screw.
- Tap the floor with your knuckles and listen for a solid sound that signals a joist.
- Use a stud finder to mark the joist centerline with a pencil.
- Measure 16 inches from the first joist to locate the next one.
- Drill a small 1/8 inch pilot hole at an angle to confirm you’ve found solid wood.
- On carpet, mark the squeak with an 8d finish nail pushed gently through the backing.
Using Screws to Fix Squeaky Floors From Above on Hardwood
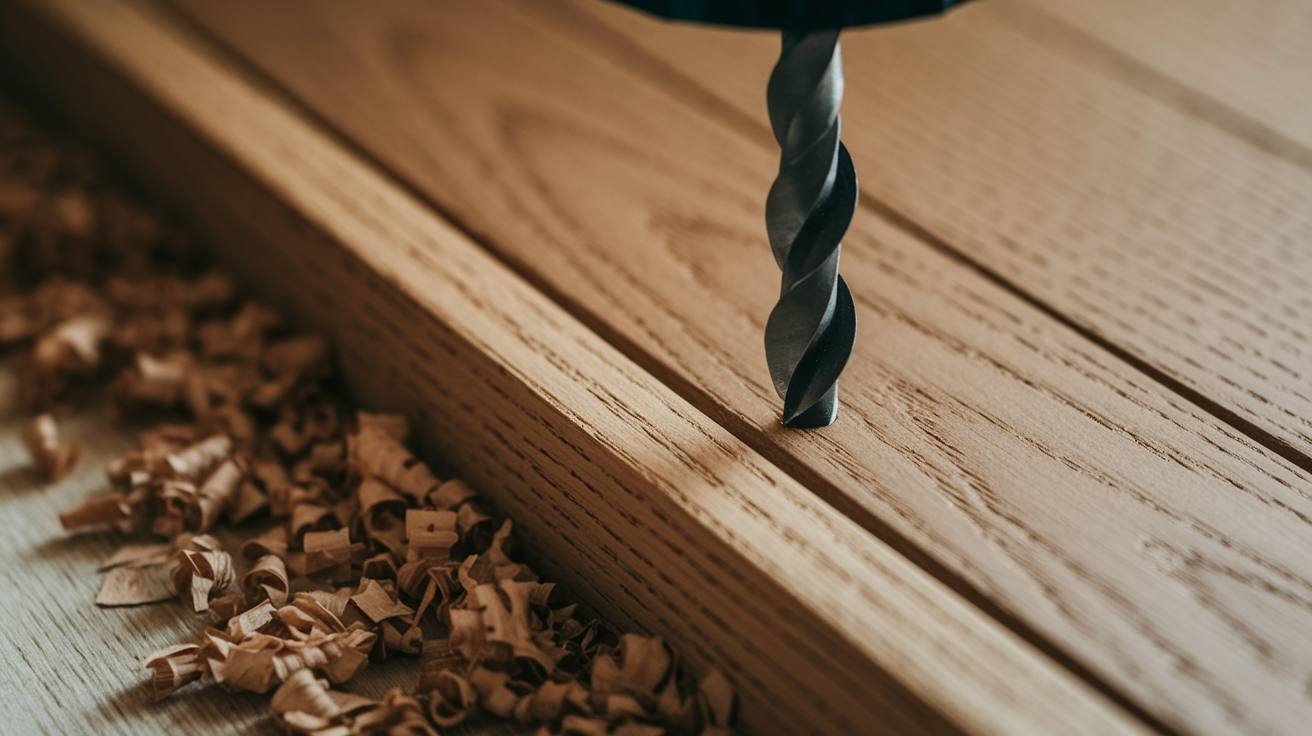
Hardwood floors let you drive screws two ways: straight down through the face of the board, or at a 45 degree angle through the tongue where two boards meet. Face screws are easier and stronger, but you’ll see the screw head unless you countersink and fill the hole. Tongue screws hide better because they enter at the seam, but they don’t pull as hard and you need to aim carefully to avoid splitting the thin tongue.
For subfloor to joist repairs, use screws that are 2 to 2.5 inches long so at least one inch bites into the joist after passing through the 3/4 inch subfloor and any hardwood flooring on top. Drill a 1/8 inch pilot hole first to prevent splitting, especially near board edges. Space screws 8 to 12 inches apart across the noisy area and 12 to 16 inches apart if you’re running them along the length of a joist. Drive each screw until the head is snug. Don’t overtighten or you can pull the screw through the subfloor or crack the finished floor.
If you’re driving screws through the face of the hardwood, use a countersink bit to recess the screw head below the surface. This leaves a clean circular hole you can fill with wood putty, a matching wood plug, or colored filler. For tongue screws, angle the drill at about 45 degrees and aim into the tongue where it meets the next board. The screw will pull the tongue tight without showing on the surface.
Countersinking and Finishing Repairs
Countersinking means drilling a shallow, wide hole around the screw so the head sits below the floor surface. Use a countersink bit that matches your screw head size. Drill just deep enough that the screw sits about 1/8 inch below the surface. After the screw is tight, fill the hole with wood filler that matches your floor color. Let the filler dry completely (usually about an hour), then sand it smooth with 120 grit sandpaper. If your floor has a clear finish, you may need to touch up the spot with a small brush and matching stain or polyurethane so the repair blends in. For a cleaner look, drill a slightly larger hole with a Forstner bit and glue in a wood plug cut from the same species as your floor. Trim it flush with a chisel and sand smooth.
Fixing Squeaks Through Carpet Without Pulling It Up

Carpet hides the subfloor, but you can still screw it down without removing anything. Breakaway squeak repair kits are made for this. They use a special screw with a scored shaft that snaps off flush with the subfloor after you drive it, leaving almost no trace under the carpet. Most kits cost between $20 and $35 and include a jig or guide that controls the depth so you don’t overdrive the screw into the pad.
These kits work best when you’ve already located the joist and marked it with tape on the carpet surface. The screw goes through the carpet, through the pad, through the subfloor, and into the joist. Once it’s tight, you use the tool to snap off the top of the screw right at the subfloor surface. The carpet and pad settle back down and you usually can’t see or feel the repair.
Here’s how to use a breakaway kit step by step:
- Mark the squeak location and find the joist centerline with a stud finder.
- Insert the guide fixture from the kit and load the breakaway screw into the driver.
- Drive the screw straight down through the carpet, pad, and subfloor into the joist until it’s snug.
- Use the kit’s depth control or built in stop so you don’t sink the screw head into the subfloor.
- Twist or rock the driver tool sharply to snap the screw shaft at the score line.
- Brush the carpet fibers back over the spot and walk test the repair.
Fixing Squeaks in Laminate and Engineered Wood Floors From Above
Laminate and many engineered wood floors are floating systems. They’re not nailed or glued to the subfloor, so you can’t screw through them without damaging the locking edges and voiding any warranty. The floor is supposed to move a tiny bit as a single sheet. If you fasten it down in one spot you’ll cause buckling or gaps somewhere else.
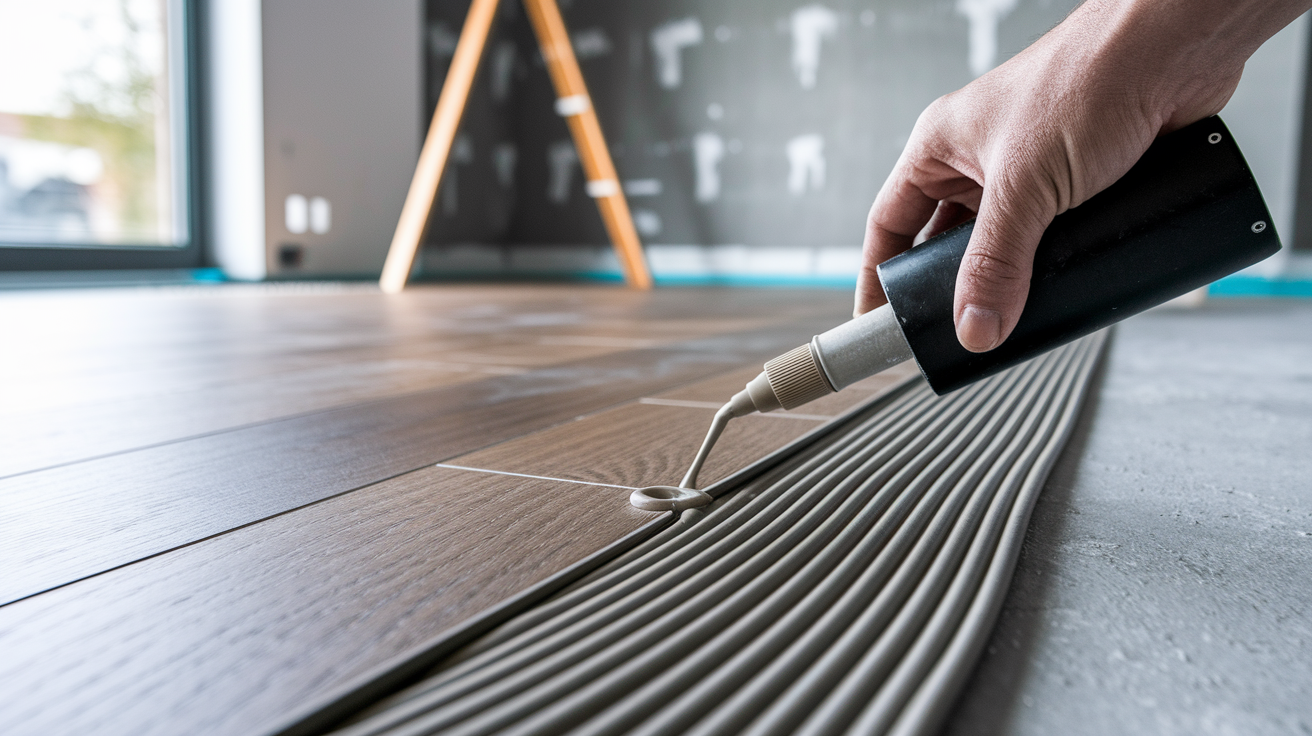
Instead, focus on securing the subfloor itself. If the subfloor is moving against the joists, drill small 3/16 inch holes near the squeak location and inject construction adhesive into the gap between the subfloor and joist, then weight the area overnight so the adhesive bonds everything tight. You can also try a temporary friction fix by lifting an edge plank (if your floor allows it) and dusting talcum powder or powdered graphite along the seam. This can quiet squeaks caused by board edges rubbing. If the noise is coming from underneath and you can’t access it from below, you may need to remove a small section of flooring to get at the subfloor, then reinstall the planks. But that’s a bigger project than most DIYers want to tackle for a single squeak.
Here are the things you should not do with floating floors:
- Don’t drive screws or nails through the top surface. You’ll break the locking system and the floor won’t move as designed.
- Don’t glue or fasten the floating floor to the subfloor. It needs to expand and contract freely.
- Don’t use breakaway screw kits meant for carpet or hardwood. They’re designed for floors that are already fastened down.
- Don’t try to shim underneath a floating floor from above. You’ll create high spots that can crack or separate the planks.
Using Adhesive, Gap Injection, and Shims From Above
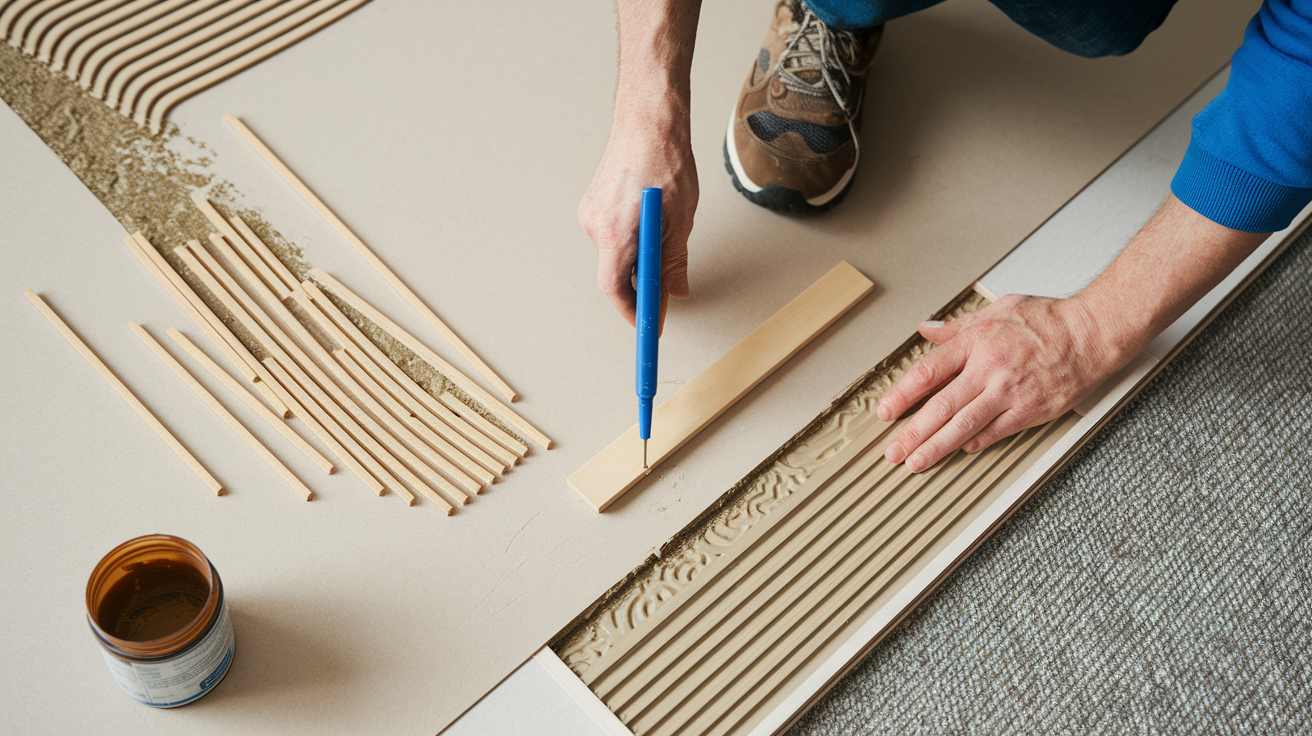
Construction adhesive can bond a loose subfloor to the joist when you can’t (or don’t want to) use screws. Drill a series of small 3/16 inch holes along the joist line near the squeak, angle the drill slightly so the holes reach the gap between the subfloor and the top of the joist. Load a tube of construction adhesive into a caulk gun, insert the tube’s nozzle into each hole, and squeeze until you see adhesive start to ooze back out. Move to the next hole and repeat. Once you’ve filled the gap, place heavy weights (a stack of books, a toolbox, or a 5 gallon bucket of water) on the area for about 24 hours so the adhesive cures under pressure. The bond will be permanent, and the squeak should disappear.
Shims work when there’s a small gap that’s too wide for adhesive alone. Cut thin wooden shims or use pre made plastic shims, coat both sides with carpenter’s glue, and tap them gently into the gap from above if you can access it (this usually means working from below, but if you’ve removed a floor register or cut a small access hole you can sometimes reach the gap). Don’t force the shim in too far or you’ll lift the floor and create a hump. Stop when the shim is snug, score it with a utility knife, and snap off the excess. Let the glue dry for at least four hours before walking on the floor.
| Method | Best For | Notes |
|---|---|---|
| Adhesive injection | Wide gaps, multiple joist bays, or areas where screws can’t reach solid wood | Drill 3/16″ holes; cure time about 24 hours; permanent bond |
| Thin shims with glue | Small isolated gaps between subfloor and joist | Don’t overdrive; score and snap excess; let glue set 4+ hours |
| Gap filling at seams | Subfloor sheet edges that rub together | Inject adhesive into seam; clamp or weight if possible; typical tube cost $4–$10 |
When Specialized Squeak Repair Kits Provide Better Results

Squeak relief kits are worth the $15 to $40 cost when you’re working on finished floors where you want the repair to be invisible, or when you need to fix carpet without removing it. Breakaway screw systems leave almost no trace because the screw head snaps off below the surface, and jig style kits help you control depth and angle so you don’t overdrive or miss the joist. Some kits include a tripod fixture that holds the drill steady and ensures the screw goes in perpendicular, which matters on hardwood where an angled screw can split the board or pop out the side.
Kits also come with screws that are sized and coated specifically for floor repair. The threads are aggressive enough to pull the subfloor tight without splitting, and the break off feature (on carpet kits) or the scored plug system (on hardwood kits) makes finishing faster and cleaner. If you’re fixing more than two or three squeaks, a kit usually pays for itself in time saved and better looking results. They work on hardwood, carpet, and some engineered floors, but always check the package instructions to make sure the kit is compatible with your floor type before you buy.
Testing, Troubleshooting, and Preventing Future Floor Squeaks

After you’ve driven screws or injected adhesive, walk slowly across the repaired area and put your full weight on the spot that used to squeak. If it’s silent, you’re done. If you still hear a creak, the loose area is probably a few inches away from where you fastened, or the gap extends along more of the joist than you covered. Add one or two more screws 6 to 12 inches away from the first set and test again. Sometimes a squeak that seems like it’s in one spot is actually coming from a loose area two or three feet away. Sound travels through the floor and can be hard to pinpoint.
If the floor still squeaks after you’ve added screws along the entire joist, the problem might be at a subfloor seam or between two joists. Check for gaps between sheets of subfloor and try the adhesive injection method described earlier. You can also inspect for damaged or rotted joists. If the wood is soft or crumbling, screws won’t hold and you’ll need to sister a new joist alongside the old one or call a contractor for a structural repair.
To prevent new squeaks, control indoor humidity with a dehumidifier in summer and a humidifier in winter so your wood floors expand and contract less. Keep humidity between 30 and 50 percent year round if possible. Avoid walking on newly installed floors for the first 24 hours, and don’t store heavy furniture or appliances in one spot for years without moving them occasionally. Constant pressure can compress the subfloor and create new gaps. Regular maintenance like tightening any loose screws you see and filling small gaps before they get worse will keep your floors quiet for decades.
Final Words
Start by walking the floor to pinpoint squeaks, mark spots, use a stud finder, and drive 2 to 2.5-inch screws or try talcum powder for a quick friction fix.
Remember they happen because nails back out, subfloor shifts, or wood expands with the seasons. Choose the right approach, such as countersink screws for hardwood, breakaway kits for carpet, or adhesive and shims for stubborn gaps. Test after each screw and tweak until quiet.
These simple, fast steps help you fix squeaky floors from above without tearing up the room. Try one area first, then finish the rest. You’ll hear the silence, and feel the satisfaction.
FAQ
Q: How to stop upstairs floors from squeaking?
A: To stop upstairs floors from squeaking, locate and mark the noisy spot, find the joist with a stud finder, then drive 2–2.5″ screws into the subfloor to pull it tight; talcum is a quick temporary fix.
Q: Is it normal for floors to creak upstairs?
A: It is normal for upstairs floors to creak because nails back out, boards rub, and wood expands with humidity; inspect the area, then tighten fasteners or screw down loose spots.
Q: Why do my floors squeak when I walk on them?
A: Floors squeak when you walk because the subfloor shifts on joists, nails back out, or tongue‑and‑groove boards rub—those small movements let wood or fasteners grind and make noise.
Q: Should I hire a professional to fix creaks?
A: Deciding whether to hire a professional to fix creaks depends on the cause; DIY screws handle local squeaks, but call a pro for widespread movement, rot, structural concerns, or if you’re uncomfortable locating joists.