

Think you need to pull up floorboards to fix a squeak? Think again.
Most squeaky hardwood comes from rubbing boards, loose fasteners, or a lifted subfloor, and many of those stop with fixes you can do from above, without removing boards.
In this post you’ll learn how to find the exact squeak, try quick fixes like talc or graphite, and use surface screws or glued shims when you need stronger hold.
I’ll also cover the tools, time, cost, and when it’s smarter to call a pro.
Fastest From‑Above Fixes to Stop Squeaky Hardwood Floors Immediately

Dust powdered graphite or talcum powder into the cracks between squeaky boards and work it in with a soft brush or just your foot. This creates a dry lubricant that cuts down friction between wood surfaces rubbing together. The squeak often quiets within seconds. Wipe up any extra powder so you don’t slip.
These quick fixes work best on board-to-board friction squeaks, especially when seasonal shrinkage has left narrow gaps. They won’t stop squeaks from loose nails or subfloor movement, but they’re completely reversible and cost under ten bucks. Walk the floor lightly to confirm which boards move before you apply anything.
Talcum powder application – Sprinkle powder along the seam where boards meet, work it in by flexing the board with your weight, then vacuum or sweep the excess. Reapply every few months if the squeak comes back.
Powdered graphite method – Squeeze graphite powder from a small tube directly into the crack. It’s messier than talc but lasts longer and won’t clump if there’s moisture.
Silicone dry spray for tight seams – Spray a thin stream into the gap, flex the board to work it in, and wipe the surface right away to avoid slippery residue.
Seam brushing technique – Use an old toothbrush to push powder deep into tongue and groove joints where boards interlock, getting it right onto the rubbing surfaces.
Pressing technique to confirm friction zones – Stand on the suspected board and shift your weight side to side. If the noise happens without vertical bounce, friction’s the likely cause and lubrication will help.
Renter friendly approach – All lubricant fixes are temporary and leave no holes, making them perfect for apartments or rental homes where you can’t drill or screw.
How to Locate Squeaks in Hardwood Floors From Above With Precision
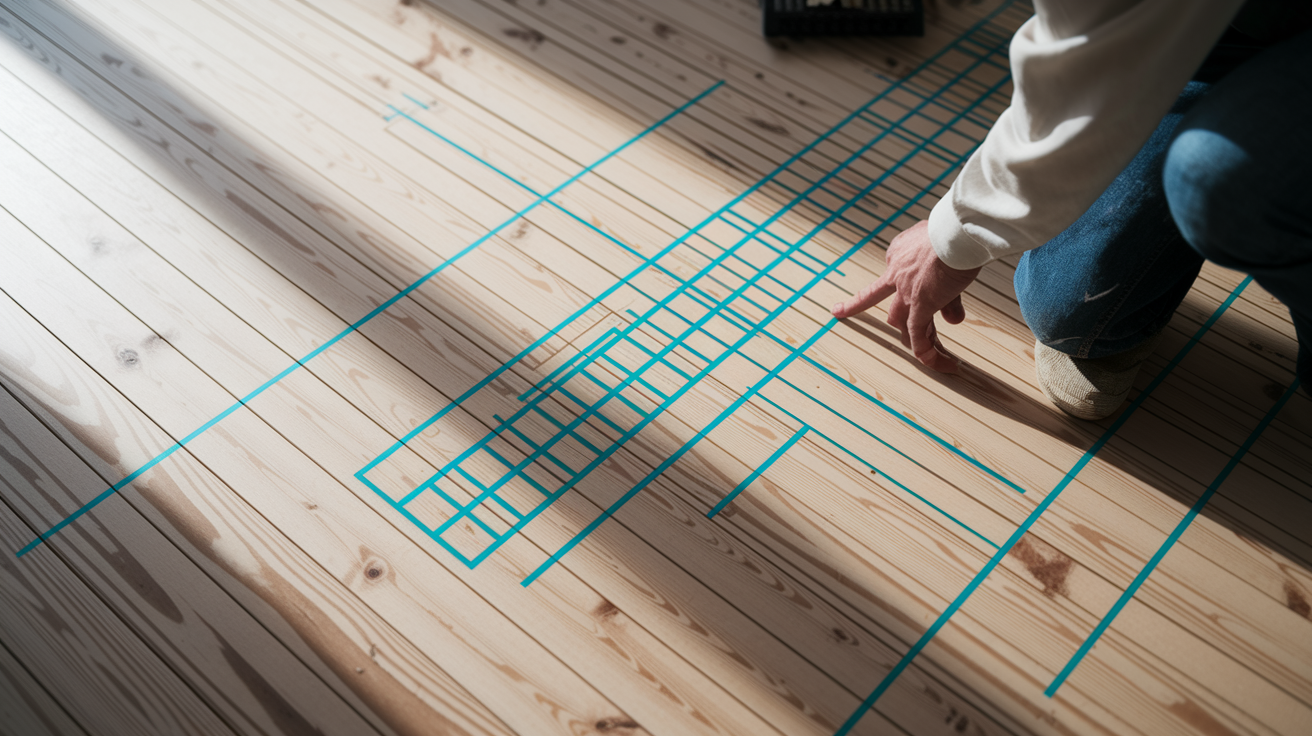
Walk the floor slowly in a grid pattern and mark every squeak location with a small piece of painter’s tape or a pencil dot. Press down on each marked spot to see if the movement is in the board itself, between two boards, or if the entire section flexes together. One squeaky board usually has one to three distinct trigger points where movement happens.
Use a stud finder set to wood stud mode to locate the joists underneath. Joists typically run perpendicular to the floorboards and sit 12 to 16 inches apart on center. Mark the joist centerlines with light pencil marks so you know where the structure is when you drill or fasten later. If you don’t have a stud finder, tap the floor with a coin. Solid, dull thuds mean you’re over a joist. Hollow sounds mean you’re between them.
Measure from a wall or heating register if you need to match an upstairs squeak to a point on the floor below. Transfer that measurement to locate the exact board. Mapping squeaks accurately before you start saves time and prevents extra holes in your finished floor.
Walk test and tape marking – Walk barefoot or in socks so you feel every flex. Place tape at the center of each squeak, not just the general area.
Pressure test for diagnosis – Stand on the taped spot and shift weight in all directions to confirm whether it’s a loose board, a gap under the subfloor, or board edge rubbing.
Stud finder sweep for joist location – Run the tool across the floor in the direction perpendicular to the boards. Mark both edges of each joist so you know the full width.
Tapping with a coin or small hammer – Tap along the length of a squeaky board to find where the sound changes from solid to hollow, pinpointing the gap or loose section.
Measuring from fixed reference points – Use a tape measure from the nearest wall corner or vent to record distances. Write them down so you can relocate the same spot when you return with tools.
Above Floor Fastening Techniques to Quiet Squeaky Hardwood Boards
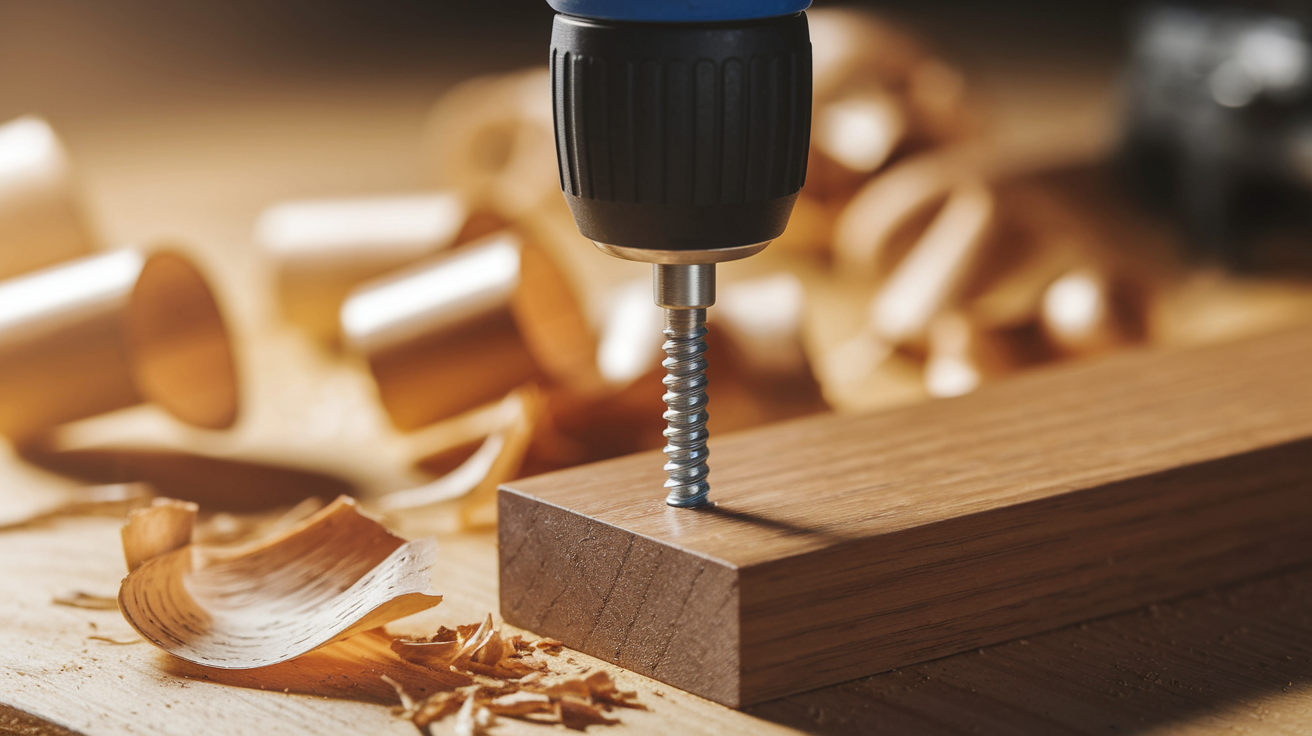
When a hardwood board has pulled away from the subfloor underneath, screwing it back down from above stops the movement. This method works on solid hardwood where the top layer is thick enough to accept a fastener without cracking. Predrilling a pilot hole prevents the wood from splitting and lets the screw pull the board tight without forcing it.
Use trim screws between 1.25 and 1.625 inches long when you’re only fastening the finished floor to the subfloor, not reaching all the way to the joist. Drive two to four screws per loose board, spacing them about six inches apart along the squeak zone. Countersink each screw head just below the surface so you can fill the hole cleanly. This repair is moderately visible unless you match the wood filler or plug to your floor’s color and grain.
Trim Screw Method for Surface Level Board Tightening
Select screws labeled as trim or finish screws. They have small heads that countersink neatly and won’t split narrow floorboards. Drill a pilot hole with a 3/32 inch or 1/8 inch bit, angling slightly if the board is cupped or if you want the screw to pull one edge down. Drive the screw until the head sits just below the surface, then stop. Overdrive and you’ll crush the wood fiber, making the hole larger and weaker.
Drilling and fastening steps – Mark the squeak, locate a solid subfloor spot (not between joists unless you’re aiming for the joist itself), drill a pilot hole straight down, drive the screw with a drill set to low torque, and stop when resistance firms up.
Correct screw placement and spacing – Place screws at least two inches from board ends to avoid splitting. Space them every six inches if the entire board is loose, or cluster two to three screws at a single squeak point.
Preventing board cracking – Always predrill. Use screws with fine threads designed for hardwood. Don’t place fasteners within one inch of a board edge or within two inches of an existing nail.
Cosmetic finishing – Glue a color matched wood plug into the countersunk hole, let it dry, trim it flush with a chisel or utility knife, sand lightly with 220 grit paper, and apply a dab of floor finish or stain pen to blend the repair.
Refastening Subfloor to Joists From Above (Advanced Surface Access Method)
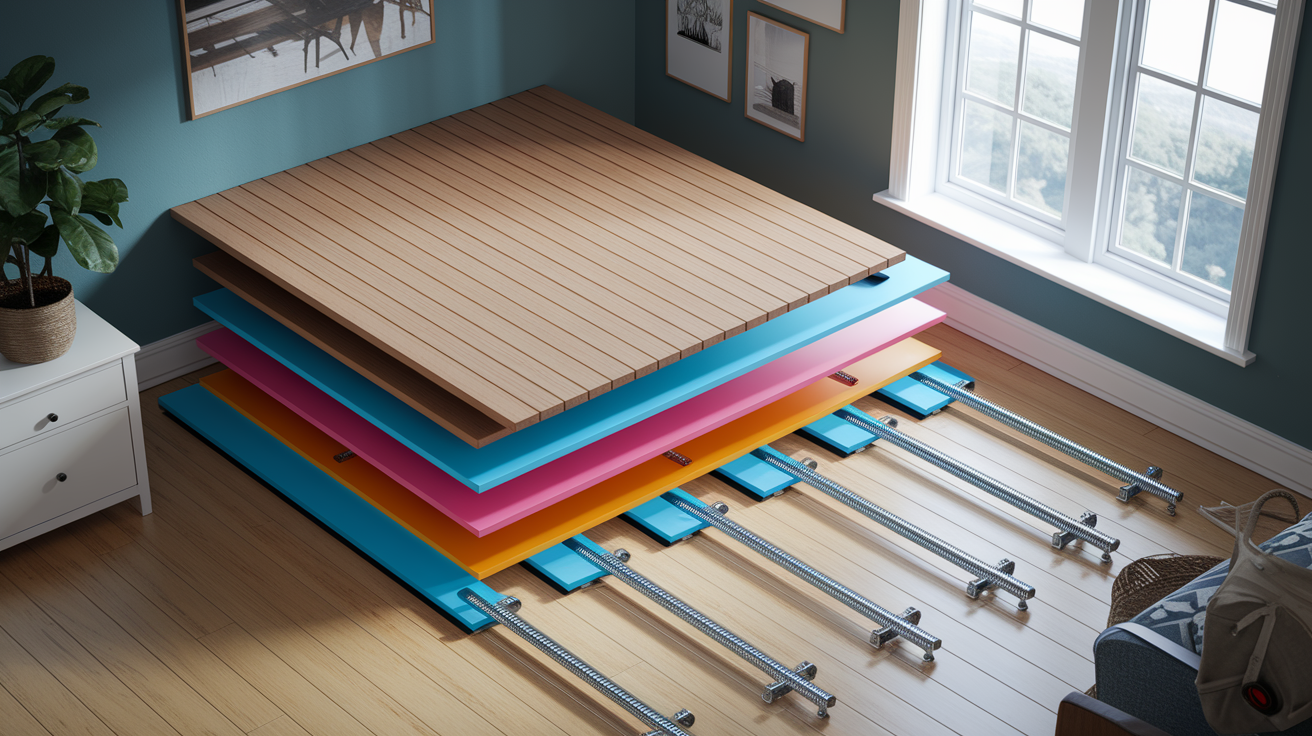
If the squeak comes from the subfloor lifting away from the joist, you’ll need longer screws that penetrate through the finished floor and subfloor and bite into the joist below. For a typical 3/4 inch hardwood floor on a 3/4 inch plywood subfloor, a 2.5 inch screw gives you about one inch of bite into the joist, enough to hold without bottoming out. Space these structural screws every six to eight inches along the joist line in the squeaky zone.
Drill a pilot hole through both layers before driving the screw. Use a bit that’s slightly smaller than the screw shank. 1/8 inch works for most wood screws in this application. Mark the pilot bit with tape at 1.5 inches so you can feel when you’ve cleared both floor layers and are starting into the joist. Drive screws straight down, not angled, so they pull both layers tight vertically. Check that no plumbing, wiring, or radiant heat tubing runs beneath your drill area before you start.
Step by Step Joist Refastening Through Finished Flooring
Locate joists with a stud finder – Sweep across the squeaky area perpendicular to the floorboards. Mark the center of each joist with a light pencil line about three feet long.
Drill pilot holes at marked joist lines – Drill straight down through the finish floor and subfloor. You’ll feel resistance change when the bit enters the joist. Stop once you’re a half inch into the joist.
Drive 2.5 inch wood screws into each pilot hole – Use a drill with adjustable clutch or low speed. Stop when the screw head is flush or slightly countersunk, not stripped into the wood.
Space screws six to eight inches apart – For a three foot squeaky section, plan on four to six screws per joist. If multiple joists cross the area, repeat on each one.
Walk the repaired section to verify reduced movement – Have someone stand on the board while you watch from the side. If the floor still flexes, add one more screw midway between existing ones or check that screws actually entered the joist and didn’t miss.
Using Shims and Adhesive From Above for Tightening Hardwood Floor Seams
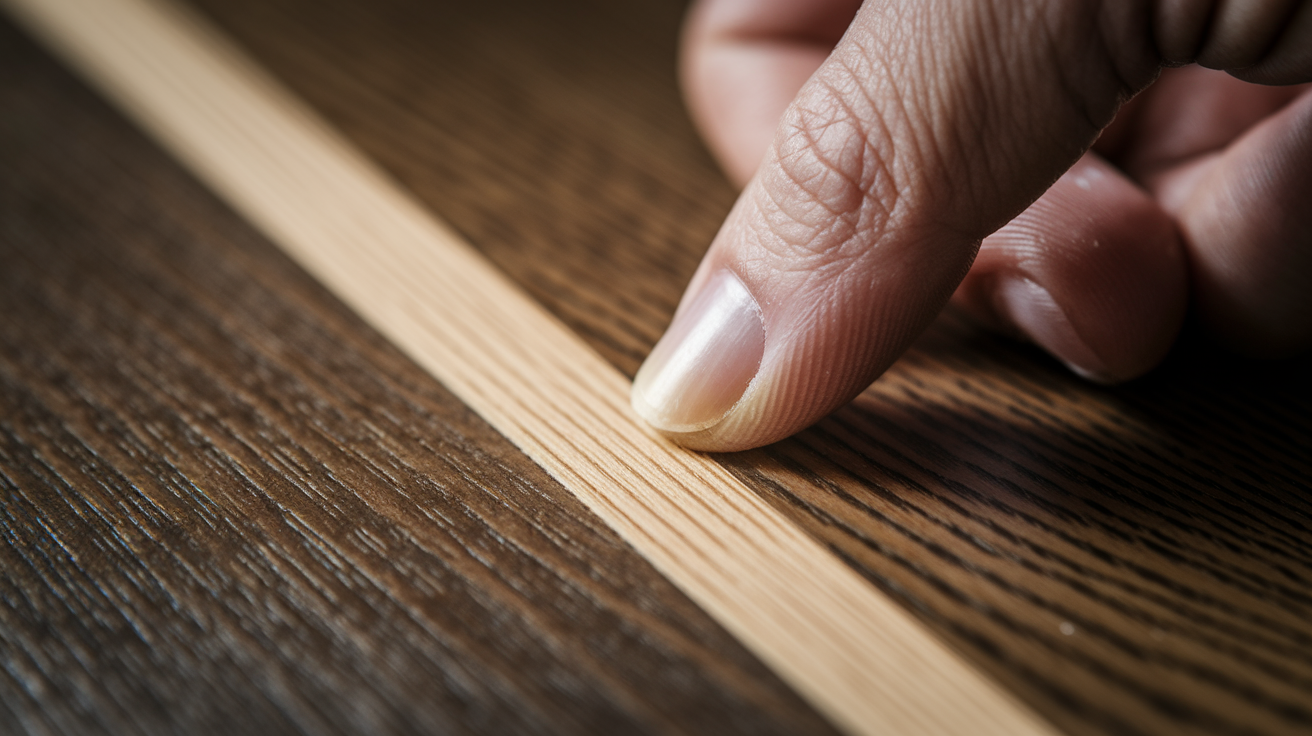
Thin gaps between floorboard edges or between the flooring and subfloor can be stabilized with wood glue or construction adhesive injected from above. Squeeze a small bead of wood glue into the seam where two boards meet, press the boards together, and wipe off any squeeze out immediately. Let the glue cure for four hours before walking on the area. This method works when boards are rubbing but not structurally loose.
For slightly wider gaps or tongue and groove joints that have separated, insert a thin hardwood shim coated with wood glue into the seam from the side. Don’t force the shim. It should slide in with light hand pressure. Tap it gently with a hammer only if needed, then score the protruding end with a utility knife and snap it off flush. Adhesive backed felt strips cut to fit narrow gaps can also reduce friction noise without changing the floor’s structure.
Loose tongue and groove seams – Inject wood glue with a syringe or glue bottle tip into the joint, press boards together by standing on them, clamp if possible, and let cure overnight. This re-bonds the interlocking edges without fasteners.
Micro gaps causing rubbing – Apply a thin bead of flexible construction adhesive along the length of the seam, press boards down, and weight the area with books or a sandbag for 24 hours. The adhesive fills the void and stops movement.
Edge board lift along walls – Slide a glue coated shim between the subfloor and the lifted board edge, tap lightly to seat it, trim excess, and apply weight until the glue sets. This is common near exterior walls where seasonal expansion happens.
Special Cases: Engineered, Floating, and Laminate Floors Fixed From Above

Engineered hardwood has a thin hardwood veneer over plywood or HDF, so driving screws from above is risky. The wear layer may only be 1/8 inch thick. If the floor is glued or nailed down and squeaks, lubrication with powdered graphite is the safest first step. If that doesn’t work and you must fasten, use very short trim screws (under one inch) only in thick veneer engineered products, and drill a shallow pilot hole to avoid punching through the top layer.
Floating floors rest on an underlayment pad and aren’t attached to the subfloor, so screwing them down defeats the design and can cause buckling. For floating floor squeaks, pull up the affected planks, inspect the underlayment for damage or debris, add a thin foam pad or felt strip under the squeak zone, and reinstall the planks. If the subfloor underneath is uneven, sand or shim the high spots before replacing the floor.
Laminate floors aren’t real wood and can’t accept screws without chipping or cracking the surface. Squeaks in laminate almost always come from an uneven subfloor or a worn underlayment pad. The fix requires lifting the planks, adding leveling compound or new underlayment, and reinstalling. If you’re renting or the repair is too invasive, place area rugs or furniture pads over the squeak to dampen the sound.
Seasonal, Moisture, and Long Term Prevention for Hardwood Floor Squeaks

Keep indoor relative humidity between 30 and 50 percent year round to prevent hardwood from shrinking in winter and swelling in summer. Use a humidifier during heating season and a dehumidifier in humid months. Wood floors expand and contract with moisture changes, and that movement creates gaps that lead to squeaks. A whole home humidifier or a portable unit in the main living area stabilizes the floor and reduces seasonal noise.
Check your floors every fall and spring for new squeaks or loose boards. Tighten any fasteners that have backed out, reapply lubricant to seams that have opened, and inspect the perimeter for gaps between the flooring and the wall. If you catch a small squeak early, a single screw or a puff of graphite powder can stop it before it spreads to adjacent boards.
Humidity management – Monitor indoor RH with a hygrometer (under $15). Adjust humidifier or dehumidifier settings to stay in the 30 to 50 percent range. Expect winter squeaks if RH drops below 25 percent.
Annual tightening – Walk the entire floor once a year, mark new squeaks, and refasten loose spots before they worsen. This takes 30 minutes and prevents larger repairs later.
Expansion gap checks – Inspect the quarter inch gap between the floor and baseboards. If the gap has closed, the floor may be pushing against the wall and creating stress that causes squeaks. Trim the edge boards slightly or adjust the baseboard.
Early treatment of small squeaks – Fix a squeak the first time you hear it. Waiting allows the movement to loosen adjacent boards, turning a single screw repair into a multi board project.
When to Use Professional Help for Stubborn Above Floor Squeaks

Call a flooring contractor when squeaks are widespread across multiple rooms or when your repairs don’t reduce the noise. Structural issues like sagging joists, subfloor rot, or improperly installed underlayment require tools and access that go beyond surface level fixes. A professional can remove sections of flooring, sister damaged joists, replace rotten subfloor panels, and reinstall the finish floor without visible damage. Expect to pay $100 to $500 for a small repair area, or $1,000 and up for whole room subfloor work.
If you’ve driven screws and applied adhesive but the floor still moves and squeaks, the problem is likely below the subfloor. Water damage from old leaks weakens plywood and OSB, causing them to delaminate and lose fastener hold. DIY screws won’t fix spongy or rotted material. A contractor will inspect from below if there’s crawl space access, or remove flooring to assess the subfloor condition. Structural movement or foundation settling also requires professional assessment. Don’t keep adding fasteners if the floor continues to shift.
Final Words
Get to work: most squeaks can be stopped from above with quick surface fixes — talc or powdered graphite on rubbing spots, silicone dry spray, seam brushing, or a few trim screws and shims to tighten loose boards. Walk-test first and mark trouble spots.
Try renter-friendly remedies before you drill; if movement keeps returning or you find rot or structural shifts, call a pro.
This guide on how to fix squeaky hardwood floors from above gives a clear path—fast surface remedies to more permanent above-floor fastening—so you can quiet the noise and get back to a solid-feeling floor.
FAQ
Q: Can you fix squeaky floors from above?
A: You can fix squeaky floors from above by using surface remedies like talcum powder or powdered graphite to cut friction, trim screws for loose boards, or shims and adhesive to stabilize seams.
Q: Can squeaky hardwood floors be fixed?
A: Squeaky hardwood floors can be fixed with quick above-floor fixes or permanent fastening: lubricants or graphite for rubbing, trim screws for loose boards, or joist screws and adhesive for deeper movement.
Q: How to fix creaky upstairs floor?
A: To fix a creaky upstairs floor, first map squeaks by walking and tapping, then try talc or graphite at seams, press and tighten boards with trim screws, or use shims and construction adhesive for stubborn spots.
Q: Why does my floor creak when I step on it?
A: Your floor creaks when you step on it because boards or the subfloor are rubbing, fasteners are loose, joists allow movement, or seasonal shrinkage creates gaps that let parts rub or shift under load.