

Think that annoying drip is just a nuisance?
It can waste gallons, stain cabinets, and quietly hike your water bill.
Most drips come from tiny rubber O rings that lose their squeeze over time, and swapping them is one of the fastest, cheapest fixes you can do yourself.
This post gives clear, step-by-step instructions, a short tools list, common mistakes to avoid, and a simple done-check so you’ll have a leak-free sink in 15 to 30 minutes without a service call.
Why Faucets Drip and Why Worn O Rings Are Usually the Cause
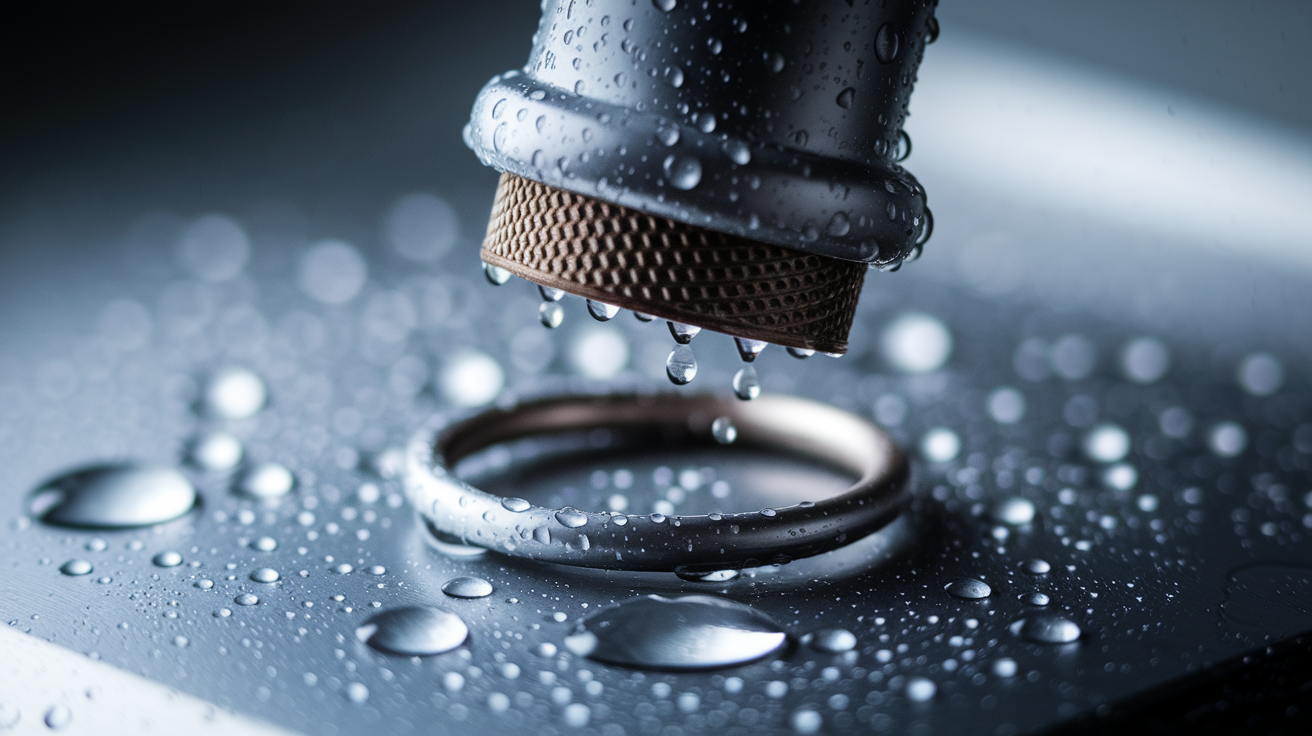
Most drips come from tiny rubber seals called O rings losing their squeeze. Over months and years minerals, temperature changes, and constant movement make them hard, flat, or cracked. Water then finds a way around the seal and leaks at the handle base or the spout. Left alone, a bad O ring can waste gallons, hike your bill, and leave stains.
Fixing a dripping faucet by swapping its O rings is one of the easiest plumbing jobs you can do yourself. The part costs pennies, the work usually takes 15 to 30 minutes, and you only need basic tools. If the faucet drips when the handle is off or leaks at the base while on, start by checking the O rings. Do it yourself and you save a service call.
Complete Step by Step Guide to Replacing Faucet O Rings
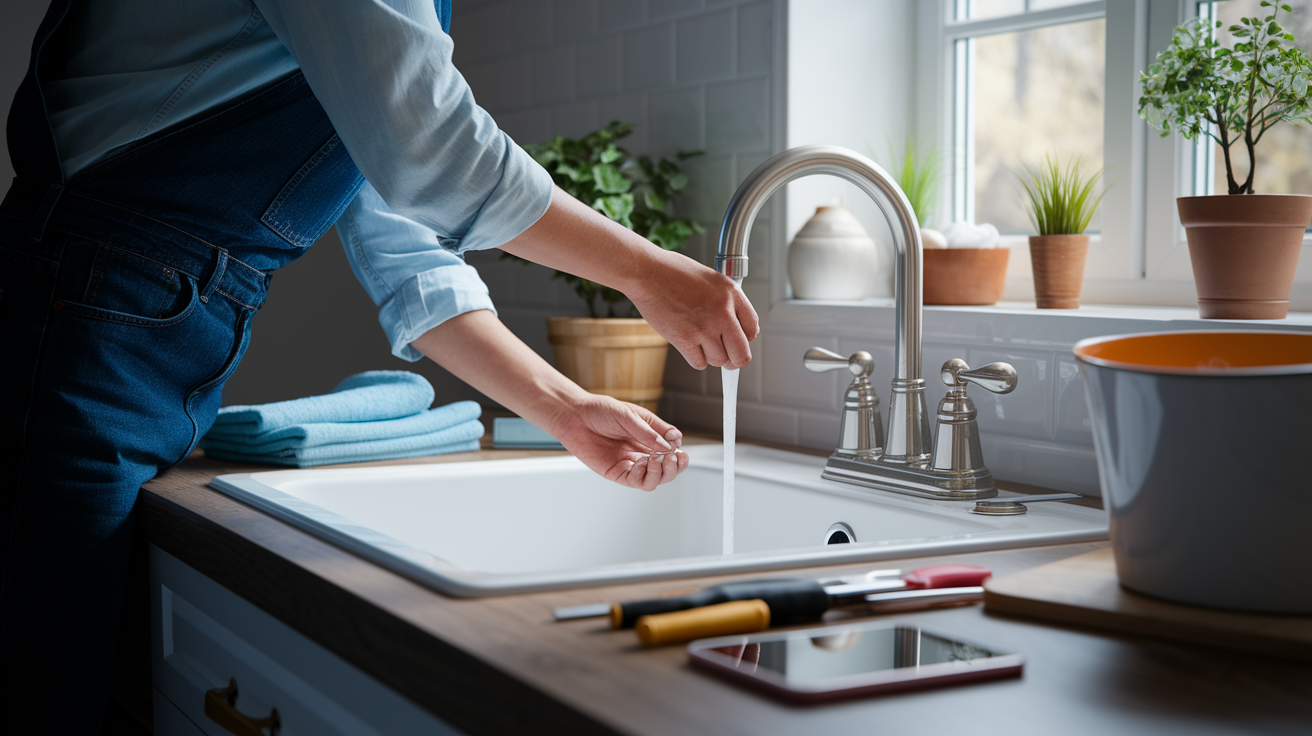
Follow these steps in order. Keep a bucket and towels handy. Take phone photos as you go so putting things back is simple.
- Shut off the water supply. Reach under the sink and turn both hot and cold shutoff valves clockwise until they stop. No shutoff valves at the sink? Turn off the house main. Open the faucet to drain pressure and any trapped water.
- Protect the drain and catch drips. Cover the drain with a towel so small parts don’t fall in. Set a bowl or bucket under the work area.
- Remove the handle. Find the little cap or button, pry it off, and remove the screw with the correct driver or Allen key. Lift the handle straight up. If it’s stuck, wiggle it while you pull.
- Take off trim or the decorative collar. Unscrew by hand or use a wrench with a soft cloth to avoid marring the finish.
- Remove the retaining nut or clip. Loosen the nut with an adjustable wrench or pull the U clip with needle nose pliers. Keep every small part in a container.
- Pull out the cartridge, stem, or ball assembly. Grip tabs or ears and lift straight up. If it’s seized, apply a little penetrating oil, wait, then try again.
- Pry off the old O rings. Use a fingernail, a small flathead, or a plastic pick. Work gently so you don’t score the metal grooves. Note how many rings and where they sit.
- Clean the grooves and shaft. Wipe away grime and hard water. Use white vinegar or a scale remover on deposits, rinse, and dry. Clean grooves seal better.
- Grease and install new O rings. Lightly coat each O ring with silicone plumber’s grease, roll it into place, and seat it flat in the groove. Don’t stretch or twist them.
- Reassemble, restore water, and test. Reinstall the cartridge, clip or nut, collar, and handle. Turn the shutoffs counterclockwise to restore water. Cycle the handle and watch the base and spout for leaks for five to ten minutes.
Safety notes. Always shut the water off first. Wear eye protection if parts are stuck or you’re using chemicals. Don’t force threaded parts. If something won’t move, soak and wait.
Common mistakes to avoid. Using the wrong sized O ring or not cleaning mineral buildup are the two fastest ways to get another leak. Measure carefully and wipe everything clean before you fit the new rings.
For a visual walkthrough of handle removal and O ring installation, see https://www.jillyplumbing.com/replace-o-ring-faucet-diy-guide/.
Tools and Materials Needed for Replacing Faucet O Rings

- Adjustable wrench, 6 to 12 inch
- Phillips screwdriver
- Flathead screwdriver
- Hex key set, common sizes 1/16 3/32 1/8 inch
- Needle nose pliers
- Small pick or utility knife to remove old O rings
- Digital calipers or small ruler to measure rings
- Replacement EPDM O rings matched to the old ones
- Silicone plumber’s grease, small tube
- Clean rags or soft cloths
- Small container for screws and clips
- Bucket or towel to catch water
Do not use petroleum jelly or any petroleum based grease on rubber O rings. Those products swell and destroy the rubber. Use silicone plumber’s grease labeled safe for potable water.
Identifying O Rings and Confirming the Correct Size
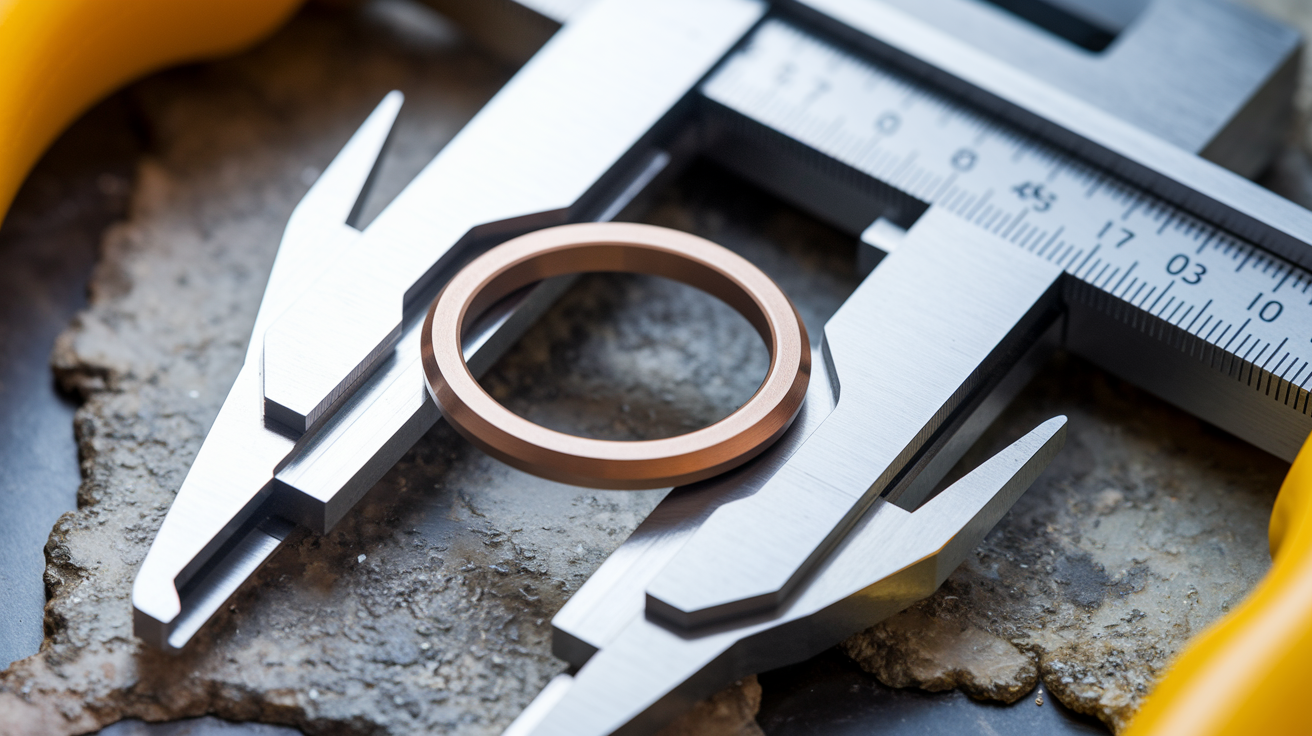
You need three measurements: inner diameter, outer diameter, and cross section thickness. Even a tiny mismatch will leak or tear.
- Inspect the old O ring on the shaft. Look for cracks, flat spots, or hard shiny areas. Good O rings are round and spring back.
- Remove one and lay it flat. Measure the inside diameter and the cross section with calipers or a ruler. Record the numbers. Common cross sections are about 1/16 inch, 3/32 inch, and 1/8 inch. Inner diameters often run from roughly 3/16 inch to 1/2 inch.
- Take the old ring or your measurements to the store and match them to an EPDM O ring rated for potable water.
Measure twice, buy once. A ring that is too small will stretch and crack. One that is too large will not seat and will leak.
Faucet Type Differences and How They Affect O Ring Replacement
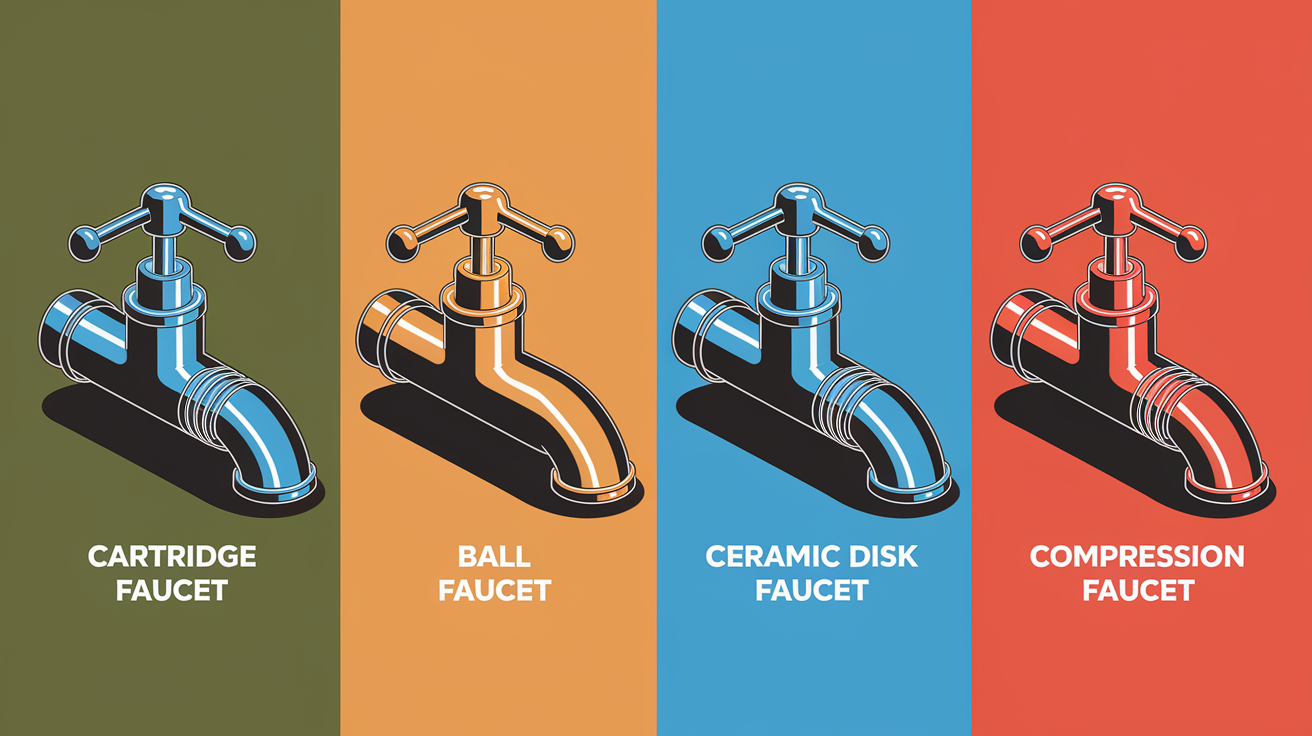
Knowing the faucet type tells you where to look and what to expect. The four common types are cartridge, ball, ceramic disk, and compression.
Cartridge faucets
The cartridge slides up and down or rotates. O rings sit on the cartridge shaft. Pull the cartridge straight out, replace all rings, grease them lightly, and reinstall with the same orientation.
Ball faucets
A pivoting ball mixes water and sits on rubber seats and springs. You’ll find small O rings around the spout or body. These faucets often come with rebuild kits that include seats and springs. Rebuilding the whole set is usually more reliable than replacing just the O rings.
Ceramic disk faucets
Two ceramic plates control flow. O rings seal the cylinder to the body. If the disks are chipped you need a new cylinder, not just new rings. Ceramic O rings are bigger, so bring parts to match.
Compression faucets
These use a rubber washer at the base of the stem for the main seal. If the spout drips replace the washer and seat. If the leak is at the handle you may find a small O ring or packing to replace.
Troubleshooting Leaks After Replacing O Rings
If the faucet still leaks, check these likely causes.
- Cartridge or stem stuck. Apply penetrating oil, wait, then try again. Don’t force plastic parts.
- Wrong ring size or thickness. Recheck your measurements and compare old and new side by side.
- Grooves still have mineral deposits. Clean them again with vinegar, rinse, and dry. Even a tiny ridge will stop a seal.
- Damaged cartridge, valve seat, or faucet body. Cracks, gouges, or a pitted valve seat mean new O rings won’t help. Replace the cartridge or the valve seat, or replace the faucet if the body is compromised.
If you’ve confirmed correct size and clean grooves and the leak persists, the internal parts are likely worn out. Cartridges are model specific. Match the part number or take the old cartridge to a plumbing supply store.
Maintenance Tips to Extend Faucet and O Ring Life
A few quick habits prevent repeat repairs.
- Clean mineral deposits around the handle and base every few months with white vinegar and a soft cloth.
- Avoid abrasive cleaners and scouring pads. They dry out rubber and harm finishes.
- Operate handles gently. No need to crank them.
- Check O rings and cartridges yearly and replace at the first signs of cracking or hardening.
- Keep aerators clean so pressure and flow stay normal.
Catch a worn O ring early and what would be a ten minute fix does not turn into a soaked cabinet.
When DIY O Ring Replacement Isn’t Enough and You Should Call a Plumber
Call a pro if you see any of these: deep corrosion or pitting on the valve seat, cracked faucet bodies, stripped threads, broken mounting nuts, damaged supply lines, or when replacement parts are not available. Recurring leaks after multiple O ring changes are a sign internal components have reached the end of their service life.
Additional Faucet Repairs Related to O Ring Issues
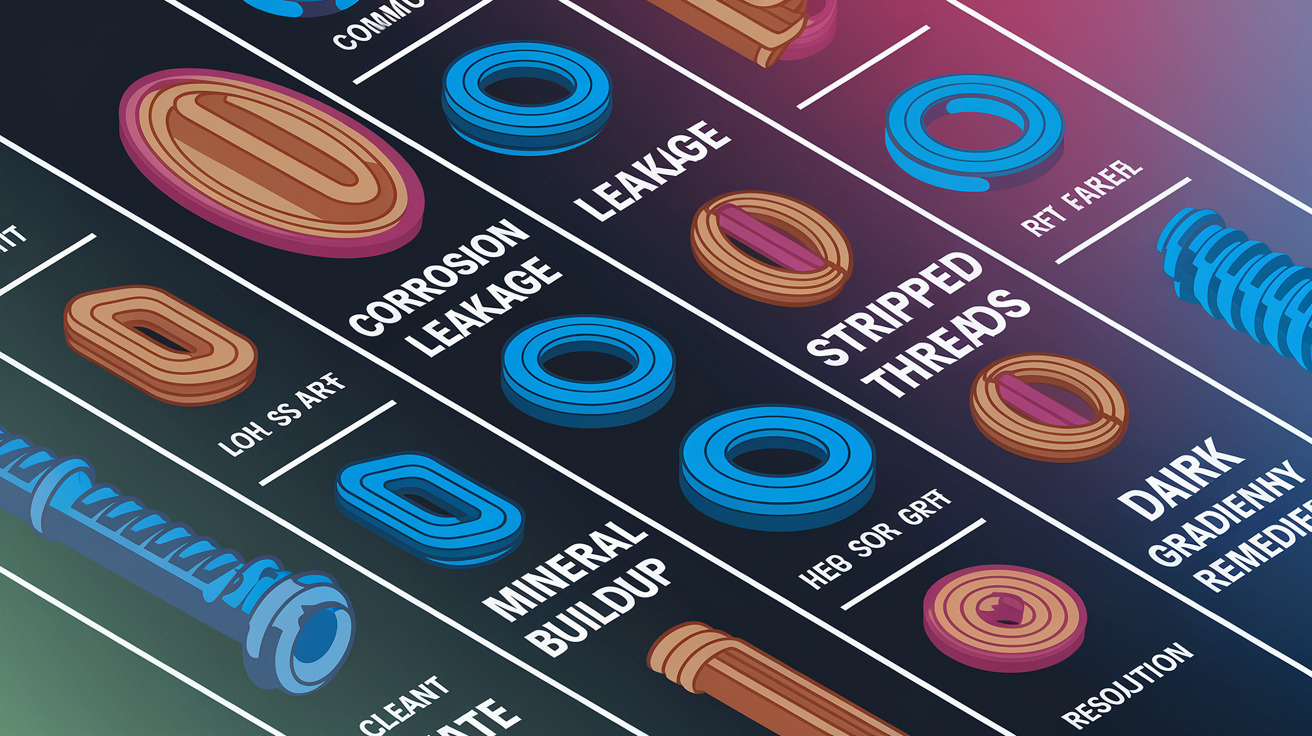
| Issue | Likely Fix |
|---|---|
| Low water pressure or uneven spray pattern | Remove and clean or replace the aerator; mineral buildup clogs the screen and reduces flow. |
| Drip from spout even when handle is off, compression faucet | Replace the rubber washer and valve seat at the stem base; O rings usually seal the handle not the spout. |
| Leak at base of spout when water is running | Replace the spout O rings or the entire spout assembly if the grooves are worn or cracked. |
| Handle turns but water flow does not change or is stuck on | Replace the cartridge or ball assembly; internal parts are stripped or broken and new O rings will not restore function. |
A clogged aerator is the simplest fix. Unscrew it, rinse, and scrub the screen with a toothbrush. If it is badly damaged, replace it for a few dollars. For damaged cartridges, valve seats, or washers follow the same basic disassembly steps but swap out the larger internal parts. For more guidance see https://www.doneriteplumbingsalem.com/blog/2021/february/what-o-rings-are-and-how-to-replace-them/.
Final Words
You shut off the water, pulled the handle, and saw the old O-rings that were cracked or flat. The guide walked you through measuring, swapping in EPDM rings, greasing with silicone plumber’s grease, and testing for leaks, step by step, with photos and safety reminders.
If the drip keeps coming, check sizes, clean grooves, or call a pro for corroded parts. Now you’re ready to stop small leaks and save water. For quick help, search how to replace faucet O rings and get back to a dry sink.
FAQ
Q: How to change O-ring on faucet?
A: To change an O-ring on a faucet, shut off the water, relieve pressure, remove the handle and retaining nut, pull out the stem or cartridge, swap the O-ring, grease it, then reassemble and test for leaks.
Q: Is it easy to replace an O-ring on a tap?
A: Replacing an O-ring on a tap is usually easy for DIYers—basic tools and 15–30 minutes. Call a plumber if parts are corroded, threads are stripped, or the cartridge is damaged.
Q: How to know what size O-ring for faucet?
A: To know the O-ring size for a faucet, measure the inner diameter and cross-section thickness with calipers or a ruler, compare to common sizes, and bring the old ring when buying replacements.