

What if a thin strip could make your room feel like it just gained a sweater?
Draft excluders stop cold air from sneaking through gaps around doors and windows, so rooms stay warmer and your heating uses less energy.
This quick-start guide walks you through simple measuring, why cleaning and drying the frame matters, cutting, and fitting, plus the common mistakes that make adhesive fail.
You’ll get the tools list, step-by-step actions, and a clear done check so the job works the first time.
Quick-Start Guide for a Successful Draft Excluder Installation

A draft excluder blocks cold air from sneaking through gaps around your doors and windows. Getting it right comes down to measuring carefully and prepping your surfaces properly, so the seal compresses evenly and actually stays put.
You’ll need a tape measure, utility knife or scissors, sandpaper, and something to clean with. Here’s the thing: you’ve got to clean and dry every surface before sticking anything down. Grease, dust, or even a bit of moisture will wreck the adhesive bond in days, not years. Most draft excluders are peel and stick, which means you need to get the surface right on the first go. Otherwise you’re buying another set.
Watch out for strips that are too thick. They’ll stop your door or window from closing all the way. And don’t expect any seal to fix warped frames or doors that don’t hang straight. Soft seals can compress up to 10 mm, but they can’t work miracles on wonky timber.
- Strip off any old seals, cleaning gunk, or flaky paint from the frame.
- Clean everything with soapy water or white spirits, then dry it with a clean cloth.
- Sand down rough or flaking spots until they’re smooth, then wipe away the dust.
- Measure the door or window width and the top and side frame faces separately. Measure twice so you don’t waste material.
- Cut the seal a bit longer than what you measured, then trim it down for a snug fit.
- Peel back the first 10 cm of backing tape and press the seal into place at one end.
- Keep peeling the backing in sections, pressing down hard as you go to avoid air pockets.
- Close the door or window to make sure it shuts properly, then leave the seal alone for a few hours while the adhesive sets.
Types of Draft Excluders and Where Each Installation Works Best
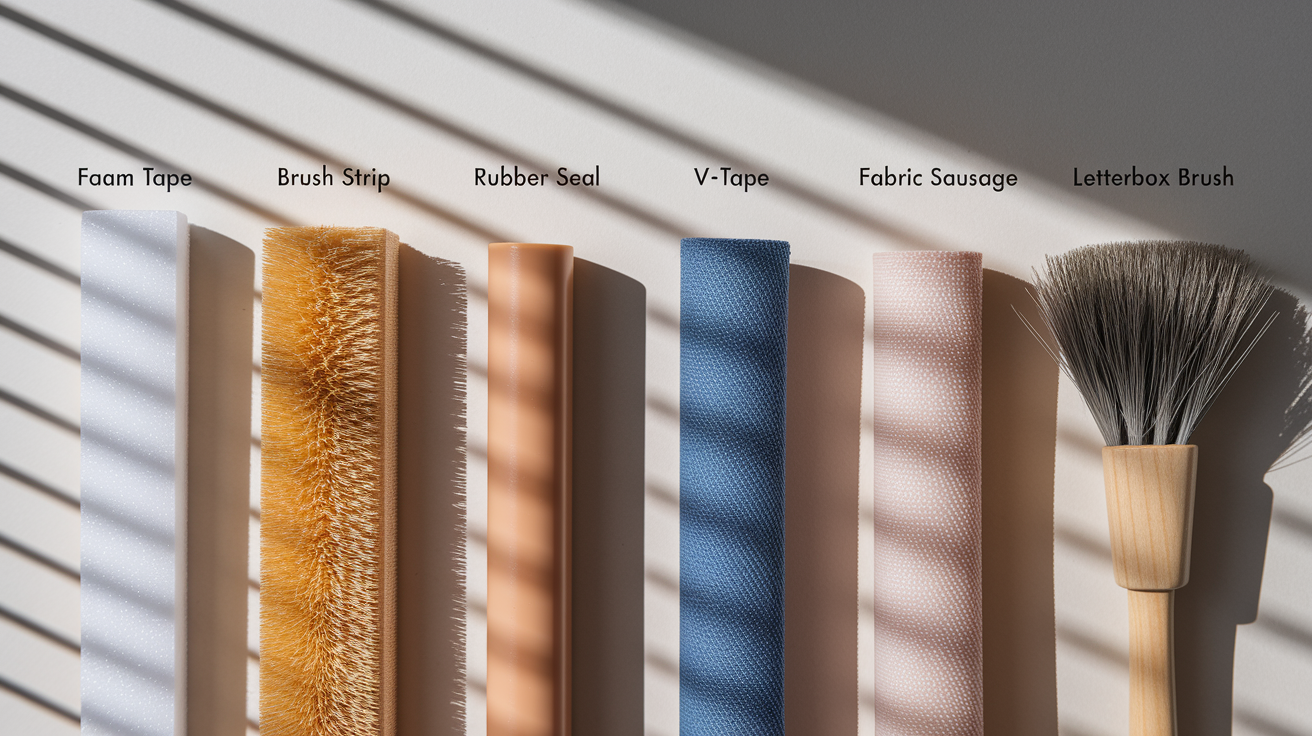
Different materials handle different jobs. Foam tape works great for small, consistent gaps on smooth wooden or UPVC frames. Brush strips can deal with uneven floors and heavy foot traffic way better than anything with adhesive backing. Rubber seals compress well and resist weather, so they’re your best bet for external doors that get hit with rain and temperature swings.
Screw mounted options like brush strips and door sweeps last years longer than adhesive foam because they don’t rely on sticky stuff that dries out or peels. Adhesive installs faster and you don’t need to drill anything, but you’ll be replacing them more often.
- Foam tape: Works for window frames and internal doors with small, even gaps. Quick peel and stick, but it won’t last as long.
- Brush strip: Screws along the bottom of external doors. Handles uneven floors and won’t flatten out over time.
- Rubber seal (self-adhesive or screw-on): Best for external doors and casement windows. Compresses up to 10 mm and stands up to weather.
- V-tape (folded plastic): Made for sliding sash windows. Fits into the vertical slot between the sashes and frame.
- Fabric “sausage” excluder: Sits on the floor against the door. No tools required. You can weight it with sand or rice if it’s windy.
- Letterbox brush or flap: Covers the letterbox opening. Screw it from the inside to block draughts through the mail slot.
Accurate Measuring and Cutting Techniques for Draft Excluder Installation

Measure each section of your door or window frame separately. Top, bottom, both sides. Older frames are almost never perfectly square. Write everything down and check it twice before you cut. If you’re not sure, cut the seal a bit longer and trim it once you’ve tested the fit.
For doors that open over carpet or thick rugs, add an extra 3 to 5 mm to the bottom measurement so the seal clears when the door swings. On uneven floors, a brush strip or Kick-Up seal works better than a rigid rubber strip.
Mitre cuts at 45° give you neat corners where the top and side seals meet, especially on window frames. Straight 90° cuts are used for the top edges of sliding sash windows and single door installations where the seal runs the full width without a corner join.
| Cut Type | When to Use |
|---|---|
| 45° mitre cut | Corner joints on door frames and casement windows for a tight, clean seam |
| 90° straight cut | Full width top sections on sliding sash windows and single door installations |
| Trim after over measuring | When you’re unsure of the exact fit; cut long, test, then trim back for a snug final fit |
Essential Surface Preparation Steps for Reliable Draft Excluder Attachment
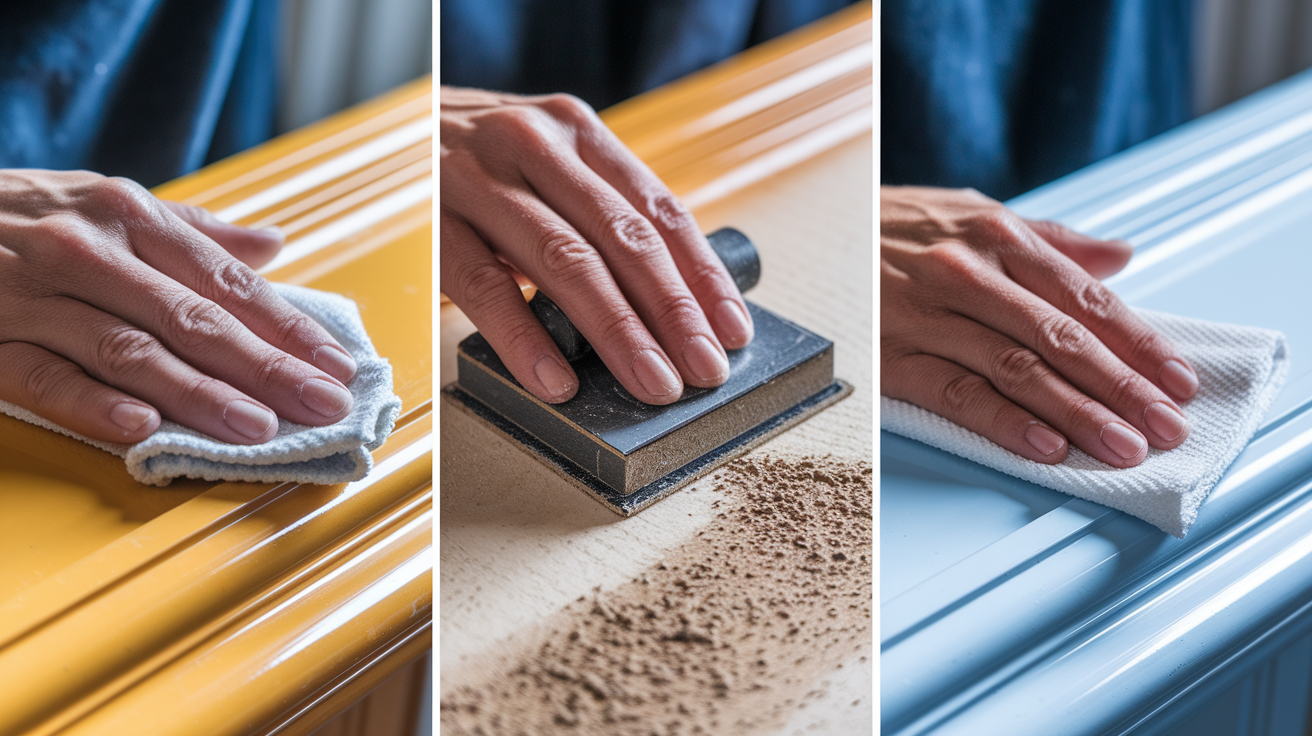
Adhesive backed draft excluders only bond as well as the surface they’re stuck to. Dirt, grease, flaking paint, moisture… all of it stops the adhesive from gripping. The seal will peel away in weeks if you skip this step.
Sanding rough or uneven edges creates a flat contact area and gets rid of loose material that would just end up trapped under the seal. Use medium grit sandpaper and wipe away all the dust with a damp cloth before letting it dry completely.
- Pull off old seals completely, including any leftover adhesive gunk.
- Clean the frame with soapy water or something like white spirits that cuts through grease.
- Degrease glossy surfaces so the adhesive bonds to the material, not to old polish.
- Sand any rough, flaking, or uneven areas until they’re smooth.
- Dry the surface properly. Wait at least 30 minutes after cleaning before you stick anything down.
Step by Step Draft Excluder Installation for Doors
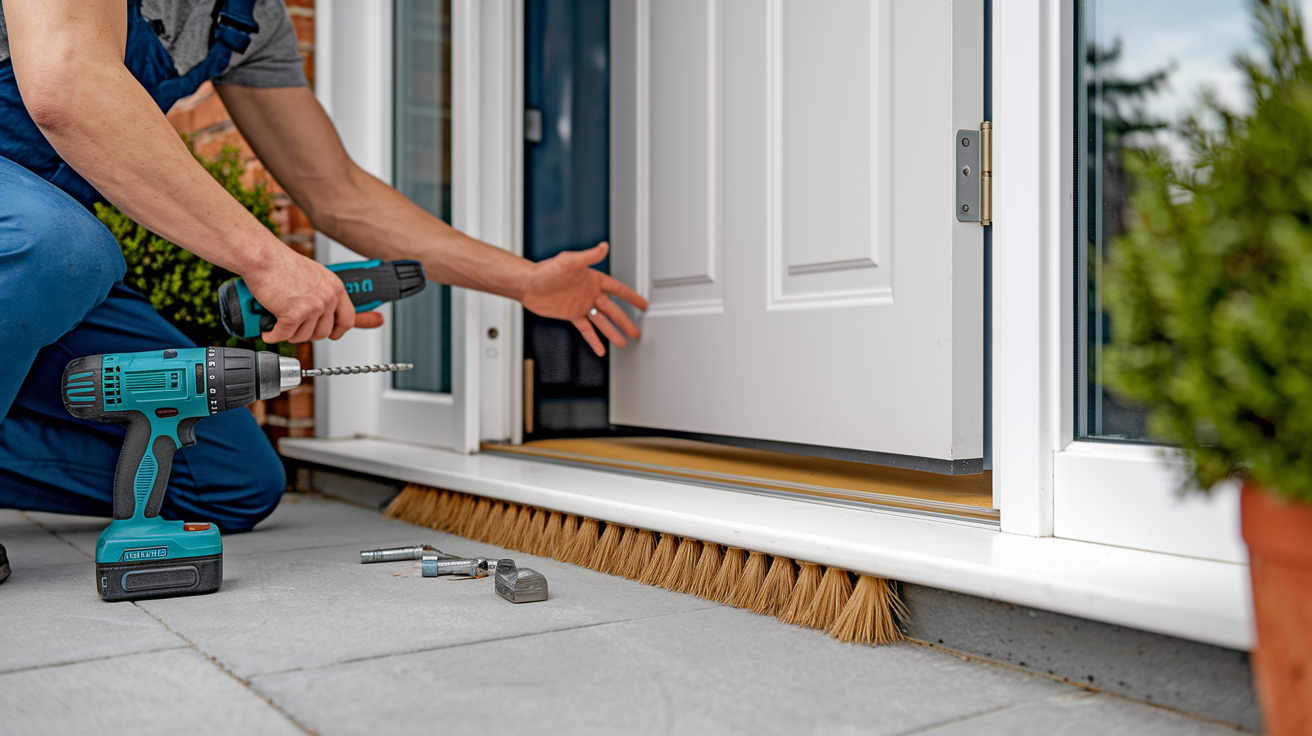
External doors lose more heat than internal ones, so they need thicker, tougher seals. The gap between your door and the frame can be anywhere from 2 mm to 10 mm depending on how it was hung and how much the timber’s moved. Measure the gap at the top, middle, and bottom of each side to check for differences.
For doors that open outwards, fit the seal across the sill at the bottom so it compresses when the door closes. If the door opens inwards over carpet or an uneven floor, use a Kick-Up seal or a brush strip that won’t snag on the floor.
After you’ve installed it, test the door by closing it gently and checking that it latches without you having to shove it. If the seal’s too thick or positioned wrong, the door will stick or won’t close all the way. You can trim rubber seals or reposition adhesive strips within the first few minutes, before everything sets.
Installing a Brush Strip Door Sweep
Brush strips handle uneven floors and heavy use better than foam or rubber. They screw straight to the bottom edge of the door, so the bristles sweep the floor as the door closes. Pre drilled strips save you time, but you’ll still need to cut the strip to match your door width.
- Measure the door width and mark that measurement on the back of the brush strip with a pencil.
- Cut the metal or plastic strip with a fine tooth hacksaw, then smooth the cut edge with sandpaper so it’s not sharp.
- Hold the strip against the bottom of the door so the bristles just touch the floor when it’s closed. Mark where the screws go.
- Drill pilot holes if the strip isn’t pre drilled, using a 3 mm bit for standard screws.
- Screw the strip into place, tightening each screw gently. Overtightening can warp the strip or crack plastic housings.
- Close the door and check that the bristles sit snug on the floor without stopping the door from latching.
Step by Step Draft Excluder Installation for Windows
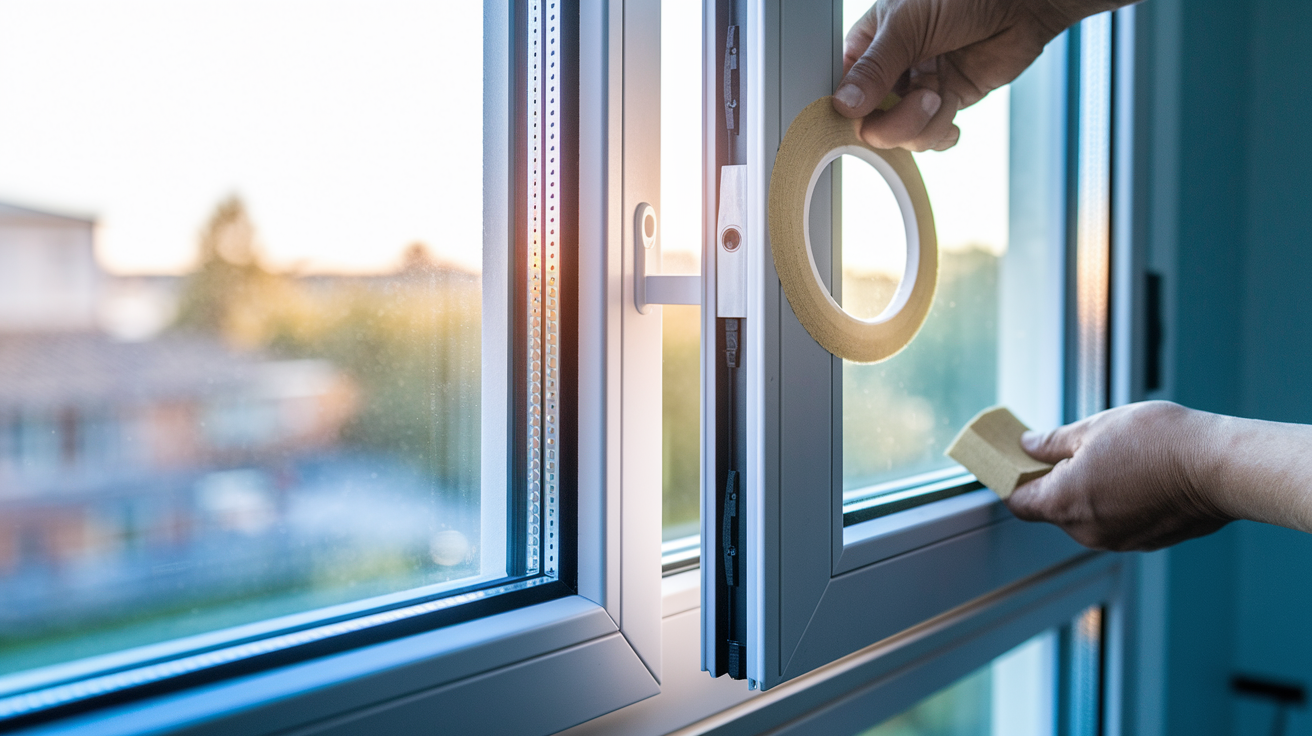
Window frames need different sealing than doors because they open in different ways and the gaps are usually smaller. Casement windows need seals around the entire frame perimeter. Sliding sash windows use V-tape in the vertical slots where the top and bottom sashes meet the frame.
Bi-adhesive strips work well on smooth wooden or UPVC frames and can fill gaps up to 7 mm. V-tape is designed for sash windows and folds into the narrow vertical channel, creating a flexible seal that compresses when the window closes. Both are peel and stick, so you’ve got to prep the surface properly.
- Remove any old seals, cleaning compound, or loose paint from the window frame.
- Clean the frame with soapy water or white spirits, then sand rough areas until they’re smooth.
- Wipe away all the dust and let the frame dry completely. Damp surfaces stop adhesive from bonding.
- Separate bi-adhesive strips or V-tape sections and measure the length you need for the top, bottom, and both sides.
- Cut each piece slightly longer than you measured so you can trim for a perfect fit.
- Peel back the first 10 cm of backing tape, position the seal at one end of the frame, and press it down hard.
- Remove the rest of the backing tape in sections, pressing the seal into place as you go, then test that the window closes fully and the seal compresses evenly. Don’t touch it for several hours while the adhesive cures.
Troubleshooting Draft Excluder Installation Problems

Using a seal that’s too thick is the most common mistake. If your door or window won’t close after installation, the seal’s compressing too much or sitting proud of the frame. Trim thicker seals down or switch to a thinner profile.
Installing on dirty or damp surfaces causes adhesive failure within days. If a newly installed seal starts peeling, pull it off completely, clean and dry the surface properly, and stick down a fresh seal. Rough cut edges on metal or plastic strips can stop you getting a flush fit. Always sand cut edges smooth before screwing or sticking the strip in place.
- Door or window won’t close: Seal’s too thick or positioned wrong. Trim it or move it further from the closing edge.
- Seal peels away within days: Surface wasn’t clean or dry. Remove the seal, prep the surface again, and apply a new strip.
- Gaps remain after installation: Seal’s too thin for the gap size. Upgrade to a thicker rubber or foam profile rated for larger gaps.
- Seal looks uneven or wavy: Backing tape was removed all at once, causing wrinkles. Next time, peel and press in 10 cm sections for a smooth finish.
Maintenance, Replacement, and Long Term Efficiency After Draft Excluder Installation

Foam and adhesive seals last a few years before the material compresses permanently or the adhesive dries out. Check your seals once a year. If you can see daylight around the edges or feel cold air when the door or window’s closed, it’s time to replace them.
For seals installed on exterior facing frames, paint or seal any exposed cut edges to stop moisture getting into the timber and making the seal lift. Open windows for about 4 minutes each day to keep ventilation adequate. Draft excluders reduce air leakage, but your home still needs fresh air to prevent condensation and mold.
Well installed draft excluders improve sound insulation by blocking gaps that carry noise, and they help keep your indoor temperature more stable year round. Lower energy bills and better comfort are the long term payoff, especially when you maintain seals and replace them before they fail completely.
Final Words
Measure twice, remove old seals, clean and dry the surface, then cut the new strip slightly long. Dry-fit so corners meet, then trim.
Use a tape measure, utility knife or scissors, sandpaper and a clean cloth. For peel-and-stick types, peel about the first 10 cm before pressing, avoid touching fresh adhesive, and stop when the soft seal compresses about 10 mm. Check the door or window closes and wait several hours for the adhesive to cure.
Follow these steps and your draft excluder installation will cut drafts, boost comfort, and save energy. You’ve got this.
FAQ
Q: How to install draft excluders?
A: Installing draft excluders starts with removing old seals, cleaning and drying surfaces, measuring, cutting slightly long, peel-and-stick the first 10 cm, press firmly, ensure the door/window closes, then wait several hours.
Q: Should door draft stopper be on inside or outside?
A: A door draft stopper should be fitted on the inside where possible; inside placement protects the seal from weather, is easier to adjust, and keeps warm air from escaping.
Q: Are window draft excluders easy to install?
A: Window draft excluders are generally easy to install. Clean and dry the frame, measure and cut, peel-and-stick the first 10 cm, press in place, and check the window closes fully; tricky frames may need extra work.
Q: What is the best filling for draft stoppers?
A: The best filling for draft stoppers is dense material like sand or small pebbles for weight; foam or polyester fibre adds flexibility, while rice or beans are cheap DIY options that may compress over time.