

Think a hex key is just a tiny wrench you can guess with?
Pick the wrong size or angle and you’ll strip the socket, waste time, and stall your project.
This quick guide walks you through the exact steps so you get it right the first time.
You’ll learn how to pick the correct size, seat the key fully, use the short or long arm for torque or reach, prevent stripped screws, and free stuck fasteners without damage.
Read on and finish the job faster and cleaner.
Basic Hex Key Operation for First‑Time Users
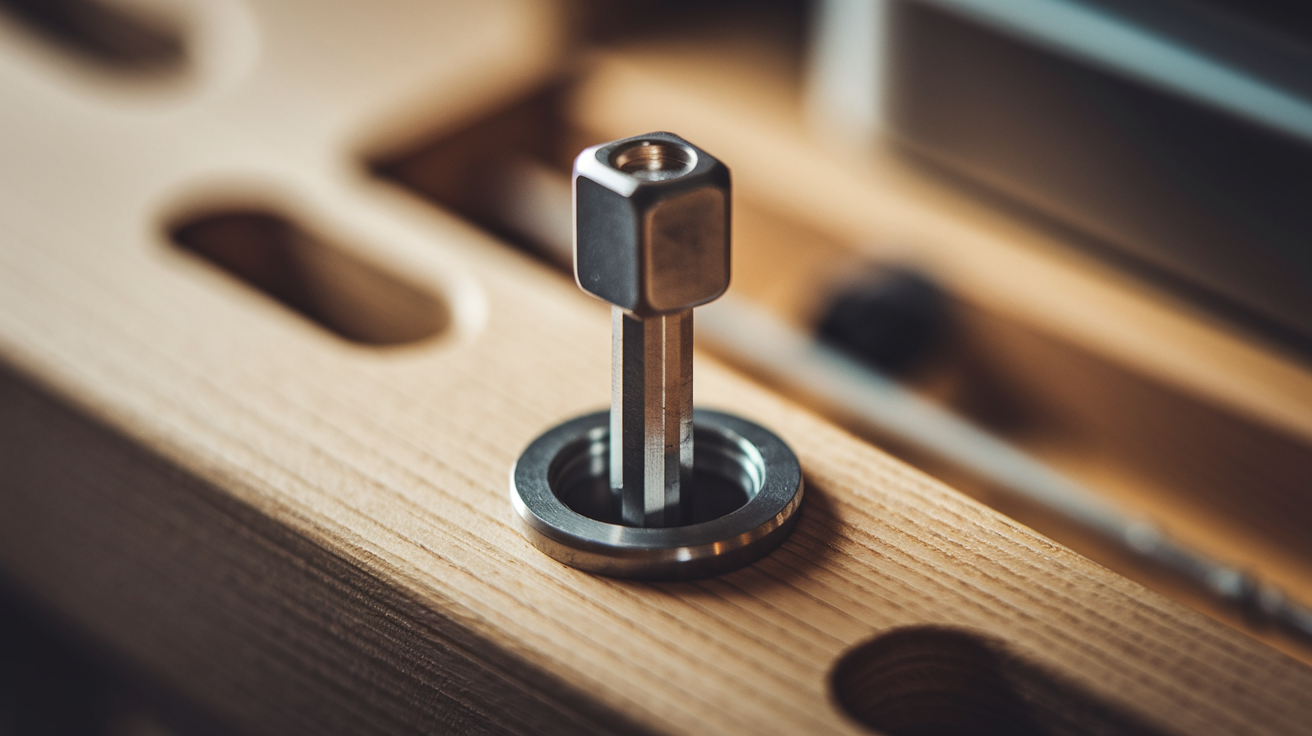
A hex key fits into screws and bolts with a six sided socket. The tool’s hexagonal tip slides in and lets you turn to tighten or loosen. Most hex keys are L shaped, with a short arm and a long arm. Both ends work, you just pick the one that fits your situation. Insert the short arm when you need more turning force. The short arm gives you a longer handle to pull or push, which creates extra torque.
Before you turn anything, seat the hex key all the way in. Hold it straight so the other arm forms a 90 degree angle. This full contact spreads force across all six sides and stops the key from slipping out. If the key wobbles or only drops halfway in, you’ve got the wrong size. Switch to the next size up or down until it slides in snug with no play.
Once the key is seated, turn clockwise to tighten and counterclockwise to loosen. Apply steady, controlled pressure. Don’t jerk or yank. If you’re tightening, stop as soon as the fastener feels snug. If you keep cranking after that point, you risk stripping the socket or breaking the screw. If you’re loosening, apply firm pressure until the fastener starts to move, then back it out smoothly. Here’s the basic sequence:
- Identify the fastener type. Look for a hexagonal recess in the screw or bolt head.
- Select the correct hex key size. The tool should seat fully with no wobble.
- Insert the hex key perpendicular. Push the short or long arm all the way into the socket.
- Turn in the correct direction. Clockwise to tighten, counterclockwise to loosen.
- Use steady, controlled pressure. No jerking. Stop when the fastener is secure or free.
- Check the result. Make sure the screw is tight enough before moving to the next one.
Choosing the Right Hex Key Size for the Job

Hex keys are measured across the flats. That’s the distance between two parallel sides of the hexagonal tip. Metric keys use millimeters and imperial keys use fractions of an inch. When you pick a size, the key should slide into the socket with almost no wiggle. If it moves more than a hair’s width, it’s too small and will round out the fastener when you apply torque. If it won’t go in at all, it’s too large. The right fit feels snug, seats fully, and stays put when you pull gently on the handle.
Most home projects use a handful of common sizes. Furniture assembly often calls for 4 mm, 5 mm, or 6 mm keys. Bicycles lean toward 4 mm, 5 mm, 6 mm, and 8 mm. Electronics and small appliances may need tiny 1.5 mm or 2 mm keys, or imperial equivalents like 1/16 inch. When you buy a multi piece set, you’ll cover the range. If you’re unsure which size you need, test fit the key before you start turning. Full insertion with zero play is the goal.
| Size (Metric) | Size (Imperial) | Common Use | Notes |
|---|---|---|---|
| 4 mm | 5/32″ | Furniture bolts, bike stem bolts | Very common in flat pack furniture |
| 5 mm | 3/16″ | Bike seatpost, furniture hardware | Standard for many bicycle components |
| 6 mm | 1/4″ | Larger furniture bolts, automotive trim | Good for higher torque fasteners |
| 2.5 mm | 3/32″ | Electronics, small appliances | Requires low torque to avoid damage |
Understanding Hex Key Types and When to Use Each
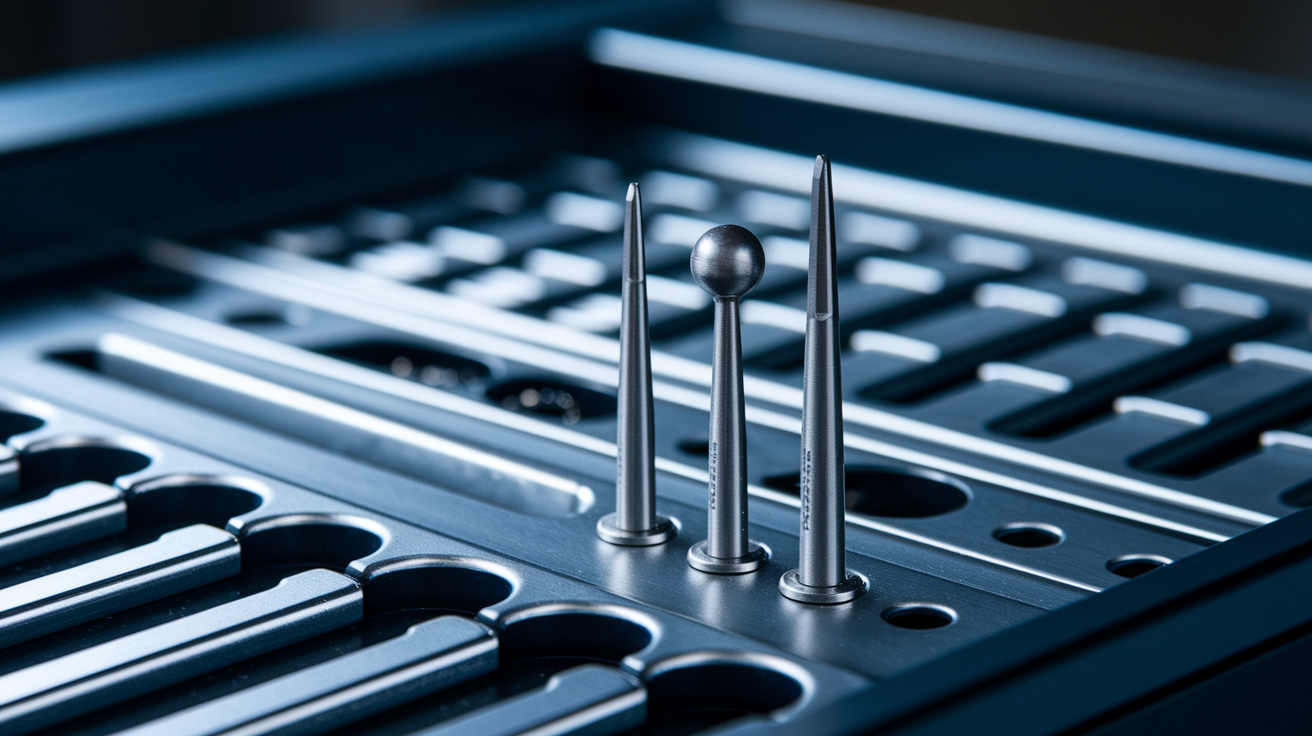
Standard L shaped hex keys give you two working ends: a short arm and a long arm. Use the short arm in the socket when you need extra leverage. The long handle gives you more turning force. Use the long arm in the socket when space is tight or you need to reach deep into a recess. Either way, the arm you’re not using becomes your handle.
Ball End Hex Keys
Ball end keys have a rounded tip on one end of the L. That rounded shape lets you insert the key at an angle, up to about 25 degrees off center. This helps when you can’t line up perfectly straight. It matters in tight spots, like reaching a bolt behind a piece of furniture or inside a bike frame. The trade off is torque. Ball end keys can’t handle as much turning force as a standard flat tip, so use them for access and initial loosening. Then switch to a standard key for final tightening. Or flip the ball end key around to the flat end.
T Handle and Driver Bit Options
T handle hex keys look like a screwdriver with a hex tip. The handle gives you a better grip and more control, which speeds up repetitive tasks like assembling furniture or working on bikes. Hex bits fit into a ratchet, screwdriver handle, or power drill. They’re useful when you need extra reach, higher torque, or the convenience of switching tips quickly. A 1/4 inch hex bit in a ratchet handle can turn fasteners faster and with less hand strain than a basic L key.
Here’s when each type shines:
Standard L key is best for general use, maximum torque, and jobs where you can position the tool straight.
Ball end L key is best for angled access, initial loosening, or reaching recessed fasteners. Not for final high torque tightening.
T handle is best for repetitive tasks, higher volume assembly, or when you want a comfortable grip and faster turning speed.
Hex bit with ratchet or driver is best for deep recesses, power tool use, or when you need to switch between fastener sizes quickly.
Fold up pocket set is best for portability, keeping a full size range in one compact tool, or field repairs on bikes and equipment.
Extra long L key is best for deep set fasteners, hard to reach bolts, or situations where standard length won’t reach.
Preventing Stripped Hex Screws During Use
Stripped hex sockets happen when the tool slips, rounds the corners, or fails to engage fully. Once a socket is damaged, it’s nearly impossible to turn the fastener. You’re stuck drilling it out or using an extractor. The good news is you can avoid stripping with a few simple habits.
First, make sure the socket is clean. Paint, dirt, and corrosion reduce contact and cause the key to slip. Wipe out the recess with a rag or blow it clear before you insert the tool. Second, seat the hex key all the way in. Don’t leave it half inserted. Third, keep the key perpendicular to the fastener while you turn. Angled pressure lifts the tool out of full contact and rounds the corners. Fourth, use the correct size every time. A key that’s even slightly too small will cam out under load. Finally, stop tightening as soon as the fastener is secure. Over torque strips threads and damages sockets.
Here are the most common mistakes that lead to stripped screws:
Using a worn or rounded hex key. Replace keys as soon as the edges look soft or the tip shows visible wear.
Forcing a slightly undersized key. If the fit isn’t snug, grab the next size. A loose key will round the socket in seconds.
Inserting the key at an angle. Unless you’re using a ball end, always hold the tool straight.
Continuing to tighten after the fastener is secure. Once it stops moving easily, you’re done.
Skipping socket inspection. Check for existing damage or debris before you start. A pre stripped socket will only get worse.
Troubleshooting Stuck or Damaged Hex Screws
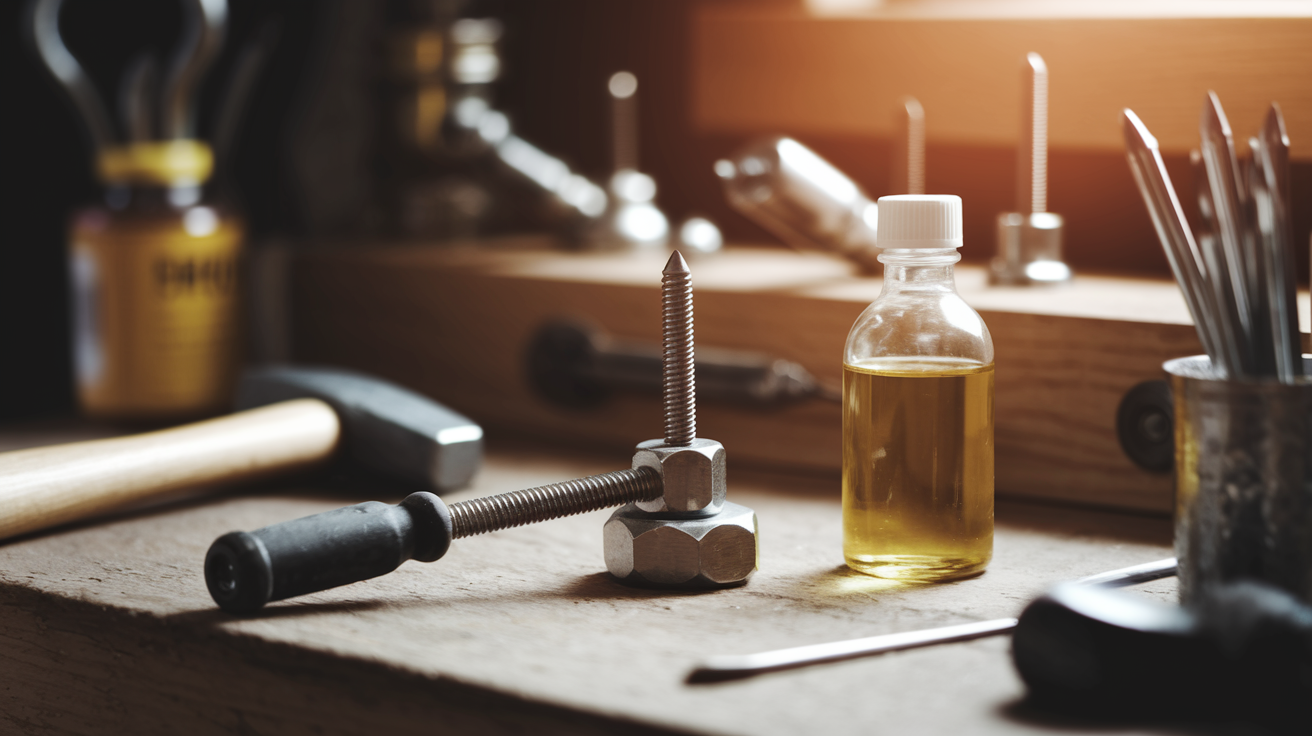
Stuck fasteners happen. Corrosion, over tightening, and thread lock compounds all make screws resist loosening. If a hex screw won’t budge with normal pressure, work through these steps in order. Each one increases force or changes the approach, so you don’t jump straight to destructive methods.
Start with penetrating oil. Spray or drip it around the base of the fastener and let it sit for 10 to 15 minutes. The oil seeps into threads and breaks down rust or grime. While you wait, don’t try to force it. Patience here saves the fastener. After the soak, insert the hex key fully and apply steady counterclockwise pressure. If it still won’t move, tap the end of the hex key handle lightly with a hammer. Three to five gentle taps. The vibration can crack corrosion loose without damaging anything.
If tapping doesn’t work, add leverage. Use the long arm of the hex key in the socket to create a longer handle, or slide a piece of pipe over the handle for extra length. That’s called a cheater bar. Apply slow, steady pressure. Don’t jerk. If the fastener is metal and the surrounding part can handle heat, warm the area around the screw with a heat gun or hair dryer. Heat expands the metal and can break the bond. Keep the heat controlled and avoid plastic, rubber, or painted surfaces.
When all else fails, you have two last resort options. First, try locking pliers clamped onto the screw head if there’s enough material to grip. Turn slowly and keep pressure on the fastener to maintain contact. Second, use a screw extractor designed for hex sockets. These tools bite into the damaged recess and turn the fastener out. If the screw is completely rounded and nothing grips, you may need to drill it out. But that’s the final option.
Here’s the troubleshooting sequence:
- Apply penetrating oil. Spray the fastener, wait 10 to 15 minutes.
- Tap gently. Insert the hex key, tap the handle three to five times with a hammer.
- Increase leverage. Use the long arm or add a cheater bar for extra turning force.
- Apply controlled heat. Warm the surrounding metal to expand and loosen the fastener.
- Use extraction tools. Locking pliers or a hex extractor if the socket is damaged. Drill out the screw only as a last resort.
Torque Techniques and Leverage Tips for Hex Keys

Torque is rotational force. The amount of twist you apply to turn a fastener. Hex keys don’t have torque markings, so you rely on feel and technique. For most home projects, “snug and secure” is good enough. That means you turn until the fastener stops moving easily, then stop. If you keep going, you risk stripping threads or cracking the part. For precision work, especially bikes and electronics, follow the manufacturer’s torque specification and use a torque wrench adapter or a hex bit in a torque limiting driver.
Leverage changes how much force you can apply. The long arm gives you a longer handle and more turning power, which is useful for loosening stuck bolts or tightening larger fasteners. The short arm gives you less leverage and more control, which reduces the risk of over tightening small or delicate screws. For example, when you’re assembling furniture, use the short arm in the socket for the final tightening pass. You’ll feel the fastener snug up without overdoing it. When you’re loosening a bike seatpost bolt that hasn’t moved in two years, flip the key and use the long arm for extra pull.
Here are four ways to manage torque and leverage safely:
Short arm in, long arm out. Maximum torque for tightening or loosening. Use for stuck fasteners or larger bolts.
Long arm in, short arm out. Lower torque, better control. Use for small screws, final tightening, or delicate parts.
Two hands on the handle. Spread force evenly and reduce wobble. Helps prevent cam out on high torque fasteners.
Cheater bar or extension. Slide a pipe over the handle for extra length. Apply slow, steady pressure and watch for fastener damage.
Using Hex Keys for Furniture Assembly and Home Projects

Flat pack furniture almost always includes hex socket bolts. The most common sizes are 4 mm, 5 mm, and 6 mm. Many kits include a basic L key. That included key works, but upgrading to a T handle or a ball end key makes the job faster and more comfortable. Furniture bolts often sit in tight corners or behind panels, so angled access helps.
Before you start, lay out all the hardware and identify the bolt sizes. Insert each hex key straight into the socket and turn clockwise to tighten. Most furniture fasteners don’t require high torque. Snug is enough. If you crank too hard, you can strip the pressed wood threads or crack a panel. Wear gloves when you’re working in tight spaces, like inside a cabinet or behind a drawer slide. Your knuckles will thank you.
Here are the three most common furniture fasteners and their typical sizes:
Cam lock bolts are usually 4 mm or 5 mm. These pull panels together and need moderate torque.
Connector bolts are typically 5 mm or 6 mm. They’re used to join thick panels or frame pieces. Also called sex bolts or barrel bolts.
Hinge and bracket screws are often 4 mm. Low torque to avoid cracking mounting holes.
Hex Keys for Bikes, Cars, and Electronics
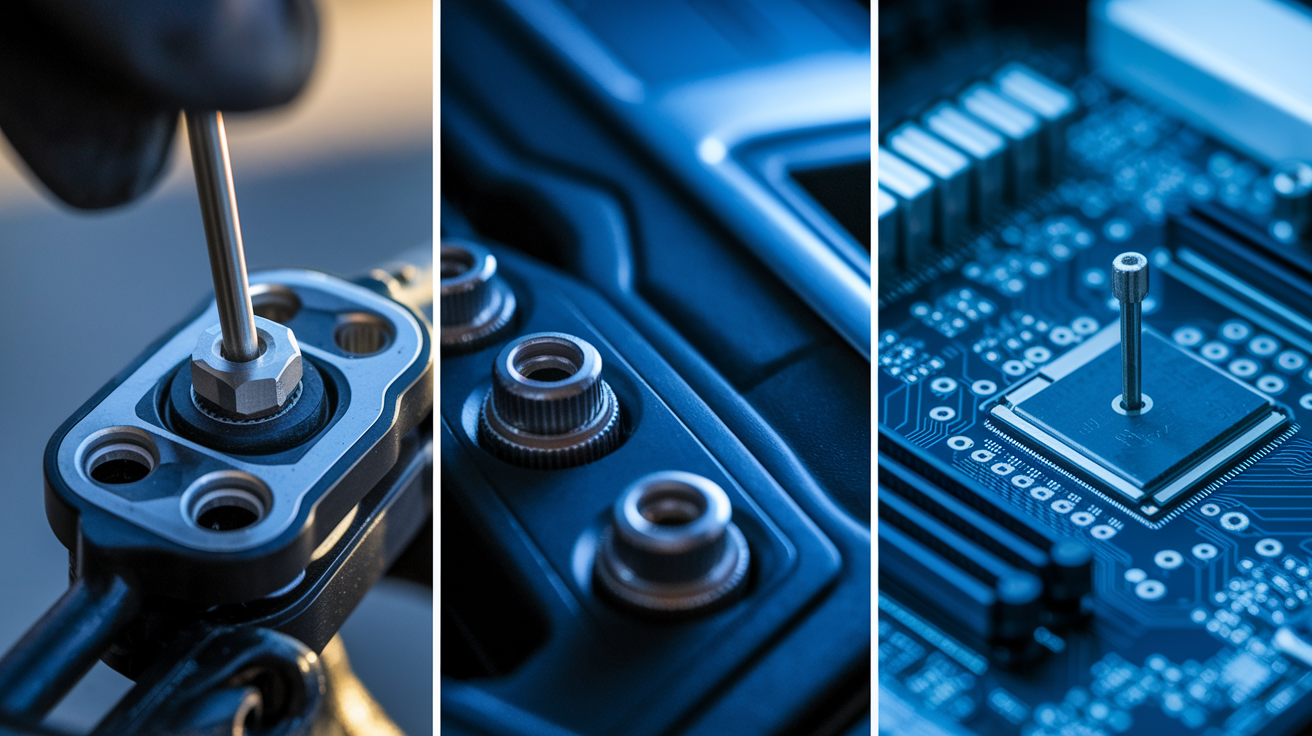
Bicycles rely on hex socket bolts for stems, seatposts, brake calipers, derailleurs, and bottle cage mounts. The most common sizes are 4 mm, 5 mm, 6 mm, and 8 mm. Bike components have specific torque ranges, usually printed on the part or listed in the manual. That’s because over tightening can crack carbon fiber or strip aluminum threads. A 5 mm T handle hex key is one of the most used tools in a home bike toolkit. When you’re adjusting a seat or tightening a stem, follow the printed torque spec. Often 5 to 8 N·m for stem bolts. Use a torque wrench if you have one.
Automotive uses for hex keys are less common but still important. You’ll find hex socket fasteners on interior trim panels, under hood brackets, and some engine bay components. Automotive bolts are typically larger, 6 mm and up, and may require higher torque than furniture or bike hardware. Hex bits in a ratchet handle give you the speed and reach you need for car work.
Electronics and small appliances use very small hex screws, often down to 1.5 mm or 2 mm. Or 1/16 inch in imperial. These fasteners live inside laptops, game consoles, and kitchen gadgets. Use the exact size and apply very light torque, typically 0.2 to 1.5 N·m. The threads are fragile and the sockets are shallow. A precision hex key set with a rotating cap makes electronics work easier and protects your wrist during repetitive turning.
Common bike bolt sizes and typical torque:
- Stem bolts are 4 mm or 5 mm, usually 5 to 6 N·m. Critical for steering safety.
- Seatpost clamp is 5 mm or 6 mm, typically 5 to 8 N·m. Prevents slipping without crushing the post.
- Brake caliper mounting is 5 mm, often 6 to 8 N·m. Must be tight but not over torqued to avoid cracking the mount.
Caring for, Storing, and Maintaining Hex Keys

Hex keys last for years if you treat them right. Store them in a dry place. Moisture causes rust, and rusty keys slip in sockets and leave marks on fasteners. A fold up set with a plastic or rubberized holder keeps keys organized and protected. Color coded sets help you grab the right size fast, especially when you’re working in a dim garage or under a car.
Inspect your keys before each use. Look for rounded corners, bent tips, or visible wear. A damaged key won’t seat fully, and it will strip the next fastener you touch. Replace worn keys immediately. They’re inexpensive, and a fresh set prevents costly repairs. If you use hex keys in dirty or oily environments, wipe them clean after each job. A light coat of tool oil on the surface protects against corrosion and keeps the finish smooth.
Here’s a simple storage and care checklist:
Keep keys dry. Store in a toolbox, on a wall mounted holder, or in a fold up case. Avoid damp basements or open garages.
Wipe clean after use. Remove dirt, grease, and metal shavings. A quick wipe extends tool life.
Apply light oil for long term storage. A thin layer of machine oil or WD 40 prevents rust. Wipe excess before use.
Replace damaged keys immediately. Rounded, bent, or worn keys cause stripped fasteners. Don’t risk it.
Hex Key Materials, Quality, and Professional Grade Options

Basic hex keys are made from carbon steel, which works fine for light duty home projects. If you’re doing frequent or high torque work, upgrade to S2 steel or chrome vanadium. S2 steel is harder and resists impact better, so the tip stays sharp even when you apply heavy force or drop the tool. Chrome vanadium combines strength with corrosion resistance, and it holds up well in damp or dirty conditions.
Finish matters too. Black oxide coating reduces glare and adds a thin layer of rust protection. Chrome plated keys are shinier and easier to wipe clean, but the plating can chip if you drop the tool on concrete. For professional use, look for extra long keys, T handles with ball ends, or sets that include both metric and imperial sizes in a single case. Bike shops, automotive techs, industrial assembly. These kits cost more up front but save time and frustration on the job.
Here’s what different materials and finishes offer:
Carbon steel is basic, affordable, good for occasional home use. Can rust if stored in damp conditions.
S2 steel has high impact resistance, holds sharp edges, best for frequent or heavy duty work.
Chrome vanadium is strong, corrosion resistant, durable. Common in mid to high quality sets.
Black oxide finish reduces glare, adds light rust protection, won’t chip like chrome. Popular for pro tools.
Final Words
You now know the core moves: seat the key squarely, pick the right size, use the long arm for leverage and the short arm for tight spots. You’ve seen common uses—furniture, bikes, electronics—and how to avoid stripped heads and free stuck screws.
Practice the torque tips, keep keys clean and dry, and swap worn bits. If you remember these basics you’ll handle most jobs faster and safer.
For a quick refresher on how to use a hex key, keep this guide handy and you’ll be set.
FAQ
Q: How does a hex key work and is a hex key the same as an Allen key?
A: A hex key, often called an Allen key, works by fitting its hexagonal tip into a matching recessed socket, letting you turn the screw with leverage while reducing slipping and cam‑out.
Q: How to use an Allen key correctly?
A: To use an Allen key correctly, seat the tip fully and squarely, keep the key perpendicular, use short controlled turns to avoid stripping, and switch to the long arm for extra torque when needed.
Q: What can you do with hex keys?
A: Hex keys tighten and loosen hex‑socket fasteners on furniture, bikes, electronics, and appliances; use different sizes, T‑handles, or driver bits for reach, repeat work, or higher torque.