

Tired of walking on creaky floors and dreading pulling up the carpet?
You don’t have to rip up your carpet to stop the noise.
This guide shows simple, quick methods to stop squeaks, find the exact spot, locate the joist, and use break-away screws that disappear under the pile or repair from below.
Most single-room jobs take 30 to 45 minutes with common tools and low cost.
Follow these steps and you’ll know what to buy, what to do first, and how to check the job is done.
Immediate Steps to Stop Squeaky Carpeted Floors Without Removing the Carpet

Walk across the squeaky area and press down hard with your foot to find the exact spot making noise. Mark each squeak with a piece of masking tape or chalk. Then grab a stud finder and locate the floor joist sitting under the carpet at each marked spot. Joists usually run perpendicular to floorboards, spaced 16 to 24 inches apart. Once you’ve got the joist, you’re ready to lock down that loose subfloor.
The fastest fix? Specialized break-away screws that drive straight through carpet without pulling anything up. These screws have a scored shank that lets you snap the head off flush with the carpet after you’ve installed them. Here’s how to kill the squeak in under an hour for most rooms:
-
Mark where it squeaks and find the joist underneath with a stud finder.
-
Drive a 3-inch break-away screw through the carpet into the joist using a power drill with a driver bit and depth stop.
-
Press down hard on the carpet with your knee or hand while driving the screw to pull the subfloor tight against the joist.
-
Stop when the screw head reaches the carpet surface.
-
Use channel-lock pliers or a screw gripper to rock the screw side to side and front to back until the scored head snaps off below the carpet.
-
Repeat with 2 to 3 screws spaced 6 to 8 inches apart along the joist at each squeak spot.
The broken piece of screw stays embedded in the subfloor and joist, holding everything tight. The snapped head disappears under the carpet pile. No visible hardware left behind. Most single room repairs take 30 to 45 minutes once you’ve found the joists.
Why Squeaky Floors Happen Beneath Carpet and What Causes the Noise

Squeaks happen when wood rubs against wood as you walk. The subfloor sits on top of floor joists spaced 16 to 24 inches apart. Over time, gaps open up between the two. Step on a loose section and the subfloor flexes, rubbing against the joist or against panels next to it. That friction creates noise. Nails that used to hold the subfloor tight work loose or pull out a bit, which allows movement. Wood expands when humidity goes up and shrinks when air gets dry, making boards shift and squeak against fasteners.
Seasonal changes make things worse. Summer brings higher humidity that swells wood and tightens joints temporarily. Winter heating drops humidity and wood contracts, opening small gaps that squeak under pressure. Most common causes:
- Gaps between subfloor and the top of joists
- Loose or pulled nails that don’t grip anymore
- Movement at seams where two subfloor panels meet
- Old adhesive that’s dried out and lost its bond
Knowing what creates the squeak helps you pick the right fix. If the subfloor isn’t touching the joist, adding screws pulls it back down and stops movement.
How to Locate the Exact Squeak Under Carpeted Areas

Finding the precise squeak location saves time and materials. You need to know where the noise is and where the joist sits beneath the carpet. Three reliable methods pinpoint both.
Walk and Mark Method
Walk slowly across the carpeted area. Stop each time you hear or feel a squeak. Press down hard at that spot to confirm the noise repeats. Put a small piece of masking tape or chalk mark right on the carpet where the squeak is loudest. If you’ve got a helper, ask them to step on different areas while you listen and mark locations from a few feet away. This two-person approach catches squeaks you might miss when you’re the one walking.
Stud Finder or Joist Locator Method
Once you’ve marked the squeak, turn on a stud finder and move it slowly across the carpet near your mark. Most stud finders detect joists through carpet and padding without trouble. When it beeps or lights up, you’ve got the center of the joist. Mark the joist line with tape on both sides of the squeak so you know the exact path to follow when driving screws. Joists run in parallel lines. Find one and measure 16 or 24 inches to locate the next.
Coat Hanger Probe Technique
Cut a 6 to 8-inch piece of wire coat hanger and chuck it into a drill, or use it as a manual probe. Push the wire down through carpet and padding until it hits subfloor, then angle it slightly and push farther to see if you strike a joist. Don’t hit solid wood within about 16 inches of probing left and right? You’re likely moving parallel to the joists. Rotate 90 degrees and try again. Once the probe stops against a joist, mark that spot with tape and confirm the joist runs in a straight line by probing a few feet away in the same direction.
Tools and Materials Needed for Fixing Squeaky Carpeted Floors

Fixing squeaky floors through carpet needs only a handful of common tools and a few specialty screws. Most items are available at any hardware store. Total cost for a DIY repair stays well under £50 for a typical room.
| Item | Purpose | Typical Cost |
|---|---|---|
| Cordless drill (12–18V) | Drive screws through carpet into joists | £30–£150 |
| 3-inch break-away or scored screws (pack of 50–100) | Secure subfloor; heads snap off below carpet | £5–£15 |
| Stud finder or joist locator | Locate joists beneath carpet | £10–£35 |
| Channel-lock pliers or screw gripper | Rock and break off screw heads | £5–£20 |
| Squeak relief kit (optional) | All-in-one system with screws and fixture | £10–£50 |
| Tape measure and masking tape | Mark squeak locations and joist lines | £2–£10 |
Already own a drill? You’ll spend around £10 to £20 on screws and a stud finder to handle most jobs. Squeak relief kits bundle everything together and include an alignment fixture that controls screw depth, but they aren’t required if you’re comfortable setting the drill clutch and driving screws by feel.
Step-by-Step Method: Driving Screws Through Carpet Into Floor Joists
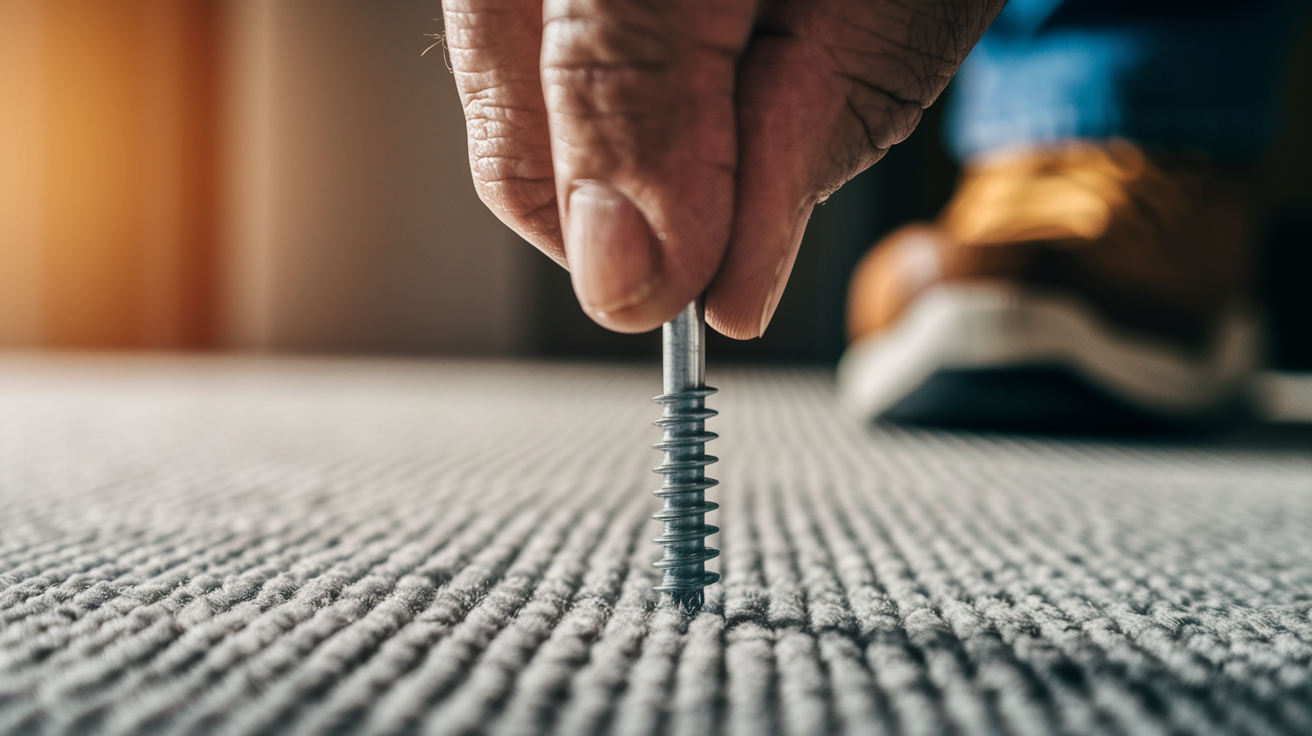
This method pulls the subfloor tight against the joist and kills the movement causing squeaks. The break-away screw design leaves no visible hardware above carpet surface.
-
Mark the squeak location on carpet with masking tape.
-
Use a stud finder to locate the joist beneath the marked spot and draw a short line along the joist direction with chalk or more tape.
-
Take a 3-inch break-away screw and turn it by hand through the carpet at the marked squeak location to create a small pilot hole in the carpet fibers, rotating gently to spread the pile rather than snag it.
-
Insert the screw into your drill with a driver bit that has a depth stop or clutch setting to prevent overdriving.
-
Press down hard on the carpet with your free hand or knee to push the subfloor toward the joist while you drive the screw.
-
Drive the screw until the head reaches the carpet surface and stops. You should feel resistance when the screw pulls the subfloor snug against the joist.
-
Grip the top of the screw with channel-lock pliers or a screw gripper tool and rock it side to side and front to back with steady pressure until the scored portion snaps and the head breaks off just below the carpet surface.
-
Drive 2 or 3 more screws along the same joist line, spacing them 6 to 8 inches apart, and repeat the break-off process for each.
Preventing Carpet Damage
Turning the screw by hand for the first few rotations is key to avoiding snags and pulls in the carpet. The threads cut their own path through backing and padding when you rotate slowly. Start with the drill at high speed and the bit can catch a carpet fiber, creating a visible loop or tear. Once the pilot hole is started and the screw tip reaches subfloor, you can switch to the drill and drive the screw the rest of the way without risk.
Fixing Squeaky Floors From Below (Basement or Crawl Space Access)
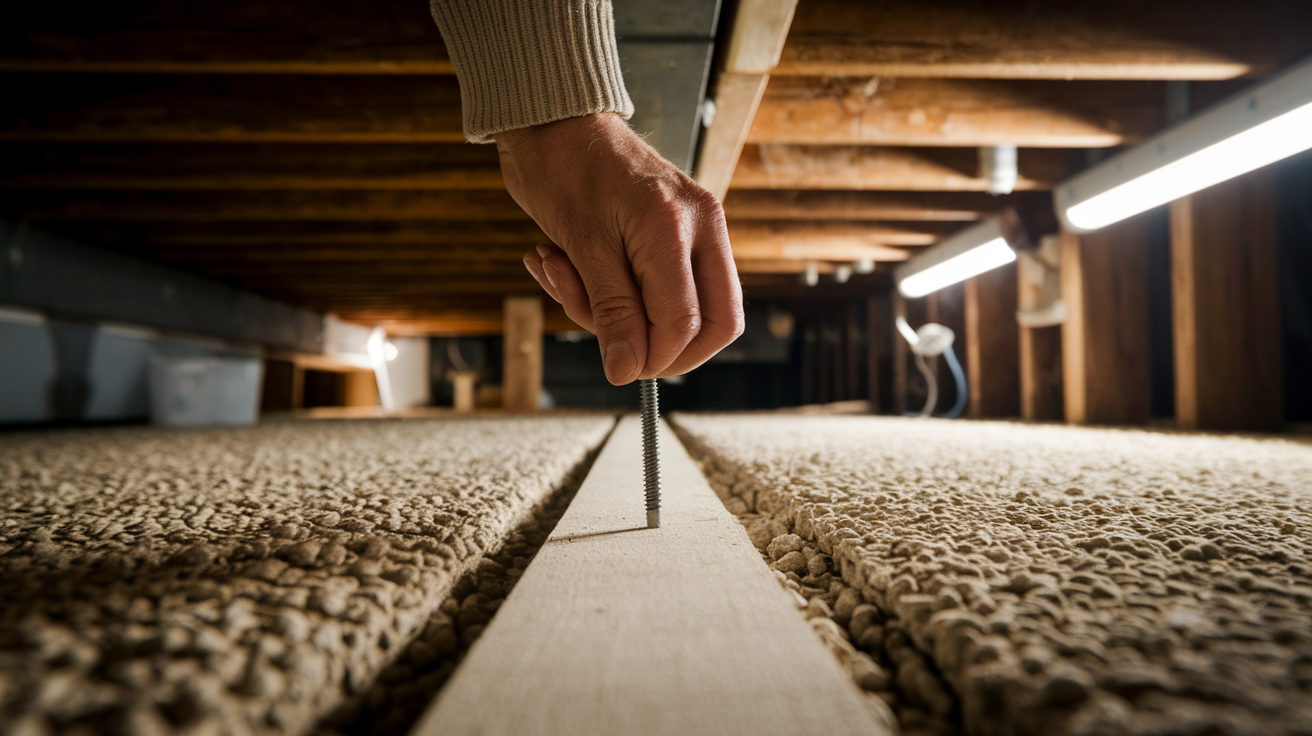
Got access to the underside of the floor through a basement or crawl space? You can fix squeaks without working through the carpet at all. Repairs from below let you see exactly where the subfloor has separated from the joist and apply targeted fixes.
Locate the squeak from above by having someone walk on the floor while you watch from below. Look for movement or gaps between the subfloor and joist. Once you’ve found the problem area, pick a repair method:
- Drive 2-inch screws upward through the joist into the subfloor, pulling the two pieces together. Space screws every 6 to 8 inches along the joist in the squeaky section.
- Apply a bead of construction adhesive along the top of the joist where it meets the subfloor, then press the subfloor tight against the joist with a board and temporary brace until the adhesive cures.
- Insert wood shims coated with adhesive into small gaps between the joist and subfloor, tapping gently until snug, then trim any protruding shim with a utility knife.
- Add blocking or sister a new joist alongside a weak or sagging joist to provide extra support and kill the flex.
From-below repairs take 1 to 4 hours depending on how many squeaks you’re fixing and how easy it is to move around underneath the floor. The advantage? Zero risk of carpet damage and the ability to inspect for other issues like rot, mold, or failing fasteners while you work.
Using Lubricants and Quick Temporary Fixes for Minor Floor Squeaks

Powdered lubricants offer a no-tools option for small squeaks caused by friction between floorboards or along seams. Sprinkle 1 to 2 teaspoons of talcum powder or powdered graphite onto the carpet directly over the squeak, then work it down into the carpet backing by stepping on the area and shifting your weight back and forth. The powder settles into the seam or gap and cuts down friction between moving wood surfaces.
This works best for minor squeaks that happen only occasionally or in low-traffic areas. It won’t fix structural problems like a subfloor that’s separated from the joist. The lubricant can wear away over time, so you might need to reapply every few months. Avoid oil-based lubricants. They stain carpet and attract dirt.
When Loose Subfloors Require Shims, Adhesive, or Reinforcement
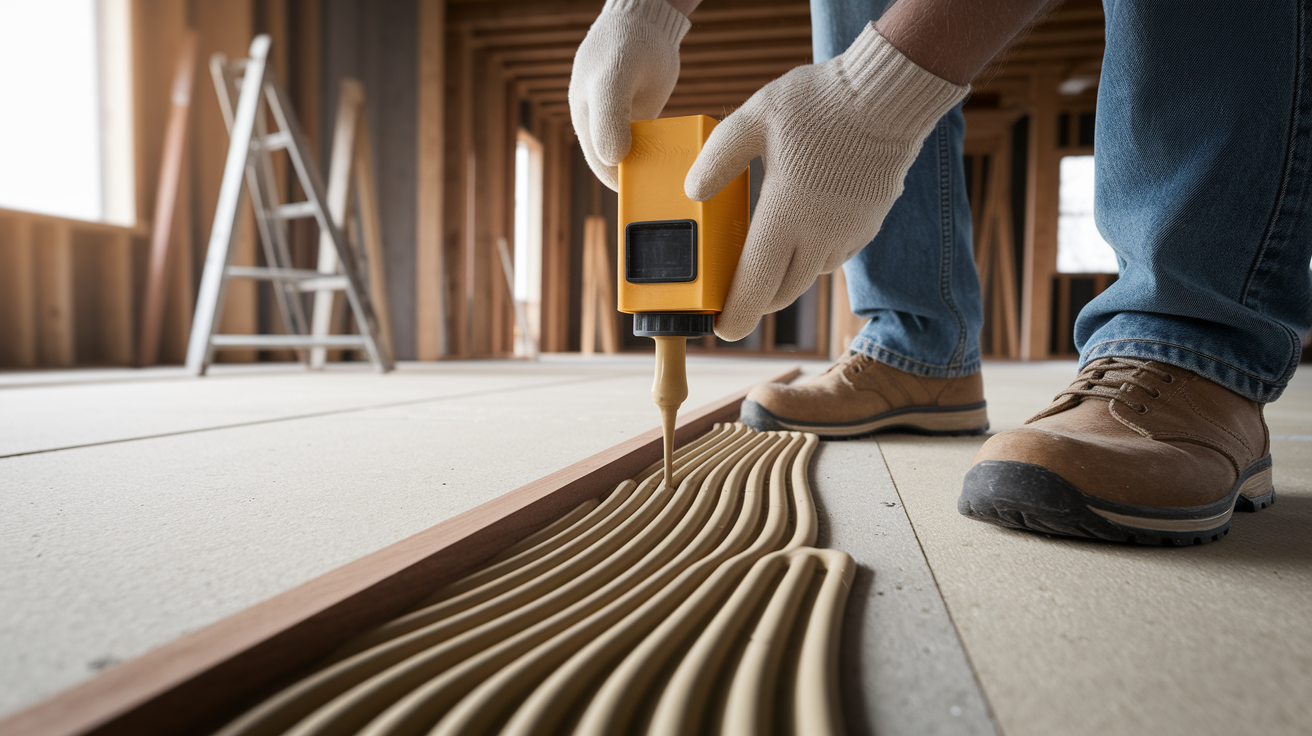
When a gap exists between subfloor and joist but you can’t access the area from below, shimming from the side or adding adhesive through a small access point can work. Insert a thin wood shim coated with a bead of construction adhesive into the gap, tapping gently with a hammer until the shim is snug. Trim the shim flush with the joist using a utility knife. Don’t force the shim too far or you’ll lift the subfloor and create a hump in the carpet.
For floors with multiple weak spots or sagging sections, reinforcement methods provide long-term stability. Consider these options:
- Sister a new joist alongside the old one by securing a matching piece of lumber with construction adhesive and 3-inch screws every 12 inches along the length.
- Add solid blocking between joists at the midpoint of the span to reduce flex and prevent the subfloor from sagging.
- Install a second layer of thin plywood over the existing subfloor (from above, after removing carpet) with adhesive and screws spaced every 6 inches to stiffen the entire floor.
Shimming takes 30 to 90 minutes for a few trouble spots and requires moderate skill to avoid over-lifting the floor. Reinforcement projects take longer and work best during a larger renovation when you’re already digging into the flooring system.
When to Call a Professional for Squeaky Carpeted Floors

Some squeak problems point to bigger structural issues needing a licensed contractor. If DIY fixes don’t solve the problem or the floor shows signs of serious damage, a professional can diagnose and repair the underlying cause. Here are situations requiring expert help:
- Squeaks occur across multiple rooms or throughout an entire floor level, suggesting widespread subfloor or joist problems.
- The floor sags visibly or feels soft and bouncy when you walk, indicating possible joist rot, inadequate support, or foundation settling.
- You see water stains, mold growth, or warped boards on the subfloor or joists when inspecting from below.
- Repeated DIY screw fixes and shimming attempts don’t stop the squeaking, meaning the movement is too severe for surface repairs.
- You don’t have safe access to the underside of the floor and the problem is too widespread to fix from above.
Professional repairs typically cost £150 to £500 or more per room, depending on damage extent and labor required. Full subfloor replacement runs £20 to £60 per square meter plus labor, but it solves chronic squeak issues and prevents future problems. A contractor can also spot code violations, outdated materials, or hidden moisture issues a homeowner might miss.
Preventing Future Squeaks in Carpeted Floors

Stopping squeaks before they start beats fixing them later. Proper installation and consistent maintenance keep floors quiet for years.
When installing or replacing subfloor, use both construction adhesive and screws rather than nails alone. Apply a continuous bead of adhesive along the top of each joist, then drive screws every 6 to 12 inches along the joist line to lock the subfloor in place. Ring-shank or self-tapping screws hold better than smooth-shank fasteners and resist backing out over time.
Control indoor humidity to minimize wood movement. Wood expands and contracts as moisture levels change, creating gaps and friction. Keep relative humidity between 40 and 60 percent year-round using a humidifier in winter and a dehumidifier or air conditioning in summer. A simple hygrometer lets you monitor levels in each room.
Follow these maintenance habits to reduce squeak risk:
- Inspect carpet edges and transitions annually for loose tack strips or gaps that let the subfloor shift.
- Address small squeaks as soon as they appear rather than waiting until the problem spreads.
- Avoid soaking carpeted floors during cleaning. Excess water can seep into the subfloor and cause swelling or rot that leads to movement and noise.
Floors installed with attention to fastener spacing, adhesive coverage, and humidity control rarely develop squeaks. When they do, early fixes prevent minor issues from turning into major repairs.
Final Words
Pinpoint the squeak, mark it, then try the fast fix: drive a few break-off screws through the carpet into the joist. That usually stops the noise in under an hour.
If that doesn’t do it, locate joists, try talc or graphite for minor friction, or fix from below with adhesive, shims, or added blocking. Know the basic tools and when to call a pro.
You now have a clear plan for how to fix squeaky carpeted floors. Go ahead. Quiet floors are within reach.
FAQ
Q: Will carpet installers fix squeaky floors?
A: Carpet installers will sometimes fix squeaky floors, but many focus only on carpet. Ask up front—some will drive break‑off screws or tighten subfloor, otherwise hire a flooring or carpentry pro.
Q: Why do my floors squeak when I walk on them? / What causes carpet to squeak?
A: Floors squeak when you walk on them because the subfloor rubs or shifts against joists or loose boards, often from loose nails, gaps, or wood shrinking and swelling with humidity.
Q: Can squeaky floors be fixed from underneath?
A: Squeaky floors can be fixed from underneath if you have basement or crawl space access. You can glue and screw the subfloor to joists, add blocking or sister joists, or tighten loose fasteners.