

Think a faucet drip is just a nuisance?
It can waste nearly 10,000 gallons a year and raise your water bill by about 10 percent.
Usually the cause is a worn washer, O-ring, or mineral build-up, not the whole faucet.
In this post you’ll get quick, tested fixes you can do in under an hour: how to pinpoint the leak, what tools and parts to buy, step-by-step repairs for common faucet types, and the one sign that means you should call a pro.
Immediate Fixes and Diagnosis for a Fet Dripping When Off
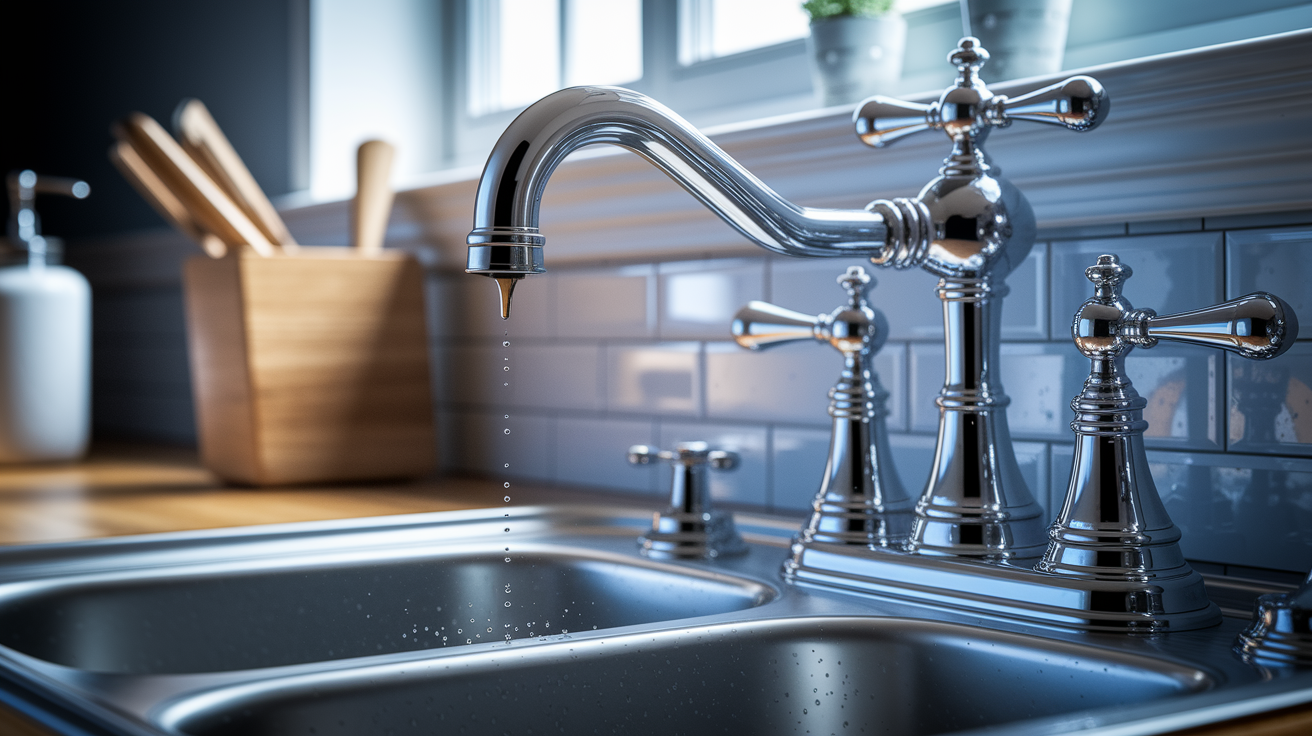
First step is figuring out exactly where the water’s coming from. A faucet dripping when off can leak from the spout, the base where it meets the sink, or around the handle. Each spot points to a different internal failure, so knowing the leak source before you take anything apart saves time and stops you from buying the wrong parts.
To identify which side of a two-handle faucet is failing, turn off the cold water shutoff valve under the sink. Turn the handle clockwise until it stops. Open the faucet handles and check if the drip continues. If the drip stops, the problem’s on the cold side. If it keeps dripping, turn the cold valve back on, shut off the hot valve, and check again. For single-handle faucets, you’ll need to remove the handle to access the cartridge and check what’s happening inside.
- Shutoff valve test – Turn off one valve at a time to isolate the failing side and confirm which cartridge or seal needs replacement.
- Inspect handle wobble – A loose handle can mean a stripped retaining nut or worn internal threads that mess with seal pressure.
- Look for mineral buildup signs – White or crusty deposits around the base or aerator mean hard water is working away inside the faucet.
- Check drip frequency – A slow, regular drip points to a worn seal. An intermittent drip may indicate high water pressure or a loose part.
- Confirm spout only vs. handle/base leak – Water pooling at the base or handle means the leak is external. A spout drip means the internal valve isn’t closing.
A slow drip wastes nearly 10,000 gallons per year and can raise your monthly water bill by about 10 percent. That’s real money for something you can often fix in under an hour. Quick action stops the waste and prevents small seal problems from turning into bigger corrosion or valve seat damage.
Common Causes Behind a Faucet Dripping When Off

A faucet dripping when off usually means a worn rubber washer or seal isn’t creating a watertight seal anymore. In compression faucets (the ones with separate hot and cold knobs), a rubber washer sits against a valve seat inside the body. Over time, the washer gets compressed, cracked, or torn, and water slips past even when the handle’s fully closed. If you turn the handle and feel grinding or extra resistance, the washer’s probably deteriorated or the valve seat is corroded.
O-rings and gaskets fail in cartridge and ball type faucets, and mineral buildup makes it worse. An O-ring is a small rubber ring that seals the cartridge or stem to the faucet body. When it wears out or shifts, water leaks around the base or handle. Mineral deposits from hard water corrode valve seats and leave crusty white or orange stains. Those deposits create uneven surfaces, so even a new washer won’t seal properly until you clean or replace the valve seat.
High water pressure and long term wear speed up seal failure. Municipal water pressure above 80 psi pushes harder on every seal and gasket, shortening their lifespan. Seals also harden over time from heat cycling and chemical exposure, especially if you have chlorinated water. A persistent drip that only happens after you use hot water often means the hot side cartridge or washer is failing faster due to thermal stress.
Tools and Materials Needed to Fix a Faucet Dripping When Off

Gather everything before you start so you don’t have to stop mid repair with the water off and the handle in pieces on the counter.
- Allen wrench – Removes the handle set screw hiding under the decorative cap.
- Flathead screwdriver – Pops off decorative caps and pries out old cartridges if they’re stubborn.
- Crescent wrench – Unscrews bonnet nuts and retaining nuts that hold the cartridge or stem in place.
- Needle nose pliers – Grips and pulls out old cartridges, O-rings, and small clips.
- Sink stopper or towel – Covers the drain so small screws and parts don’t disappear.
- Vinegar – Mix 1:1 with water to dissolve mineral deposits on valve seats and cartridges. Soak for 15 to 30 minutes.
- Replacement washers, O-rings, or cartridge – Match the exact size and type. Bring the old part to the hardware store if you’re not sure.
- Plumber’s grease – Non toxic, heat resistant grease helps new O-rings seal and makes reassembly smoother.
Keep a spare aerator and a replacement cartridge on hand if your faucet is older than five years. Parts for discontinued models can take days to arrive, so having a backup means you’re not without water while you wait.
Step-by-Step Fix for a Faucet Dripping When Off
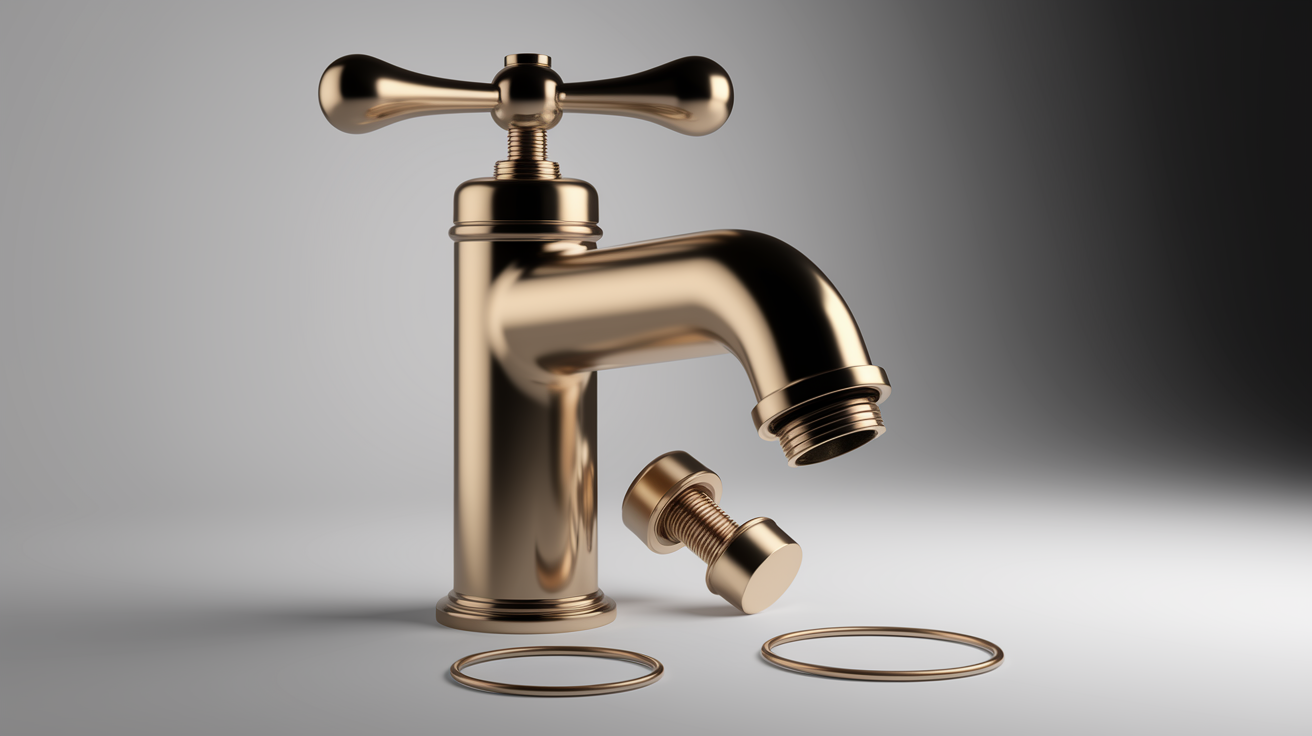
Start by shutting off the water supply to avoid flooding the bathroom. Locate the hot and cold shutoff valves under the sink and turn both handles clockwise until they stop. If the valves are stuck or you don’t have under sink shutoffs, go outside and shut off the main water at the meter. Some meters require a special key.
- Turn off water supply (1 to 5 minutes) – Close both shutoff valves under the sink, or shut off the main at the exterior meter if local valves won’t turn.
- Open handles to drain pressure (1 minute) – Turn both faucet handles to the open position to release residual water, then close the sink drain or place a towel over it.
- Remove decorative cap and set screw (5 to 10 minutes) – Pry off the decorative cap with a flathead screwdriver, then use an Allen wrench to loosen the set screw and lift the handle straight up.
- Unscrew retaining nut (5 to 15 minutes) – Use a crescent wrench to unscrew the bonnet or retaining nut that holds the cartridge or stem. Turn counterclockwise.
- Extract cartridge or stem (5 to 15 minutes) – Pull the cartridge straight up with pliers or your fingers. If it’s stuck, gently wiggle while pulling to avoid damaging the faucet body.
- Inspect and replace worn parts (15 to 45 minutes) – Check washers, O-rings, and the cartridge for cracks or wear. Soak mineral covered parts in a 1:1 vinegar water solution for 15 to 30 minutes, scrub with a soft brush, rinse, and dry completely.
- Reinstall cartridge and hardware (5 to 10 minutes) – Push the new or cleaned cartridge into the faucet body in the exact same orientation, thread the retaining nut by hand first to avoid cross threading, then snug it with the wrench but don’t overtighten.
- Open supply valves slowly and test (2 to 5 minutes) – Turn the shutoff valves counterclockwise to restore water, open the faucet handles, let water run for 1 to 2 minutes to flush debris, then close the handles and check for leaks at the spout and base.
Replace both the hot and cold washers or O-rings at the same time, even if only one side is dripping. The other side is likely close to failure, and doing both now saves you from tearing the faucet apart again in two weeks. Avoid overtightening the retaining nut or bonnet, because stripped threads are harder to fix than a slow drip.
Faucet Types and How Each Causes Dripping When Off

Compression Faucets
Compression faucets have separate hot and cold handles and rely on a rubber washer pressed against a valve seat to stop water flow. These are the oldest design and the most common reason for a faucet dripping when off. When you turn the handle clockwise, a screw compresses the washer tighter against the seat. Over time, the washer flattens, cracks, or tears, and water slips past. Pitted or corroded valve seats also prevent a tight seal, even with a new washer. If tightening the packing nut under the handle doesn’t stop a base leak, the seat usually needs grinding or replacement.
Cartridge Faucets
Cartridge faucets use a plastic or brass cartridge to control water flow and temperature. They can have one handle or two. A worn cartridge or damaged O-rings around the cartridge body cause dripping. The O-rings seal the cartridge to the faucet, so when they crack or shift, water leaks at the base or handle. Replacing the cartridge is straightforward. Pull the old one straight out with pliers, buy an exact match at a hardware store, push the new cartridge into the same orientation, and tighten the retaining nut.
Ball Faucets
Ball faucets have a single handle and a rounded metal or plastic ball inside the body. The ball rotates to align internal holes with hot and cold inlets. Springs and rubber seals sit against the ball to control flow. When the springs weaken or the seals wear out, water drips from the spout even when the handle is off. Ball faucets also leak if the cam assembly or retainer loosens. Most hardware stores sell ball faucet repair kits with all the springs, seals, and cam parts in one package.
Ceramic Disk Faucets
Ceramic disk faucets use two polished ceramic disks that slide over each other to control flow. They’re durable, but the rubber seals around the disks can crack or collect mineral deposits. A faucet dripping when off in a ceramic disk model usually means damaged inlet or outlet seals. Some designs let you replace just the seals, but others require swapping the entire ceramic cartridge. Clean mineral buildup from the disk surfaces with vinegar before installing new seals to ensure a smooth, even seal.
Cost to Fix a Faucet Dripping When Off
DIY repair costs depend on which parts fail, but most fixes run between five and sixty dollars in parts. Washers cost one to five dollars each, O-ring packs run three to ten dollars, and faucet cartridges range from fifteen to sixty dollars depending on the brand and model. Valve seat components and repair kits for ball faucets typically cost five to thirty dollars. Buying a complete cartridge and seal kit for your faucet model often costs less than piecing together individual O-rings and washers.
| Part | Typical Cost | Notes |
|---|---|---|
| Rubber washers | $1–5 each | Replace both hot and cold at the same time |
| O-ring packs | $3–10 | Match exact size; coat with plumber’s grease before installing |
| Faucet cartridge | $15–60 | Brand-specific; bring old cartridge to store for matching |
Simple washer or O-ring replacement usually takes twenty to sixty minutes. Cartridge replacement or cleaning heavy mineral buildup extends the job to thirty to ninety minutes. If you call a plumber, expect to pay one hundred to three hundred fifty dollars or more for labor and parts, depending on your region and how complicated the repair becomes. Professional service makes sense when DIY steps don’t stop the leak or when shutoff valves are corroded and won’t budge.
When to Call a Plumber for a Faucet Dripping When Off

If you’ve replaced the cartridge and seals but the faucet still drips, the valve seat is probably pitted or the faucet body is cracked. Pitted valve seats need special grinding or reaming tools to resurface, and cracks in the faucet body mean the whole unit has to be replaced. Trying to force a seal on a damaged surface just wastes parts and time.
Call a plumber when you hit one of these situations:
- Leak persists after replacing cartridge and O-rings – Hidden corrosion or a cracked faucet body is the likely cause.
- Multiple leak points appear at once – Water at the spout, base, and handle usually means extensive internal wear or a loose connection you can’t safely tighten.
- Shutoff valves won’t turn – Forcing a stuck valve can snap the stem or crack the valve body, creating a bigger leak.
- Heavy white or green corrosion around valve seats – Mineral buildup or galvanic corrosion may have damaged threads or sealing surfaces beyond simple cleaning.
- Replacement parts are discontinued or impossible to match – Older faucets or specialty brands sometimes require custom fabrication or full replacement.
Professional repairs typically cost one hundred to three hundred fifty dollars or more, which can make sense if the faucet is high end or if you don’t have access to the main shutoff. Don’t skip calling a pro just to save fifty dollars if the alternative is a flooded bathroom.
Preventing a Faucet From Dripping When Off in the Future
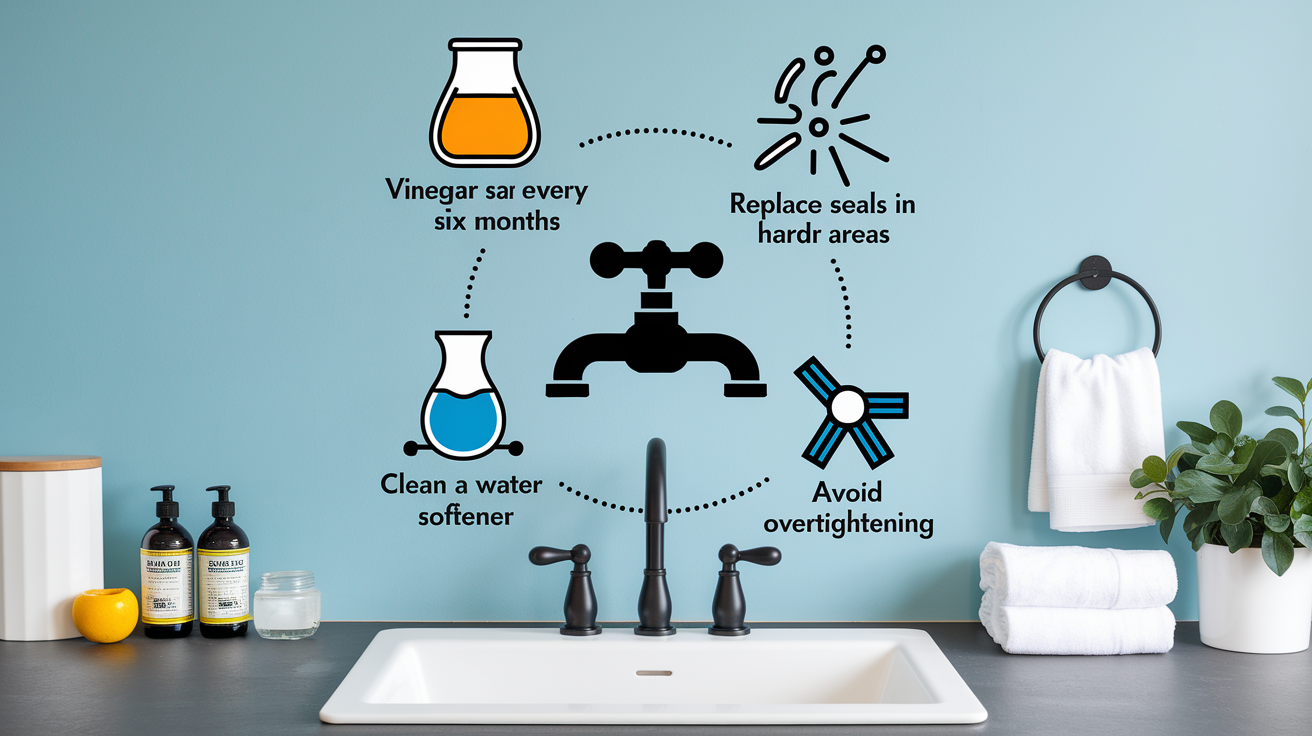
Soak the aerator and any mineral covered internal parts in a 1:1 vinegar water solution for fifteen to thirty minutes every six months. This dissolves calcium and lime deposits before they harden into crusty buildup that damages seals and valve seats. Scrub gently with a soft bristled brush, rinse thoroughly, and dry before reinstalling. Regular cleaning extends seal life and keeps water flowing smoothly.
Replace seals and washers proactively if you live in a hard water area or if your municipal pressure runs above 80 psi. High pressure and mineral rich water wear out rubber parts faster, so swapping O-rings and washers every two to three years prevents sudden leaks. When you replace one side, replace the other at the same time to avoid doing the same repair twice.
- Vinegar soak every six months – Prevents mineral buildup that corrodes valve seats and damages seals.
- Replace both hot and cold seals together – Saves time and prevents repeat repairs when the second side fails a few weeks later.
- Install a water softener if hardness is severe – Reduces mineral deposits throughout the plumbing system, not just the faucet.
- Avoid overtightening handles – Excess force compresses washers faster and can strip threads in the faucet body.
If you notice a new drip starting, fix it within a week. A slow drip turns into a steady stream as the seal degrades, and waiting just makes the internal damage worse. Quick action keeps repairs simple and cheap.
Final Words
You can spot where the water’s coming from, run the quick shutoff test, and see if it’s a worn washer, O‑ring, or cartridge. That tells you what part to grab and whether it’s a DIY fix.
With the right tools and the step-by-step repair many drips take 20–60 minutes. If the valve seat is pitted or leaks persist, call a pro.
Do the simple maintenance checks and you’ll stop a faucet dripping when off and save water and money.
FAQ
Q: Do I need a plumber to fix a leaky faucet?
A: You don’t always need a plumber to fix a leaky faucet. Simple repairs like replacing washers, O‑rings, or cartridges are DIY; call a pro if shutoff valves seize, leaks persist, or corrosion is severe.
Q: How do I stop my faucet from dripping?
A: To stop a faucet from dripping, shut off the water, open handles to drain pressure, replace worn washers/O‑rings or the cartridge, clean mineral buildup, then reassemble and test slowly.
Q: Why is my tap still dripping when I turn it off?
A: A tap still dripping after shutoff usually means worn seals, damaged washers, corroded valve seats, a bad cartridge, or debris blocking a full seal—those parts often need replacing.
Q: Why does my faucet only leak at night?
A: A faucet that only leaks at night often reflects pressure shifts, thermal contraction, or quieter hours making slow drips noticeable; check home water pressure, worn seals, and any night-run appliances.