

Think a leaky tap is harmless? Think again.
That one drip can waste hundreds of gallons and push up your water bill.
Replacing the faucet cartridge is the simple fix most homeowners skip.
It stops drips, brings back full pressure, and makes stiff handles move like new.
This post gives clear, tool-ready steps to swap the cartridge on common single- and two-handle faucets.
You’ll learn what to buy, how to pull the old part, and quick checks to confirm the leak’s gone, usually in under an hour.
Fast, DIY Steps for a Successful Faucet Cartridge Replacement
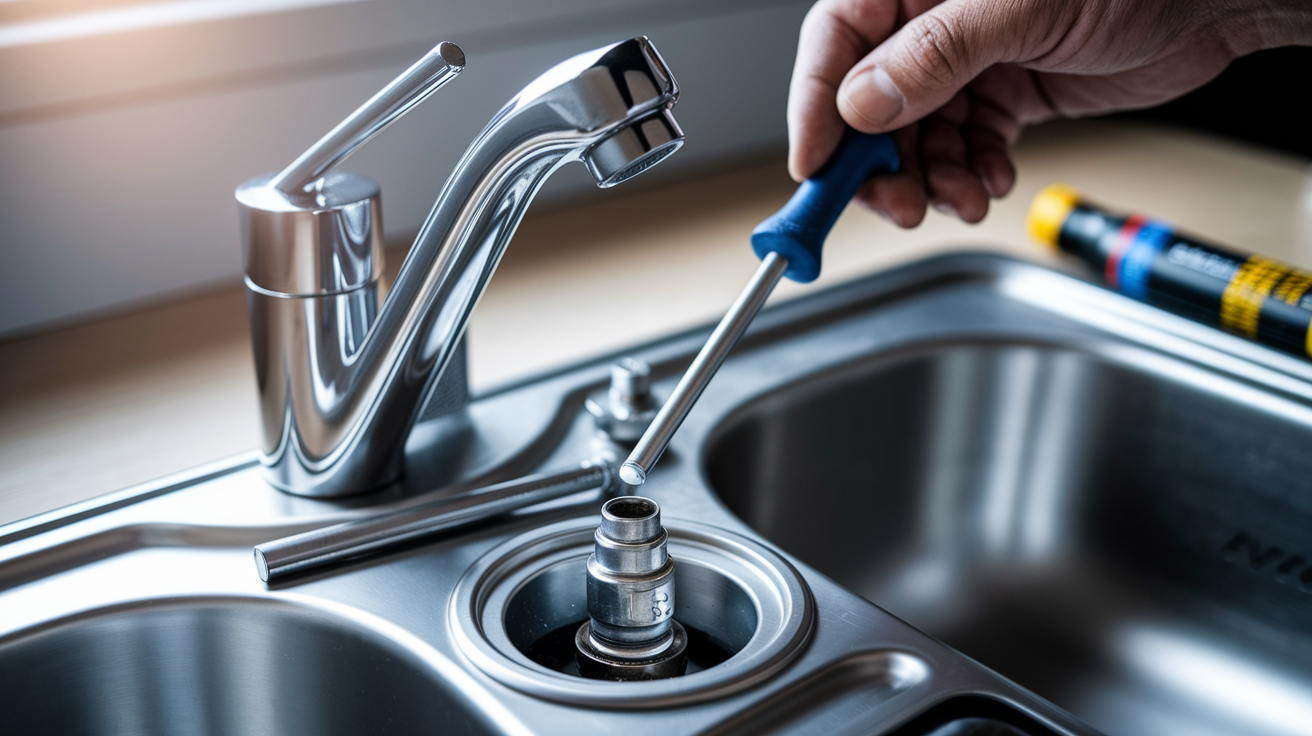
Replacing a faucet cartridge stops leaks, brings back water pressure, and fixes handles that won’t turn right. Most single-handle and two-handle faucets use a small cylindrical cartridge tucked inside the valve body. It’s the piece that controls flow and temperature mixing. When it wears out, you’ll see drips even when the handle’s fully off, weaker flow, or a handle that feels stiff or loose. Swapping it saves you a service call and gets your faucet working like new in under an hour.
Start by shutting off both hot and cold valves under the sink. Open the faucet to drain trapped water and release pressure. Plug the drain with a stopper or rag so small screws don’t disappear. Now you can disassemble.
You’ll need a screwdriver (flathead or Phillips, whatever fits your cap screw), an Allen wrench if the handle uses a hex set screw, an adjustable wrench or slip-joint pliers for the retaining nut, and a tube of silicone-based plumber’s grease. If the old cartridge won’t budge, keep penetrating fluid nearby. A towel under the faucet catches drips and protects your sink.
Follow these steps:
- Pop off the decorative cap on top of the handle and unscrew the handle screw underneath. Lift the handle off.
- Unscrew or pull off the sleeve or escutcheon covering the cartridge housing.
- Loosen the retaining nut with an adjustable wrench. Turn counter-clockwise until it lifts free.
- Pull the old cartridge straight up. If it’s stuck, wiggle it side to side or apply penetrating fluid around the base and wait five minutes.
- Clean the inside of the faucet body with a brush or cloth. Get rid of mineral deposits, old rubber seats, anything that’ll keep the new cartridge from seating evenly.
- Apply a thin layer of silicone-based plumber’s grease to the O-rings on the new cartridge. It helps it slide in and creates a better seal.
- Line up the cartridge tabs or notches with the slots in the valve body and press straight down until it’s fully seated. Hand-tighten the retaining nut snug, but don’t force it.
- Reattach the handle and cap, then slowly open the shut-off valves. Run the faucet for 30 seconds to clear air and debris, then check around the handle, the base, and under the sink for leaks. If hot and cold are backwards, shut off the water, pull the cartridge, rotate it 180 degrees, and put it back in.
Identifying the Right Cartridge for Your Faucet
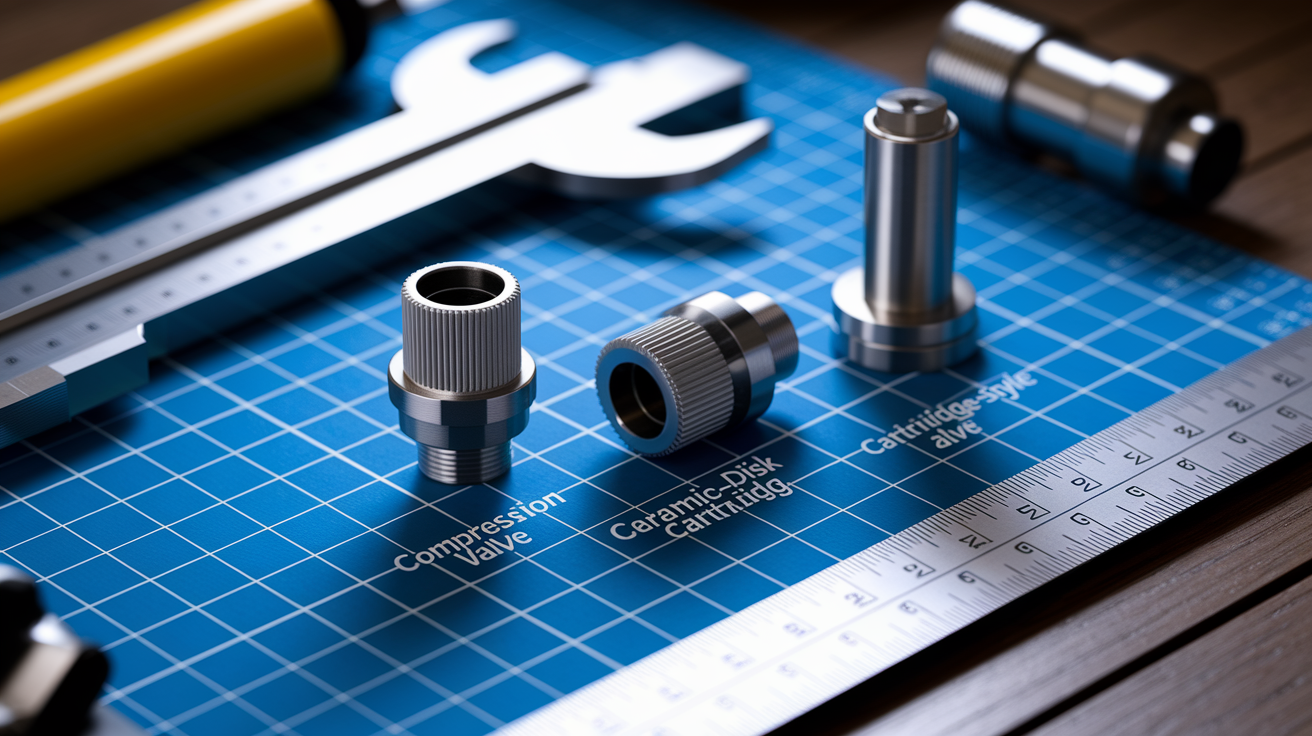
You can’t replace a cartridge if you don’t know which one you’ve got. Faucets use different internal setups, and buying the wrong part means a wasted trip and more time with a broken sink. The three most common types are compression valves (usually older two-handle faucets with separate hot and cold stems), ceramic-disk cartridges (modern single-handle faucets with a quarter-turn shutoff), and cartridge-style valves that use a plastic or brass cylinder with a stem on top. If you pull the handle and see a plastic cylinder with ridges or splines running up the stem, that’s a cartridge faucet.
Cartridge stems come in different spline counts, typically 16-point or 20-point. Count the ridges running vertically up the stem. Quick trick: count one quarter of the way around and multiply by four. Diameter also matters. Some 20-point cartridges fit 1/2-inch valves, others fit 3/4-inch. Hot and cold cartridges may look identical but operate in opposite directions. Hot cartridges open counter-clockwise, cold ones open clockwise. If your faucet has two handles, check whether each side uses the same cartridge or if hot and cold differ.
Before you head to the hardware store, snap a photo of the old cartridge from a few angles once you’ve pulled it out. Measure the length from the base to the tip of the stem and note any brand names, model numbers, or date stamps molded into the plastic. If your faucet’s more than 20 years old or from a discontinued line, finding an exact match can be tough. You may need to contact the manufacturer or hunt for a compatible universal replacement.
Key things to check:
- Spline count: 16-point versus 20-point stem ridges.
- Stem diameter: 1/2-inch or 3/4-inch housing fit.
- Overall length: measure from cartridge base to stem tip.
- Brand markings: look for logos, model codes, or part numbers stamped on the body.
- Hot versus cold rotation: note which direction opens the valve before you remove it.
Tools and Materials Needed for Faucet Cartridge Replacement

Get your tools together before you start so you’re not hunting for a wrench with wet hands halfway through. Most cartridge replacements need basic hand tools you probably already own. A screwdriver set covers the decorative cap screw and handle fastener. Some faucets use a flathead, others use Phillips, and a few have a hidden hex set screw on the side of the handle that needs an Allen wrench. An adjustable wrench or slip-joint pliers removes the retaining nut holding the cartridge in place.
If the old cartridge’s stuck, a small can of penetrating fluid loosens corrosion and mineral buildup. Silicone-based plumber’s grease is a must. It lubricates the O-rings on the new cartridge and prevents leaks when you press it into the valve body. A towel protects your sink and catches drips. A drain plug or wadded cloth keeps screws from going down the drain. And you need the replacement cartridge itself, which should match the spline count, diameter, and length of the original.
What you’ll need:
- Screwdriver set (flathead and Phillips) for caps and handle screws.
- Allen wrench set if your handle uses a hex set screw.
- Adjustable wrench to loosen and tighten the retaining nut.
- Slip-joint pliers as a backup grip tool.
- Penetrating fluid to free stuck cartridges.
- Silicone-based plumber’s grease for O-ring lubrication.
- Towel to catch water and protect the sink surface.
- Drain plug or cloth to prevent losing small parts.
Common Cartridge Problems and When Replacement Is Necessary

A faucet cartridge controls water flow and temperature by opening and closing internal passages as you turn the handle. Over time, mineral deposits from hard water build up on the ceramic disks or rubber seals inside, corrosion eats into metal parts, and constant use wears down the O-rings. When any of that happens, the cartridge can’t seal completely, so water leaks even when the handle’s fully off. You might also notice the handle feels stiff or loose, or the water pressure drops because debris is blocking the flow channels.
Temperature problems are another giveaway. If your single-handle faucet used to deliver a steady mix of hot and cold but now swings from scalding to freezing, the cartridge’s internal mixing chamber is worn out. Two-handle faucets can develop cross-flow issues where hot water seeps into the cold side or the other way around when one cartridge fails. Unusual noises (squealing, chattering, or vibration) often mean mineral buildup or a cracked cartridge body. Visible cracks, heavy corrosion, or chunks of rubber peeling off are clear signs replacement’s overdue. Most cartridges last 15 to 20 years under normal use, but hard water or heavy demand can shorten that to 10 years or less.
Common signs it’s time to replace:
- Persistent drip or leak from the spout with the handle fully closed.
- Reduced water flow or pressure even when other fixtures work fine.
- Stiff, loose, or stuck handle that won’t turn smoothly or stays loose no matter what you do.
- Temperature swings or can’t get a stable hot-cold mix.
- Squealing, chattering, or vibration when you turn the water on.
- Visible cracks, corrosion, or worn rubber on the cartridge body or O-rings.
Brand-Specific Tips for Faucet Cartridge Replacement

Different faucet manufacturers design their cartridges differently, so a Moen cartridge won’t fit a Delta valve even if the spline count looks the same. Moen single-handle faucets often use a brass cartridge with a pull-style removal. You grab the stem and pull straight up after removing the retaining clip. Delta faucets typically use a multi-seal plastic cartridge with alignment tabs. If the tabs aren’t lined up, the cartridge won’t drop in. Kohler cartridges are known for tight tolerances, so even a millimeter of size difference can stop installation. If your faucet’s older than 15 years or from a boutique brand, the exact replacement may be out of production. You’ll need to contact the manufacturer’s parts department or search online for new old stock.
When you’re not sure which cartridge you need, pull the old one and take it to a plumbing supply store or home center. Staff can often match it by sight or by checking the dimensions and spline pattern against their parts catalog. Bring your faucet’s model number if you can find it. It’s usually stamped on the underside of the spout or on the valve body under the sink. Some manufacturers offer free replacement cartridges under warranty, so check your purchase paperwork or the brand’s website before you buy.
Quick brand notes:
- Moen: brass pull-style cartridges. Check for a plastic retaining clip that must be removed before pulling.
- Delta: multi-seal plastic cartridges with alignment tabs. Hot and cold sides may be identical or directional.
- Kohler: tight-fit cartridges requiring exact dimensions. Measure carefully and verify part number.
- Pfister (formerly Price Pfister): lifetime warranty on many cartridges. Call customer service with model number for free replacement.
- Grohe: European metric sizing. May need to order direct or from specialty supplier if cartridge’s obsolete.
Cost of Faucet Cartridge Replacement and Budget Planning

Replacement cartridges range from around ten dollars for a basic compression-style valve to eighty dollars for a high-end thermostatic cartridge with ceramic disks and multiple seals. Most common single-handle cartridges fall in the twenty to forty dollar range. If you’re doing the work yourself, budget an extra twenty to fifty dollars for tools (if you don’t already own an adjustable wrench and plumber’s grease) and supplies like penetrating fluid or a drain plug. Total DIY cost typically runs forty to one hundred twenty dollars, and the job takes thirty to sixty minutes once you have the right part.
Hiring a plumber to replace a cartridge costs ninety to two hundred seventy dollars in labor, depending on your location and how complex the faucet is. Add the cartridge cost, and you’re looking at one hundred to three hundred fifty dollars total for a pro. That’s still cheaper than replacing the whole faucet, which runs one hundred seventy to three hundred sixty dollars for a bathroom sink, two hundred fifty to six hundred dollars for a kitchen faucet, and three hundred to seven hundred fifty dollars for a bathtub valve. Use the 30% rule as a decision guide: if the repair cost (parts plus labor) is more than 30% of what a brand-new faucet would cost, and your existing faucet’s over fifteen years old or showing other signs of wear, replacement may be the smarter choice.
| Task | Typical Cost | Notes |
|---|---|---|
| Cartridge (parts only) | $10–$80 | Price varies by brand, type, and availability; single-handle cartridges typically $20–$40. |
| Labor (professional installation) | $90–$270 | Depends on region, faucet complexity, and plumber rates; does not include parts. |
| DIY total (parts + supplies) | $40–$120 | Includes cartridge, grease, penetrating fluid, and basic tools if you need to buy them. |
| Full faucet replacement (average) | $170–$750 | Bathroom sink $170–$360; kitchen $250–$600; bathtub $300–$750 installed. |
Troubleshooting After Faucet Cartridge Replacement

You’ve installed the new cartridge, put the handle back on, and turned the water back on. But the faucet still drips. Before you assume the replacement cartridge’s defective, check that the retaining nut’s snug and that you didn’t leave any old rubber seats or mineral deposits inside the valve body. A persistent drip with the handle fully closed often means the valve body itself is cracked or corroded, and no amount of cartridge swapping will fix that. In that case, you’re looking at a full faucet replacement.
If hot and cold are reversed (turn the handle left and cold water comes out), the cartridge’s installed 180 degrees off. Shut off the water, remove the handle and retaining nut, pull the cartridge, rotate it half a turn, and press it back in. Check the alignment tabs or notches. They must match the slots in the valve body or the cartridge won’t seat right. Low water pressure after replacement usually means you forgot to fully open the shut-off valves under the sink, or debris from the old cartridge is stuck in the aerator at the tip of the spout. Unscrew the aerator and rinse it out.
Temperature fluctuations or a handle that feels loose even after tightening the screw can point to a mismatched cartridge. Double-check the spline count, diameter, and overall length against the old part. If you bought a universal replacement, verify it’s actually compatible with your faucet model. Sometimes a new cartridge will leak at the base because the O-rings weren’t lubricated or because you used petroleum-based grease instead of silicone-based plumber’s grease. Petroleum can swell and crack rubber seals over time.
Common post-replacement issues and fixes:
- Faucet still drips with handle closed: valve body may be cracked. Inspect for cracks or heavy corrosion and consider full faucet replacement if present.
- Hot and cold reversed: cartridge installed backwards. Rotate 180 degrees and reinstall with correct alignment.
- Low water pressure: shut-off valves not fully open, or debris in aerator. Open valves completely and clean aerator screen.
- Loose or wobbly handle: handle screw undertightened, or cartridge splines don’t match handle. Verify correct cartridge model and tighten screw firmly.
- Leak at base of cartridge: O-rings not lubricated, or wrong grease used. Remove cartridge, apply silicone-based plumber’s grease, and reinstall.
- Temperature won’t stabilize: mismatched or defective cartridge, or mixing chamber clogged with debris. Verify correct part number and clean valve body thoroughly before reinstalling.
When You Should Call a Professional Plumber Instead of DIY Cartridge Replacement
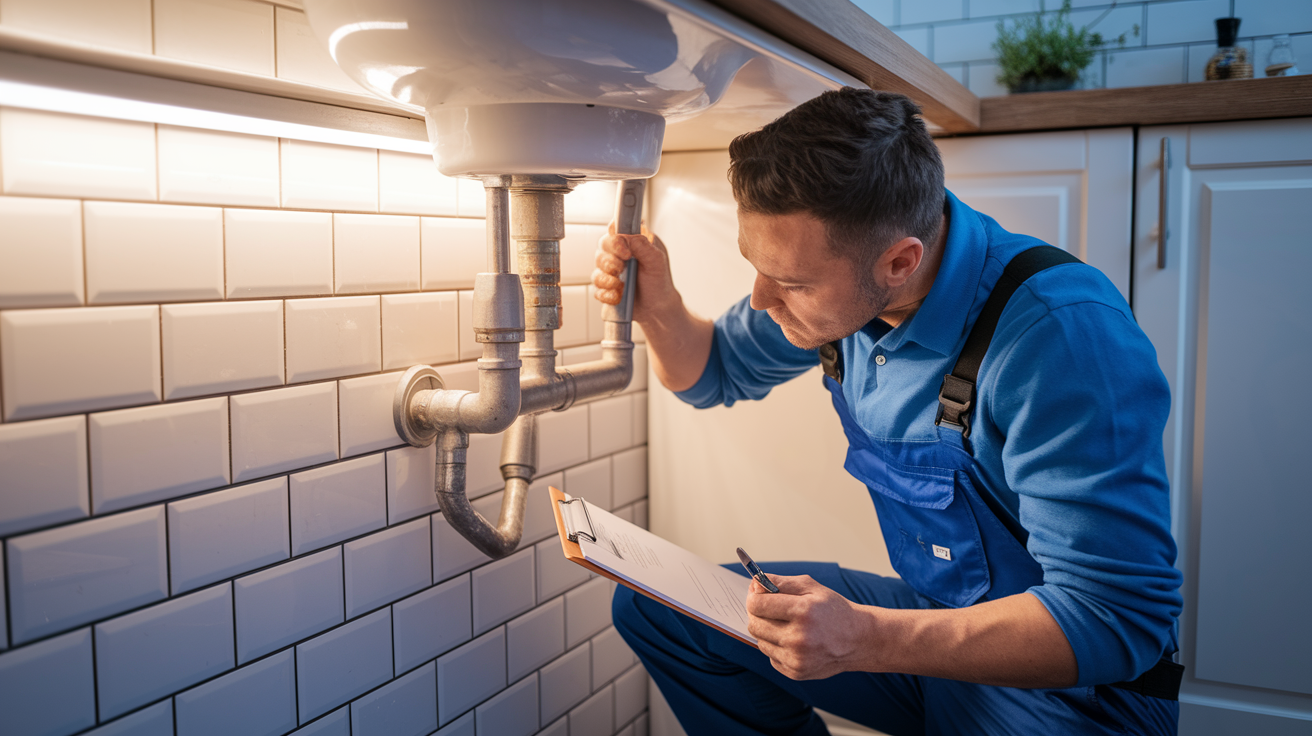
Replacing a cartridge is doable for most single-handle and two-handle faucets, but some situations need a licensed plumber. If you find large leaks inside the faucet body or pooling water under the sink after you’ve pulled the old cartridge, the valve housing may be cracked or corroded beyond a simple cartridge fix. Cracks in the brass or plastic valve body mean the entire faucet needs to come out, and that often involves cutting and soldering copper supply lines or dealing with corroded mounting nuts that won’t budge.
Multiple fixtures failing at the same time (your kitchen faucet drips and the bathroom sink has low pressure) points to a larger supply-line or pressure-regulation issue that a cartridge swap won’t solve. Obsolete or unknown cartridge models are another red flag. If you can’t identify the part and the manufacturer’s gone out of business, a plumber can often cross-reference dimensions and suggest a retrofit solution or recommend a modern replacement faucet. Concealed thermostatic valves in showers, especially multi-function systems with separate volume and temperature controls, require specialized tools and knowledge of backflow-prevention codes. If you’re not comfortable with that level of complexity, hire a pro to avoid water damage or code violations.
Call a plumber when you run into:
- Cracked or corroded valve body that leaks even after cartridge replacement.
- Stuck or stripped retaining nuts that won’t turn and risk breaking the valve if you force them.
- Multiple fixtures with simultaneous problems, suggesting a supply-line or pressure issue upstream of the faucet.
- Obsolete cartridge models that can’t be sourced, requiring faucet replacement or custom retrofit.
- Concealed thermostatic shower valves with complex multi-cartridge assemblies and anti-scald regulations.
Final Words
Shut off both shut‑off valves, open the faucet to relieve pressure, and plug the drain.
Remove the decorative cap, screw, handle, and retaining nut to expose the cartridge, then pull the old cartridge, wiggle it or use penetrating fluid if needed.
Clean the housing, apply silicone plumber’s grease to O‑rings, align tabs when inserting the new cartridge, reinstall the clip or nut without over‑tightening, and turn the water on slowly while checking for leaks.
This guide covers tools, brand tips, cost, and troubleshooting so your faucet cartridge replacement goes smoothly. You’ve got this.
FAQ
Q: How do I know what faucet cartridge I need?
A: The way to know what faucet cartridge you need is to remove and photograph the old cartridge, measure its stem and spline count, note brand/model, and compare to OEM or universal replacements at the store.
Q: How do you change a cartridge in a faucet?
A: To change a cartridge in a faucet, shut off both shut‑offs, open the faucet to relieve pressure, remove handle and retaining parts, pull the old cartridge, clean the housing, grease O‑rings, insert the new cartridge aligned, then reassemble and test.
Q: Can a faucet cartridge affect water pressure?
A: A faucet cartridge can affect water pressure when mineral buildup, debris, or a damaged seat restricts flow; cleaning or replacing the cartridge often restores normal flow, though piping or aerator problems can also be the cause.
Q: How much does a plumber charge to replace a faucet cartridge?
A: A plumber typically charges $90–$270 for labor to replace a faucet cartridge; with parts and service call expect about $100–$350 total, depending on brand, access, and local rates.