

Think a pry bar is only for wrecking stuff? Think again.
It’s a simple hardened-steel lever that makes tough jobs feel easier.
You’ll use it to pull nails, separate glued or nailed boards, lift and align heavy pieces, and free stuck or rusted parts.
Short bars work for delicate trim.
Long bars handle demolition and heavy lifting.
This post shows the right pry bar for common tasks so you can work faster, protect materials, and finish with confidence.
Core Functions and Practical Uses of a Pry Bar

A pry bar is basically a hardened steel lever that concentrates force between two objects so you can pry, lift, separate, or pull materials apart. You’ll use it most often for removing nails and fasteners, separating joined materials like wood panels or flooring, demolition work on framing or drywall, lifting heavy objects into position, and freeing stuck or rusted parts. They come in lengths from 6 to 36 inches. Shorter bars work better for delicate finish work, longer models handle heavy demo and structural tasks.
The tool works on the lever and fulcrum principle to multiply whatever force you apply. When you place the beveled or chisel tip under a material and position the bar against something solid (a block of wood or the edge of a nail), your hand pressure converts into much greater lifting or prying force at the tip. The longer the bar, the more mechanical advantage you get. That’s why a 36 inch crowbar can break apart framing lumber that a 10 inch flat bar can’t touch.
Most pry bars combine several design elements that make them versatile on site. One end is usually beveled or wedge shaped for inserting into tight gaps, while the opposite end often includes a curved claw or nail slot for extracting fasteners. Some models have a gooseneck curve that increases leverage and lets you rock the bar for controlled prying. The hardened steel construction prevents bending under load and resists wear from repeated use on rough surfaces like concrete, metal studs, or hardwood framing.
Core functions a pry bar performs:
- Extracting nails, staples, brads, and other fasteners from wood, drywall, and flooring
- Separating glued, nailed, or friction fitted materials like trim, panels, and sheathing
- Applying controlled leverage to lift floorboards, tiles, or heavy sheets into alignment
- Breaking seals on paint stuck windows, doors, or access panels
- Prying apart demolition debris such as framing lumber, lath, or old cabinetry
- Levering rusted or frozen mechanical parts in automotive and maintenance tasks
- Lifting and positioning heavy objects like beams, appliances, or stone slabs
- Scraping adhesive, caulk, or old finish materials from substrates
- Aligning drilled holes or bolt patterns during assembly or repair
- Creating controlled gaps for inserting shims, wedges, or additional tooling
Types of Pry Bars and When Each Is Used
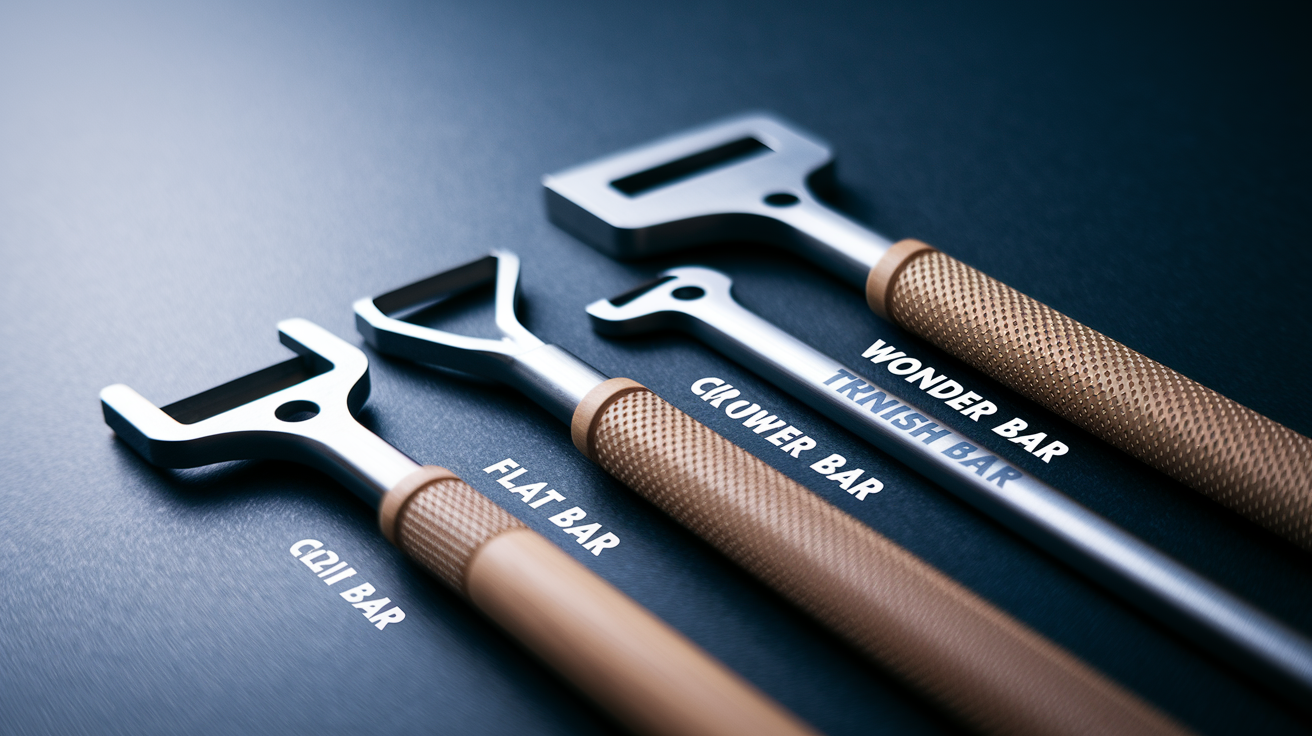
Choosing the right pry bar matters because each type is optimized for specific tasks based on its length, tip geometry, and shaft thickness. Using a heavy crowbar on delicate trim will crack the wood. A thin finish bar won’t generate enough force to separate structural framing. Matching the tool to the job protects your materials, speeds up the work, and reduces the risk of tool failure or injury.
Flat Bars
Flat bars have thin, beveled edges and a slightly curved rocker head that concentrates prying force along a narrow line. They typically measure 10 to 24 inches long and weigh between 1 and 2 pounds. The slim profile slips behind baseboards, molding, and flooring without gouging walls or subflooring, making them the top choice for trim removal and finish carpentry. The beveled tip also works well for scraping old caulk, adhesive, or paint from flat surfaces. Many flat bars include a small nail slot near one end for pulling finish nails or brads with minimal surface damage.
Crowbars / Wrecking Bars
Crowbars and wrecking bars are heavy duty tools that range from 24 to 36 inches in length and weigh between 2 and 5 pounds. They feature thicker steel stock (often 3/16 to 1/4 inch) and a more pronounced curve or gooseneck for maximum leverage. Use these bars for demolition tasks like separating wall sheathing, breaking apart old framing, prying up glued subfloors, or pulling large nails from joists and studs. The extra weight and length let you apply controlled force to stubborn materials without bending the tool. Stop prying when the panel or board shifts, not when it breaks. You can reposition and pry again from a different angle.
Wonder Bars
Wonder Bars, sometimes called cat’s paw pry bars, measure 7 to 18 inches and combine a flat prying end with a curved claw and nail extraction slot. The claw end is designed to dig under nail heads and rock them out with a rolling motion, making nail removal faster and cleaner than hammering a flat bar under each head. These bars fit into tight spaces like the gap between a stair tread and riser, or behind cabinet face frames. Use a Wonder Bar when you need to pull dozens of nails quickly during flooring removal, deck board replacement, or pallet disassembly. The compact size also makes it easy to carry in a tool belt or apron pocket.
Trim and Finish Pry Bars
Trim and finish pry bars are the smallest and lightest category, usually 6 to 12 inches long and weighing less than half a pound. They have extremely thin, polished tips that slide behind delicate molding, chair rail, or picture frame stock without leaving marks. When paired with a wood shim or plastic protective block, a finish bar lets you remove painted trim in one piece for reuse or careful disposal. These bars are also useful for separating veneered panels, lifting inlaid pieces in furniture repair, or adjusting small joinery during assembly. If your first attempt to slip the bar behind the trim feels tight, tap the tip gently with your palm instead of forcing it.
| Type | Typical Length | Best Use |
|---|---|---|
| Flat Bar | 10–24 inches | Trim removal, flooring demo, scraping adhesive |
| Crowbar / Wrecking Bar | 24–36 inches | Heavy demolition, panel separation, structural framing |
| Wonder Bar | 7–18 inches | Nail pulling, tight spaces, pallet disassembly |
| Trim / Finish Bar | 6–12 inches | Delicate molding removal, furniture repair, veneer work |
| Rolling Head Bar | 10–30 inches | Alignment tasks, levering drilled holes, mechanical assembly |
How Pry Bars Work: Leverage, Fulcrum, and Tip Design
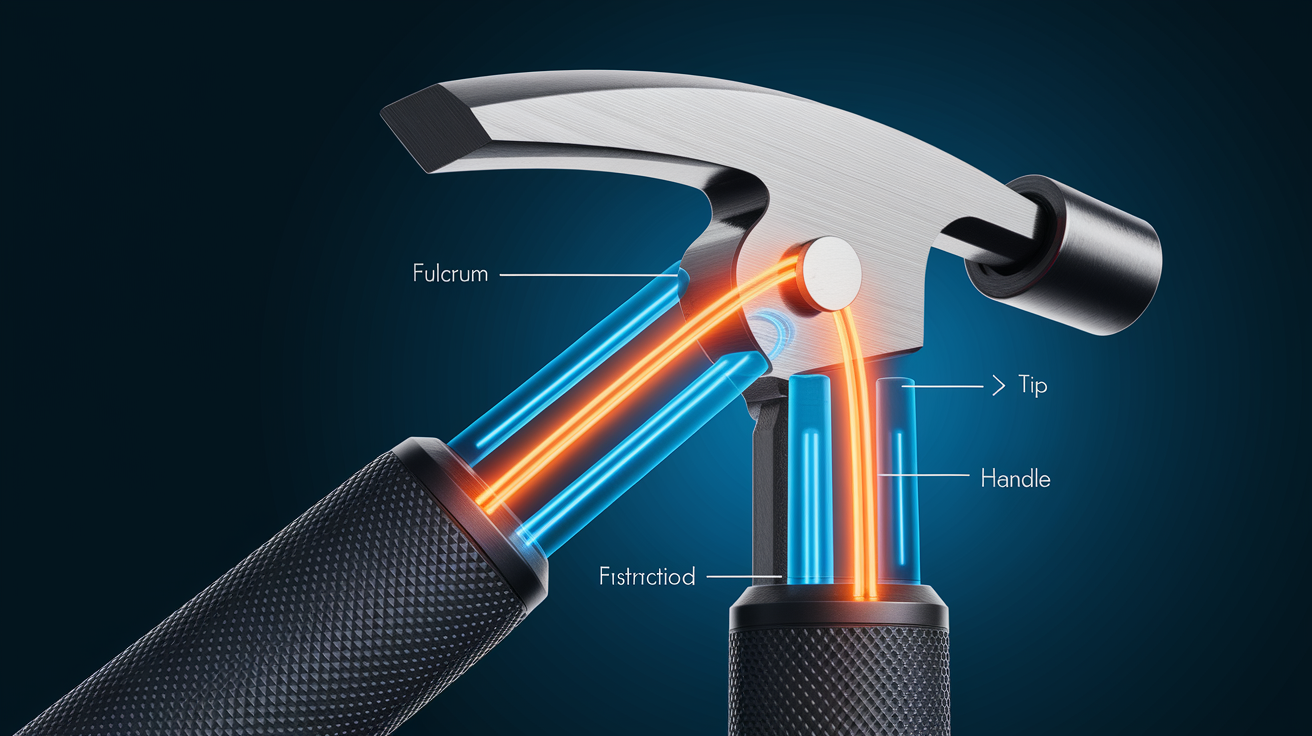
Pry bars multiply your hand force through the lever and fulcrum principle. When you push down on the handle, the bar pivots against a fulcrum point (like a block of wood or the edge of a stud) and the tip applies much greater upward or outward force to the material. The farther your hand is from the fulcrum, the more mechanical advantage you gain. A 24 inch bar positioned with the fulcrum 2 inches from the tip can generate ten times the force you apply at the handle. Moving the fulcrum closer to the load increases control and reduces the risk of sudden breakage or slipping.
Design features like beveled tips, nail slots, and shaft curves directly affect how the tool performs. A thin beveled edge concentrates force along a narrow line, letting the tip slide into gaps as small as 1/16 inch without widening them. Curved or gooseneck shafts increase lift height with each stroke and allow you to rock the bar for progressive prying instead of applying constant pressure. The nail slot or V notch grips fastener heads so you can pull nails straight out with a rolling motion instead of hammering them sideways, which tears surrounding material. Think of the beveled tip like the grip layer that helps the bar bite into tight spots without slipping.
Six common leverage techniques that improve prying efficiency:
- Progressive prying: Lift the material a small amount, reposition the fulcrum closer to the gap, then pry again to gain more lift without sudden force spikes.
- Fulcrum repositioning: Move the fulcrum block along the bar’s length to change the leverage ratio. Closer to the tip for delicate control, farther away for maximum lifting power.
- Rocking for nail removal: Insert the nail slot under a fastener head, press down on the handle, then rock the bar sideways to lift the nail out in one smooth motion.
- Two step prying: Pry until resistance builds, stop, check alignment, then pry again from a different angle to avoid snapping brittle materials like old molding or tile.
- Surface protection with blocks: Place a thin wood shim or plastic block under the fulcrum point to spread force and prevent dents or crush marks on finished surfaces.
- Angle adjustment: Change the angle of the bar relative to the material. Lower angles provide more control, higher angles deliver greater lifting force once the gap is started.
Practical DIY and Construction Tasks That Use a Pry Bar
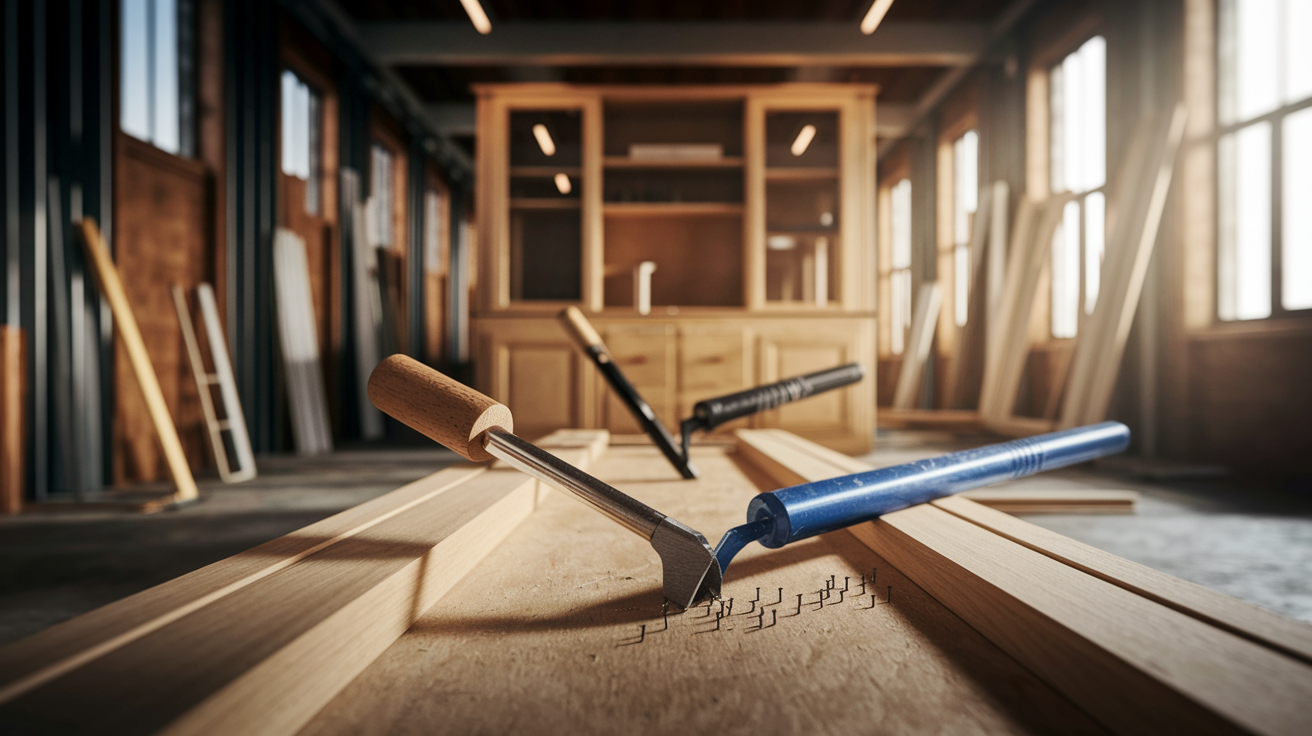
Pry bars improve speed and precision on remodeling jobs by letting you separate materials without destroying them or damaging surrounding surfaces. A flat bar paired with a wood shim can remove painted baseboards in full length pieces for reuse, saving material cost and reducing waste. The same bar slips under laminate flooring planks to pop the tongue and groove joints apart cleanly, so you can pull up an entire room of flooring in an afternoon instead of cutting and breaking each board. For flooring removal, start at a corner or edge where you can lift the first piece, then work progressively across the room. Each piece you remove makes the next one easier.
Structural demolition tasks rely on the leverage a pry bar provides. A 24 to 36 inch crowbar separates wall sheathing from studs by driving the beveled tip between the plywood and framing, then levering the panel away in sections. The same bar pulls framing nails that a hammer can’t reach and breaks apart old drywall or plaster lath when you need to open a wall cavity for electrical or plumbing work. When prying drywall, insert the bar at seams or near fasteners where the material is already weak. Forcing the bar through the middle of a solid sheet just tears ragged holes and creates more cleanup.
Cabinet removal and trim work use smaller pry bars for precision. A 10 to 12 inch flat bar fits behind cabinet face frames to separate them from wall studs without gouging the drywall, and a thin finish bar lifts door casing or chair rail by working the tip behind one end and prying in small increments along the length. For carpet tack strips nailed to hardwood, a Wonder Bar’s claw end digs under the strip and levers it up in one motion, pulling the nails with it. Always protect finished walls or floors by placing a shim under the fulcrum. Dents in drywall or hardwood take longer to repair than the original prying job.
Specific project examples where pry bars are essential:
- Flooring demolition: Lifting tongue and groove hardwood, laminate, or engineered planks by inserting a flat bar at seams and levering up progressively.
- Panel separation: Prying plywood or OSB sheathing from wall or roof framing using a crowbar’s leverage to overcome adhesive and nails.
- Baseboard and trim removal: Sliding a thin finish bar behind painted molding and working along the length with a wood shim to prevent wall damage.
- Cabinet dismantling: Separating face frames, countertops, or cabinet boxes from wall studs and each other without breaking reusable components.
- Drywall and lath prying: Breaking apart old wall surfaces at seams, studs, or fasteners to expose framing for renovation work.
- Tile removal: Using a flat bar’s beveled edge to chip under ceramic or stone tiles and lift them from thinset or mastic adhesive.
- Carpet tack strip extraction: Levering up nailed tack strips along room perimeters by hooking the claw end under the wood and pulling.
Automotive, Mechanical, and Specialty Pry Bar Uses

Mechanics rely on pry bars for alignment, separation, and controlled leverage tasks where hammers or impact tools would cause damage. Rolling head pry bars with hooked ends are designed to align drilled holes in sheet metal panels, suspension brackets, or frame components so bolts slide through cleanly during assembly or repair. The rolling head lets you apply steady pressure without the bar slipping off the edge of the part. Longer bars (18 to 30 inches) provide the leverage needed to shift heavy components like engine mounts, transmission cases, or axle housings into position while a second person secures fasteners.
Separating rust frozen parts is another common automotive use. A flat pry bar inserted between a pulley and its mounting hub applies controlled outward force to break corrosion bonds without damaging threads or bearing surfaces. The same technique works for popping hubcaps, extracting seals from bores, loosening radiator hoses stuck to fittings, and prying apart ball joints or tie rod ends during suspension work. When prying frozen parts, apply force gradually and watch for sudden movement. Rust bonds can release all at once, and the bar or part can snap back toward you. Light rescue and forcible entry scenarios also use long pry bars to force doors, lift debris, or create access gaps quickly when speed matters more than preserving the materials.
Eight automotive and mechanical tasks where pry bars provide essential leverage:
- Aligning sheet metal body panels or fender edges so bolt holes line up for fastener installation
- Removing engine pulleys, bearing races, or press fit components by levering them off shafts or hubs
- Popping off hubcaps, wheel covers, or trim rings without bending the metal or breaking clips
- Extracting seals, gaskets, or O rings from housings and bores without gouging the sealing surface
- Loosening stuck radiator hoses, fuel lines, or vacuum lines from fittings by inserting a thin bar under the clamp area
- Tightening or adjusting fan belts, alternator belts, and accessory drive belts by levering components into tension
- Separating rusted or corroded bolts, brackets, and fasteners by applying steady outward pressure to break bonds
- Splitting ball joints, tie rod ends, or other pressed connections during suspension and steering repairs
Safe and Effective Use of Pry Bars

Wear eye protection and work gloves every time you use a pry bar. Flying debris, splintered wood, broken fasteners, and sharp metal edges are common during prying and demolition tasks. Gloves protect your hands from cuts, splinters, and pinch points when materials suddenly release. Safety glasses or a face shield guard against particles that can ricochet unpredictably, especially when prying brittle materials like tile, old plaster, or rusted metal. If the pry bar slips or the material breaks, your hands and face are the first things in the path of sharp edges and heavy debris.
Proper hand positioning keeps you in control and reduces strain. Place one hand near the fulcrum for stability and the other hand at the end of the handle for maximum leverage. Keep your body to the side of the bar, not directly behind it, so if the bar slips you won’t fall forward into the work. Apply force in smooth, steady motions instead of jerking or bouncing the bar. Sudden movements increase the chance of breakage and make it harder to control where the tip goes. When you feel resistance building, stop and reposition the fulcrum or adjust the angle instead of forcing the bar past the point of safe leverage. If the bar starts bending or the tip slips, back off and try a different angle or a heavier tool.
Protecting surfaces and preventing tool damage both depend on using the bar correctly. Always place a wood block, plastic shim, or scrap plywood under the fulcrum when prying against finished drywall, painted trim, or hardwood floors. The concentrated pressure from a steel bar will dent or crush these surfaces in seconds. Inspect the bar before each use for cracks near the tip, bent shafts, or mushroomed ends caused by striking the bar with a hammer. Damaged bars can snap under load, sending sharp metal fragments toward your hands and face. Never use a pry bar as a hammer, chisel, or striking tool unless it’s specifically designed for impact. Most pry bars are hardened for bending resistance, not shock absorption, and will crack or shatter if struck repeatedly.
Six common safety mistakes to avoid when using pry bars:
- Skipping eye protection: Even small prying tasks can send splinters, nail fragments, or paint chips into your eyes.
- Using the wrong bar length: A bar that’s too long creates uncontrolled force and can break materials or bend the tool. Too short and you’ll strain yourself trying to generate enough leverage.
- Prying without a fulcrum block: Direct contact between the bar and finished surfaces leaves dents, scratches, and crush marks that take time to repair.
- Applying sudden jerking motions: Quick, forceful pulls cause materials to snap unpredictably and increase the chance of the bar slipping and striking you.
- Ignoring tool damage: Bent bars, cracked tips, and mushroomed ends compromise the tool’s strength and can fail suddenly under load.
- Using a pry bar as a hammer or chisel: Striking a hardened pry bar with another tool or using it to chip concrete can shatter the steel and send sharp fragments flying.
Selecting the Right Pry Bar for Your Project

Pry bar selection starts with understanding how leverage changes with length and weight. A 6 inch finish bar generates minimal force but offers maximum control for delicate trim work, while a 36 inch crowbar multiplies your hand pressure by fifteen times or more for heavy demolition. Longer bars give you more mechanical advantage but also require more clearance to operate and can overpower brittle materials, causing them to snap instead of separating cleanly. Shorter bars fit into tight spaces like under cabinet toe kicks or behind door casings, but you’ll need to apply more hand pressure to achieve the same lifting force. Weight also matters. A 5 pound crowbar feels manageable for ten minutes of framing demo but becomes exhausting during an hour of trim removal. For most DIY work, keep a 10 to 12 inch flat bar for trim and a 24 inch crowbar for structural tasks, then add specialty bars as specific projects require them.
Length, Weight, and Leverage
Choose bar length based on the intensity of the task and the space available. Trim removal, flooring work, and finish carpentry typically use 10 to 18 inch bars that balance leverage with precision. Demolition tasks like removing sheathing, breaking apart framing, or prying up glued subfloors demand 24 to 36 inch bars that generate enough force to overcome structural fasteners and adhesives. Weight follows length. Most 12 inch flat bars weigh around 1 pound, while a 30 inch crowbar can weigh 4 to 5 pounds. Heavier bars reduce the hand pressure you need to apply but increase fatigue over long sessions. When working in confined areas like crawl spaces, attics, or between wall studs, a shorter bar is easier to maneuver even if it means making more prying strokes to achieve the same result.
Materials and Construction Quality
Heat treated carbon steel and chrome vanadium alloy are the two most common pry bar materials. Heat treatment increases hardness and tensile strength, allowing the bar to resist bending under high loads without becoming brittle. Chrome vanadium adds corrosion resistance and toughness, making it a good choice for outdoor use or marine environments where rust is a concern. Look for bars with black oxide, powder coat, or chrome finishes that protect the steel from moisture and extend tool life. Avoid bars with visible welds near the tip or handle. Quality pry bars are forged or drop forged from a single piece of steel, which eliminates weak points that can crack under stress. Grip options range from bare steel to rubberized or textured handles that reduce hand fatigue and improve control when your hands are sweaty or covered in dust.
Cost, Purpose, and DIY vs Pro Selection
Small pry bars for light duty tasks cost between five and fifteen dollars, mid size flat bars and Wonder Bars run ten to thirty dollars, and heavy crowbars range from twenty to sixty dollars depending on length and brand. For occasional DIY use, budget friendly models from major hardware retailers perform well on typical projects like baseboard removal or flooring demo. Professional contractors and mechanics often invest in premium brands that offer better steel quality, more ergonomic handles, and longer warranties, especially for bars that will see daily use on rough job sites. Rental is rarely worth it for pry bars since even quality models are inexpensive compared to other tools, but some rental centers include specialty bars like 48 inch wrecking bars or alignment bars with rolling heads as part of demolition or automotive tool kits. If you’re tackling a single large project like a whole house gut renovation, buying two or three bars in different sizes makes more sense than renting.
| Project Type | Ideal Bar |
|---|---|
| Trim and molding removal | 6–12″ finish bar with thin beveled tip |
| Flooring or cabinet demo | 10–18″ flat bar or Wonder Bar |
| Framing or structural demolition | 24–36″ crowbar or wrecking bar |
| Automotive alignment and prying | 12–24″ rolling head or flat bar |
Proper Maintenance and Storage of Pry Bars
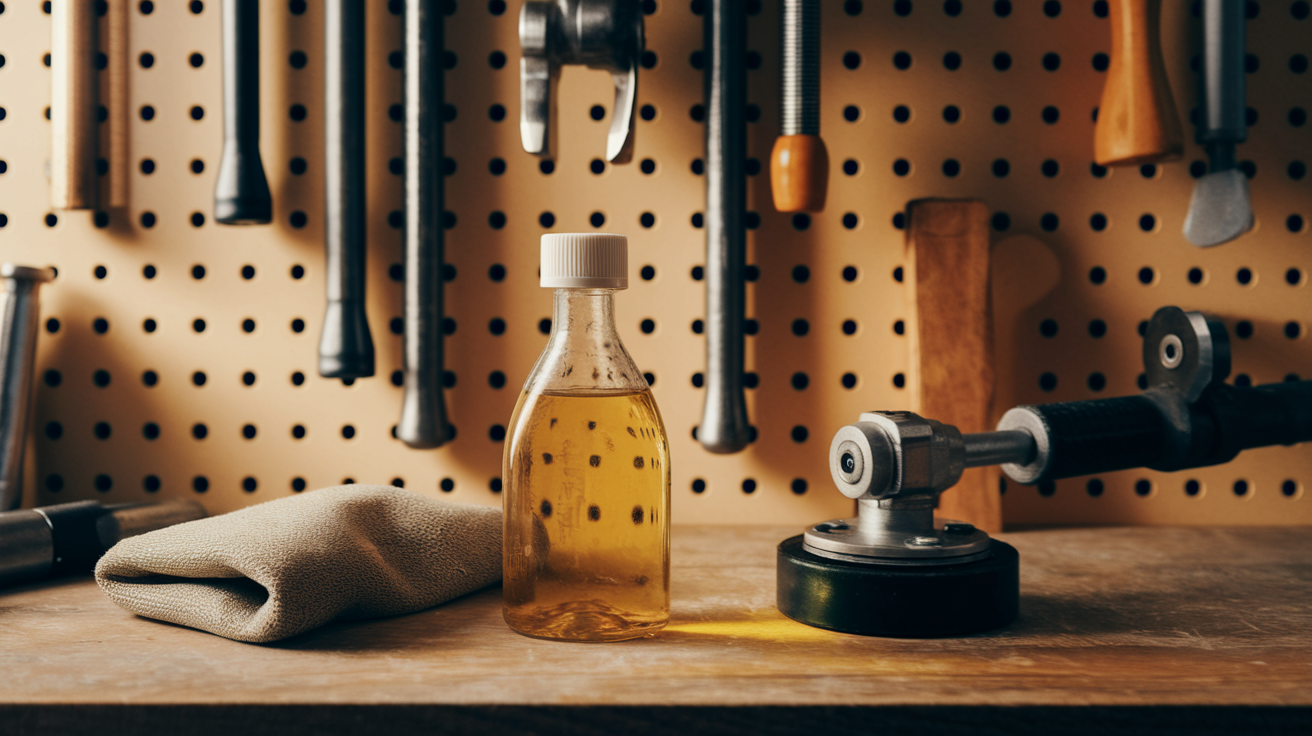
Wipe pry bars clean after each use to remove dust, debris, and moisture that can cause rust or corrosion. A dry rag or shop towel is enough for light cleanup, but if the bar has been exposed to wet conditions, mud, or corrosive materials like concrete or drywall compound, rinse it with water and dry it immediately. Apply a light coat of machine oil, silicone spray, or rust preventive compound to the steel surfaces once the bar is dry. This is especially important for bars stored in damp garages, unheated sheds, or truck beds where condensation builds up overnight. Bars with rubberized or textured handles should be checked for cracking or peeling, and damaged grips can be replaced or wrapped with heat shrink tubing or grip tape.
Store pry bars flat on a shelf, hung on pegboard hooks, or in a tool chest drawer to prevent bending and keep the tips sharp and clean. Leaning long crowbars against walls or stacking heavy items on top of them can cause permanent bends that reduce leverage and make the bar harder to use. Inspect the tip and claw areas before each project for mushrooming, chips, or cracks. These signs indicate the bar has been struck repeatedly or overloaded. Minor tip damage can be reshaped with a bench grinder or file, but cracks or deep gouges mean the bar should be replaced. Seasonal maintenance for bars stored outdoors or in humid climates includes checking for rust spots, reapplying protective oil, and verifying that any moving parts like rolling heads still pivot smoothly.
Quick maintenance checklist for long lasting pry bars:
- Wipe the bar clean and dry after every use to prevent rust and corrosion buildup.
- Apply a thin coat of machine oil or rust inhibitor to bare steel surfaces, especially before long term storage.
- Store bars flat or hung to avoid bending. Never lean heavy crowbars at sharp angles for extended periods.
- Inspect tips and claws for mushrooming, cracks, or chips before starting each project. Replace damaged bars immediately.
- Reshape minor tip wear with a grinder or file to maintain sharp, effective prying edges.
Final Words
Pulling a nail, prying a gap, or lifting a stuck board. This post covered the pry bar’s main functions, how leverage works, and the types to pick for each job.
We also ran through safe use, buying tips, and basic care so your bar lasts and won’t damage surfaces.
If you still wonder what is a pry bar used for, it’s the go-to tool for controlled leverage, nail removal, separating materials, and quick demo work. You’ve got the basics, so go tackle the job with confidence.
FAQ
Q: What do people use pry bars for?
A: Pry bars are used for applying leverage to lift materials, separate joined parts, extract nails and fasteners, break seals, and apply controlled force during demolition or disassembly tasks.
Q: How do you use a pry bar?
A: You use a pry bar by placing its tip into a gap, setting a block as a fulcrum, then levering the handle smoothly while repositioning the fulcrum as needed for controlled lifting or nail removal.
Q: What is a pinch bar vs pry bar? What is the difference between a prybar and a crowbar?
A: A pinch bar is a slim, short pry tool for tight spots; a pry bar is a general lever tool. A crowbar (wrecking bar) is heavier, longer, and made for high-leverage demolition.