

What if a skinny gap around your door is the same as punching a 5.5-inch hole in your wall?
If your place feels drafty or the bill keeps climbing, sealing door-frame gaps is one of the fastest wins.
In this guide I’ll show quick ways to find leaks, how to pick the right seal for every gap size, the few tools you actually need, and step-by-step fixes you can do in an afternoon.
You’ll stop the draft, cut noise, and feel the difference fast.
Identifying Door Frame Gaps That Need Sealing

Close your door and run your hand slowly along the jamb. Both sides, top, and bottom threshold. You feel air moving? That’s your leak. Most common spots are the top jamb (the head), hinge side, latch side, the gap hiding behind the casing where frame meets wall, and down at the threshold.
A standard 36 by 80 inch door has roughly 19 feet of perimeter. Even a thin gap adds up. An eighth inch gap running around that whole perimeter equals a hole about 5½ inches across punched straight through your wall.
Light a candle or stick of incense and hold it near the closed door edges. Watch the smoke. If it blows sideways or flickers, air’s moving through. Another quick test: close the door over a dollar bill so half sticks out, then pull. The bill should drag and resist. Slides out easy? Your seal’s weak or gone.
For precise measurements, slide a ruler or feeler gauge into the space between door and stop molding. Write down the widest spot at each location because you’ll size your fix to the largest gap.
Gap size tells you which method to use. Under 1/16 inch usually means loose hinge screws or minor frame movement, so tighten hardware and add a thin bead of caulk. From 1/16 to 1/4 inch, you need compression weatherstripping or adhesive foam tape. A quarter to half inch calls for backer rod plus caulk or thicker tubular weatherstripping. Anything over half an inch may need low expansion spray foam or structural shimming to pull the frame back.
Common gap locations to inspect:
- Top jamb (head) where door closes against the horizontal frame piece
- Hinge side where repeated opening and closing loosens the seal
- Latch side near strike plate and lock
- Space between door frame and wall framing hidden behind casing trim
- Bottom threshold where door bottom meets the sill
Tools and Materials Required for Sealing Door Frame Gaps

Your shopping list splits into flexible seals, fillers, and structural supports. Flexible seals include adhesive foam tape, V strip, tubular silicone weatherstripping, door sweeps. Fillers cover caulk (acrylic latex for painted interior trim, 100% silicone for exterior or wet spots), backer rod in 1/4 to 1/2 inch diameters, and low expansion spray foam in 12 to 24 ounce cans. For structural work, grab wood shims and 2.5 to 3 inch screws to pull the jamb tight to wall framing.
One caulk tube covers about 40 to 60 linear feet with a quarter inch bead. That’s most single door jobs. A single can of low expansion foam will seal cavities around one to three doors depending on gap volume. Weatherstripping usually comes in 6 to 10 foot strips. Measure your door perimeter first and buy two strips if you’re sealing both sides and the top.
For interior doors or dry areas, acrylic latex caulk works because you can paint it. Pick 100% silicone or polyurethane caulk for exterior frames, thresholds, or anywhere water sits. Always choose low expansion spray foam for work near door frames. High expansion foam can warp the jamb as it cures. Match your weatherstripping to the surface: compressible foam or rubber for uneven stops, metal retained bulb strips for heavy use exterior doors that need a firmer seal.
Essential tools and materials (8 items):
- Caulk gun for controlled bead application
- Utility knife for cutting foam tape, backer rod, trimming cured spray foam
- Measuring tape and ruler or feeler gauge for gap sizing
- Screwdriver or drill with bits for hinge screws and sweep installation
- Putty knife and paint scraper for removing old sealant and smoothing surfaces
- Shop vacuum and small screwdriver or pick for cleaning grooves and debris
- Level to check jamb alignment before shimming
- Gloves and safety glasses, plus ventilation when using spray foam or solvent based products
Surface Preparation Before Sealing Door Frame Gaps
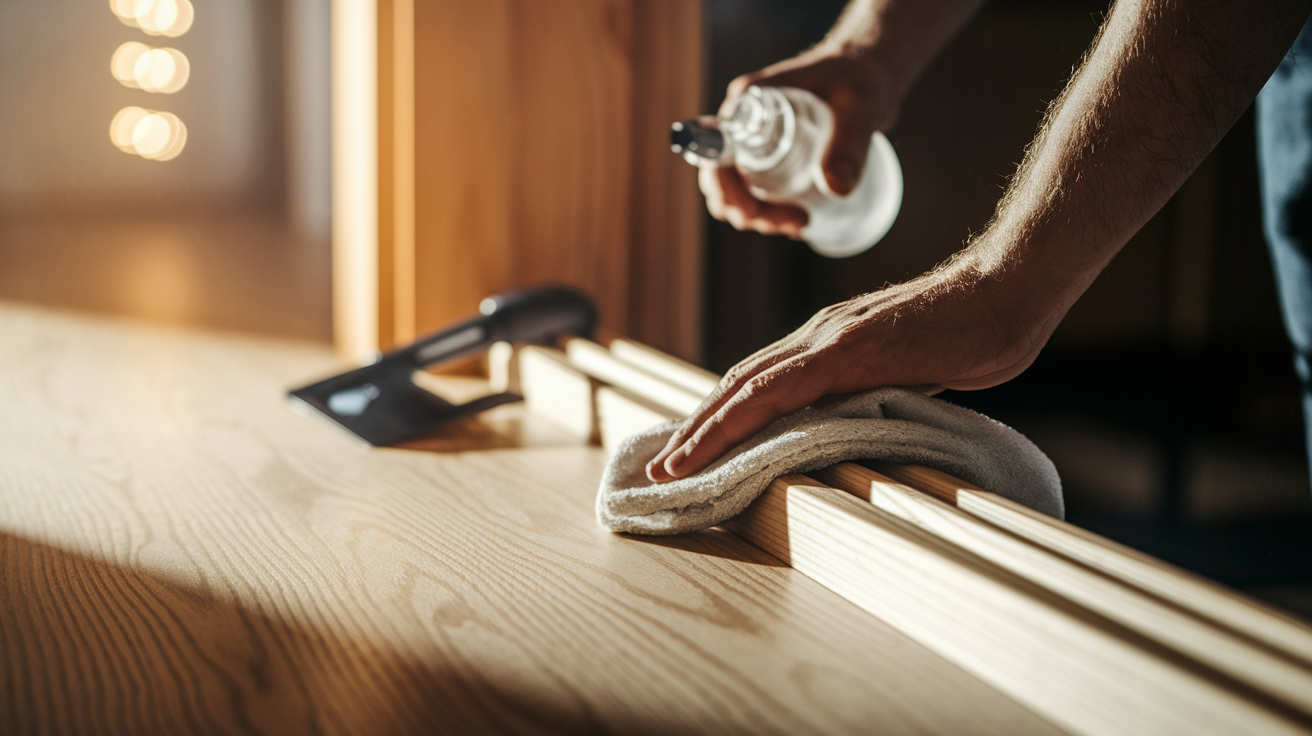
Clean, dry surfaces make the difference between a seal that lasts five years and one that peels in six months. Start by removing any old weatherstripping. Pull it out of slots or peel adhesive strips away from the jamb. Use a putty knife or paint scraper to scrape off old caulk, loose paint flakes, built up dirt along the door stop and jamb faces. If dried caulk won’t scrape cleanly, score it with a utility knife first, then peel.
Once the surface is clear, wipe it down with rubbing alcohol on a rag to remove oils, dust, any remaining residue. Let everything dry completely.
For grooves that will hold tubular weatherstripping, run a small screwdriver or pick along the slot to clear out wood chips, old paint, debris, then vacuum the groove with a shop vac nozzle. The barb on the weatherstrip won’t seat if the slot’s packed with junk. If you’re working with gaps deeper than 1/4 inch and plan to caulk them, press backer rod into the gap first. Backer rod is foam rope that fills deep voids and gives the caulk a backing surface so it can cure in the right shape without sagging or cracking. Choose backer rod diameter slightly larger than gap width so it stays snug without falling out.
Check the jamb and stop surfaces for damage or rot, especially on exterior doors. If the wood’s soft or spongy, sand it smooth or replace the damaged section before sealing. Gaps caused by rotted sills or cracked frames won’t seal properly no matter what product you use. For painted surfaces that will be caulked, lightly sand any glossy finish so the caulk can bond, then prime bare wood in routed grooves or exposed areas before you insert metal channels or apply sealant.
Step by Step Methods to Seal Door Frame Gaps of Different Sizes
Fixing Small Cracks Under 1/16″
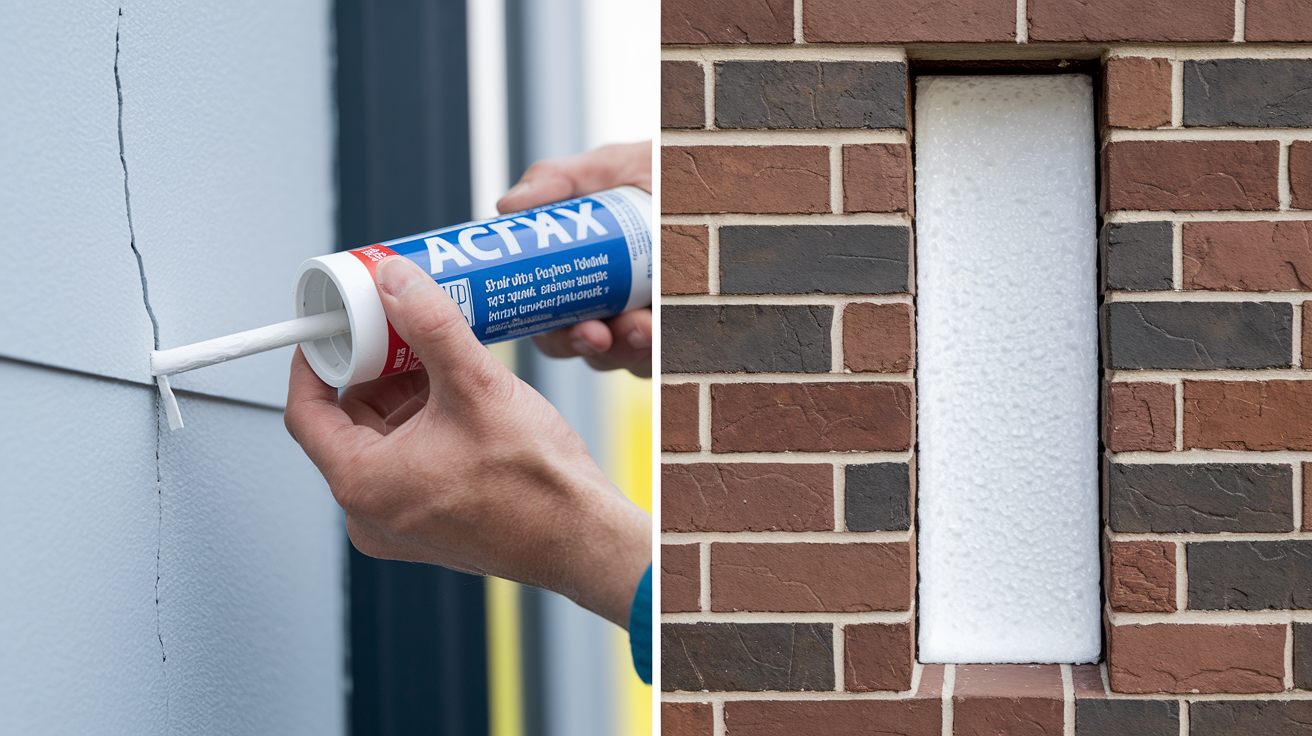
Hairline gaps smaller than 1/16 inch usually show up when hinge screws have loosened or the door’s shifted slightly in the frame. Before you add any sealant, open the door and check every hinge screw. Tighten each one firmly. If a screw spins without gripping, replace it with a longer screw (2.5 to 3 inches) that bites into the wall framing behind the jamb. That alone can pull the door tighter and close small gaps at the top or latch side.
Once hardware’s snug, load a tube of paintable acrylic latex caulk into your caulk gun, cut the tip at a shallow angle to create a small opening, and run a thin, steady bead along the crack where the door stop meets the jamb. Smooth the bead with a damp finger or small putty knife within five minutes before it skins over, and wipe away excess with a rag.
Sealing Medium Gaps up to 1/4″
Gaps in the 1/16 to 1/4 inch range need compression material that fills the space when the door closes. V strip and adhesive foam tape are the easiest installs. V strip is a folded piece of metal or vinyl that you tack or stick into the corner where the door stop meets the jamb. When the door closes, it compresses the V and seals the gap. Peel and stick foam tape works the same way but uses a soft foam strip with adhesive backing.
Measure the length of each jamb section and the head, then cut your strips to fit. Clean the surface with rubbing alcohol, let it dry, peel the backing, and press the tape firmly into place along the door stop so the door compresses it when closed. Don’t stretch the material as you apply it or it’ll shrink back and leave gaps at the ends.
For a longer lasting seal on exterior doors, use tubular silicone weatherstripping that fits into a shallow groove. You’ll need a small grooving tool or router to cut a V shaped slot 1/8 inch wide and 3/16 inch deep along the door stop and jamb faces. Insert the silicone tube’s barbed spine into the groove without stretching the material. You can either push the barb in as you go or cut the strip to length first, insert both ends into the groove, then work inward from each end with a spline roller to seat the barb fully. At corners where the head jamb meets the side jambs, cut the strips square and butt them together rather than mitering. A butt joint seals better and is easier to get tight.
Closing Larger Gaps up to 1/2″
When the gap reaches 1/4 to 1/2 inch, you need backer rod to support a thicker caulk joint. Choose backer rod that’s slightly larger in diameter than the gap width so it wedges snugly when you press it in. Push the rod into the gap with your fingers or a putty knife, working it down until it sits about 1/4 inch below the surface. The rod should fill the deep part of the gap and leave room for a caulk cap.
Load exterior grade acrylic latex or polyurethane caulk into your caulk gun, cut the tip to match the gap width, and lay a smooth bead over the backer rod. Tool the caulk with a wet finger or putty knife to press it against both sides of the gap and create a slightly concave surface. That shape prevents the caulk from pulling away as it cures.
This method also works for sealing the space between the door frame and the rough wall opening behind the casing. Remove the interior casing trim carefully with a pry bar, stuff backer rod into any gaps wider than 1/4 inch, then caulk over the top. You can also use this technique around the exterior brick mold or casing where the frame meets siding. Silicone caulk holds up better than acrylic in full sun and wet conditions, but you can’t paint it, so choose your caulk type based on whether you’ll need to match paint later.
Filling Extra Large Structural Gaps Over 1/2″
Gaps larger than 1/2 inch usually mean the frame has moved, the rough opening is oversized, or the door was never shimmed correctly. In these cases, low expansion spray foam is your best option for filling the cavity behind the jamb. Remove the interior casing so you can see the space between the door frame and the wall framing. Shake the foam can for a full minute, then apply short bursts of foam into the void, filling only about 30 to 50 percent of the visible space. Low expansion foam will grow two to three times its applied volume. Less is more. If you overfill, the foam can bow the jamb inward and prevent the door from closing.
Let the foam cure for one to two hours until it’s firm enough to trim, then use a utility knife or handsaw to cut the excess flush with the jamb edge. The cured foam will feel slightly tacky but should hold its shape. After trimming, you can cover the foam with a bead of caulk or reinstall the casing to hide it.
If the gap’s truly massive (over one inch) or the frame is visibly sagging, foam alone won’t fix it. You’ll need to remove the casing, add wood shims behind the jamb to push it back into plumb, drive long screws through the jamb and shims into the wall studs, then fill any remaining voids with foam and reinstall the trim.
Installing Weatherstripping to Seal Door Frame Gaps

Tubular silicone weatherstripping offers the best combination of durability and compression for side jambs and the head jamb. Silicone doesn’t develop compression memory, so it bounces back every time the door opens, and it holds up under sun and temperature swings better than foam. Before you cut any grooves, measure the gap between the closed door and the stop on both side jambs and across the top. Size your weatherstrip to fill the widest gap you measured, up to a maximum of 3/8 inch. If your gaps vary a lot, consider shimming the jamb to even them out before you install weatherstripping.
Cut the V shaped groove using a small handheld grooving tool or a router with a narrow bit. The slot should run along the face of the door stop or jamb where the door will compress the weatherstrip when closed. Keep the groove 1/8 inch wide and 3/16 inch deep. Deeper grooves make it harder to seat the strip, and shallower grooves won’t hold the barb securely.
After routing, smooth any rough edges with sandpaper and vacuum out all wood dust and chips. Cut your silicone weatherstrip to length with scissors, allowing enough to run the full height or width without stretching. Insert one end of the barbed spine into the groove, then work along the strip with a spline roller (the same tool used for window screens) to press the barb fully into the slot. At the corners where the head jamb meets the side jambs, cut the strips square and press the ends tightly together. Butt joints seal better than mitered corners and are faster to fit.
| Material | Best Gap Size | Notes |
|---|---|---|
| V strip (metal or vinyl) | 1/16″ to 3/16″ | Tack or adhesive mount; folds into corner when door closes; paintable |
| Tubular silicone | 1/8″ to 3/8″ | Requires routed groove; no compression memory; best for exterior doors |
| Adhesive foam tape | 1/16″ to 1/4″ | Peel and stick; easiest install; replace every 2 to 5 years |
| Compression strip (rubber or PVC) | 1/8″ to 1/4″ | Nail or staple to stop; flexible for uneven surfaces; moderate durability |
Sealing Bottom Door Frame Gaps with Door Sweeps and Threshold Adjustments

The gap under your door is usually the largest single draft source, and it also lets in dust, insects, noise. A door sweep bridges that space with a flexible fin that drags lightly across the threshold. Most sweeps come in two parts: an aluminum channel that screws or slides into a slot on the door bottom, and a rubber or brush fin that hangs down to touch the sill. For a permanent, adjustable solution, you can rout a centered dado (groove) into the bottom of the door, install the channel with screws, and use a twin fin silicone sweep with adjustable glides. The glides let you raise or lower the sweep up to 1/4 inch without removing the door.
Start by taking the door off its hinges and laying it across sawhorses. Measure and mark a centered line along the bottom edge. Set up a router with a 1/2 inch straight bit and a guide fence, then make multiple passes to cut a dado 5/8 inch wide and 1 1/8 inch deep. Work from left to right on the first pass, then reverse direction to clean up the edges and reach final depth. Vacuum out all the sawdust, then prime and paint the exposed wood inside the dado to seal it against moisture.
While the paint dries, cut your aluminum sweep channels to length with a hacksaw in a miter box. Cut them 1/8 inch shorter than the door width so the plastic end caps will fit snugly. Wax the hacksaw blade with a candle stub or bar of soap to make cutting easier and prevent the blade from binding.
Insert one aluminum channel into the dado and drive screws through the pre drilled holes to lock it in place. Slide the twin fin silicone sweep into the open side of the second channel, then slide the adjustable glides into the channel that’s already screwed into the door. Rehang the door on its hinges and close it. Kneel down and look for light coming through under the door. Turn the glides clockwise to raise the sweep or counterclockwise to lower it until the fins just touch the threshold with no visible light gap. When the adjustment is right, snap the plastic end caps onto both ends of the channels to lock everything in place, then stick small squares of adhesive backed pile weatherstripping to the bottom face of each side jamb where the door bottom will contact it when closed.
Four steps to install a door sweep:
- Measure the door width and cut the sweep or channel 1/8 inch shorter to allow for end caps.
- Attach the sweep to the interior bottom edge of the door with screws, positioning it so the fin hangs down toward the threshold.
- Close the door and check for light gaps; if light shows, loosen the screws and lower the sweep, or use an adjustable model and turn the glides.
- Tighten all screws and snap on end caps, then test by closing the door and feeling for drafts along the bottom edge.
Structural Fixes for Door Frame Gaps Caused by Misalignment
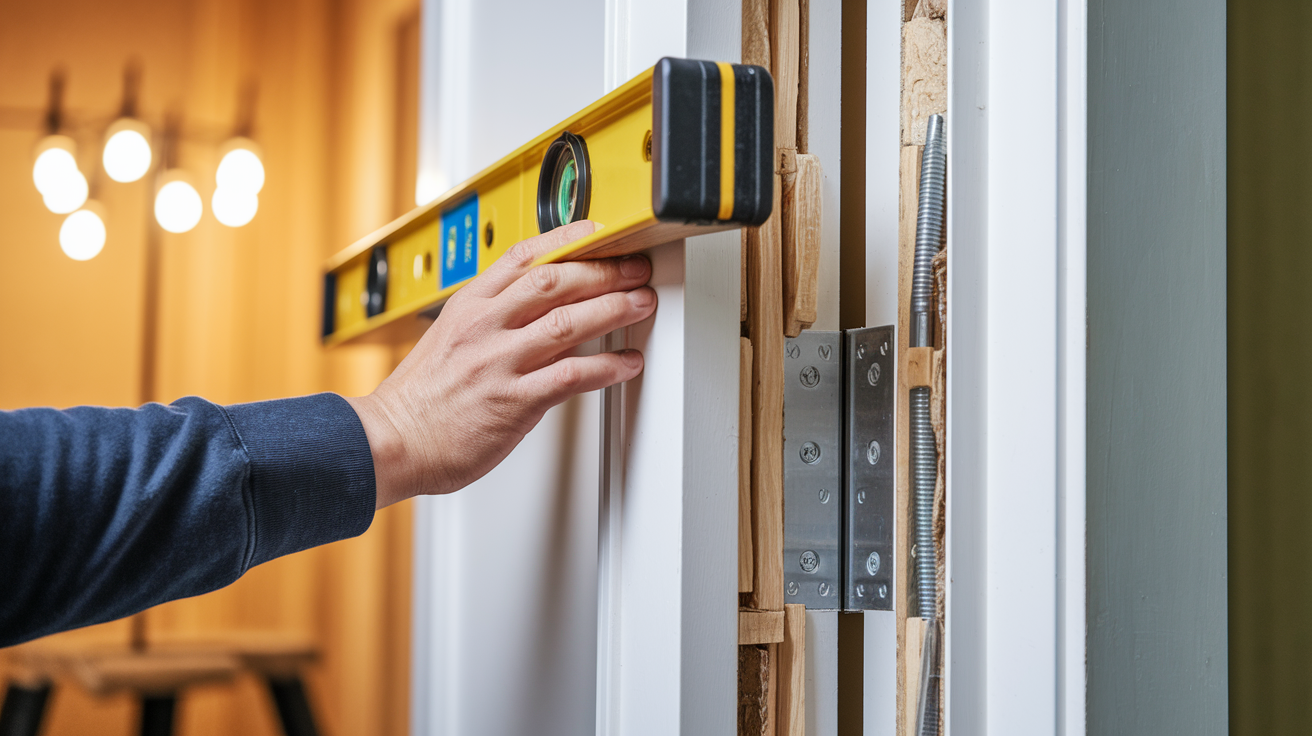
Sometimes the problem isn’t a missing seal but a door frame that’s twisted, sagging, or pulled away from the wall. You’ll know you have a structural issue if the gap’s wider at one end than the other, if the door won’t latch without slamming, or if you see daylight in a wedge shape along one side. Weatherstripping and caulk can’t fix these gaps. You need to straighten the frame and pull it back into square.
Remove the interior casing trim with a flat pry bar, working carefully to avoid cracking the wood. Once the trim’s off, you’ll see the space between the door jamb and the wall’s rough framing, along with any existing shims.
Check the jamb for plumb with a level on both side jambs and across the head. If the jamb leans in or out, tap thin wood shims behind it at the hinge locations and near the latch side strike plate until the jamb reads plumb. Drive one 2.5 to 3 inch screw through the jamb, through the shim, and into the wall stud at each shim location to lock the jamb in position. If the top of the door’s sagging away from the head jamb, drive a long screw through the top hinge into the wall framing. That screw will pull the jamb tight to the wall and lift the door slightly.
After shimming and screwing, close the door and check the reveal (the visible gap) around all four sides. The reveal should be even, about 1/8 inch on the sides and top. Fill any remaining voids behind the jamb with low expansion spray foam, let it cure, trim it flush, then reinstall the casing.
Three signs you need structural repair instead of weatherstripping:
- The reveal around the door is uneven (narrow at one end and wide at the other), indicating the frame’s out of square.
- The door won’t latch or stay closed without force, often caused by a sagging head jamb or twisted side jamb.
- Gaps measure over one inch at any point, which means the frame was never properly shimmed or has pulled away from the wall framing.
Cost and Time Estimates for Sealing Door Frame Gaps

Sealing door frame gaps is one of the most cost effective home improvements you can do yourself. A roll of adhesive foam weatherstripping costs $5 to $15 and covers most single door perimeters. A basic rubber or aluminum door sweep runs $10 to $30. One tube of acrylic latex caulk is $3 to $8, and a tube of 100% silicone caulk is $5 to $12. Either will handle several doors. Backer rod costs $5 to $15 for a 25 foot roll, and a can of low expansion spray foam is $5 to $20 and will seal one to three doors depending on cavity size.
If you need to replace a worn threshold, expect $20 to $100 depending on material (aluminum, wood, or composite). Total DIY material cost for a typical exterior door with moderate gaps runs $10 to $150, with most jobs landing in the $20 to $50 range.
Time depends on the fix. Applying peel and stick foam tape or replacing a screw on door sweep takes 15 to 60 minutes per door. Installing tubular weatherstripping with a routed groove, adding backer rod and caulk, or adjusting a threshold takes one to three hours. Structural shimming and reframing, including trim removal and reinstallation, can take two to six hours, plus curing time if you use spray foam or caulk.
Most caulk skins over in 15 to 30 minutes and fully cures in 24 to 48 hours. Spray foam becomes tack free in 10 to 60 minutes, trimmable in one to two hours, and reaches full cure in 24 hours. Plan to let everything cure overnight before painting or heavy use. Sealing gaps typically reduces heating and cooling costs by 5 to 15 percent, so the payback period is often less than one heating season.
| Material | Typical Cost | Lifespan |
|---|---|---|
| Adhesive foam tape | $5 to $15 per roll | 2 to 5 years |
| 100% silicone caulk | $5 to $12 per tube | 10 to 20 years |
| Door sweep (aluminum or rubber) | $10 to $30 each | 5 to 10 years |
| Tubular weatherstrip kit | $8 to $25 per door | 5 to 10 years |
Common Mistakes When Sealing Door Frame Gaps
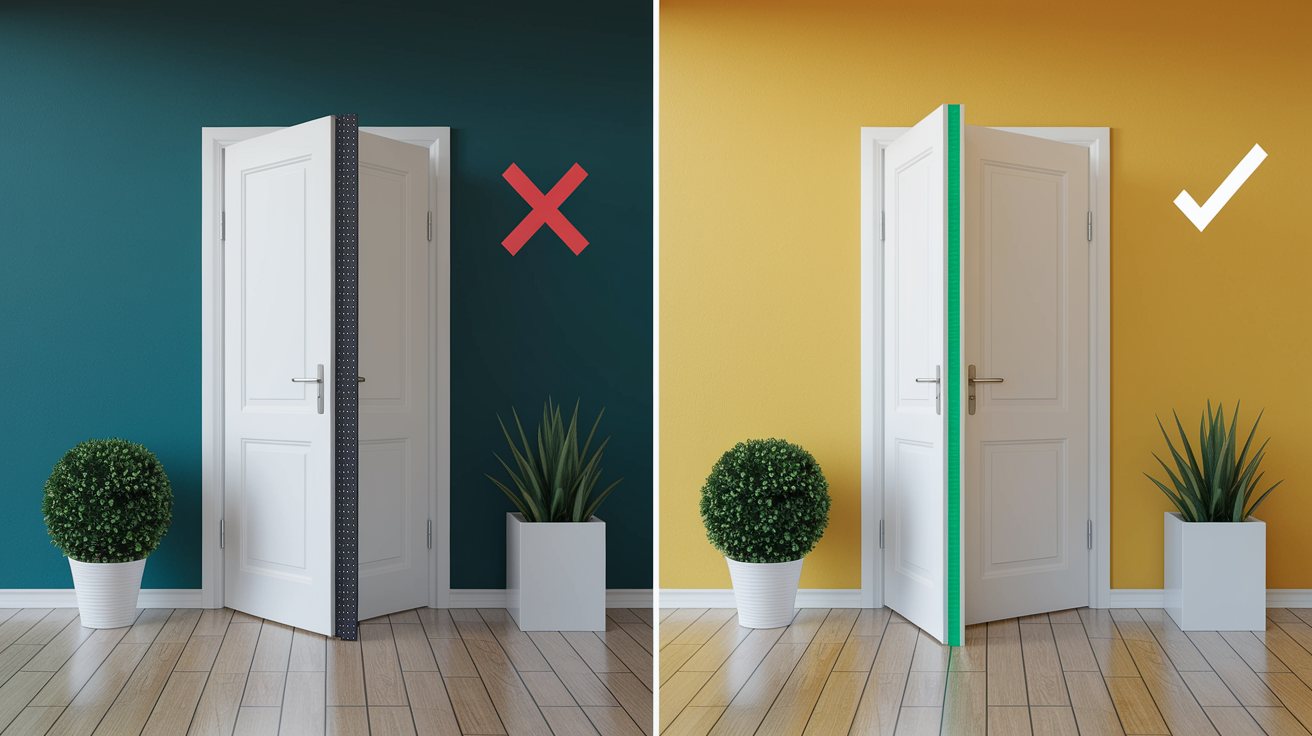
Choosing weatherstripping that’s too thick is the most common mistake. If the strip’s so puffy that the door won’t close without forcing the latch, it’s oversized. You’ll feel resistance when you turn the knob, and the door may spring open slightly when you release the handle. Go one size thinner or compress the strip slightly before sticking it down.
On the flip side, weatherstripping that’s too thin leaves a visible gap even when the door’s closed, and you’ll still feel a draft. Measure your actual gap with a ruler or feeler gauge before you shop, and match the strip thickness to the largest gap along that edge.
Using high expansion spray foam near door frames can warp the jamb as the foam cures and pushes outward. Always buy foam labeled “low expansion” or “window and door” formula, and apply it in short bursts rather than filling the cavity in one go. If you overfill and the jamb bows inward, you’ll need to remove the casing, cut out the foam, reset the jamb with shims, and start over.
Another pitfall is skipping surface cleaning. Old paint, dust, or moisture prevents adhesive backed weatherstripping and caulk from bonding properly. The seal may look fine for a few days, then peel away or crack. Always wipe surfaces with rubbing alcohol and let them dry completely before applying any sealant.
Forgetting to install backer rod in deep gaps causes caulk to sag into the void and crack as it cures. Caulk needs a backer surface to bridge against. Without it, the joint’s too thick and the caulk can’t flex properly.
Many people install door sweeps before rehanging the door and then discover the sweep drags on the floor or gets damaged during the lift. Always rehang the door first, then attach and adjust the sweep while the door’s on its hinges so you can check clearance and light gaps in real conditions.
Maintenance Tips to Keep Door Frame Gaps Sealed Long Term
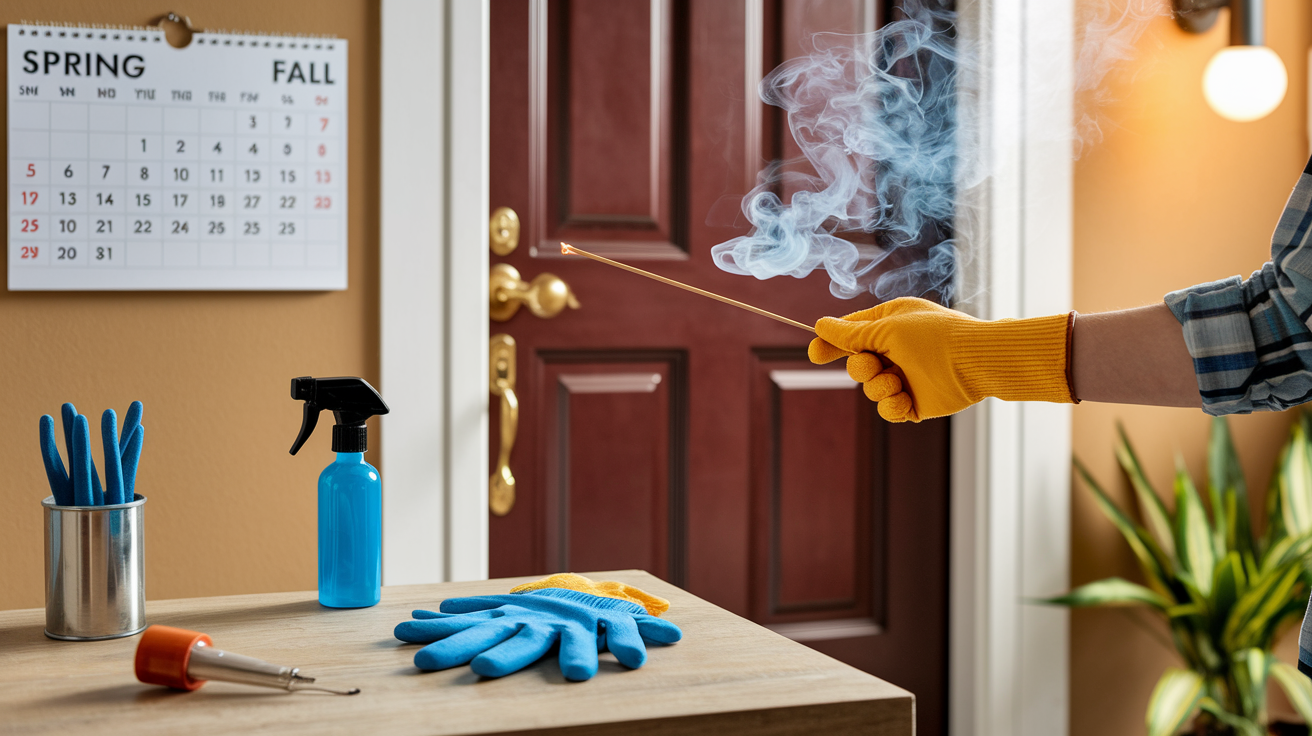
Inspect your door seals twice a year, once in the spring before cooling season and again in the fall before heating season. Look for weatherstripping that’s flattened, cracked, or pulling away from the jamb. Run your hand along each edge with the door closed to feel for air movement, and repeat the smoke test if you’re not sure.
Adhesive foam tape typically needs replacement every two to five years depending on how much sun hits the door and how often it’s used. Tubular silicone and V strip last longer, usually five to ten years, but they’ll eventually harden or tear and lose their seal.
Check caulk joints around the exterior casing and threshold for cracks or gaps. Exterior caulk should be recaulked every five to ten years, or sooner if you see splits forming. Silicone and polyurethane caulk last longer than basic acrylic, but all caulk degrades with UV exposure and temperature cycling.
Door sweeps wear out at the fin where they drag across the threshold. Replace the sweep when the fin looks frayed or when you can see light under the closed door even after adjusting the glides. Low expansion spray foam behind the frame is permanent once cured, but if you notice new gaps opening up, the frame may be shifting again and you’ll need to add more shims and screws to stabilize it.
Four seasonal maintenance tasks:
- Spring and fall: run a smoke test and hand check along all four edges of each exterior door.
- Every 2 to 5 years: replace adhesive foam tape and check door sweep condition.
- Every 5 to 10 years: replace tubular or V strip weatherstripping and recaulk exterior joints.
- After storms or settling: inspect for new cracks in caulk or gaps in weatherstripping, and check that doors still latch without forcing.
Final Words
Start by finding and measuring every draft and gap so you know what size fix each spot needs. Gather the tools, clean the surfaces, and choose caulk, weatherstripping, backer rod, or low-expansion foam based on the gap.
Follow the step-by-step methods for small to extra-large gaps, add a door sweep at the bottom, and call out structural issues that need shims or reframing.
This guide on how to seal gaps around door frames gives time, cost, and maintenance tips so you can finish the job right and feel the difference.
FAQ
Q: How to fill gaps around door frames? Do you caulk around a door frame?
A: Filling gaps around door frames is done by size: caulk small cracks (yes), foam or adhesive weatherstrip for 1/16–1/4″, backer rod plus caulk for larger gaps, and low‑expansion spray foam for big voids.
Q: Is wood filler or caulk better for door frames?
A: Wood filler or caulk for door frames depends on the problem: use wood filler for gouges and holes you’ll sand and paint; use caulk to seal gaps and seams because it stays flexible and paintable.
Q: How to fix a large gap between a door frame and a floor?
A: Fixing a large gap between a door frame and a floor starts with measuring and checking alignment; for big voids use low‑expansion spray foam, trim flush when cured, then finish with caulk and a threshold or adjustable sweep.