

Think you’re holding a putty knife right? Most people aren’t.
That’s normal. Your wrist wants to lock, your grip goes white-knuckled, and the blade either digs in or skates over the surface.
In about five minutes of focused practice you can learn the angle and pressure that make the blade do the work.
This quick guide shows the right grip, blade angles, tool picks, common mistakes, and simple done checks so your patches look smooth and last.
You’ll leave feeling confident and ready to finish repairs faster.
Beginner Guide to Using a Putty Knife
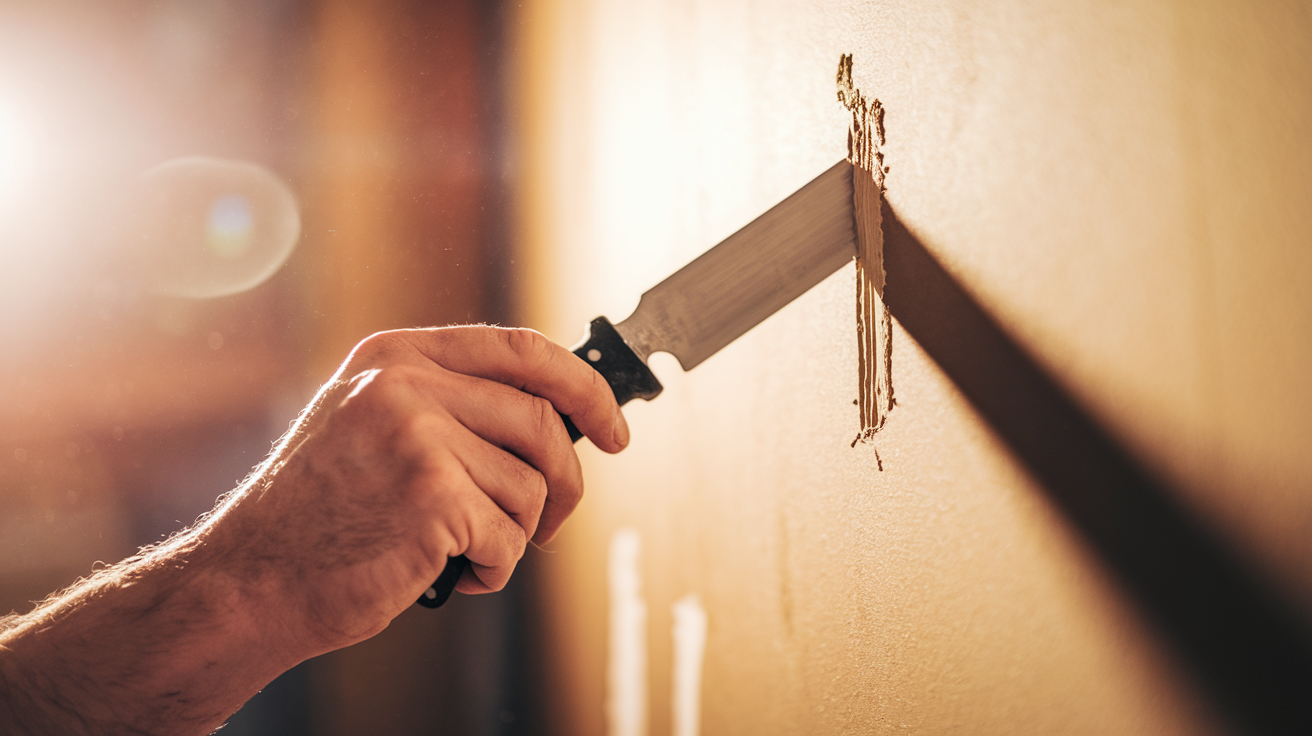
A putty knife feels awkward the first time you pick one up. Your wrist wants to lock, your grip tightens too much, and the blade either digs in or skates over the surface. That’s normal. Learning how to use a putty knife correctly takes about five minutes of focused practice. Once you get the angle and pressure right, the tool does most of the work for you.
The key is treating the putty knife like an extension of your arm, not a chisel you’re forcing into something. Hold it firmly but not white knuckled. Your wrist should stay loose enough to adjust the blade angle as you move. Most beginners use way too much pressure, which is how you gouge drywall or leave deep scratches in wood. Light, controlled pressure with a consistent angle produces smooth results every time.
Your body position matters more than you think. Stand or kneel so your arm can move in a straight line without twisting your torso. If you’re reaching or contorting, the blade will skip and catch. Keep your non-dominant hand clear of the blade path, and work in sections you can comfortably reach without stretching. Here’s the step by step breakdown:
-
Grip the handle near the blade. Rest your index finger along the top of the handle or the back edge of the blade for fine control. Your thumb wraps around one side, your other three fingers around the opposite side.
-
Position the blade at a 30 to 45 degree angle to the surface. For scraping, tilt closer to 45 degrees. For spreading or smoothing, drop closer to 30 degrees or even flatter.
-
Apply firm but controlled pressure. Press just hard enough that the blade bites slightly into the material you’re working with. If the blade flexes or bends noticeably, ease off.
-
Use smooth, even strokes. Push or pull in one steady motion, like you’re wiping a window. Jerky or jabbing motions leave ridges and uneven spots.
-
Check your angle if the blade skips or digs. Skipping means the angle is too steep or pressure too light. Digging means the angle is too shallow or pressure too heavy.
-
Wipe the blade clean between passes. Dried compound or paint buildup on the edge creates drag and leaves streaks.
Types of Putty Knives and Their Uses

Not all putty knives are the same tool. The blade width, stiffness, and material change what the knife can do well. A flexible 2 inch putty knife excels at filling nail holes but struggles to scrape dried paint. A stiff 6 inch taping knife smooths joint compound beautifully but will gouge delicate surfaces if you’re not careful. Matching the knife type to the task prevents frustration and speeds up the job.
Flexible Putty Knives
Flexible putty knives have thin, bendable blades that conform to curves and uneven surfaces. These are your go to tools for spreading spackle, wood filler, or glazing compound into cracks, dents, and nail holes. The blade flexes just enough to press material into gaps without scraping it right back out. Flexible knives also work well for smoothing caulk beads and feathering the edges of patches so they blend invisibly with the surrounding surface. Most flexible putty knives range from 1 inch to 3 inches wide. Wider flexible blades are harder to control in tight spaces, so stick with narrow ones for detail work.
Stiff Putty Knives
Stiff putty knives have rigid blades designed for scraping and removing material. Use these when you need to strip old paint, pry off dried caulk, or chisel away hardened adhesive. The blade won’t flex under pressure, so you can apply serious force without bending the tool. Stiff knives often feature a chiseled or beveled edge that acts like a scraper blade. Widths typically range from 1 inch to 4 inches. A 3 inch stiff putty knife handles most scraping jobs around the house without being too bulky for corners and trim.
Taping Knives
Taping knives are wide, relatively flexible blades used primarily for drywall finishing. These knives spread joint compound over seams, smooth large patches, and feather edges across broad areas so repairs disappear under paint. Widths range from 6 inches to 12 inches or more. The wider the blade, the smoother and flatter your finish, because the knife bridges high and low spots and averages them out. Taping knives are too large for filling small holes, but they’re necessary for any drywall repair bigger than a quarter.
| Knife Type | Primary Use |
|---|---|
| Flexible Putty Knife | Filling holes, spreading spackle, smoothing caulk |
| Stiff Putty Knife | Scraping paint, removing adhesive, chiseling dried material |
| Taping Knife | Drywall finishing, feathering large patches, smoothing joint compound |
Key Techniques: Spreading, Filling, and Smoothing

Spreading compound with a putty knife is about keeping the blade loaded evenly and moving in one continuous pass. Scoop a small amount of spackle or filler onto the blade, then hold the knife at about a 20 to 30 degree angle to the surface. Press down gently and drag the blade across the area in a single, smooth stroke. The goal is to leave a thin, even layer with no ridges or gaps. If you see thick clumps or thin spots, you’re either carrying too much material on the blade or not applying enough downward pressure as you move. Wipe the blade clean after each pass so dried bits don’t create streaks.
Filling holes requires a firmer touch. Load the putty knife with a small amount of filler, then press the blade nearly flat against the wall and push the material into the hole with a quick, firm stroke. You want to pack the filler tightly so it doesn’t shrink or crack as it dries. Overfill the hole slightly, then switch to a flatter angle and drag the blade across the surface to scrape away the excess. The finished patch should sit just barely proud of the wall. Once it dries, a quick sanding will bring it perfectly flush.
Smoothing removes the excess material and blends the edges so your repair vanishes under paint. Hold the putty knife at a very shallow angle, almost flat to the surface, and use long, light strokes that extend well beyond the patched area. This technique is called feathering. Each pass spreads the material thinner and thinner until the edge of the patch tapers to nothing. If you see a visible ridge or line after the compound dries, you didn’t feather far enough. Smooth the area again with another thin coat, extending your strokes even farther this time.
Scraping and Removal Tasks With a Putty Knife
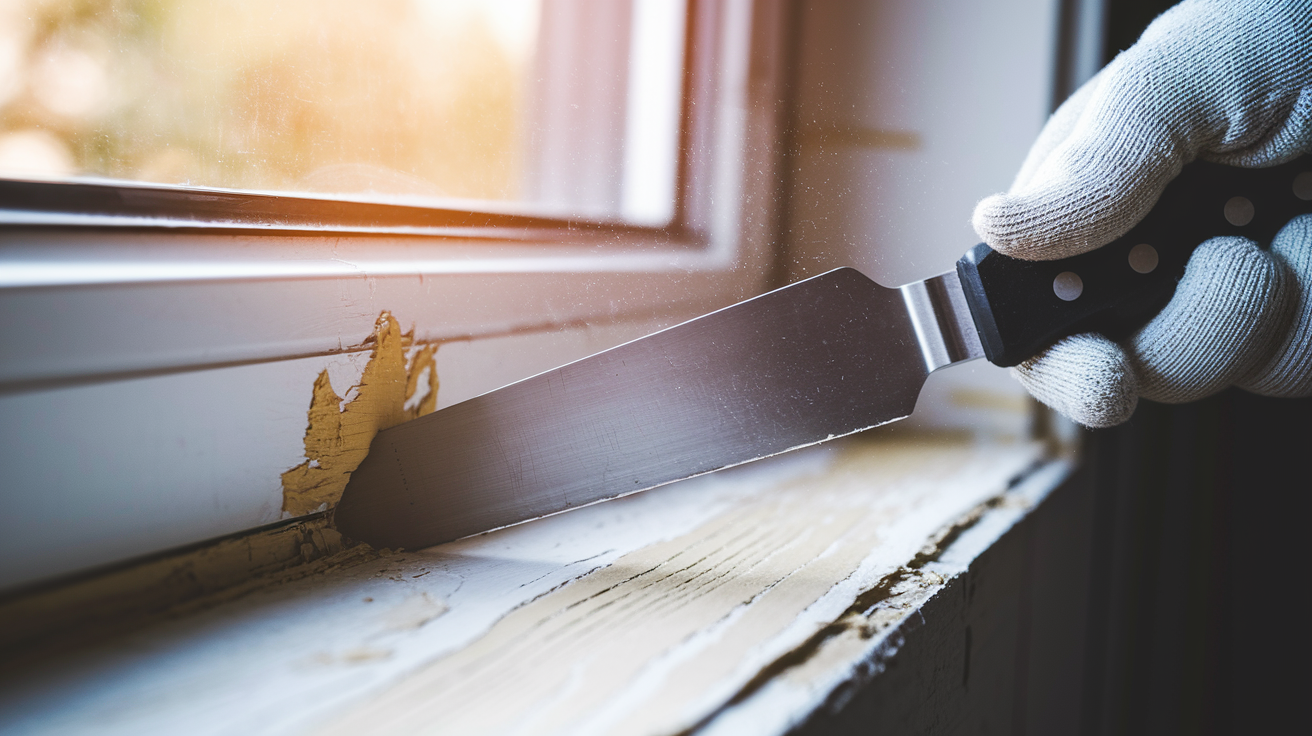
Scraping is where a stiff putty knife earns its keep. Whether you’re stripping old paint, peeling off dried caulk, or removing stuck on adhesive, the technique is nearly the same. Hold the blade at a 30 to 45 degree angle and push or pull in firm, controlled strokes. Keep the angle consistent so the edge bites into the material you’re removing without gouging the surface underneath. If the blade skips or chatters, increase the angle slightly. If it digs in and leaves scratches, flatten the angle and ease off the pressure.
Heat makes scraping easier. A heat gun or even a hairdryer softens old paint and caulk so the putty knife can lift it away in clean strips instead of tiny flakes. Work in small sections, heating just ahead of where you’re scraping. Don’t overheat the material or you’ll create fumes and sticky residue that’s harder to remove than the original coating.
Here are the most common scraping tasks and how to approach each one:
Scraping paint: Use a stiff 3 inch blade at about 45 degrees. Work in overlapping passes and expect to make multiple trips over stubborn areas.
Removing caulk: Soften with caulk remover or heat, then use a narrow stiff blade to pry up one edge and peel the bead away in sections.
Lifting adhesive: Scrape at a shallow angle to avoid tearing the surface. A plastic putty knife works well on delicate finishes.
Clearing debris: Use a wide stiff blade held nearly flat to push loose material into a pile without scratching the floor or wall.
Removing dried filler: Chisel carefully with a stiff blade. If the filler is rock hard, wet it first to soften it slightly.
Surface Preparation Before Using a Putty Knife
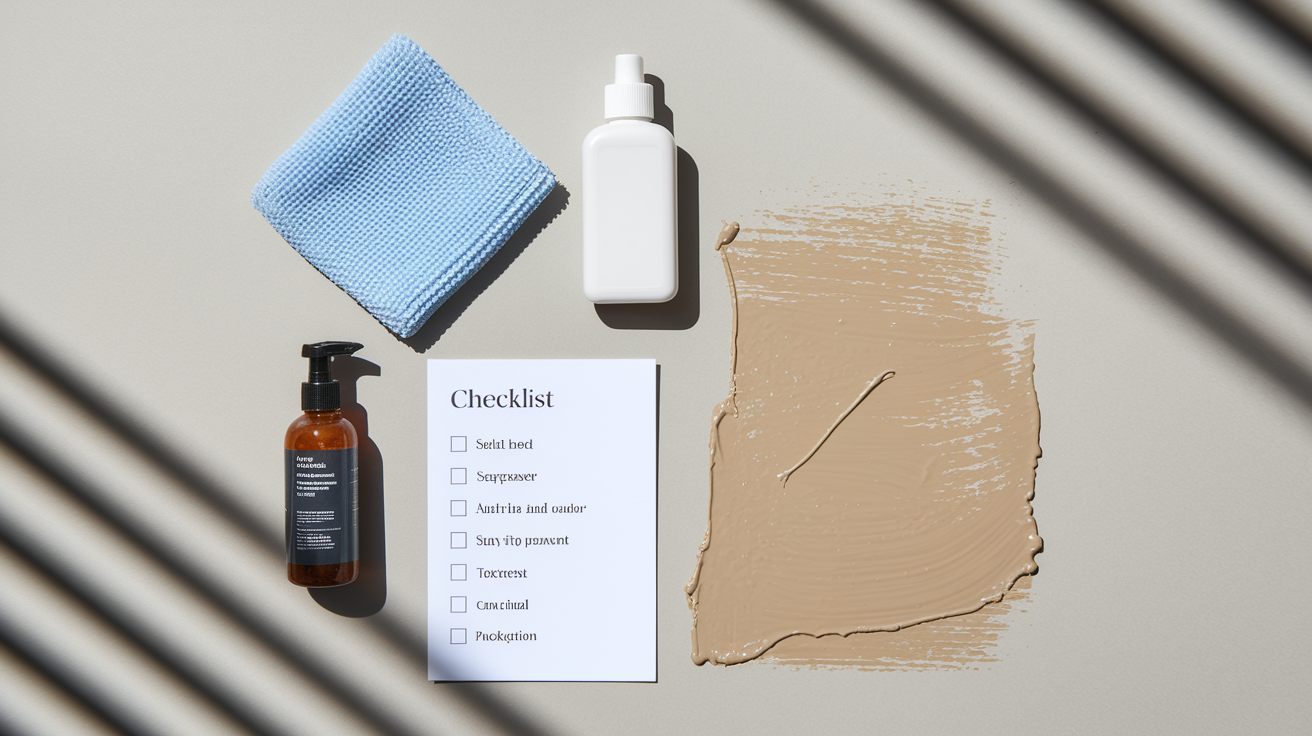
Clean surfaces hold putty and filler better. Dust, grease, and loose paint all interfere with adhesion, so your repair will shrink, crack, or fall out if you skip the prep step. Wipe the area with a damp rag to remove dust and let it dry completely. If the surface feels oily or waxy, clean it with a degreaser or rubbing alcohol. Run your hand over the spot and if anything flakes off or feels loose, scrape it away with your putty knife before you start filling.
Moisture is the enemy of most fillers. If the wall or wood feels damp, wait until it dries or the compound won’t cure properly. Check for active leaks or condensation that might soak the patch from behind. A perfectly filled hole will fail in a few weeks if water keeps wicking through the material.
Before you start, do this quick checklist:
Wipe away all dust and loose debris with a damp cloth. Scrape off any flaking or peeling paint around the repair area. Make sure the surface is completely dry to the touch. Remove any grease or waxy residue with a degreaser.
Safety Practices When Using a Putty Knife

Putty knives cause small but annoying injuries when your hand slips or the blade catches unexpectedly. The most common mishap is scraping your knuckles against a rough surface as you push the blade forward. Wearing work gloves protects your hands and gives you better grip on the handle. Keep your non-dominant hand behind the blade at all times. If you’re steadying the work with your free hand, position it to the side or above the blade path, never in front of where the tool is moving.
Blade edges stay sharp even when they look dull. Stiff putty knives with chiseled edges can puncture skin easily, and even flexible blades will cut you if you grab the edge by mistake. Store putty knives with the blade covered or hang them on a pegboard where the edges face the wall. When you set a putty knife down mid project, place it flat on your work surface with the blade facing away from you.
Key safety precautions:
Always wear work gloves to protect your hands from scrapes and cuts. Keep your fingers and knuckles behind the blade edge during every stroke. Work slowly and deliberately when scraping near corners, trim, or your body.
Cleaning and Maintaining Your Putty Knife
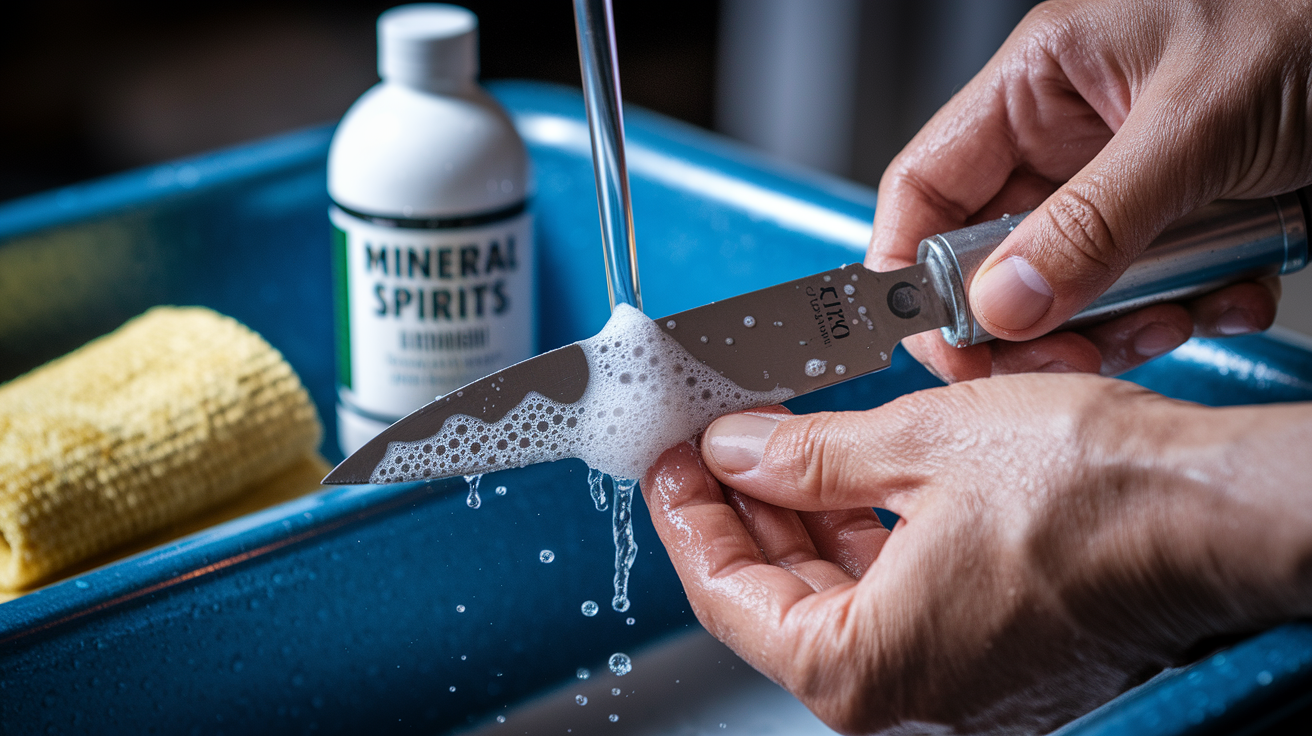
Dried compound turns into concrete on your putty knife if you don’t clean it right away. As soon as you finish a coat or take a break, wipe the blade with a damp rag or paper towel. Most spackles and joint compounds are water based, so warm water and a little dish soap will remove them completely while they’re still wet. Hold the blade under running water and scrub with a sponge or stiff brush until the metal is clean.
Oil based putties and caulks require solvent. Mineral spirits or paint thinner will dissolve the residue, but you’ll need to work in a ventilated area and dispose of solvent soaked rags properly. After cleaning with solvent, wash the blade again with soapy water to remove any oily film, then dry it thoroughly with a clean towel. Metal putty knives will rust if you store them wet, even stainless steel blades.
Here’s the cleaning workflow:
Wipe off as much wet compound as possible with a rag immediately after use. Rinse the blade under warm water and scrub with a sponge until clean for water based materials. For oil based materials, wipe the blade with a rag dampened with mineral spirits, then wash with soap and water. Dry the blade completely with a towel and store it flat or hung up to prevent rust and edge damage.
Common Home Projects Using a Putty Knife
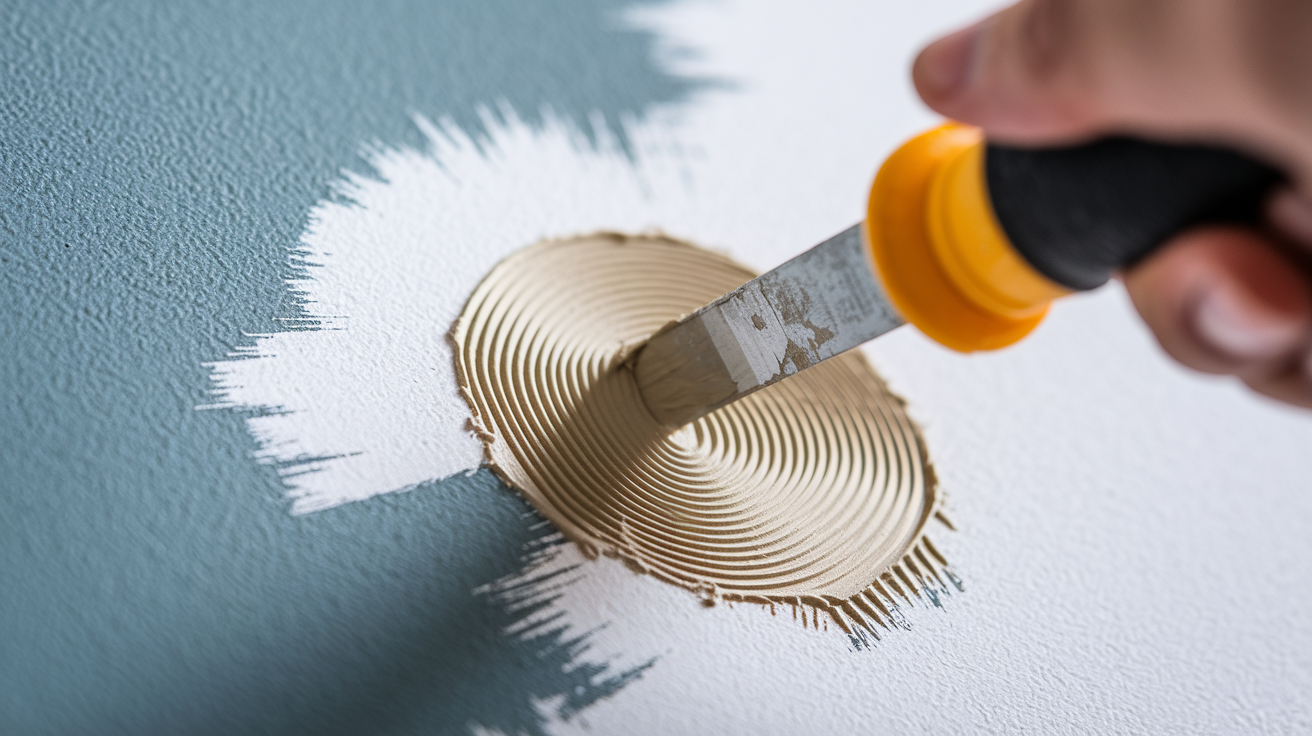
Patching nail holes is the most frequent putty knife task in any home. Use a flexible 1 or 2 inch blade loaded with a small dab of spackle. Press the filler into the hole with a firm stroke, then scrape away the excess with a second pass held nearly flat. Let it dry, sand lightly, and the hole disappears under a coat of paint. Small dents in drywall follow the same process, just with a slightly wider blade to feather the edges smoothly.
Repairing cracks in wood trim or window sills requires wood filler and a flexible putty knife. Clean out any loose material first, then press the filler into the crack and smooth it flush with the surface. Wood filler shrinks as it dries, so overfill slightly and plan to sand the repair smooth after it cures. For deeper cracks, apply filler in two thin layers rather than one thick glob.
Window glazing is an old school technique that still works beautifully for sealing glass panes in wooden frames. Use a stiff putty knife to remove the old, dried glazing compound, then apply fresh glazing putty with a flexible blade held at about a 45 degree angle. Pull the knife smoothly along the edge of the glass to form a clean, angled bead that sheds water away from the seal.
Common putty knife projects around the house:
Filling nail holes and small dents: 1 to 2 inch flexible blade, spackle or lightweight filler
Patching drywall damage: 4 to 6 inch flexible blade for application, 8 to 10 inch taping knife for feathering
Repairing cracks in wood: 2 inch flexible blade, wood filler
Glazing window panes: 1 to 2 inch stiff blade for removal, flexible blade for application
Smoothing caulk beads: 1 inch flexible blade or plastic putty knife to avoid scratching fixtures
Final Words
Grab your putty knife and keep it at about a 30–45° angle—steady pressure and smooth strokes. That’s the core: grip, angle, pressure, and the motion we walked through.
We also covered choosing the right blade, prepping the surface, safe scraping, and quick cleaning so the tool stays useful.
If you want a quick reminder on how to use a putty knife, keep this guide nearby. You’ll get cleaner results fast.
FAQ
Q: How does a putty knife work?
A: A putty knife works by using its flat blade to scrape away old material, scoop and press filler into holes, then smooth the surface with angled, steady strokes so it’s ready to sand and paint.
Q: How to use putty step by step?
A: To use putty step by step, clean the area, press putty into the hole, level it with a putty knife, smooth at a 30–45 degree angle, let it cure, then sand flush before painting.
Q: How to hold a putty knife?
A: To hold a putty knife, grip the handle near the blade with your thumb on top for control, keep fingers behind the blade, relax your wrist, and tilt the blade about 30–45 degrees while applying steady pressure.
Q: What’s the difference between a tape knife and a putty knife?
A: The difference between a tape knife and a putty knife is that tape knives are wider and more flexible for spreading drywall compound, while putty knives are narrower and stiffer for scraping, patching, and detail work.