

Think a nail gun is only for rough framing? Think again.
A brad nailer is the small, precise nail gun that trim carpenters reach for when appearance matters.
It shoots thin 18-gauge nails (brads) that hold lightweight trim without splitting wood or leaving big holes.
This post explains what a brad nailer does, how it works, when to pick one instead of a heavier finish nailer, and the simple tips that stop common mistakes.
If you want fast, clean trim work that looks professional, start here.
Clear Definition and Purpose of a Brad Nailer

A brad nailer is basically a light duty nail gun that shoots thin wire nails called brads. We’re talking 18 gauge nails here, which means they’re about 0.048 to 0.052 inches in diameter. You can get brads anywhere from 5/8 inch to 2 inches long, and some models even handle 2 1/2 inch brads. The whole point of this tool is fastening lightweight trim and delicate molding without splitting the wood or leaving big ugly holes. It’s not built for heavy work. It’s built for precision and keeping your surfaces looking clean, which is exactly what you need when you’re doing finish carpentry and appearance actually matters.
Because 18 gauge brads are so thin, they barely leave a mark. The tiny entry holes are stupid easy to fill with wood putty, or honestly you can just leave them alone on natural wood and nobody’s going to notice. That’s why brad nailers are the first choice for projects where you want things to look polished without spending an hour sinking and filling nail holes. The tool drives the brad through your top piece of material into whatever’s below it, holding everything together well enough for most jobs that don’t have to support weight. You’ve got three power options: pneumatic models that need an air compressor running at 70 to 120 psi (and using about 0.5 to 2.0 CFM), corded electric versions that plug into standard 120V outlets, and cordless battery powered tools running on 18V to 20V lithium ion batteries.
Brad nailers are designed for smaller fastening work, so they’re great when holding power takes a back seat to how things look and how easy the tool is to use. Common jobs include:
- Attaching thin trim like quarter round, shoe molding, window stops
- Installing small crown molding and cove molding on cabinets or walls
- Building picture frames, shadow boxes, craft projects
- Fastening cabinet face frames, beadboard paneling, decorative trim pieces
Core Brad Nailer Functions and How the Tool Works
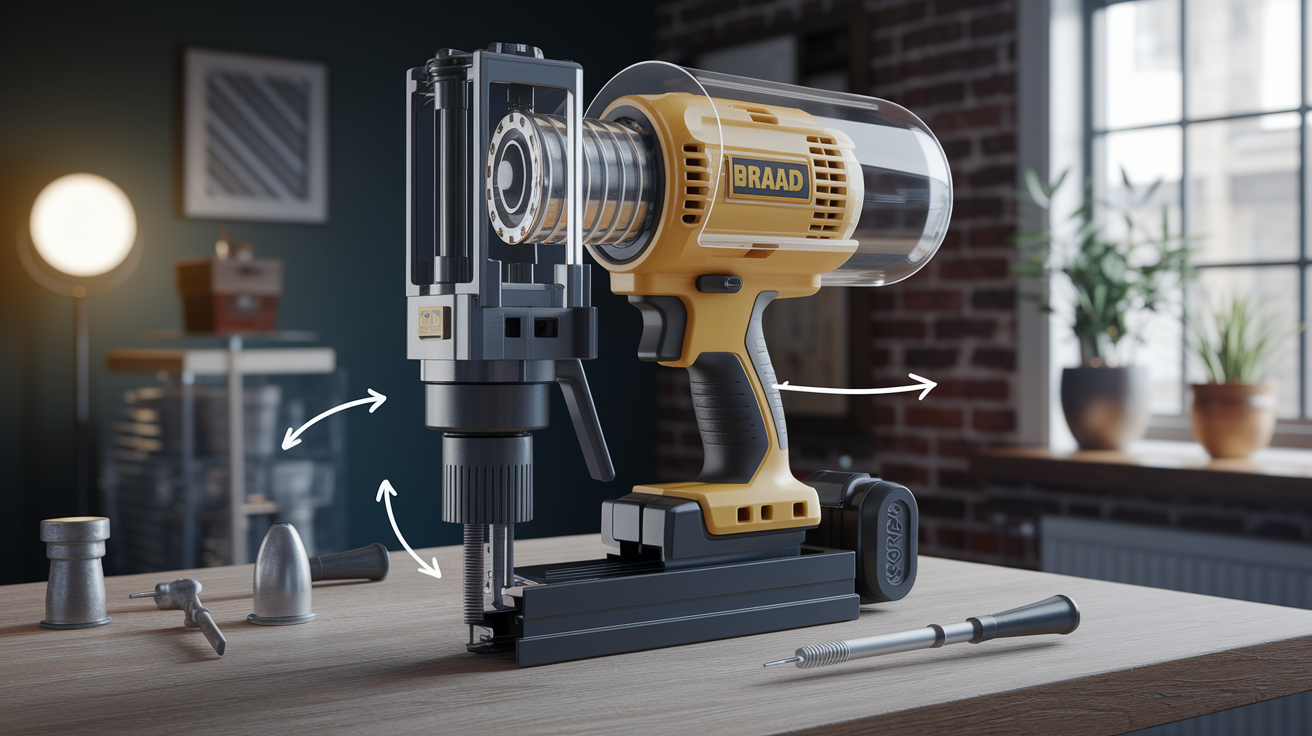
Brad nailers work with a driver blade that’s powered by compressed air or some kind of internal electric mechanism. In pneumatic models, air pressure builds up behind the driver blade when you pull the trigger. That forces the blade down fast to shove a brad out of the nose and into your workpiece. Cordless and electric models use a rotating flywheel or battery powered piston to generate that same driving force without needing an air hose. The depth of drive adjustment lets you control how deep the brad sinks. Turn the adjustment dial or wheel to push brads slightly below the surface if you want to fill them, or set them flush for a cleaner finish with no putty required. Most brad nailers give you two firing modes: sequential, where you have to release and press the trigger for each nail (safer if you’re just starting out), and contact or bump mode, where you hold the trigger and bump the nose against your work for rapid firing.
The magazine holds a strip of brads, usually 100 to 120 nails depending on what model you’ve got, and feeds them one at a time into the firing chamber. The nose includes a no mar tip, which is basically rubberized or plastic protection that keeps your trim from getting dinged when you press the nailer against the wood. When you pull the trigger, the tool’s internal safety checks that the nose is pressed firmly against a surface before it lets the driver fire. That prevents accidental discharge. Here’s how a basic firing cycle works:
- Load a strip of 18 gauge brads into the rear loading or side loading magazine and close the latch.
- Adjust the depth control dial and pick your firing mode (sequential is safest for beginners).
- Press the no mar nose tip firmly against the workpiece where you want the brad.
- Pull the trigger to release the driver blade, which pushes one brad through the nose and into the material.
- Release the trigger and reposition. In sequential mode, the tool resets and you’re ready for the next brad.
Basic Components of a Brad Nailer
The magazine is that long channel on top or at the rear where you load strips of brads. It uses a spring loaded follower to push nails forward as each one gets fired. The driver blade is a narrow metal rod inside the tool that strikes the head of each brad to drive it into the wood, and it pulls back immediately after each shot. The nose or muzzle is the front tip where brads exit, and it usually has a no mar rubberized cap to prevent surface damage when you press the tool against trim. The trigger system includes the manual trigger you pull and an internal safety contact switch in the nose that has to detect firm pressure before the tool will fire. The depth adjustment is a rotating dial, thumbwheel, or lever (depending on your model) that controls how far the driver blade travels, letting you countersink brads slightly below the surface or leave them flush.
Brad Nailer Nail Sizes, Gauges, and Choosing Correct Lengths

When we talk about “gauge,” we’re talking about the thickness of the nail’s wire shaft. Higher gauge numbers mean thinner nails. Brad nailers use 18 gauge brads, which are thin enough to minimize splitting on delicate trim but strong enough to hold lightweight materials securely. Common brad lengths include 5/8 inch, 3/4 inch, 1 inch, 1 1/4 inches, 1 1/2 inches, and 2 inches. Some heavy duty brad nailers take brads up to 2 1/2 inches. The general rule for picking the right length is choosing a brad that’s about 1/4 inch shorter than the combined thickness of the two pieces you’re joining. This makes sure the brad penetrates deep into the substrate without poking through the back or failing to grip. So if you’re attaching 1/2 inch trim to a 1/2 inch backing board (total thickness 1 inch), you’d use a 3/4 inch brad.
Testing your selected length on scrap is always smart because wood density, grain direction, and the angle of the nail path can all affect how deep a brad actually sinks. If you’re working with really thin material like 1/4 inch beadboard or picture frame stock, use the shortest brads you can get (5/8 inch or 3/4 inch) and think about pre drilling pilot holes in hardwoods to prevent splitting. Pay attention to the wood grain and don’t nail directly along a visible grain line, which basically acts like a crack waiting to open up. Common mistakes to avoid when choosing nail length:
- Picking brads that are too long, which can poke through the back of your trim or substrate and create safety hazards or visible points.
- Using brads that are too short, which gives you weak joints that pull apart easily or nails that don’t even penetrate the substrate.
- Ignoring wood hardness. Hardwoods like oak or maple often need shorter brads and lower air pressure to prevent the nail from bending inside the wood.
| Brad Length | Common Use |
|---|---|
| 5/8 inch | Very thin trim, small craft projects, picture frame assembly |
| 3/4 inch to 1 inch | Quarter round, shoe molding, window stops, cabinet trim |
| 1 1/4 inches to 1 1/2 inches | Small baseboards, thicker casing, paneling, face frames |
| 2 inches | Heavier trim assemblies, small crown molding, stacked molding profiles |
| 2 1/2 inches | Maximum thickness applications, occasional use in softwoods only |
Primary Brad Nailer Applications in Trim and Woodworking
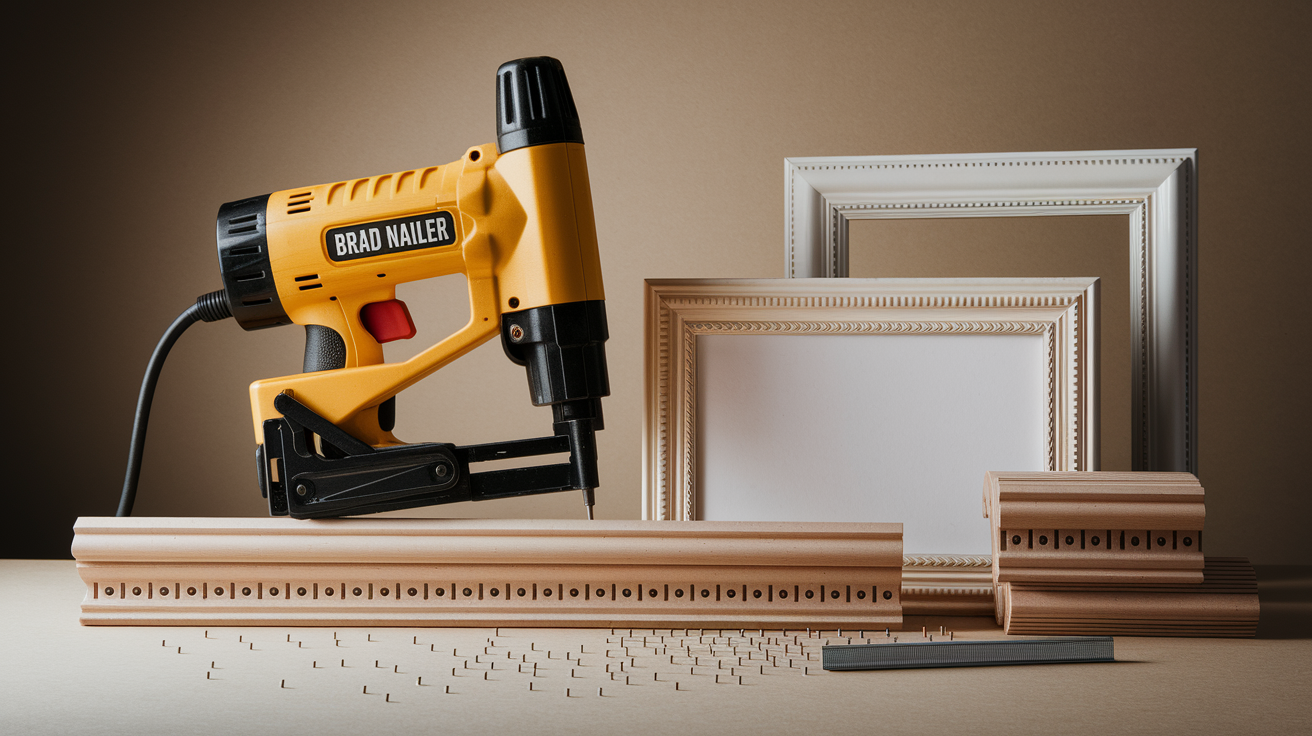
Brad nailers are your workhorse tool for any project where you need to fasten lightweight materials quickly and cleanly. The tiny 18 gauge holes they leave are easy to fill with a dab of wood putty, or in a lot of cases you can just leave them unfilled on painted trim because they’re nearly invisible once the paint dries. Brads also reduce the risk of splitting compared to thicker nails or screws, which makes them perfect for delicate moldings and thin stock. Because brads don’t have the holding power of larger fasteners, they work best on non structural trim and decorative elements where the fastener’s job is simply holding pieces in place while glue sets, or securing lightweight trim that won’t bear any load.
Trim and Molding Applications
Installing quarter round and shoe molding along baseboards is one of the most common brad nailer tasks. Brads let you tack the molding in place without pre drilling, and the small holes disappear under caulk or paint. Small baseboards (up to about 3 inches tall in softwood) can also be installed with a brad nailer, though thicker or taller baseboards are better secured with a 15 gauge or 16 gauge finish nailer for extra holding power. Crown molding installation on cabinets, small built ins, or decorative wall sections works well with brads when the molding is lightweight and you’re nailing into solid backing. For ceiling crown molding or larger profiles, a finish nailer is safer. Window and door casing in thinner profiles (under 3/4 inch thick) can be brad nailed directly to jambs and wall framing, especially if you’re also using construction adhesive for added strength. Brads are great at holding trim in perfect position while the adhesive cures, giving you both speed and security.
Craft and Cabinet Projects
Building picture frames and shadow boxes is a natural fit for brad nailers because the thin brads won’t split delicate frame stock and the tiny holes are easy to hide with wood filler that matches your stain. Assembling small cabinet face frames, drawer fronts, and door overlays works beautifully when you clamp the joints, apply wood glue, and shoot a few brads to hold everything tight while the glue dries. The brads act as temporary clamps you don’t have to remove. Installing beadboard paneling, wainscoting cap rails, and decorative trim on furniture or built ins becomes a one person job with a brad nailer because you can hold the piece in place with one hand and fire the nailer with the other. Small woodworking projects like jewelry boxes, display shelves, and decorative storage bins benefit from the speed and simplicity of brad nailing, especially when appearance and minimal cleanup matter more than maximum joint strength. Common brad nailer projects:
- Quarter round and shoe molding installation
- Window stops, casing, thin door trim
- Cabinet face frames and small crown molding
- Picture frames, shadow boxes, craft assemblies
- Beadboard paneling and wainscoting details
- Temporary fastening while glue sets on furniture builds
Comparing Brad Nailers to Finish Nailers and Pin Nailers
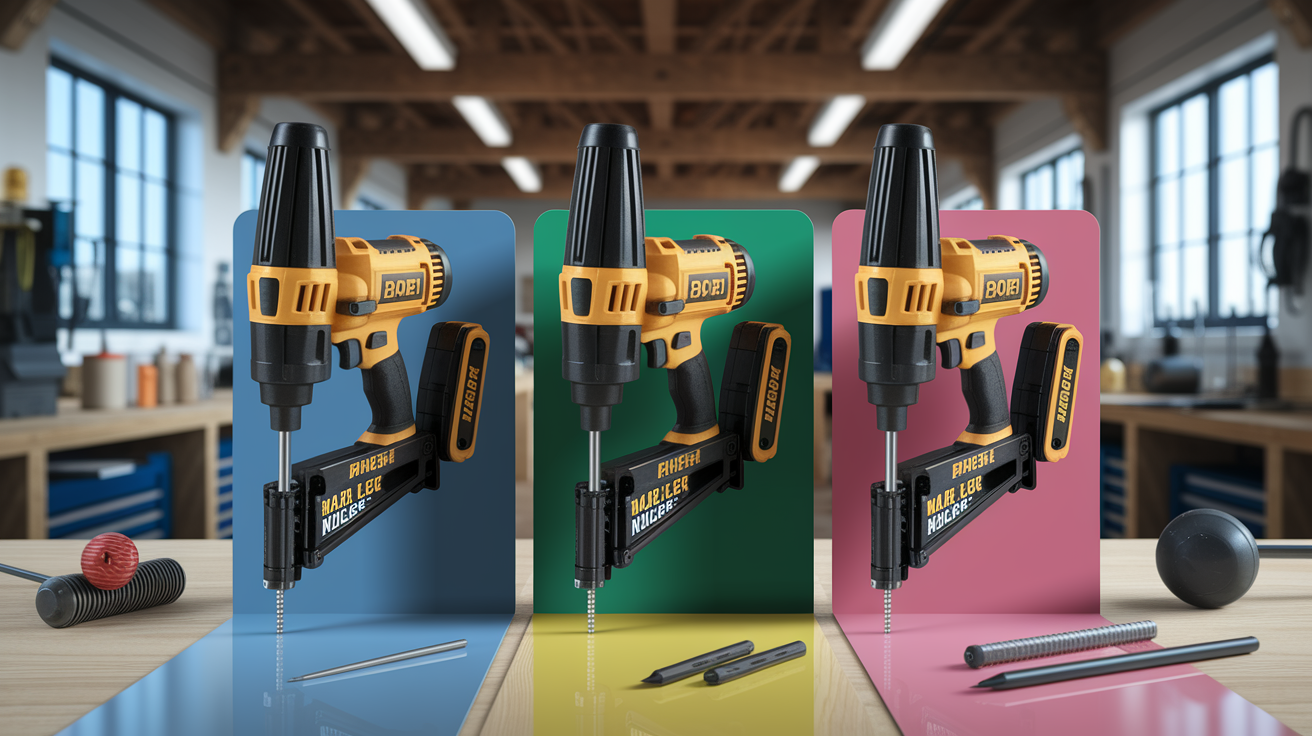
The main difference between a brad nailer and the other common trim nailers comes down to nail size, hole size, and holding power. Brad nailers use 18 gauge brads, finish nailers fire thicker 15 gauge or 16 gauge nails, and pin nailers shoot ultra thin 23 gauge headless pins. Each tool is designed for a specific range of tasks, and understanding the trade offs helps you pick the right nailer for your project. Brad nailers sit in the middle. They offer more holding strength than pin nailers but leave smaller holes than finish nailers, which makes them the versatile choice for most lightweight trim work.
| Tool Type | Gauge | Typical Lengths | Common Uses |
|---|---|---|---|
| Brad Nailer | 18 gauge (0.0478 inch diameter) | 5/8 inch to 2 1/2 inches | Small trim, quarter round, picture frames, cabinet details, craft projects |
| Finish Nailer | 15 or 16 gauge (0.0598–0.0673 inch diameter) | 1 1/4 inches to 2 1/2 inches | Baseboards, door/window casing, crown molding, wainscoting, heavier trim |
| Pin Nailer | 23 gauge (headless pins) | 1/2 inch to 2 inches | Veneer, delicate molding, glue assist on thin stock, nearly invisible fastening |
Finish nailers provide way more holding power because their nails are thicker and less likely to bend under stress. That makes them the better choice for baseboards, door jambs, and any trim that might get bumped or needs to support its own weight over time. The downside is that 15 gauge and 16 gauge nails leave larger holes that need more putty and sanding to hide. Pin nailers shoot tiny headless pins that are almost invisible, but those pins offer very little holding strength. They’re really only useful for holding delicate pieces in place while glue dries. Think veneer edge banding or ultra thin decorative molding where even an 18 gauge brad would be overkill.
Choosing Which Tool to Use
For most DIYers and finish carpenters, owning both an 18 gauge brad nailer and a 15 gauge finish nailer covers nearly every trim and molding task you’ll face. Use the brad nailer for small, delicate trim where appearance matters and holding strength is less critical. Quarter round, shoe molding, window stops, craft projects, lightweight casing. Reach for the finish nailer when you’re installing heavier trim that needs serious holding power. Baseboards taller than 3 inches, door casing, crown molding, wainscoting, any application where the trim might experience stress or movement. If you only want to buy one nailer to start, the brad nailer is the safer beginner choice because it’s more forgiving on delicate materials and easier to control. But plan to add a finish nailer when you tackle your first full room of baseboards or casing.
Types of Brad Nailers: Pneumatic, Cordless, and Electric
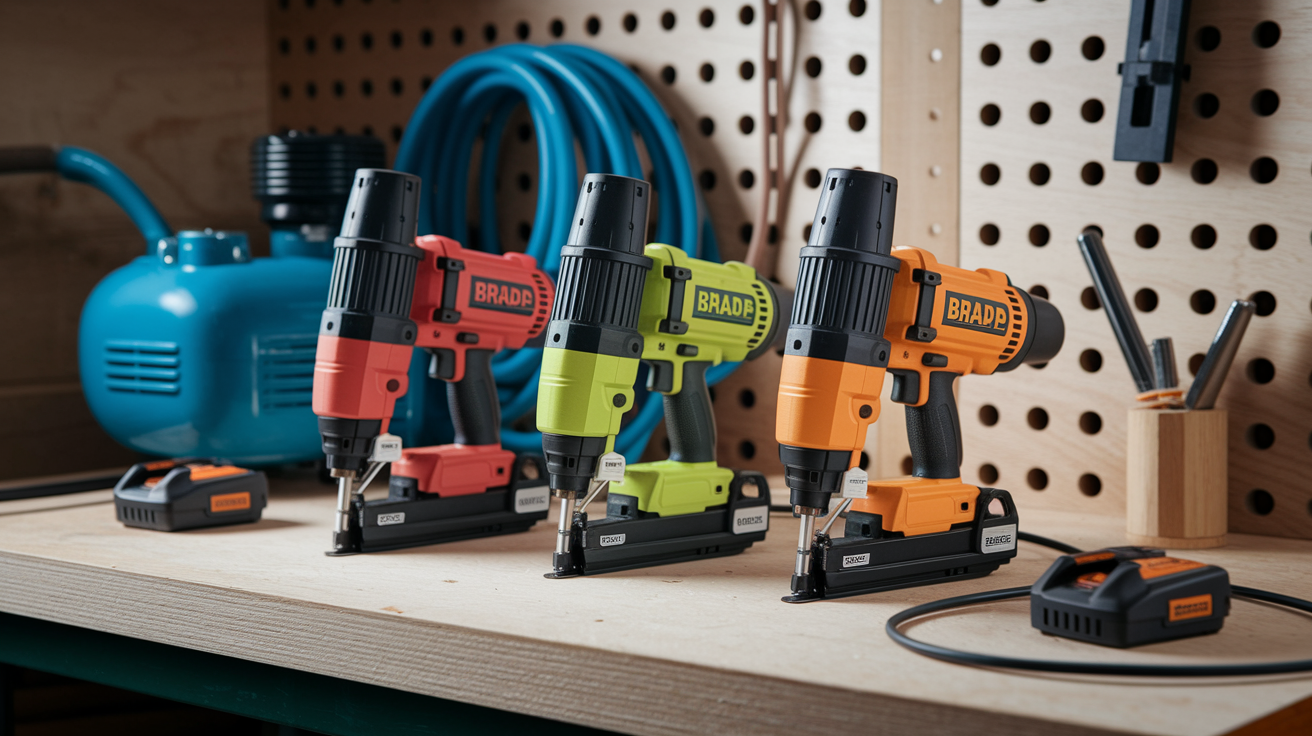
Brad nailers come in three main power types, and each has advantages depending on where and how you work. Pneumatic brad nailers run on compressed air from an air compressor. They need about 70 to 120 psi of operating pressure and use roughly 0.5 to 2.0 cubic feet per minute (CFM) at that pressure. Cordless battery powered brad nailers use rechargeable lithium ion batteries, typically 18 volts to 20 volts, and deliver consistent driving power without needing hoses or outlets. Corded electric brad nailers plug into a standard 120 volt AC wall outlet and provide steady power for light workshop use, though they’re less common than pneumatic or cordless models.
Pneumatic models are the most popular choice for professional finish carpenters and serious DIYers who already own an air compressor. They’re lightweight (no heavy battery), deliver fast consecutive shots, and cost less up front than cordless versions. The tradeoff is mobility. You’re tethered to a compressor and air hose, which can be awkward on job sites or in tight spaces. Cordless brad nailers offer maximum portability and convenience, letting you work anywhere without dragging hoses or hunting for outlets. But they’re heavier due to the battery, more expensive, and runtime is limited by battery charge (though modern 18V to 20V batteries typically deliver several hundred shots per charge). Corded electric models are budget friendly and provide unlimited runtime as long as you’re near an outlet, but the power cord limits your range and can be a tripping hazard in crowded work areas.
- Pneumatic pros: Lightweight tool body, fast firing, lower cost, unlimited runtime as long as compressor runs.
- Cordless pros: Total portability, no hose or cord, works anywhere, quick setup.
- Electric corded pros: Consistent power, no compressor needed, budget friendly for occasional home use.
Using a Brad Nailer: Essential Setup and Operation Steps
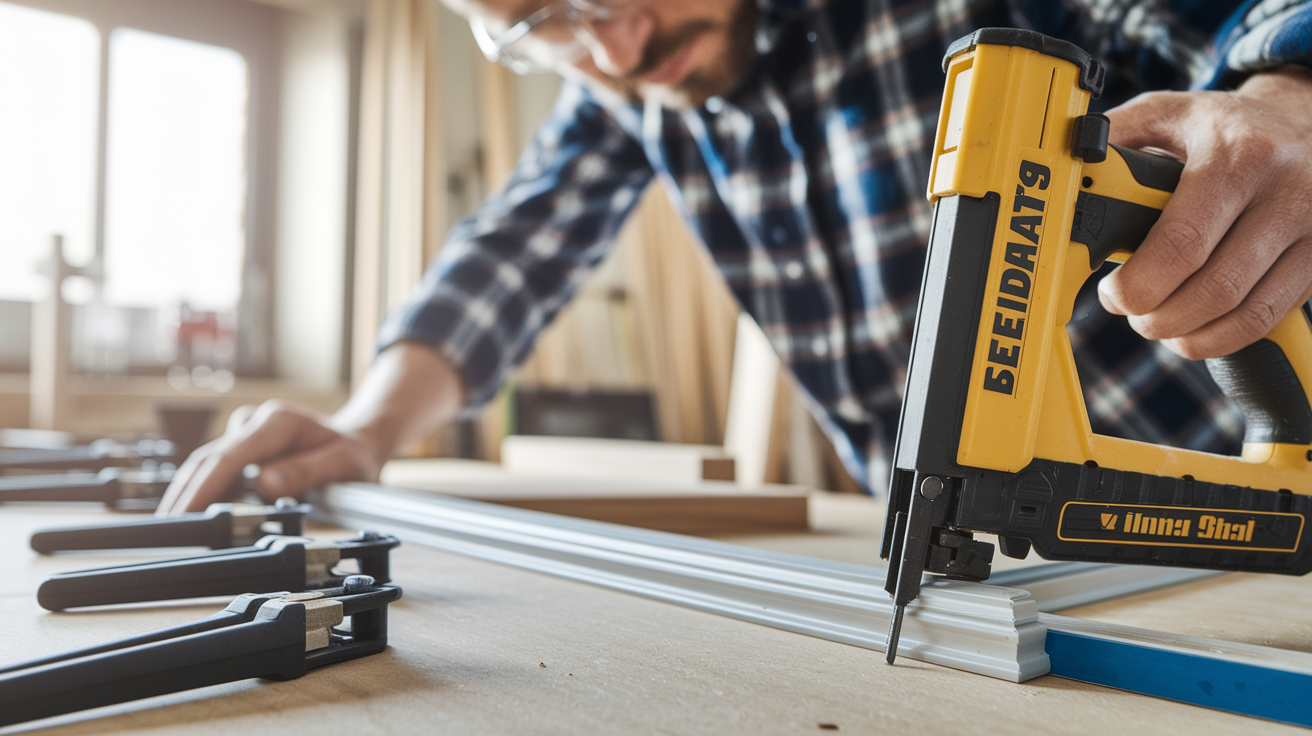
Setting up and firing a brad nailer correctly takes just a few minutes once you understand the basics, and the process is nearly identical across pneumatic, cordless, and electric models. The key to clean, professional results is taking the time to adjust your depth setting on a scrap piece of wood before you start nailing your actual trim. This test run prevents overdriven brads (sunk too deep and hard to fill) or underdriven brads (sticking out and snagging on everything). Always use clamps or a helper to hold your workpiece steady rather than trying to hold trim with one hand and nail with the other, which is both unsafe and leads to misaligned nails.
Start by picking the correct brad length for your material thickness using the rule of thumb that the brad should be about 1/4 inch shorter than the combined thickness of the two pieces you’re joining. Load a strip of brads into the magazine by pulling back the spring loaded follower, sliding the strip into the channel (brads facing down toward the nose), and releasing the follower to push the strip forward. Set your firing mode to sequential if you’re new to the tool. This requires you to press the nose against the work and then pull the trigger for each shot, which is much safer than contact/bump mode. Adjust the depth of drive dial so the brad will sit slightly countersunk below the surface, and fire a test brad into a scrap piece of the same material you’ll be working with.
- Choose the right brad length (about 1/4 inch shorter than combined material thickness).
- Load the brad strip into the magazine and make sure the follower locks it in place.
- Connect your air hose (pneumatic), insert a charged battery (cordless), or plug in the power cord (electric).
- Set the tool to sequential firing mode and adjust the depth dial to start in the middle range.
- Fire a test brad into scrap material and check the depth. Adjust the dial up or down until brads sit just below the surface.
- Clamp your trim or workpiece securely, position the no mar nose where you want the brad, press firmly, and pull the trigger.
- Move to the next nail location and repeat, checking your work every few brads to make sure depth and angle stay consistent.
Avoiding Split Wood
Even though 18 gauge brads are thin, they can still split delicate trim if you’re not careful about placement and technique. Nailing too close to the end of a board (within about 1/2 inch of the edge) increases the chance of splitting because there’s not enough wood fibers to grip the brad without cracking. Whenever possible, angle your nailer slightly so the brad enters the wood at a shallow angle rather than perfectly perpendicular. This spreads the force over a longer path through the grain and reduces splitting, especially on thin or brittle materials. If you’re working with hardwoods like oak or maple, or very thin stock like picture frame molding, drill tiny pilot holes with a 1/16 inch bit before nailing to give the brad a clear path without forcing the wood fibers apart.
Safety Practices for Brad Nailer Operation
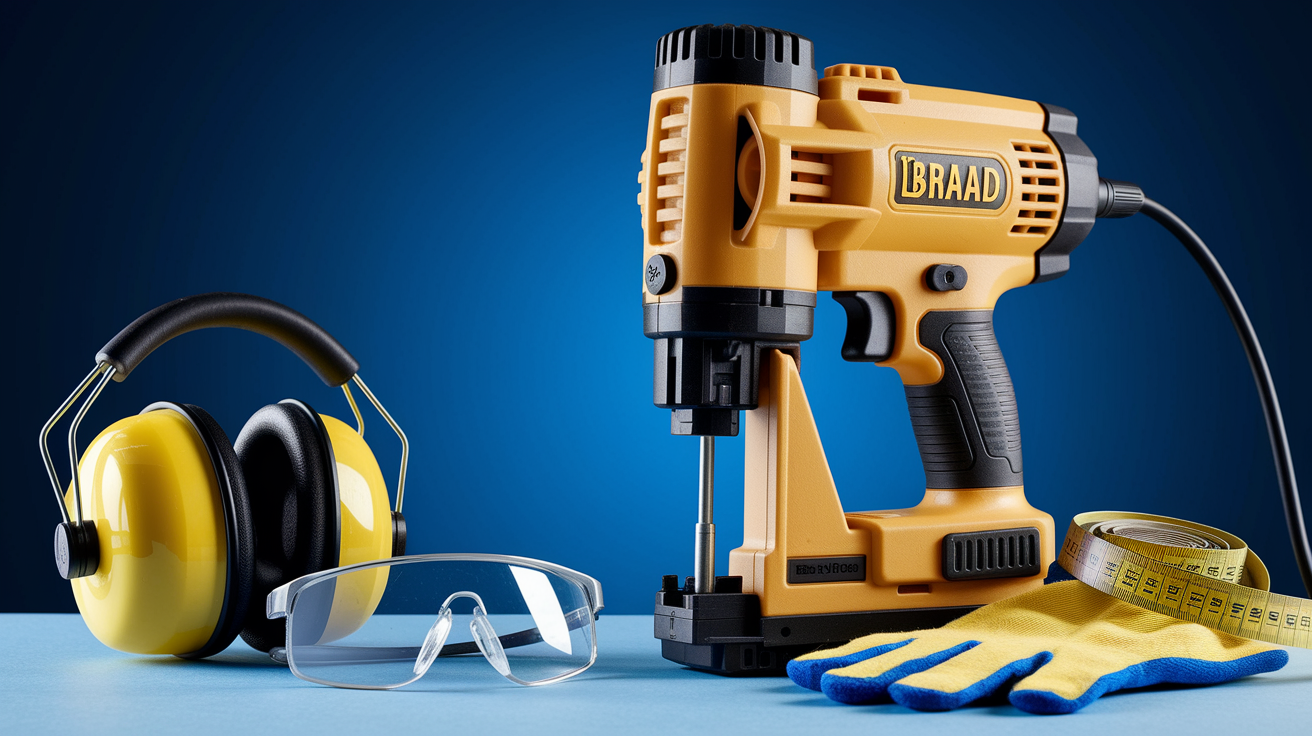
Brad nailers are safer than larger nail guns because they fire smaller fasteners at lower force, but they still demand respect and attention to basic safety rules. The most important step is always disconnecting the power source. Unplug the tool, remove the battery, or disconnect the air hose before you attempt to clear a jam, adjust internal components, or perform any maintenance. Never point a brad nailer at yourself or anyone else, even if you think the magazine is empty or the safety is engaged, because accidental discharge can happen. Wear safety glasses every time you use the tool, since brads can ricochet off knots or hard grain and small wood chips fly up during nailing.
Keep your hands and fingers well away from the nose and the nail’s exit path at all times. Use clamps to hold your work instead of your free hand. Test your depth and pressure settings on scrap wood before starting your project so you’re not experimenting on finish trim. Five essential safety rules:
- Always wear safety glasses to protect your eyes from flying debris and ricochets.
- Disconnect the power source (battery, air hose, or plug) before clearing jams or servicing the tool.
- Never bypass or disable the nose safety contact. It’s designed to prevent accidental firing.
- Keep your hands and body clear of the nail path and never hold trim with your hand directly behind where you’re nailing.
- Work on stable surfaces and use clamps to secure materials so you can focus on accurate nail placement.
Maintenance, Jam Clearing, and Troubleshooting for Brad Nailers

Routine maintenance keeps your brad nailer firing reliably and extends its working life, and most of the required tasks take less than five minutes. For pneumatic models, add a few drops of pneumatic tool oil into the air inlet every day you use the tool, or follow the manufacturer’s interval if it’s less frequent. This oil lubricates the internal O rings and piston to prevent air leaks and keep the driver moving smoothly. Keep the magazine channel clean by blowing out dust and wood debris with compressed air after each project, because buildup can cause jams or prevent the follower from feeding brads correctly. Inspect the driver blade periodically for bending or wear, especially if you notice misfires or brads that don’t seat fully, and replace the blade if it’s damaged.
When a jam occurs, always disconnect the power source first. Remove the battery, unplug the cord, or disconnect the air hose. Open the magazine latch and remove any remaining brad strip, then use needle nose pliers or the included jam clearing tool to gently pull the stuck brad out of the nose. Never try to force the trigger or bang the tool to clear a jam, because that can damage internal parts or cause the stuck brad to fire unexpectedly. Common troubleshooting issues and fixes include misfires (check air pressure or battery charge, clean the magazine, inspect the driver blade), air leaks around seals (replace O rings and gaskets), brads that don’t sink deep enough (increase air pressure or adjust depth dial), and brads that bend inside the wood (reduce pressure, use shorter brads, or pre drill pilot holes in hardwoods). Five key maintenance checks:
- Oil pneumatic models daily or per the manual’s schedule to keep seals lubricated.
- Clean the magazine and nose area after each work session to prevent debris buildup.
- Inspect and tighten screws and fasteners periodically, especially around the nose and magazine.
- Check the driver blade for wear, bending, or damage and replace if needed.
- Store the tool with the air pressure off (pneumatic) or battery removed (cordless) to protect seals and electronics.
Clearing a jammed brad safely involves four simple steps:
- Disconnect the battery, air hose, or power plug immediately.
- Open the magazine latch and remove the brad strip.
- Use needle nose pliers to gently pull the jammed brad straight out of the nose.
- Reload the brad strip, reconnect power, and test fire on scrap to confirm normal operation.
Choosing a Brad Nailer: Features, Ergonomics, and Cost
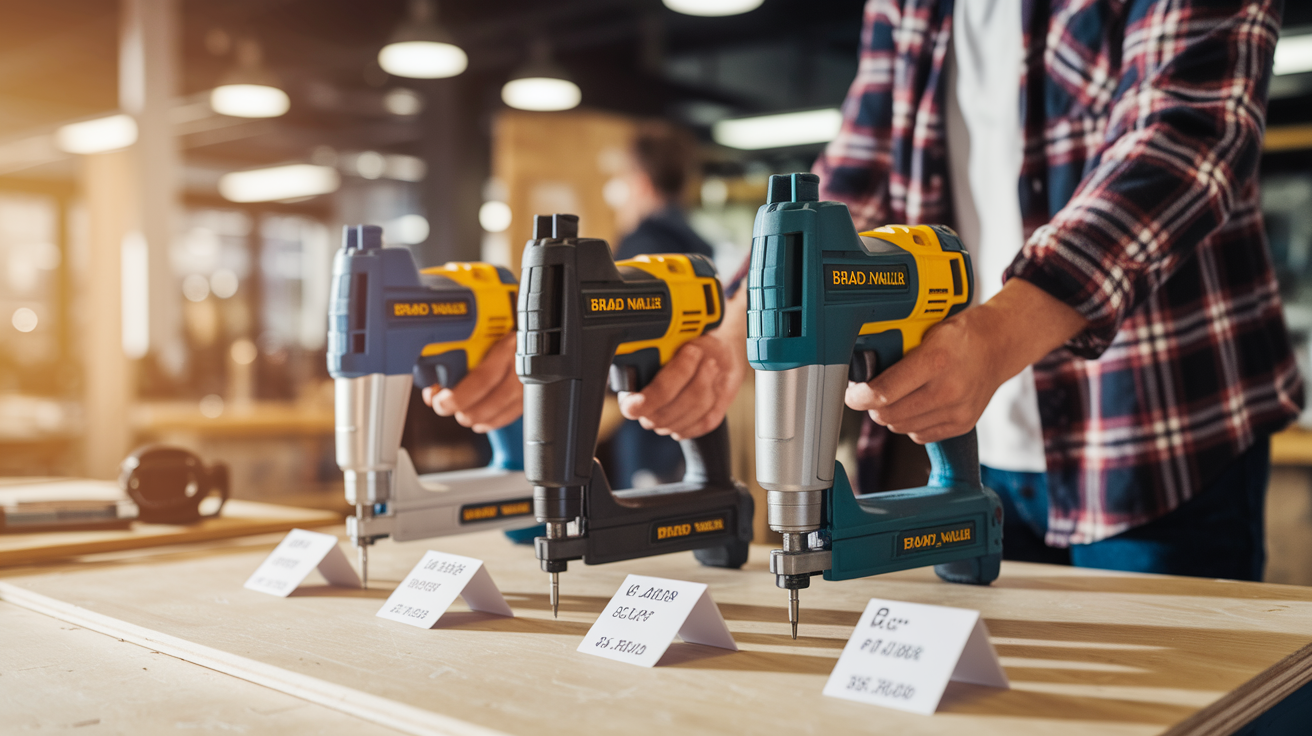
When shopping for a brad nailer, weight and balance matter because you’ll be holding the tool overhead or at awkward angles while nailing trim in place. Most brad nailers weigh between 2 and 4 pounds. Pneumatic models are on the lighter end (since there’s no battery) and cordless models are slightly heavier due to the battery pack. Look for rubberized grips and a well balanced design that doesn’t feel nose heavy or tip forward when you’re holding it one handed. Tool free jam clearing is a must have feature. It lets you pop open the nose and remove stuck brads in seconds without hunting for an Allen wrench or screwdriver.
Adjustable depth control should be easy to reach and turn, ideally with clear markings so you can return to a known setting after making changes. A no mar tip protects your trim from dings and dents, and an angled or pivoting nose helps you reach into tight corners like inside cabinet face frames or along ceiling lines. Some higher end models include an LED work light near the nose, which is surprisingly useful when you’re working in dim closets or under cabinets. Price ranges vary by power type and brand. Corded electric brad nailers typically cost between $40 and $150, pneumatic models run from $70 to $200, and cordless battery powered versions range from $100 to $400 depending on whether the battery and charger are included. For occasional home use, a corded electric or budget pneumatic model covers most DIY trim projects without breaking the bank. If you already own cordless tools in a particular battery platform (Milwaukee, DeWalt, Makita), buying a bare tool brad nailer in that same system saves money and keeps your batteries interchangeable.
| Feature | Why It Matters |
|---|---|
| Tool free jam clearing | Lets you quickly remove stuck brads without tools, minimizing downtime and frustration |
| Adjustable depth control | Fine tunes how deep brads sink so you get consistent, fill ready holes on every shot |
| No mar rubber tip | Protects trim surfaces from dents and dings when you press the nose against the wood |
| Lightweight and balanced design | Reduces arm fatigue during long trim jobs and improves control for accurate placement |
Final Words
Grab the tool and get to work. This post defined a brad nailer, showed how it drives 18-gauge brads, and laid out the common jobs it’s made for — trim, frames, quarter-round, and light cabinet work.
We covered how the tool works, how to pick nail length, setup steps, safety checks, and simple maintenance to avoid jams and split wood.
If you still wonder what is a brad nailer, it’s a light-duty nail gun for tidy holes and delicate work. Use these tips and you’ll finish trim cleanly and with confidence.
FAQ
Q: What’s the difference between a nailer and a brad nailer?
A: The difference between a nailer and a brad nailer is a brad fires thin 18‑gauge brads for light trim with tiny holes, while finish or framing nailers use thicker nails for much stronger holding power.
Q: What would you use a brad nailer for and when not to use a brad nailer?
A: A brad nailer is used for small trim, quarter‑round, picture frames, and delicate woodworking where small holes matter. Don’t use it for load‑bearing joints, heavy molding, or structural framing.
Q: Will a Brad nailer go through a 2×4?
A: A Brad nailer will usually not reliably drive into a 2×4 for full hold. Long brads might penetrate, but use a finish or framing nailer for solid fastening in 2x4s.