

Think window insulation film is fiddly and useless? Think again.
It’s a quick, cheap weekend fix that cuts drafts, lowers heating bills, and keeps your view.
You don’t need a pro or weird tools.
Just tape, a sheet of film, and a hair dryer.
In seven simple steps you’ll measure, stick, shrink, and trim the film so it disappears into the frame.
Most people finish a window in about 15 minutes.
Follow this guide and you’ll feel the difference right away.
Quick-Start Overview of the Window Insulation Film Process

Window insulation film is a straightforward weekend project that cuts drafts and drops your heating bills without needing professional tools or training. The whole thing follows a simple pattern: prep the surface, measure and cut the plastic, stick it to double-sided tape around your window frame, then grab a hair dryer to shrink the film tight and clear.
Most people finish a single window in about 15 minutes once they’ve done their first one. The film disappears when it’s installed right, and you won’t lose natural light or give up your view. You’ll feel the draft reduction right away, and a lot of homeowners save over $15 per window each heating season.
Here’s the complete sequence:
- Clean the window frame and let it dry all the way.
- Measure the window opening from trim edge to trim edge.
- Cut the plastic film larger than what you measured.
- Apply double-sided tape around the entire frame.
- Attach the film to the tape, starting at the top and working down.
- Use a hair dryer to shrink the film and get rid of wrinkles.
- Trim away excess film around the edges.
This works best on older or drafty windows during fall and winter. Non-opening windows can stay insulated year round for cooling savings in summer, too.
Tools and Materials Needed for Efficient Window Film Application
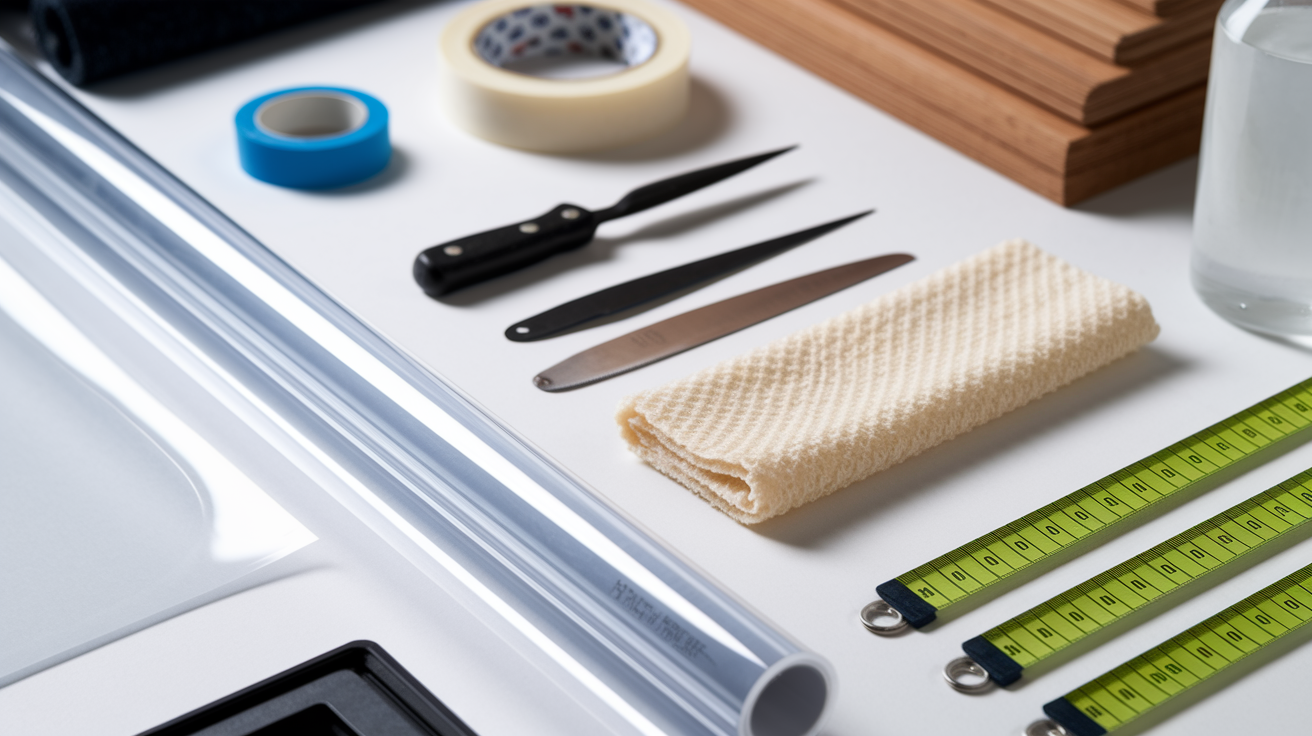
A complete install only requires basic household tools and a kit designed for indoor shrink film application. Most kits come with one large sheet of clear plastic and a roll of double-sided window tape. Buy an extra roll of tape as backup in case you run out or need to reapply a section.
Here’s everything you’ll need:
- Window insulation film kit – includes clear plastic sheeting and double-sided tape; typical kits cover 2–3 windows from one large sheet
- Isopropyl alcohol or methylated spirit – removes grease, dust, and residue for strong tape adhesion
- Snap-off knife or scissors – for cutting film and trimming excess around the frame
- Microfiber cloth or clean rag – for wiping and drying surfaces before taping
- Hair dryer – shrinks the film and removes wrinkles; set to high heat
- Measuring tape – ensures accurate window dimensions and proper film cutting allowance
- Optional space heater – speeds frame drying in cold or humid conditions
- Optional clear mailing tape – temporary reinforcement if original tape fails (may lift paint)
- Optional vacuum – removes dust from blinds and sills before cleaning
- Optional plastic brush – removes loose paint or rust from metal frames
Keep your work area dust free and make sure you’ve got good lighting. An extra pair of hands helps on large windows, but most installations work fine solo.
Surface Preparation for Reliable Window Insulation Film Adhesion
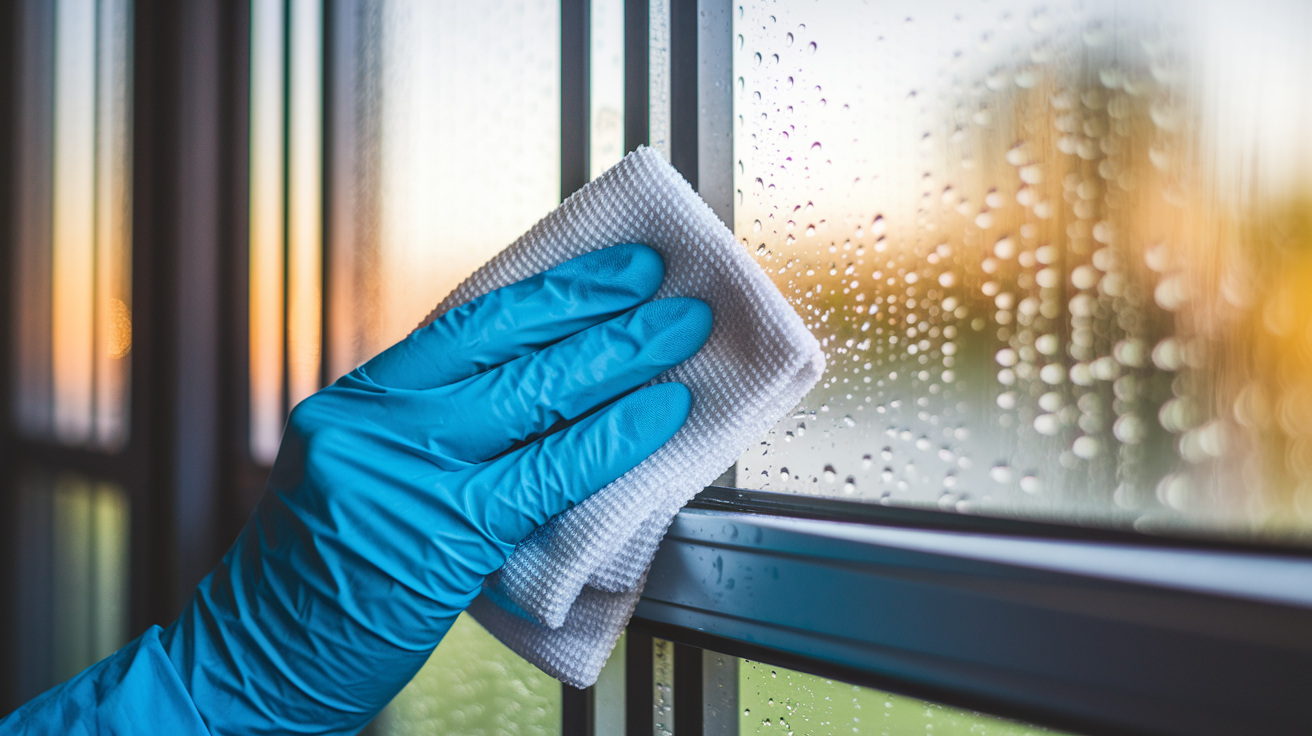
Strong adhesion starts with a totally clean, dry surface. Grease, moisture, and dust are the three main reasons tape fails. Wipe the entire window frame and sill with isopropyl alcohol, methylated spirit, or rubbing alcohol using a clean rag. This removes invisible grease and film that block the tape from sticking.
After cleaning, the frame has to dry completely before you apply tape. Moisture trapped under the tape will make it peel within hours. Raise your thermostat a few degrees or use a space heater near the window to speed things up. Turn off humidifiers and skip boiling water or running hot showers for a few hours before you start. Pick a non-freezing day if you can, especially in older homes where cold frames attract condensation fast.
Metal frames need extra attention because they attract and hold moisture faster than wood or vinyl. Dry metal surfaces thoroughly and check for loose paint or rust. Remove any flaking material with a plastic brush so the tape sits flat against smooth metal. Even small bumps or rough spots create gaps where the tape won’t hold.
Before taping, handle these moisture-related steps:
- Wipe down blinds or vacuum dust from slats and cords
- Close and lock the window to get a tight seal
- Remove debris or dirt from around the lower sash
- Let the frame air dry or use gentle heat until no dampness remains
Proper prep takes only a few extra minutes but prevents most tape adhesion failures and rework.
Measuring and Cutting Film Accurately for Proper Fit
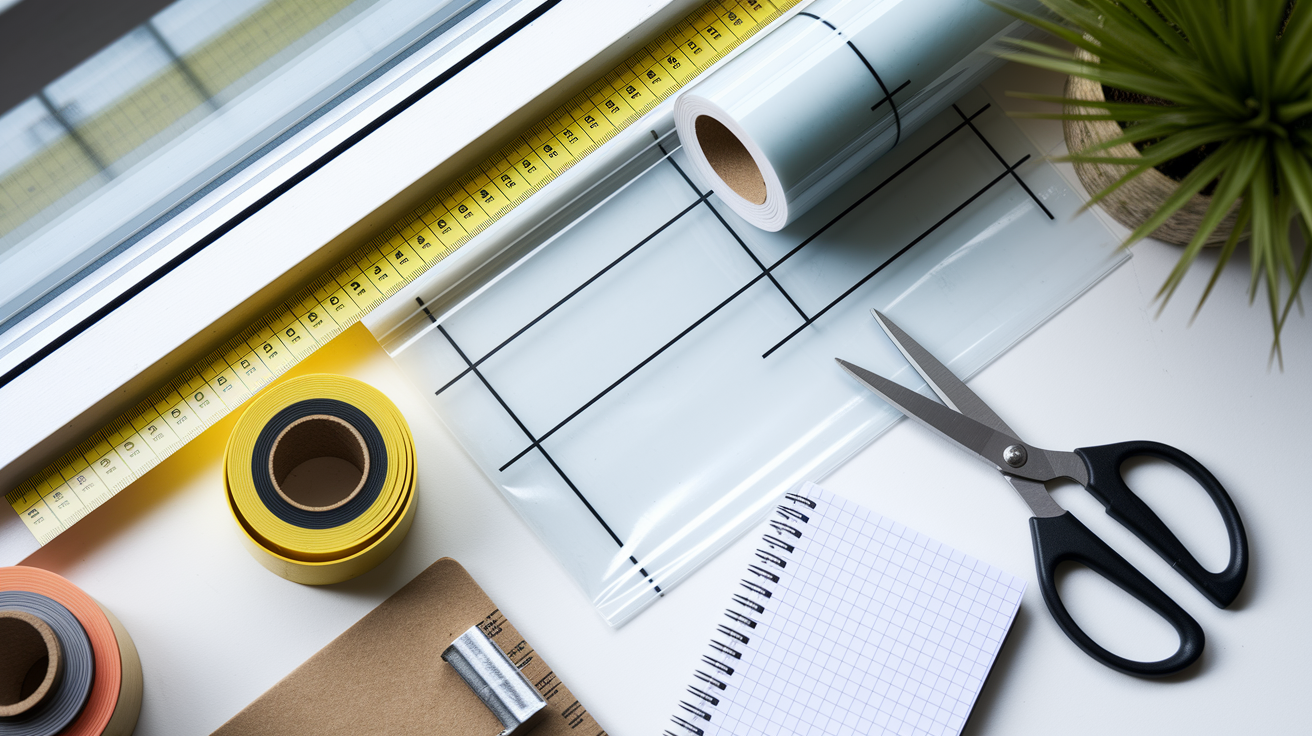
Measure each window from the outside edge of the trim on all four sides. Write down the height and width because kits vary in sheet sizes, and you’ll use these numbers to calculate how much film to cut. Accurate measurements prevent wasted material and make sure you buy the right kit size for your windows.
When cutting the film, always add extra length beyond your measured dimensions. One common method adds 5 inches to each side of the window measurement, giving you 10 inches of total extra width and height. Some kits recommend a smaller allowance like 2 inches of extra width, but cutting generous margins makes attachment easier and cuts down the chance of pulling the film too tight during install.
Lay the film on a large, flat, dust free surface like a clean table or countertop. Never use the floor where dust will stick to the plastic. Unfold the first 12 inches of film across what will become the top edge, and cut straight across using scissors or a snap-off knife. Trim the film to your calculated size, keeping edges as straight as you can. A fraction of an inch of unevenness won’t matter after shrinking, but wildly crooked cuts make alignment harder. Once the film is attached and shrunk, you’ll trim excess material to less than 1 cm from the tape edge for a clean finished look.
Correct Tape Placement Techniques for Strong Film Attachment

Apply double-sided tape to the front of the window molding and across the sill, positioning it just inside any ridge or decorative detail so your tape line stays straight. Leave a 1 inch border from the edge of the frame to give yourself room to press the tape down firmly without catching your fingers on the wall. Run the tape continuously around all four sides: top, bottom, left, and right.
When you reach a corner or run out of tape, overlap the next piece by about 1 inch. Peel back roughly 1 inch of backing from the old piece, lay the new piece over it, then press down hard using a scrunched paper towel or clean cloth. This overlap method prevents gaps where the film could lift. Cut each tape end cleanly with scissors rather than tearing it, and press all tape sections with firm, consistent pressure to get the adhesive fully activated.
Skip these common taping mistakes that cause film failure:
- Taping over wet or greasy surfaces – the tape peels off within hours or days
- Using cheap stationery tape or masking tape – these don’t have the shear resistance needed to hold film under tension
- Peeling all the backing off at once – exposes too much sticky surface and causes mis-sticks
- Skipping the firm press-down step – tape that isn’t fully adhered will release when you attach the film
- Placing tape too close to the edge – leaves no room for trimming and makes corners hard to secure
If your tape runs out mid-project, contact the kit manufacturer. They often supply extra rolls at no charge. As a temporary fix, clear mailing tape can reinforce weak sections, but it may lift paint when removed and won’t look as clean.
Installing and Securing the Window Film Without Wrinkles
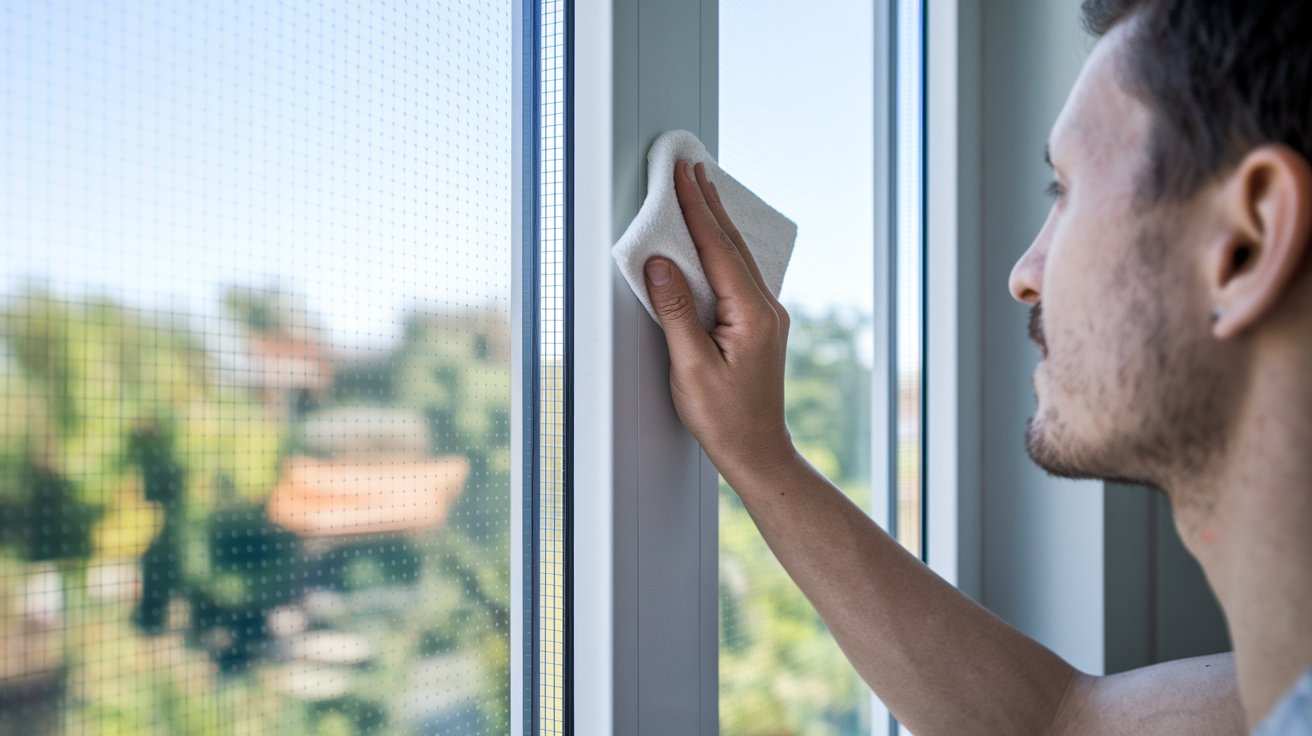
Start at the top of the window and work downward. Unfold the first 12 inches of film across the top edge, center it over the window opening so your excess film is evenly distributed on both sides, then peel the backing from the top section of tape and about 6 inches down each side. Let roughly 1 inch of film hang over the left edge of the tape, then press the film onto the adhesive across the top, keeping it taut but not pulled tight.
Gradually peel the tape backing in 6 inch or 10 inch increments as you move down the window, sticking the film to the freshly exposed tape as you go. This controlled pace prevents the film from sticking in the wrong place and gives you time to smooth out small wrinkles with your hand. Keep slight tension on the sides to prevent sagging, but don’t stretch the film hard. Pulling it tight will cause the tape to separate from the frame or tear the plastic.
When you reach the bottom, push the film slightly upward as you press it onto the sill tape. This creates a tiny bit of slack that helps the film shrink evenly later. Press all taped edges firmly with a dry cloth to lock the seal, paying extra attention to corners where the film is most likely to lift.
Fixing Bubbles and Wrinkles
Small bubbles and wrinkles are normal before you shrink the film. If you see a large bubble or a section that didn’t stick, gently pull that area away from the tape, smooth it with your hand, and press it back down. For persistent wrinkles after the film is fully attached, use your hair dryer to reheat the problem area while pressing the film toward the tape with a cloth. Move the dryer constantly and don’t hold heat in one spot for more than a few seconds.
If an edge lifts because the tape failed, peel off the loose tape section, re-clean the frame with alcohol, let it dry, and apply a fresh piece of tape. Press the film back onto the new tape and heat shrink the area to restore tension.
Heat Shrinking the Film for Maximum Insulation Performance

Set your hair dryer to high heat and hold it a few inches away from the film surface. Work in a back and forth or spiral pattern, moving from the corners toward the center of the window. Don’t linger in one spot for more than a few seconds, and keep the dryer moving smoothly across the entire surface. The film will start to tighten and wrinkles will disappear as the plastic shrinks.
If wrinkles remain after your first pass, make a second pass with shorter heating intervals rather than holding the dryer close for a long time. Overheating can melt holes in the film or cause it to over-tighten and tear away from the tape. If your hair dryer feels too hot to hold comfortably or starts to smell like burning plastic, unplug it right away and let it cool for up to 30 minutes before continuing. Never use an electric fan heater to speed the process. The uncontrolled heat and airflow create serious safety risks.
| Distance | Result |
|---|---|
| 3–5 inches away | Safe, even shrinking with smooth, clear finish |
| 1–2 inches away | Risk of melting, holes, or over-tightening that tears film |
| More than 6 inches away | Slow shrinking, wrinkles may remain, requires multiple passes |
The film should look smooth and nearly invisible when shrinking is complete. A perfectly shrunk window film will feel drum tight but not stretched to the point of stress.
Maintenance, Troubleshooting, and Seasonal Removal of Window Film

Once installed, window film needs almost no maintenance. Check the edges occasionally for moisture buildup between the film and the glass. Small amounts of condensation are normal in very cold weather, but heavy moisture suggests a gap in your window seal or an air leak that should be caulked. If tape starts to peel, re-clean the frame with isopropyl alcohol to remove grease or moisture that’s blocking adhesion, let the surface dry completely, and reapply fresh double-sided tape.
If you run out of tape mid-season or need to replace a failed section, contact your kit manufacturer first. Many will send extra tape at no charge. Clear mailing tape works as a temporary reinforcement, but it may lift paint when removed and won’t look as clean as proper window tape. Once film has been heat shrunk, it stays shrunk permanently. You can remove it in warm weather, fold it, and store it for reuse without shrinking again, but the results are usually unsatisfactory because the film won’t lie flat or adhere evenly the second time.
Most installations take about 15 minutes per window once you’ve done your first one. Film typically lasts the entire heating season and can stay in place until you’re ready to open windows in spring. Peel it off gently, starting at one corner, and remove any leftover tape residue with alcohol or adhesive remover.
Common troubleshooting actions:
- Tape peels within hours – re-clean frame to remove grease or moisture, dry thoroughly, reapply tape
- Film looks cloudy or hazy – usually dust on the plastic; re-cut a fresh piece from the kit
- Persistent wrinkles after shrinking – reheat with hair dryer using shorter passes; don’t over-stretch
- Corners lift or won’t stay stuck – add small pieces of clear mailing tape to reinforce corners temporarily
- Hair dryer overheats – unplug and allow 30 minutes to cool; resume with shorter heating intervals
- Film tears during shrinking – over-tightened or overheated; patch small tears with clear tape or replace the sheet
If you’re insulating non-opening windows, you can leave the film in place year round for added cooling savings in summer.
Energy Savings, Performance Benefits, and When Window Film Is Worth It

Window insulation film delivers an average savings of over $15 per window during the heating season by cutting heat loss through glass and blocking cold drafts around frames. These savings add up fast if you’re treating multiple windows, and the low cost of kits (typically under $20 for 2–3 windows) means you’ll recover your investment in the first winter. Non-opening windows can stay insulated year round, providing extra cooling savings in summer by reflecting heat and reducing the load on your air conditioner.
The film works by trapping a thin layer of air between the plastic and the glass, which slows heat transfer and stops drafts from leaking around loose fitting sashes. While there’s no exact R-value improvement listed, the general benefit is significant enough that most users feel the difference right away when standing near a treated window. Older single pane windows and drafty double-hungs see the biggest gains, while newer energy efficient windows with tight seals may not justify the effort.
Beyond energy savings, window film offers secondary benefits that improve comfort and protect your home. UV blocking film reduces fading on furniture, carpets, and artwork. Reflective or tinted films cut glare without blocking natural light, and clear insulating film maintains your view while keeping rooms warmer in winter and cooler in summer. If your windows sweat heavily with condensation, the air gap created by the film can reduce moisture buildup and prevent mold growth on sills and frames.
Top benefits of window insulation film:
- Reduces heat loss and cold drafts for measurable energy savings
- Blocks UV rays that fade furniture and flooring
- Cuts glare and improves comfort without sacrificing natural light
- Protects against condensation and moisture damage in cold weather
Window film is worth the effort if you’re living with drafty, older windows and don’t plan to replace them soon. It’s also a smart temporary solution for renters or homeowners saving up for full window replacement.
Final Words
Start by cleaning the frame and measuring so the film fits right. Prep the surface and gather the tape, hair dryer, and scissors.
Stick the double-sided tape, attach the film at the top, smooth bubbles as you go, then heat-shrink and trim the edges for a tidy finish.
Watch for moisture and loose tape, and plan seasonal removal or replacement. Good window insulation film application cuts drafts and saves energy, so try one window first and you’ll feel the difference.
FAQ
Q: How to put up window insulation film?
A: Putting up window insulation film is done by cleaning the frame, measuring and cutting the film, applying double-sided tape, sticking the film from the top, shrinking it with a hair dryer, then trimming excess for a tight fit.
Q: Does insulating window film really work?
A: Insulating window film does work, reducing heat loss and drafts, cutting UV and glare, and can save energy, often more than $15 per window during the heating season, especially on non-opening windows.
Q: What liquid do you use to apply window film?
A: The liquid used to apply window film is a soapy water mix or the kit’s application spray, usually mild dish soap in water or the manufacturer’s solution to help position and smooth the film.
Q: Do you apply window film on the inside or outside?
A: Window film is applied on the inside of the window, which protects the film, makes shrinking easier, and avoids weather exposure, unless the product specifically says it’s made for exterior use.