

Think caulk guns are just messy tools that only pros can use?
They’re not.
Once you learn the small steps, cutting the tip, seating the rod, steady trigger pressure, and quick tooling, you’ll get smooth, watertight beads every time.
This guide walks you through loading, cutting, applying, and finishing so your seals look clean and last.
You’ll see which gun and caulk to pick, how to avoid drips, and quick checks to know when a job is truly done.
Ready to get perfect sealing results without the fuss?
Step-by-Step Instructions for Operating a Caulk Gun Correctly
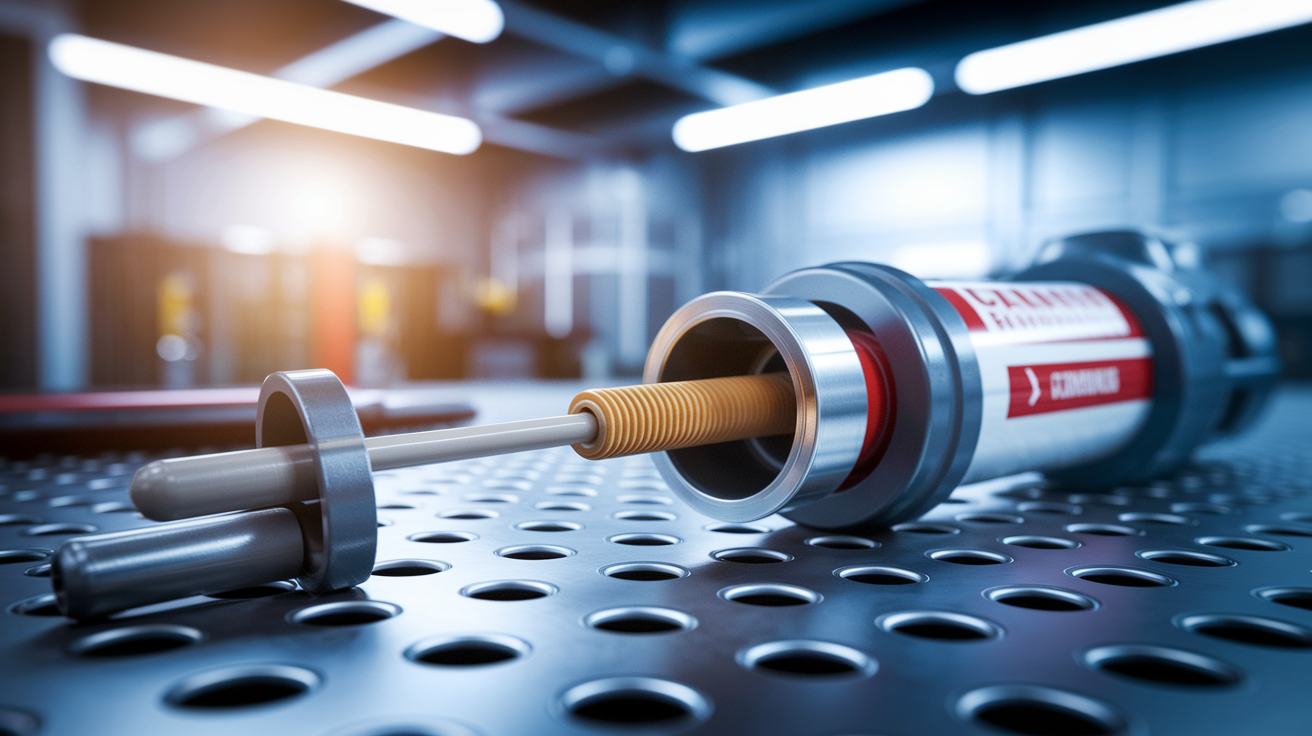
A caulk gun pushes product out of a cartridge so you can seal cracks and gaps around your home. Most manual models work the same way, and once you’ve loaded your first tube you’ll realize it’s easier than it looks.
Here’s the complete loading and application sequence:
-
Cut the seal at the base of the nozzle. Use a utility knife or sharp scissors to slice through the thin foil or plastic membrane inside the cartridge neck. Leave enough room to screw on the applicator tip. Don’t cut right up against the cartridge body.
-
Screw the applicator nozzle onto the cartridge. Thread it firmly by hand so it sits tight and won’t leak when you squeeze.
-
Retract the plunger rod. Press and hold the release catch with your thumb, then pull the metal rod all the way back toward the handle. This creates room for the cartridge in the gun’s frame.
-
Insert the cartridge. Slide the nozzle end through the front opening as far as it’ll go, then drop the cartridge rear into the cradle so it sits flush.
-
Cut the nozzle tip. Snip the very end of the plastic nozzle at a 30 to 45 degree angle. A smaller hole produces a finer bead for narrow gaps. A larger opening gives more flow for wide joints. Cutting on an angle makes it easier to guide the bead into the seam.
-
Engage the plunger. Squeeze the trigger a few times until you feel resistance. The plunger’s now pressing against the cartridge base and ready to push product forward.
-
Apply caulk. Squeeze the trigger gently and move the gun along the joint at a steady pace. You’ll feel how hard to squeeze as the product starts flowing.
The nozzle sits at the front and directs the product. The plunger rod runs along the frame and presses on the cartridge base. The trigger advances the rod in small steps. The release catch disengages the rod so you can pull it back to load or stop flow.
When you’re ready to start, squeeze the trigger several times until caulk appears at the nozzle tip. Have a rag ready to catch the first dribble.
Press the release catch as soon as you finish a bead. This stops forward pressure. A small amount of product may still ooze out because pressure inside the cartridge takes a second to drop.
Preparation and Surface Setup Before Applying Caulk

Caulk sticks best to clean, dry surfaces. Try to apply it over dirt, soap scum, or old peeling caulk and the new bead will fail in a few weeks.
Start by removing all loose debris from the joint. Use a putty knife, plastic scraper, or a purpose-built caulk removal tool to pull away old caulk. Old silicone can be stubborn. Heat it gently with a hair dryer to soften it, or apply a commercial silicone remover and wait the recommended time before scraping. Once the old material’s out, wipe down both sides of the seam with rubbing alcohol to cut any remaining grease or soap film. Let the surface dry completely before you load the gun.
Painter’s tape is the easiest way to get crisp, straight edges. Run a strip along each side of the joint, leaving only the gap exposed. Press the tape firmly so caulk can’t creep under the edge. You’ll peel it away as soon as you smooth the bead, before the product skins over.
If you’ve never used a caulk gun before, practice on scrap cardboard or an old piece of wood trim first. Run a few beads, smooth them with your finger, get a feel for the trigger pressure and gun speed.
Quick prep checklist:
Clean the joint completely. No dirt, no old caulk, no grease.
Remove stubborn silicone with heat or solvent and a scraper.
Wipe the seam with rubbing alcohol and let it dry.
Apply painter’s tape on both sides of the joint for clean edges.
Practice on cardboard before working on visible surfaces.
Advanced Caulk Gun Mechanics and Cartridge Types

Understanding how your caulk gun works helps you avoid common frustrations like jammed cartridges, uneven flow, and messy over-pressure.
Manual caulk guns use a plunger rod that advances in small increments each time you squeeze the trigger. On lower-force guns, the rod is smooth and held in place by spring-loaded friction. On higher-force models, the rod is notched like a ratchet so the trigger can lock into each step and deliver more push. The thrust ratio is the mechanical advantage built into the trigger mechanism. A higher ratio means less hand effort to move thick, cold product. Some guns include a built-in spout cutter or a wire piercing tool at the frame. Others require you to use a knife or nail to puncture the foil seal.
| Size | Best Use | Notes |
|---|---|---|
| 10 ounce | Standard household tasks (trim, windows, small gaps) | Fits all manual caulk guns; most common retail size |
| 20 ounce | Larger jobs (panel adhesive, exterior sealing) | Requires a “sausage” gun or large-capacity frame |
| 29 ounce | Professional/commercial work | Heavy-duty gun needed; best value per ounce |
Cartridges differ in more than just size. Some have a thin foil seal at the base of the nozzle that you puncture with a long nail or the tip of a utility knife pushed through the nozzle opening. Others use a plastic membrane or arrive pre-pierced. The quality of the cartridge nozzle also matters. Cheap plastic can split if you cut it carelessly, while firmer nozzles hold an angled cut cleanly and make application smoother. If your first squeeze produces sputtering or air bubbles, the plunger may not be seated fully against the cartridge base. Pull the trigger a few more times and the product will start flowing evenly.
Application Technique for an Even, Smooth Caulk Bead
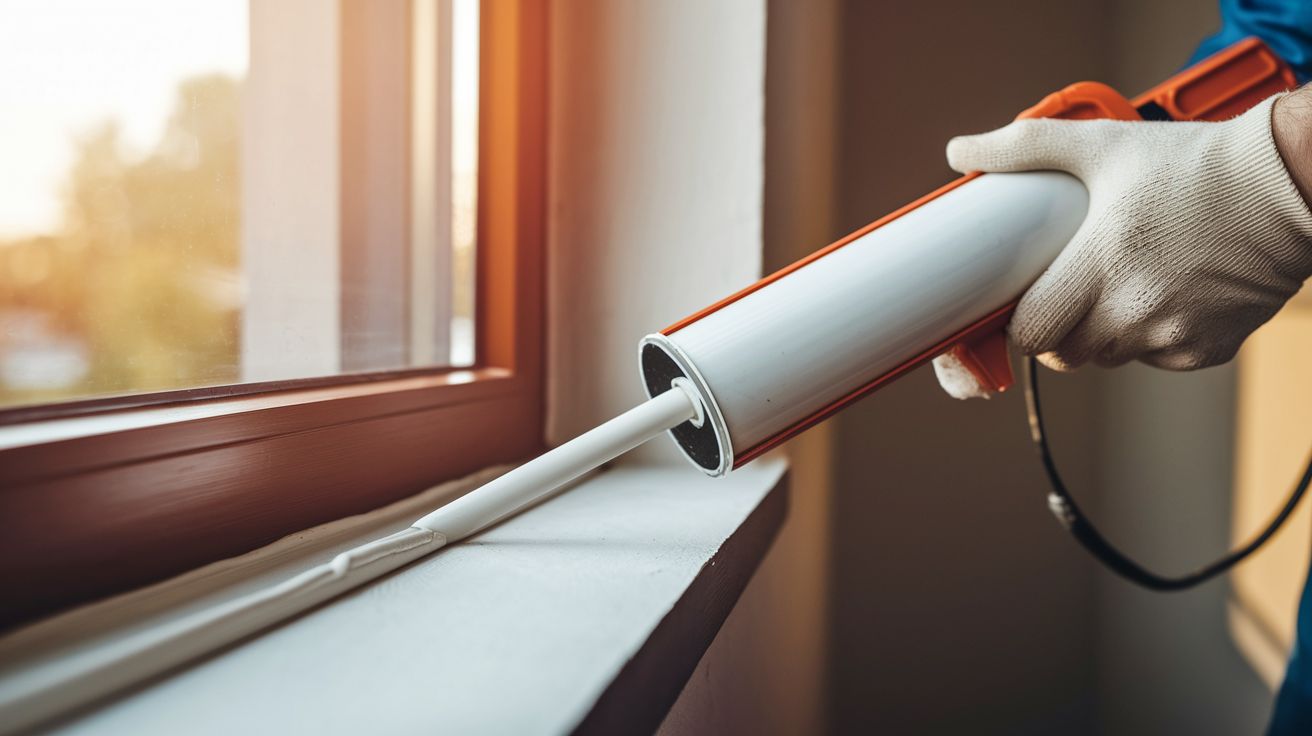
Holding the gun at the correct angle and moving at a steady pace makes the difference between a professional-looking seal and a messy, uneven bead that you’ll want to scrape off and redo.
Hold the caulk gun at roughly a 45 degree angle to the joint, with the nozzle tip nearly touching the gap. Rotate the nozzle so the angled cut faces into the seam. This helps the product flow directly where you want it. Pull the gun toward you as you squeeze the trigger. Pushing the gun away from you tends to create an uneven bead and makes it harder to see where the product’s going. Keep the gun moving at a consistent speed. Move too fast and you’ll leave voids and thin spots. Move too slow and caulk will pile up and overflow the gap.
The trigger controls flow rate. Gentle, steady squeezes produce a smooth bead. Jerky, hard squeezes create lumps and bursts. The thrust ratio of your gun affects how much hand pressure you need. On a high-ratio gun, a light squeeze moves a lot of product. On a basic gun, you may need a firmer grip. Match your movement speed to the flow so the bead fills the gap without dragging or bulging.
When you reach the end of a seam, stop squeezing the trigger and lift the nozzle away from the surface. Press the release catch immediately to disengage the plunger. Expect a small dribble of caulk to continue for a second or two because pressure inside the cartridge doesn’t drop instantly. Keep a rag ready to catch drips, or hold the nozzle over a scrap of cardboard until flow stops.
Finishing and Tooling the Bead for Clean Results

Once caulk is in the joint, you have a short window to shape it before a skin forms on the surface. Most products give you 5 to 15 minutes depending on humidity and temperature. Don’t wait.
The simplest finishing tool is a wet finger. Dip your fingertip in water, or spray it lightly, then run your finger along the fresh bead in one smooth motion. Press gently to push the caulk into the gap and create a slightly concave, finished surface. For silicone caulk, plain water doesn’t help much. Spray a little Windex on your finger or use a glove and wipe your finger on a rag between passes. A plastic tooling spatula works well if you want a very uniform radius or if you’re uncomfortable using your finger. Wet the spatula, hold it at a shallow angle, and draw it steadily along the bead.
If you used painter’s tape, pull it away as soon as you finish tooling the bead. Wait too long and the caulk will skin over onto the tape, tearing the edge when you remove it. Pull the tape slowly at a shallow angle to avoid disturbing the fresh bead. Wipe any smudges or excess product from surrounding surfaces immediately with a damp rag. Once caulk dries it’s much harder to remove.
Quick tooling options:
Wet finger works for acrylic and latex. Easiest method.
Windex spray is essential for silicone. Helps product release from skin.
Plastic tooling spatula produces uniform concave radius.
Painter’s tape removal within 5 minutes of tooling. Peel away before skinning.
Choosing the Right Caulk and Gun Type
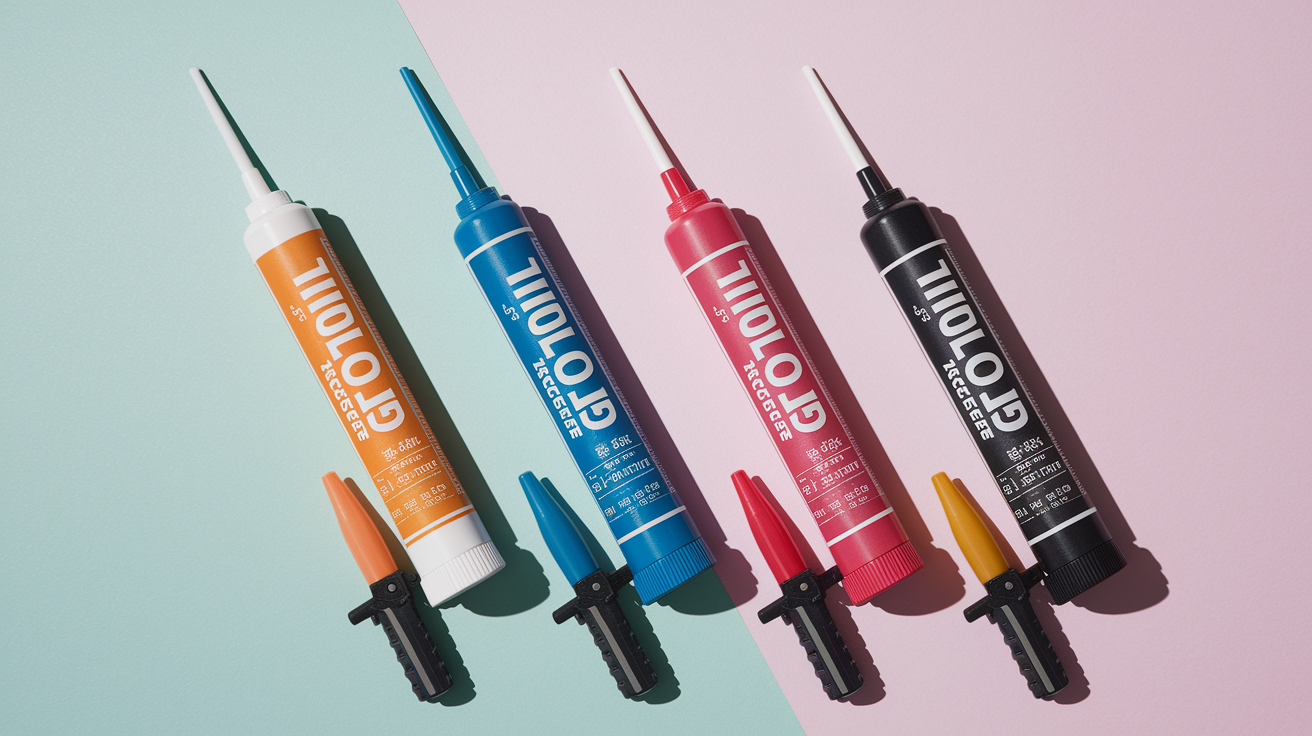
Matching your caulk and gun to the job prevents wasted time, wasted product, and do-overs.
Acrylic latex caulk is the standard choice for interior trim, baseboards, and painted surfaces. It’s paintable within an hour or two, cleans up with soap and water, and comes in white, almond, and a few other colors to match common trim finishes. Silicone caulk forms a waterproof, flexible seal that’s ideal for wet areas like tubs, showers, and kitchen sinks. It bonds to glass, tile, and metal, but most formulas can’t be painted and cost a bit more per tube. Tile and grout caulk is available in sanded or unsanded versions and comes in a wide range of colors to match grout lines. Use it where tile meets a tub or where expansion joints need to flex.
Manual caulk guns are the most common and cost five to fifteen dollars. Battery-powered or pneumatic guns speed up large projects and reduce hand fatigue, but they’re overkill for occasional home use. A dripless gun includes a mechanism that automatically retracts the plunger slightly when you release the trigger, cutting down after-flow. Standard guns use a simple friction or ratchet rod and cost less. If you’re buying a gun for the first time, choose one with a notched plunger rod and a solid metal frame. It’ll handle thicker products and last through many tubes.
| Caulk Type | Best For | Paintable? | Notes |
|---|---|---|---|
| Acrylic Latex | Trim, baseboards, gaps around doors/windows | Yes | Cleans with water; may shrink slightly when dry |
| Silicone | Tubs, showers, kitchen sinks, exterior glass | Usually no | Waterproof and flexible; use Windex to clean skin |
| Tile & Grout | Expansion joints in tile, tub/tile seams | Varies | Available in many colors; sanded or unsanded |
Caulk Gun Troubleshooting and Common Mistakes to Avoid

Even experienced users run into drips, uneven lines, and other small frustrations. Knowing the cause makes the fix obvious.
Dripping happens when pressure inside the cartridge remains high after you release the trigger. Press the release catch immediately when you stop. It disengages the plunger and lets pressure drop. If your gun doesn’t have a good release mechanism, try the puncture hack. Use the tip of a utility knife or scissors to make a tiny hole in the cartridge base, then place a small circle of aluminum foil between the base and the plunger. When you press the release catch, trapped caulk escapes into the foil and pressure drops instantly.
Cutting the nozzle tip too large is the most common beginner mistake. You can always make the hole bigger, but you can’t make it smaller. Start with a small cut about three quarters of an inch from the tip and test the bead on cardboard. If the flow’s too narrow, snip a bit more and try again.
Common issues and fixes:
Cartridge won’t load. Plunger rod not pulled back far enough. Press release catch and pull rod all the way to the handle.
No caulk coming out. Foil seal not punctured. Insert a nail through the nozzle and push it all the way in.
Uneven bead. Gun moving too fast or trigger pressure not steady. Slow down and squeeze gently.
Caulk piles up. Moving too slow. Increase speed or ease off the trigger slightly.
Messy edges. No painter’s tape used, or tape removed too late. Tape before applying and peel within five minutes of tooling.
Continuous drip after release. Residual cartridge pressure. Press release catch sooner, or use the foil-circle puncture hack to relieve pressure instantly.
Best Uses for Caulk Guns Across the Home
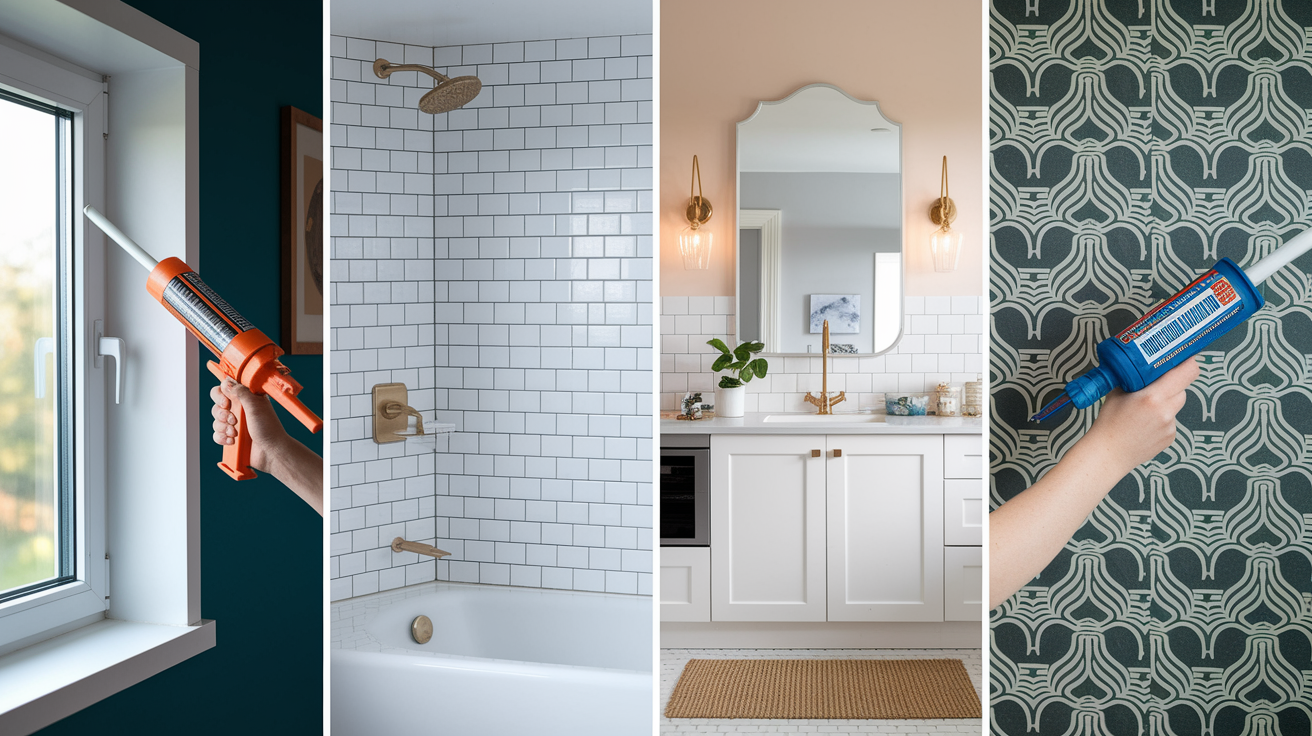
Caulk guns handle dozens of jobs that make your home look finished, keep out drafts, and prevent water damage.
You’ll use a caulk gun most often for sealing gaps that move slightly or need a flexible, waterproof barrier. Acrylic caulk fills the seam between baseboards and walls, between door or window trim and drywall, and along crown molding. Silicone caulk seals the joint where a tub or shower pan meets tile, around kitchen sink edges, and along the base of a backsplash. Grab adhesive applied with a caulk gun lets you mount lightweight panels, fluted MDF, or beadboard without nails. You can also use it to close gaps above kitchen cabinets, fill voids in stair risers, and secure panelling in place during IKEA hacks and other flat-pack furniture projects.
Where you’ll use your caulk gun:
Sealing window frames (interior and exterior) to block drafts and water.
Applying grab adhesive for decorative wall panels and trim.
Filling gaps above kitchen cabinets before installing crown molding.
Caulking joints on assembled flat-pack furniture for a seamless look.
Sealing stair risers and treads to eliminate squeaks and close gaps.
Installing wall panelling with panel adhesive instead of nails.
Waterproofing bathroom and kitchen fixtures to prevent mold and leaks.
Cleaning, Storage, and Long-Term Maintenance of Caulk and Caulk Guns
Taking a few seconds to seal and store your cartridge correctly saves you from throwing away half-used tubes and scraping dried product out of the nozzle next time.
When you’re finished for the day, drive a three inch finishing nail or a three inch deck screw all the way into the nozzle opening so no air can reach the caulk inside. Store the cartridge upright with the nozzle up to keep product from pressing against the seal and leaking. Next time you need it, pull out the screw or nail with pliers or back out the screw with a drill, then peel away any dried caulk from the nozzle tip. Most partially used cartridges stay usable for weeks or even months if sealed tightly.
Clean the gun frame and plunger rod with a damp rag after each use to prevent buildup. For silicone residue on your hands or tools, use mineral spirits or a commercial silicone remover. For acrylic or latex caulk, soap and warm water work fine. If the release catch or trigger feels sticky, wipe away any caulk that’s dripped onto the mechanism.
Storage checklist:
Seal nozzle completely with a nail or screw after each use.
Store cartridge upright to prevent leaks and pressure buildup.
Peel dried caulk from nozzle tip before reusing. Don’t cut more off unless necessary.
Clean gun frame and plunger rod with a damp rag to prevent sticky buildup and keep the release catch working smoothly.
Final Words
Gun loaded, nozzle cut, and you’re squeezing a steady bead along the joint. You’re in the action.
This post gave a clear flow: prep the surface, load the cartridge, cut the tip, hold at 45 degrees, squeeze for a steady bead, tool it smooth, and stop drips with the release catch. We covered gun types, troubleshooting, finishing tips, and storage.
Practice a bead, keep a wet finger or tool handy, and you’ll get consistent results. Go seal that gap. How to use a caulk gun is now in your hands.
FAQ
Q: Why is my caulk gun so hard to squeeze and how do I make a caulking gun easier to use?
A: A caulk gun feels hard to squeeze because the plunger is stuck, the foil seal isn’t open, or the gun has low leverage. Fix by retracting the rod, puncturing the seal, cutting a smaller tip, or using a higher‑leverage or powered gun.
Q: Is it better to caulk or use sealant?
A: Choosing caulk or sealant depends on the job: caulk (acrylic) is paintable for trim and small gaps; sealant (silicone or polyurethane) is better for wet areas, moving joints, and exterior waterproofing.
Q: Do you push or pull a caulk gun?
A: You pull the gun toward you while squeezing the trigger, holding the nozzle at about 45 degrees. Pull in a steady motion to lay an even bead and avoid blobs.