

Think a long level does all the work?
Try fitting a 24-inch tool behind a sink.
A torpedo level is a short, tapered spirit level (a liquid vial tool) usually 6 to 12 inches long that slips into tight spots and gives a fast, accurate read.
Its small size, magnetic edge, and V groove let you work one-handed in cabinets, between studs, and on pipes.
This post shows what a torpedo level is used for, which size to pick, and quick tips to get reliable readings every time.
Core Functions and Everyday Uses of a Torpedo Level

A torpedo level is a compact spirit level, usually 6 to 12 inches long, with a tapered or torpedo shaped body that slips into tight spaces where bigger levels won’t fit. It’s got two or three sealed liquid filled vials (you’ll see yellowish green fluid and an air bubble) that show you when something’s perfectly horizontal, vertical, or sometimes at a 45 degree angle. The small size makes it the tool you grab when you need a quick, accurate reading in a cramped spot or awkward position.
This thing excels in tight spaces because its short length and narrow profile let you work inside cabinets, between wall studs, behind fixtures, and on short surfaces where a 24 inch level would be too long or just impossible to maneuver. Lots of models have magnetic edges that grip metal surfaces and V grooves that cradle round pipes, so you can let go and use both hands to hold a bracket or adjust a fitting.
Common DIY tasks where you’ll use a torpedo level:
Hanging pictures and mirrors. Check vertical alignment on the wall without a bulky tool blocking your view.
Installing shelves and brackets. Verify level over short spans, especially in closets or tight alcoves.
Aligning electrical boxes and switches. Confirm plumb inside wall cavities during rough in work.
Setting slope on drain pipes. Use the bubble to check slight pitch for proper drainage.
Checking cabinet and trim alignment. Fit the level inside cabinet boxes or along narrow trim pieces.
Leveling appliances and small fixtures. Quick checks on washing machines, countertop appliances, or towel bars.
The portability advantage is hard to beat. Most torpedo levels weigh just a few ounces, fit in a tool belt pouch or back pocket, and you can operate them one handed while you steady the workpiece with your other hand. That combination of small size, readable vials, and magnetic or V groove features makes the torpedo level something you’ll reach for constantly throughout a project.
Design Features and Parts of a Torpedo Level Explained

Every torpedo level is built around a sturdy body (aluminum die cast, extruded aluminum, or high impact plastic) that houses the vials and provides a milled or flat reference edge for contact with the work surface. The tapered ends let the tool slide into narrow gaps between studs, pipes, or fixtures. Some specialty models have a humped or rounded top that fits into angled corners or beveled edges where a flat top level would rock or slip.
The core components work together to give you fast, visual feedback on whether a surface is level, plumb, or at a specific angle. Magnetic versions add rare earth or ferrite magnets along one or more edges, so the level sticks to steel framing, iron pipes, or metal scaffolding without your hands holding it. V grooves cut into the bottom or top edge cradle round pipes and conduit, stopping the level from rolling off and giving a stable seat for accurate readings.
| Part | Function | Notes |
|---|---|---|
| Vials | Sealed tubes filled with liquid and an air bubble; bubble centers between lines when surface is level or plumb | Most torpedoes have 2 to 3 vials (horizontal, vertical, sometimes 45°); fluid often green or yellow for visibility |
| Magnetic Edge | Holds level to ferrous metal surfaces hands free | Strength varies; rare earth magnets grip better than basic ferrite; check magnet pull before buying if you work with metal often |
| V Groove | Cradles round pipes, conduit, or scaffold poles for stable contact | Cut into top or bottom edge; essential for plumbing and pipe fitting tasks |
| Body Material | Provides rigidity, protects vials, and forms the measuring edge | Aluminum die cast is durable and precise; plastic is lighter and cheaper but check for warping; milled edges improve accuracy |
How to Use a Torpedo Level for Accurate Readings
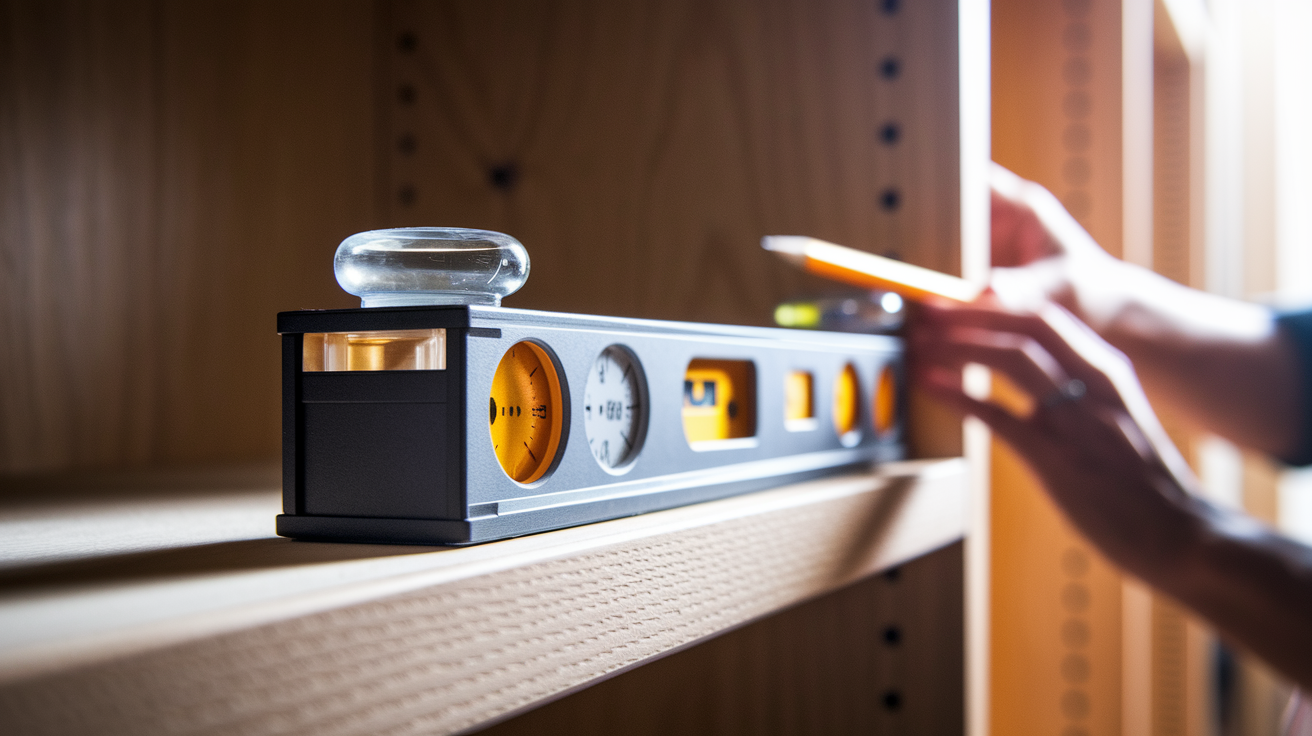
Using a torpedo level correctly starts with placing the tool flat on the surface you want to check, with the appropriate vial parallel to the direction you’re measuring. Horizontal vial for level checks, vertical vial for plumb checks. Wait a moment for the bubble to settle, then read the position.
-
Choose the correct vial. Use the horizontal vial (usually marked “LEVEL”) to check if a surface is flat side to side; use the vertical vial (marked “PLUMB”) to check if an edge is straight up and down; use the 45° vial if your model has one to check angled work like stair rails or roof pitch.
-
Place the level on the work surface. Set the measuring edge (the flat, milled bottom or side of the level) directly on the surface. Make sure it’s not rocking on debris or a high spot.
-
Let the bubble settle. Give it a second or two. The bubble will drift to the high side and then stop moving when it’s stable.
-
Read the bubble position. If the bubble sits centered between the two lines inside the vial, the surface is level (or plumb, depending on which vial you’re reading). If the bubble is off center, the surface tilts toward the side where the bubble has moved.
-
Adjust the work and re check. Shim, tilt, or reposition the workpiece until the bubble centers, then secure the piece in place.
-
Use the magnetic feature if available. For metal surfaces (pipe, steel studs, ductwork), press the magnetic edge against the surface and let the magnet hold the level. This frees both hands to adjust fittings or mark reference points.
-
Check diagonals with a three vial model. Rotate the level 45 degrees so it sits diagonally across the surface. Read the center vial to verify true diagonal level without doing mental math.
-
Verify on pipes with the V groove. Rest the V groove on the pipe so the level seats stable and doesn’t roll. Read the vial to check slope or level along the pipe run.
Bubble Reading Tips
Bubble position tells you which side is high. If the bubble drifts to the right of center, the right side of your surface is higher than the left. If it drifts left, the left side is high. The farther off center the bubble sits, the more out of level the surface is. Think of the bubble as floating toward the “uphill” end.
When the bubble is perfectly centered between the lines, you’re done. Some high precision models have very narrow center marks, so “centered” means the edges of the bubble align with both lines at the same time. If your first reading looks close but not perfect, make a tiny adjustment and check again. Most DIY tasks only need the bubble inside the lines, not laser perfect.
Torpedo Level Applications Across Trades and DIY Projects
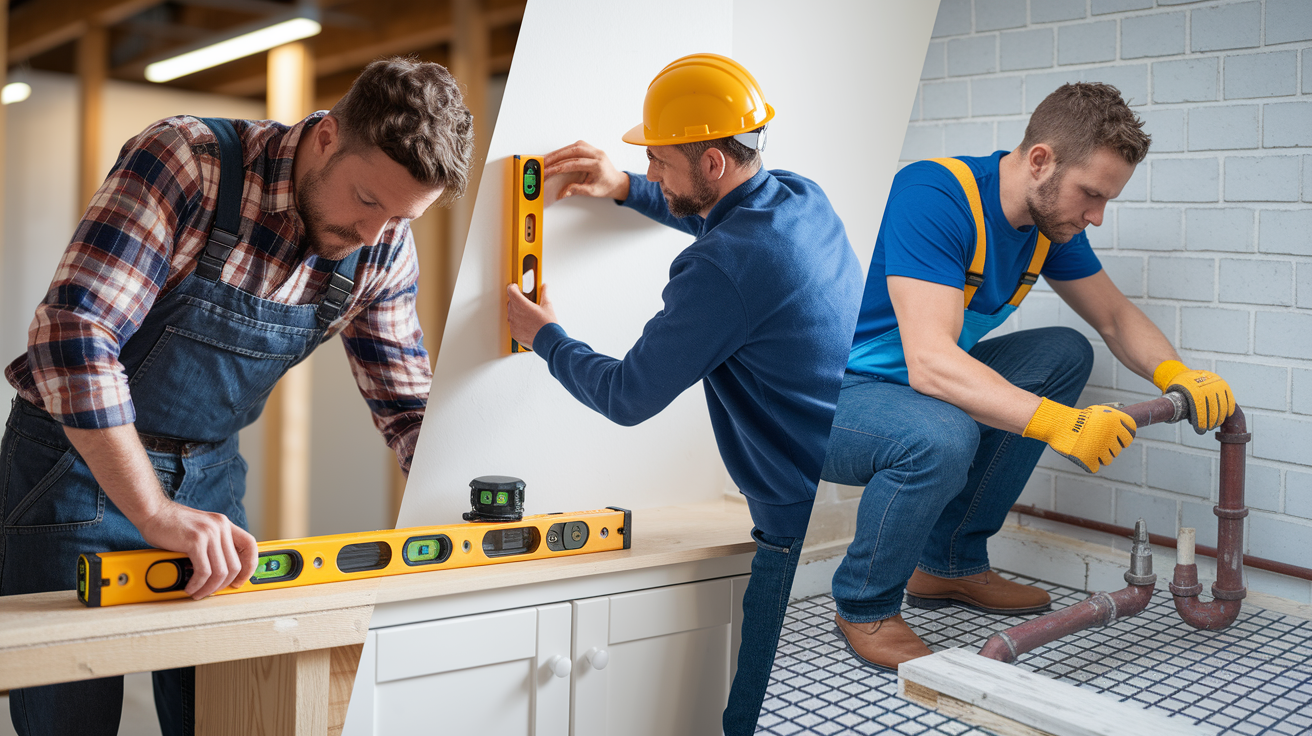
Torpedo levels show up in the tool belts of electricians, plumbers, carpenters, cabinet installers, and HVAC technicians because each trade faces tight spots where a longer level won’t work. Electricians use them to check that outlet boxes and switch boxes sit plumb in wall cavities before drywall goes up. A quick check with a 9 inch torpedo prevents crooked cover plates later. Plumbers rely on the V groove and magnetic base to verify slope on drain lines. Most codes require 1/4 inch of drop per foot, and a torpedo level lets you see that pitch while you’re crouched under a sink or crawling in a basement.
Carpenters and trim installers keep a torpedo level handy for cabinet installation, shelf brackets, and narrow trim work where the level has to fit between studs or inside a cabinet box. Tile setters use them to check individual tiles or small sections of a backsplash for plumb and level before the mortar sets. DIYers hanging pictures, installing closet rods, or mounting bathroom accessories appreciate the portability. It’s easier to hold a 9 inch level against the wall with one hand while you mark screw holes with the other than to juggle a 48 inch level that keeps tipping.
Top trade use cases for torpedo levels:
Aligning plumbing pipes and checking drain slope in crawl spaces or behind fixtures.
Setting electrical boxes plumb inside stud bays during rough in framing.
Installing kitchen and bathroom cabinets where you need to check level inside tight cabinet interiors.
Leveling HVAC ducts, vents, and scaffolding braces on metal surfaces using the magnetic base.
Checking trim, door casings, and window sills for plumb and level in finished carpentry.
The through line across all these tasks is confined space and short reference distance. Anywhere a 24 inch level would stick out too far or block your hands, a torpedo level slips right in and gives you the reading you need in seconds.
Torpedo Level Sizes and When to Choose Each
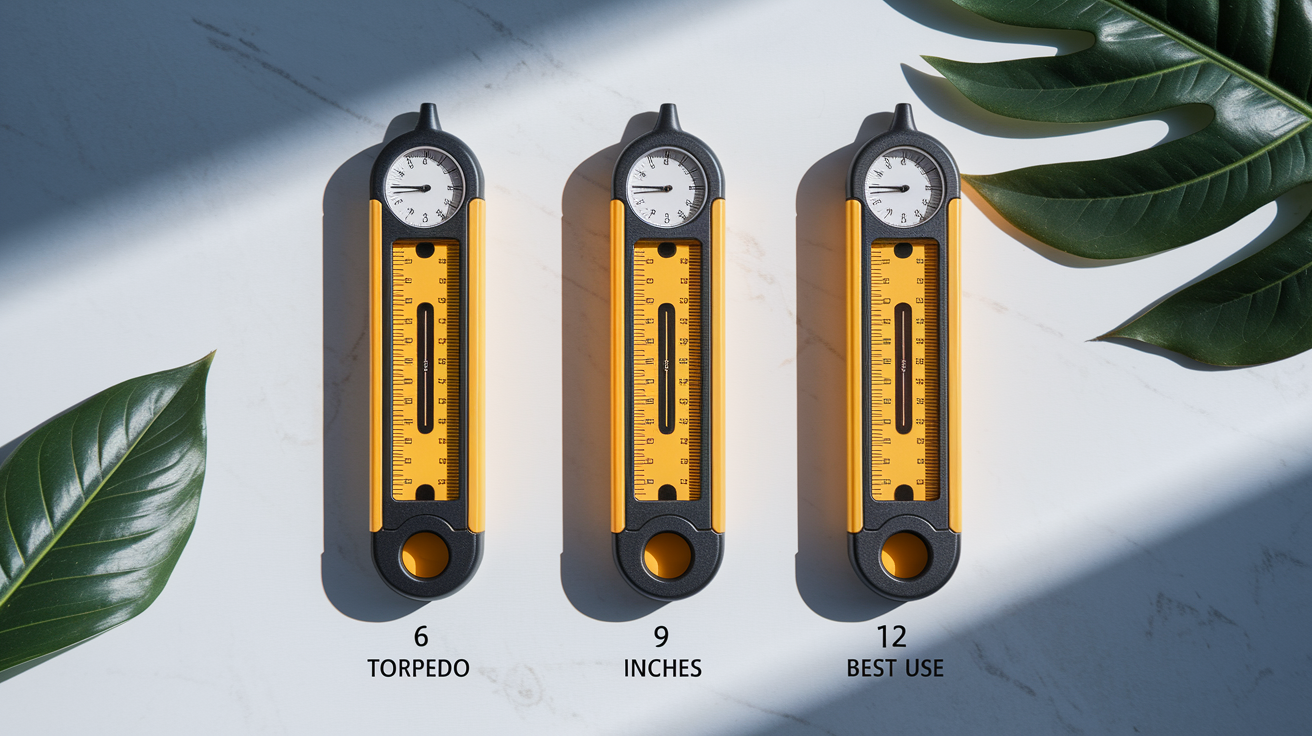
Torpedo levels typically range from 6 inches to 12 inches in length, with a few specialty micro models as short as 3 inches for extremely tight access points. The length you choose depends on the space available and the span you need to check. A 6 inch level fits inside electrical boxes and behind faucets, but it won’t give you as accurate a read over a 10 inch shelf as a 12 inch model would.
Shorter levels are more portable and squeeze into tighter spots, but they magnify small errors because the bubble has less distance to travel. A 12 inch torpedo still fits in most tool belts and gives you better accuracy over the span of a cabinet shelf or countertop edge, so it’s the most popular size for general DIY and light trade work. If you only buy one torpedo level, a 9 or 12 inch model with magnetic base and three vials covers the widest range of tasks.
| Size | Best Use | Notes |
|---|---|---|
| 6 in. | Very tight gaps: inside electrical boxes, behind trim, between closely spaced pipes | Most compact; harder to get precise reads over spans wider than the level itself; good for spot checks only |
| 9 in. | General household tasks: shelves, picture hanging, cabinet checks, small plumbing runs | Balances portability with usable span; fits most tool belt pouches; popular with electricians and DIYers |
| 12 in. | Wider shelves, countertop edges, longer trim pieces, checking level across cabinet faces | Still compact enough to maneuver in tight spaces; better accuracy over longer spans than 6″ or 9″ models; recommended first purchase |
Comparing Torpedo Levels with Other Level Types
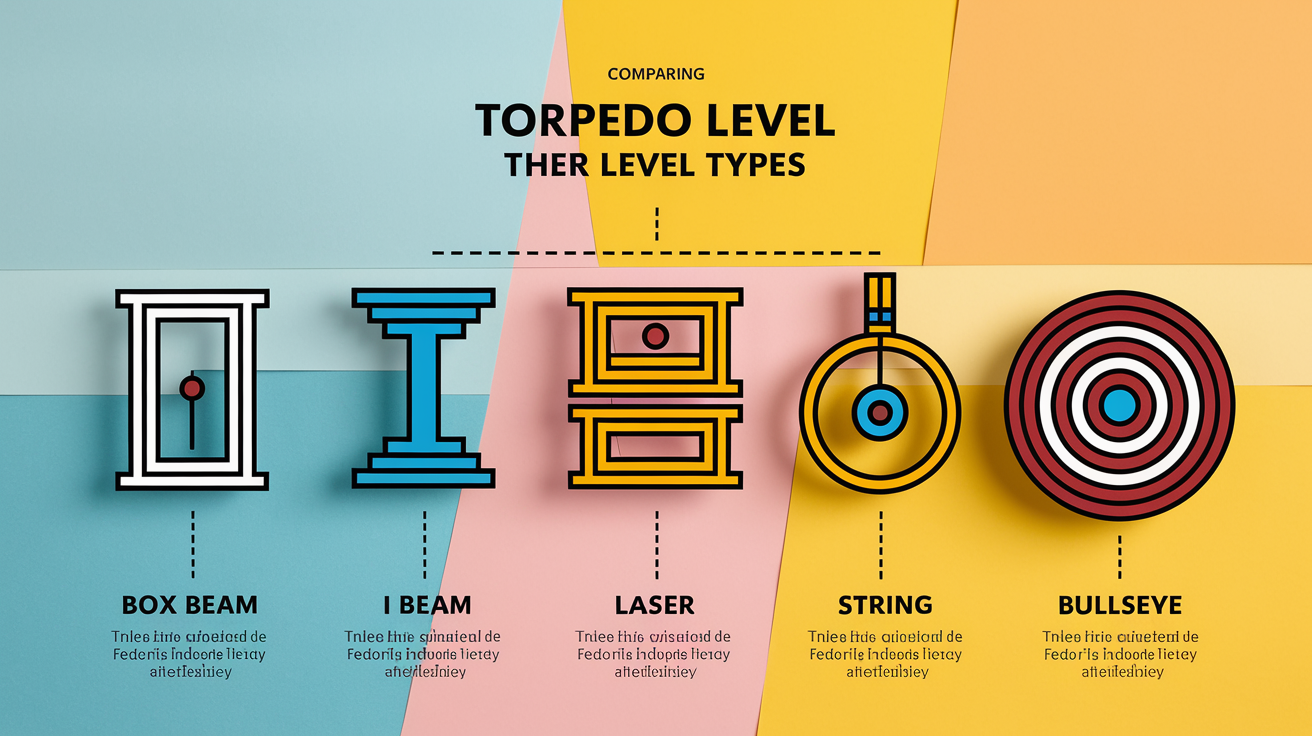
A torpedo level is built for portability and tight space access, which makes it different from the levels you’d use for framing walls, screeding concrete, or checking long runs. Box beam levels (the rectangular aluminum levels most people picture) range from 24 inches to 96 inches long and give you accurate reads over long spans. Use them when you’re leveling a countertop, straightening a fence line, or checking whether a floor is flat across several feet. I beam levels have a lighter, I shaped cross section and cost less, but they’re more prone to bending if you drop them, so check accuracy more often.
Laser levels project a level line across a room or job site, which is ideal for hanging multiple cabinets at the same height or laying out tile lines over long distances. They’re faster for layout work but require batteries, a stable mounting point, and clear line of sight. You can’t use a laser inside a wall cavity or on a pipe the way you can use a torpedo level. String levels are tiny vials you hook onto a taut string between two stakes. They’re perfect for checking level over very long distances (50 feet or more) when grading a yard or setting a fence line, but they don’t help in confined spaces.
Bullseye or circular levels have a round vial with a bubble that centers in a circle, showing level in all directions at once. They’re useful for leveling appliances or RV hitches, but they don’t give you precise plumb or specific angle readings the way a torpedo’s multiple vials do.
| Level Type | Best Use | Limitations | Portability Rating |
|---|---|---|---|
| Torpedo | Tight spaces, short spans, quick spot checks, one handed use | Not accurate over long runs; short span can magnify errors on wide surfaces | Excellent: fits in pocket or belt pouch |
| Box Beam | Long spans, framing, countertop installation, checking floor flatness | Too long for confined spaces; requires two hands; heavier to carry around all day | Moderate: 24″ fits in a tool bag; 48″+ needs carrying or mounting |
| Laser | Room layout, multiple point alignment, long distance reference lines | Needs batteries, mounting, and clear line of sight; can’t fit inside walls or on pipes | Low: requires setup and stable surface; not for quick handheld checks |
| String | Very long distances: grading, fence lines, masonry courses | Requires two fixed points and taut string; useless in tight or enclosed spaces | High: tiny vial weighs almost nothing; but needs string and stakes to function |
| Bullseye | Leveling appliances, tripods, RV hitches in multiple directions at once | No plumb reading; no angle measurement; general purpose only | Excellent: very small; often built into other tools |
Torpedo Level Accuracy, Calibration, and Maintenance
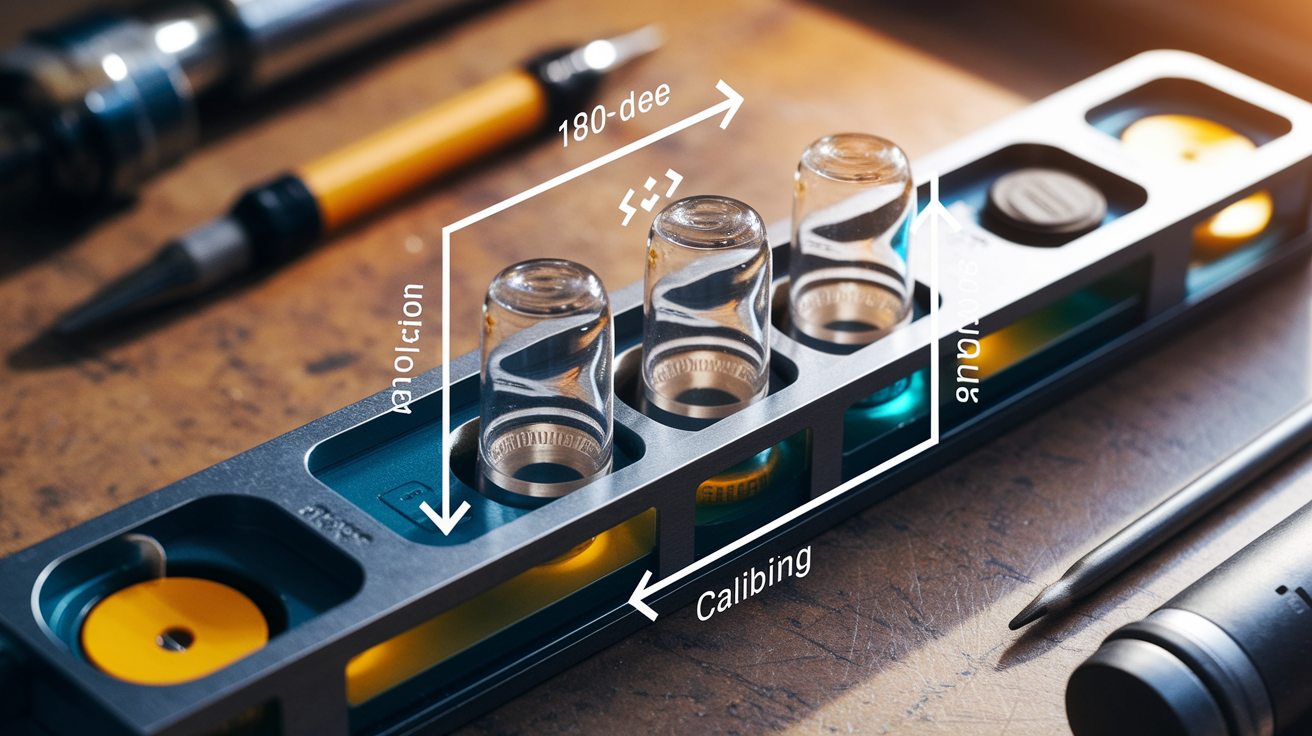
Torpedo level accuracy varies by model and price point, with precision ranging from +/- 0.00005 inches per inch on high end machined models to +/- 0.001 inches per inch on standard DIY versions. That difference matters if you’re setting machinery or doing finish carpentry where 1/16 inch over a foot will show. For hanging shelves or checking a picture frame, +/- 0.001 in./in. is more than enough. Magnetic models sometimes list separate accuracy specs for standard and inverted (magnet side up) use because the magnet’s pull can affect the vial reading slightly.
To check calibration, place the level on a flat reference surface and note the bubble position, then rotate the level 180 degrees end for end on the same spot and check again. If the bubble centers in both positions, the vial is accurate. If it shifts, the vial is out of calibration and you should replace the level or use a different one for critical work. You can also test plumb by holding the level against a door jamb or wall corner known to be vertical, reading the vertical vial, flipping the level upside down on the same spot, and confirming the bubble centers again.
Calibration check steps:
-
Find a stable, flat surface. A solid countertop, workbench, or section of floor works. Avoid soft or uneven surfaces that will give false readings.
-
Place the level and mark its position. Set the level down and make small pencil marks at each end so you can return it to the exact same spot.
-
Read and note the bubble position. Check whether the bubble is centered, left, or right of center.
-
Rotate 180 degrees on the marks. Spin the level end for end so the opposite end now sits on the same mark, keeping it on the same surface spot.
-
Re read the bubble. If it centers again, the level is calibrated. If it shifts to the opposite side by the same amount, it’s still usable but slightly off. If it shifts by a different amount or stays off center, replace the level.
Keep your torpedo level clean by wiping off dust, mud, and drywall compound after each job. Buildup on the measuring edge will throw off readings. Store it in a pouch or toolbox compartment where it won’t get stepped on or crushed. A bent or warped body makes the vials useless. Inspect the vials occasionally for cracks or leaks. If you see moisture inside the vial or the bubble disappears, the vial has failed and the level can’t be trusted.
Magnetic and Digital Torpedo Levels: Advanced Options

Magnetic torpedo levels include rare earth or ferrite magnets embedded in one or more edges, letting the tool grip steel pipes, metal studs, ductwork, and scaffolding without your hands holding it. This hands free feature is a game changer when you’re soldering a copper fitting, tightening a pipe clamp, or marking screw holes on a steel bracket. The level stays put while you work, and you glance at the vial whenever you need a reading. Magnet strength varies. Rare earth magnets provide a stronger hold and work on thinner metal, while basic ferrite magnets are cheaper but may slide on smooth or painted surfaces.
Digital torpedo levels add an electronic inclinometer and LCD readout to the traditional vial setup, displaying the angle in degrees to one or two decimal places. Some high end digital box levels (which can be compact like a torpedo or longer like a standard box beam) show measurements to the fourth decimal place, which is overkill for most DIY work but valuable for machinists, cabinetmakers, and precision layout. Digital models often include a hold function that freezes the display so you can read it after removing the level from an awkward spot, plus audible beeps when you reach level or specific angle targets.
Top benefits of magnetic and digital torpedo levels:
Hands free operation on ferrous metal surfaces. Hold pipes, adjust fittings, or mark holes while the level stays in place.
Faster reads in dim or cramped spaces where traditional bubble vials are hard to see clearly.
Precise angle measurements for tasks like setting table saw blades, router bits, or stair stringers to exact degrees.
Digital hold and memory functions let you compare multiple surfaces without writing down each reading.
Magnetic V groove models combine two features. Cradle a pipe and stick to it magnetically for ultimate stability on plumbing and HVAC runs.
If you work with metal regularly or need exact angle measurements, a magnetic or digital torpedo level pays for itself in time saved and frustration avoided. If you’re mostly hanging pictures and installing shelves on wood or drywall, a standard vial only model does the job at a lower price.
Buying Guide and Key Features to Look For in a Torpedo Level
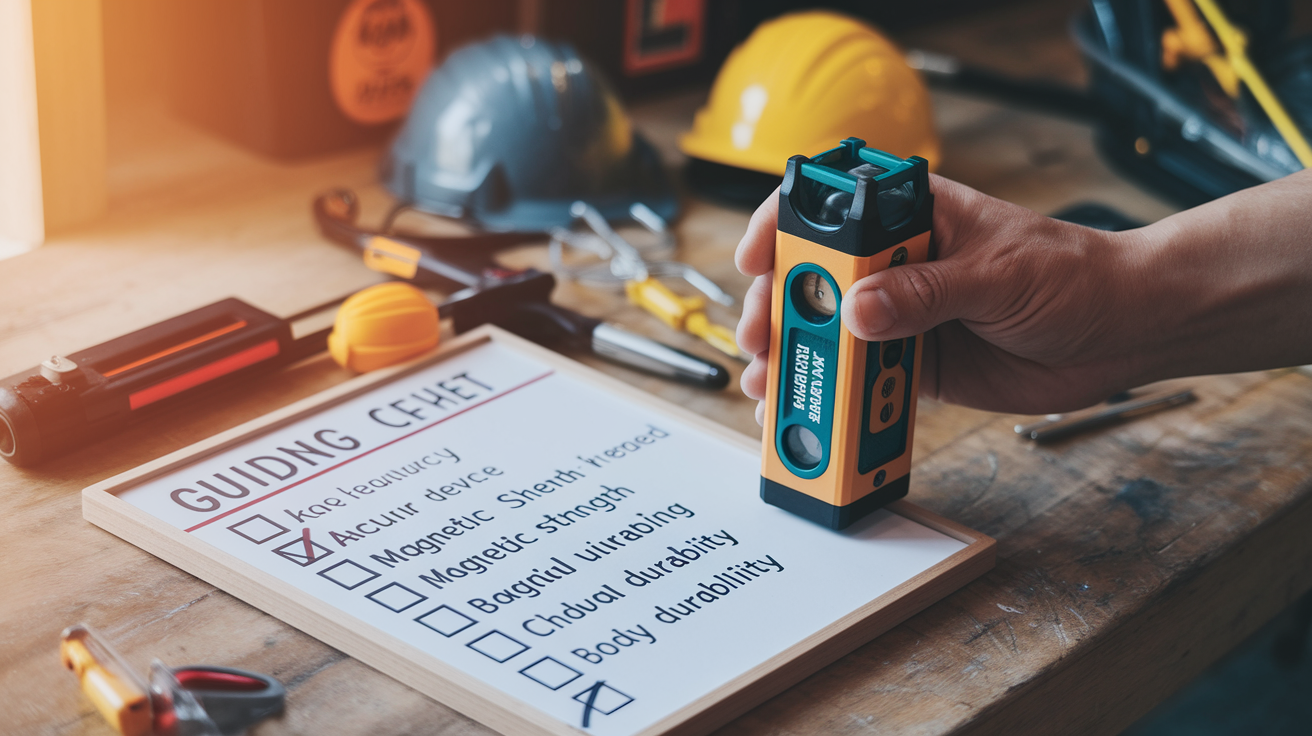
When shopping for a torpedo level, start with body material and build quality. Aluminum die cast models are more durable and hold calibration better than injection molded plastic, though plastic versions are lighter and cheaper if you’re on a tight budget or only use the level occasionally. Check that the measuring edge is milled or precision ground, not just molded or stamped, because a rough or warped edge will sit unevenly on the work surface and give you false readings. Pick up the level and look along the edge like you’re sighting down a board. It should be straight with no visible bends or waves.
Vial type and count matter for versatility. A two vial model (horizontal and vertical) covers most tasks. A three vial model adds a 45 degree vial for angled work like stair rails, roof pitch checks, or pipe slopes. Look for vials with high contrast liquid (bright green or yellow) and clear, easy to read center marks. Some budget models have faint lines that are hard to see in low light. Magnetic base is worth the extra cost if you work with pipes, ducts, or metal framing. Test the magnet strength in the store by sticking it to a metal shelf or tool display. A weak magnet will slide under the level’s own weight.
Size choice depends on your typical projects. A 9 inch model is the sweet spot for most DIYers. It fits tight spaces but still gives accurate reads over shelf brackets and cabinet faces. If you do a lot of electrical or plumbing rough in work in wall cavities, consider a 6 inch model as a secondary tool for the tightest spots. A 12 inch torpedo works well if you also want to use it for countertop edges and wider trim pieces without stepping up to a full 24 inch box beam level.
Key buying considerations:
Accuracy specification. Look for +/- 0.001 in./in. or better for general use; +/- 0.0005 in./in. or tighter for precision work. Ignore models with no published accuracy spec.
Magnetic strength. Rare earth magnets grip better than ferrite. Test on metal in store. Magnetic models cost $5 to $15 more but save time on metal surfaces.
Vial readability. Bright liquid color, crisp center lines, and protected vial windows (recessed or covered with clear plastic) prevent damage and make reads easier.
V groove presence. Essential if you work with pipes or conduit. Skippable if you only check flat surfaces.
Body durability. Aluminum die cast resists drops and stays straight. Plastic is lighter but check reviews for warping or cracking issues.
Price and warranty. Budget models run $8 to $15; mid range $15 to $30; high end machined or digital $30 to $60. A one or two year warranty signals the manufacturer stands behind calibration and build quality.
Final Words
in the action, you saw how a torpedo level’s compact 6–12 inch body and sealed vials make quick level and plumb checks easy. We covered parts, reading the bubble, sizes, trade and DIY uses, accuracy, magnetic and digital options, and buying tips.
If you still wonder what is a torpedo level used for, think tight spots—hanging pictures, shelving, plumbing slopes, cabinet alignment, and metalwork. Grab the right size and you’ll finish small jobs faster and truer.
FAQ
Q: What’s the difference between a torpedo level and a regular level?
A: The difference between a torpedo level and a regular level is size and use: torpedos are compact (6–12 in) with multiple vials and magnets for tight spots; regular levels are longer for straight runs.
Q: What is the use of torpedo level?
A: The torpedo level is used for quick level and plumb checks in tight areas, like hanging pictures, installing shelves or cabinets, checking pipe slope, and aligning electrical boxes.
Q: Can a torpedo level be used for plumbing?
A: A torpedo level can be used for plumbing by checking pipe slope and plumb in tight spots; V-grooves and magnets help seat on pipes, though longer runs may need a longer or laser level for accuracy.
Q: What makes a torpedo level useful for tight or confined spaces?
A: A torpedo level is useful for tight or confined spaces because its short 6–12 inch body, tapered ends, and V-groove let you seat it on narrow surfaces; magnetic edges enable one-handed, hands-free reads.